Install RealVNC Server on Ubuntu 20.04 for Remote Access
What is a RealVNC Server?
RealVNC allows us to interact with our Raspberry Pis graphically via Virtual Network Computing (VNC). The RealVNC server comes preinstalled with the Raspberry Pi OS. It’s extremely secure, convenient and reliable. Until the moment of writing this tutorial, 5/15/2021, RealVNC allows us to have up to 5 subscribed devices to remote into via cloud connectivity for FREE. By using this feature, we can remote into our devices from anywhere in the world without a VPN, a port-forwarding or a firewall configuration. If you’d like to subscribe more devices, it won’t be covered under the free subscription plan. However, you could access more devices from within the local network using direct feature.
Since we have installed Ubuntu, which is a 64bit-OS, on our RPI-4, and RealVNC only provides a 32bit server for Raspberry Pi OS, we will need to go through some hoops to get RealVNC installed and running. During this tutorial, I will go over how to install RealVNC on Ubuntu 20.04 LTS.
I have successfully installed and tested RealVNC based on multiple resources such, resource 1 and resource 2.
Step 1: Install RealVNC Server on our Ubuntu 20.04 LTS
Let’s navigate to our terminal. As a best practice, we shall update and upgrade our operating system.
sudo apt update && sudo apt upgrade -y
Let’s download the arm64 package from the Raspberry Pi Foundation’s site using the following command.
wget https://archive.raspberrypi.org/debian/pool/main/r/realvnc-vnc/realvnc-vnc-server_6.7.2.43081_arm64.deb
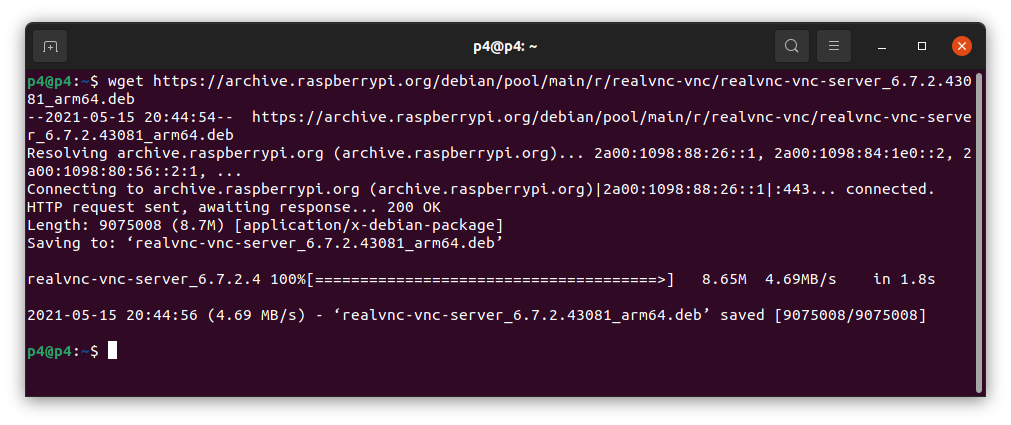
Now, we will install the package using dpkg command:
sudo dpkg -i realvnc-vnc-server_6.7.2.43081_arm64.deb
Here, we will add specific files to /user/lib/ folder, so let cd into it:
cd /usr/lib/aarch64-linux-gnu
Let’s add the following 10 files to the folder:
sudo ln libvcos.so /usr/lib/libvcos.so.0
sudo ln libvchiq_arm.so /usr/lib/libvchiq_arm.so.0
sudo ln libbcm_host.so /usr/lib/libbcm_host.so.0
sudo ln libmmal.so /usr/lib/libmmal.so.0
sudo ln libmmal_core.so /usr/lib/libmmal_core.so.0
sudo ln libmmal_components.so /usr/lib/libmmal_components.so.0
sudo ln libmmal_util.so /usr/lib/libmmal_util.so.0
sudo ln libmmal_vc_client.so /usr/lib/libmmal_vc_client.so.0
sudo ln libvcsm.so /usr/lib/libvcsm.so.0
sudo ln libcontainers.so /usr/lib/libcontainers.so.0
Finally, let’s enable and start the following services:
sudo systemctl enable vncserver-virtuald.service
sudo systemctl enable vncserver-x11-serviced.service
sudo systemctl start vncserver-virtuald.service
sudo systemctl start vncserver-x11-serviced.service
Let’s reboot our Raspberry Pi for these changes to take effect.
sudo reboot
Note: if RealVNC server GUI has not started automatically, follow the following steps. On the default display manager, select lightdm.
sudo apt-get install lightdm
sudo reboot
This installation will also work on Ubuntu 20.10 as well.
Step 2: Signup for a Free RealVNC Team’s Account
-
Signup for a free RealVNC Team’s Account.
-
On your RPI-4, signin with your credentials to add this RPI-4 to your Computers' account.
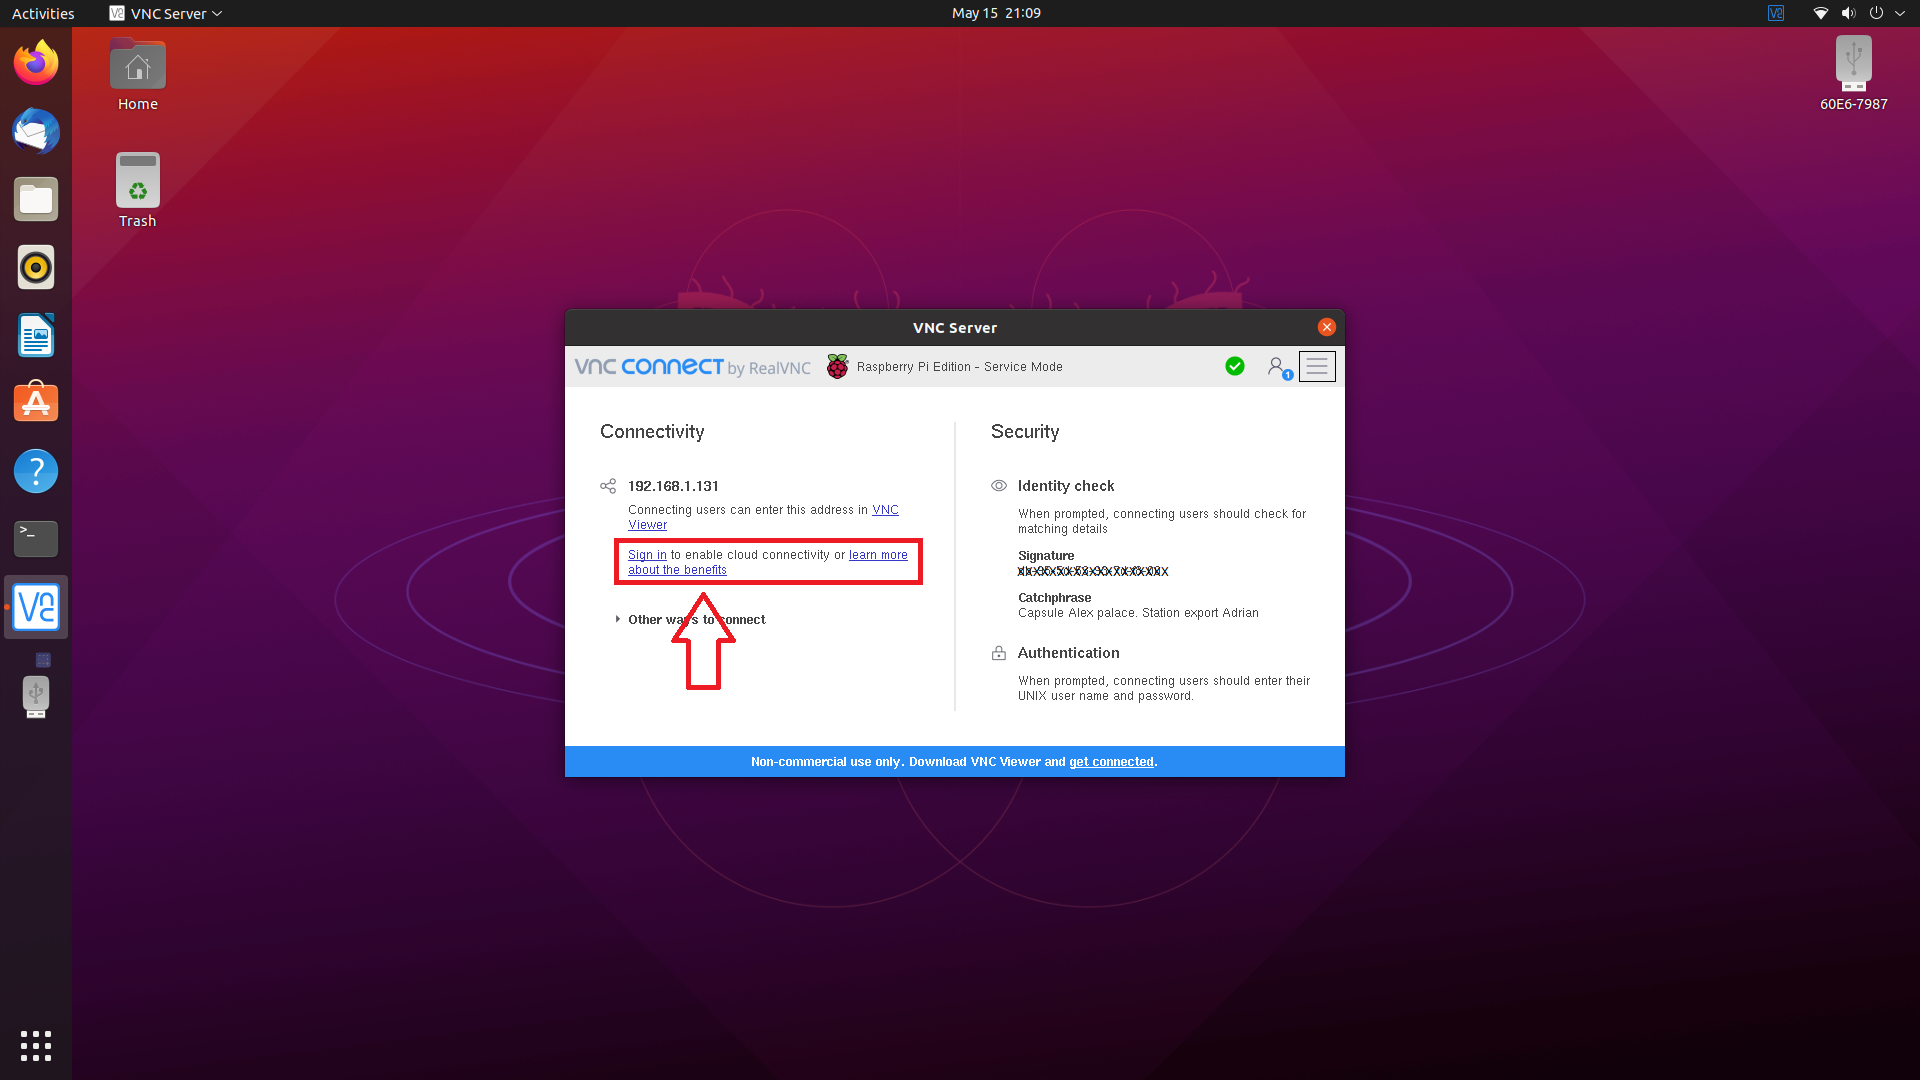
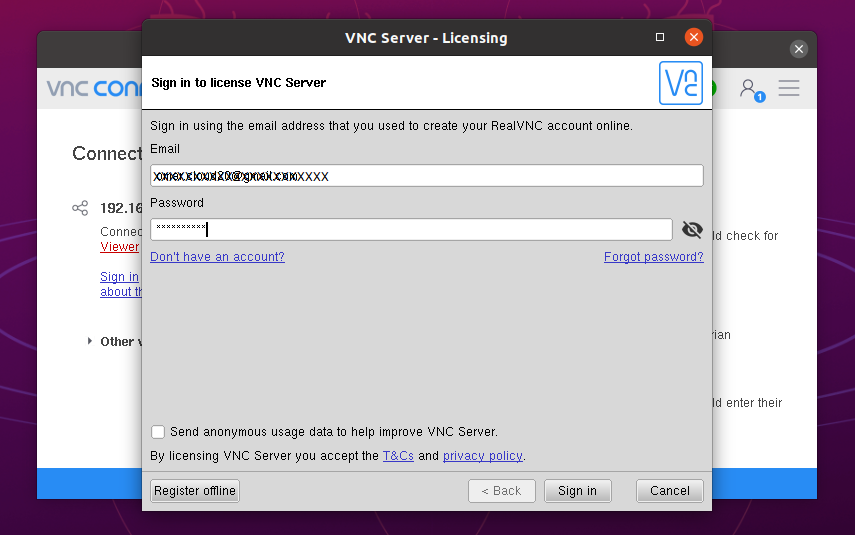
Notice, the Connectivity is Direct and Cloud.
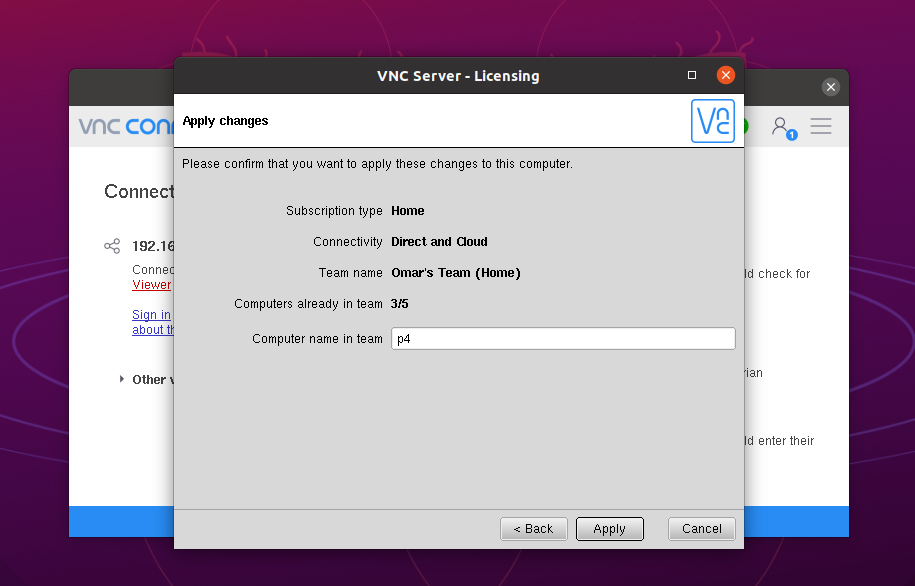
Now, your RPI-4 is ready to receive a secured VNC connection whether it’s a direct or cloud connection.
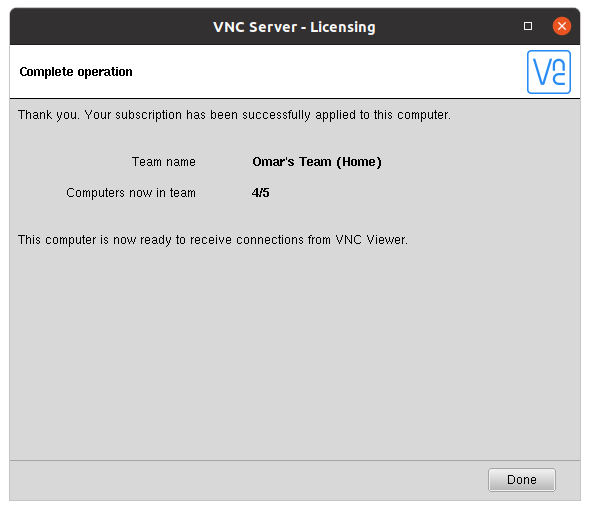
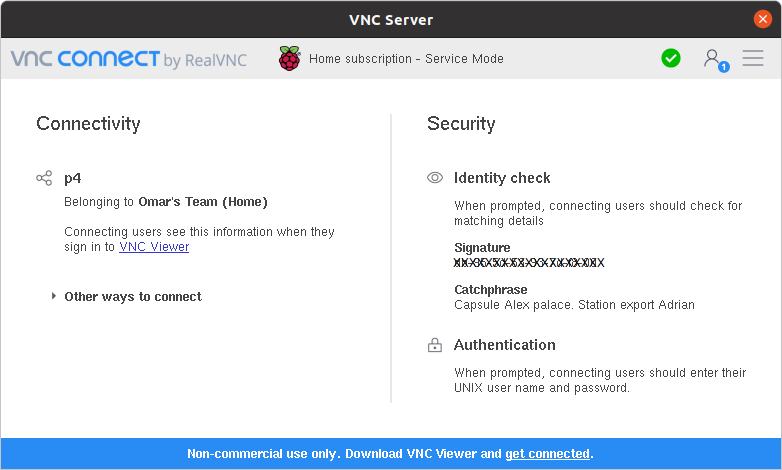
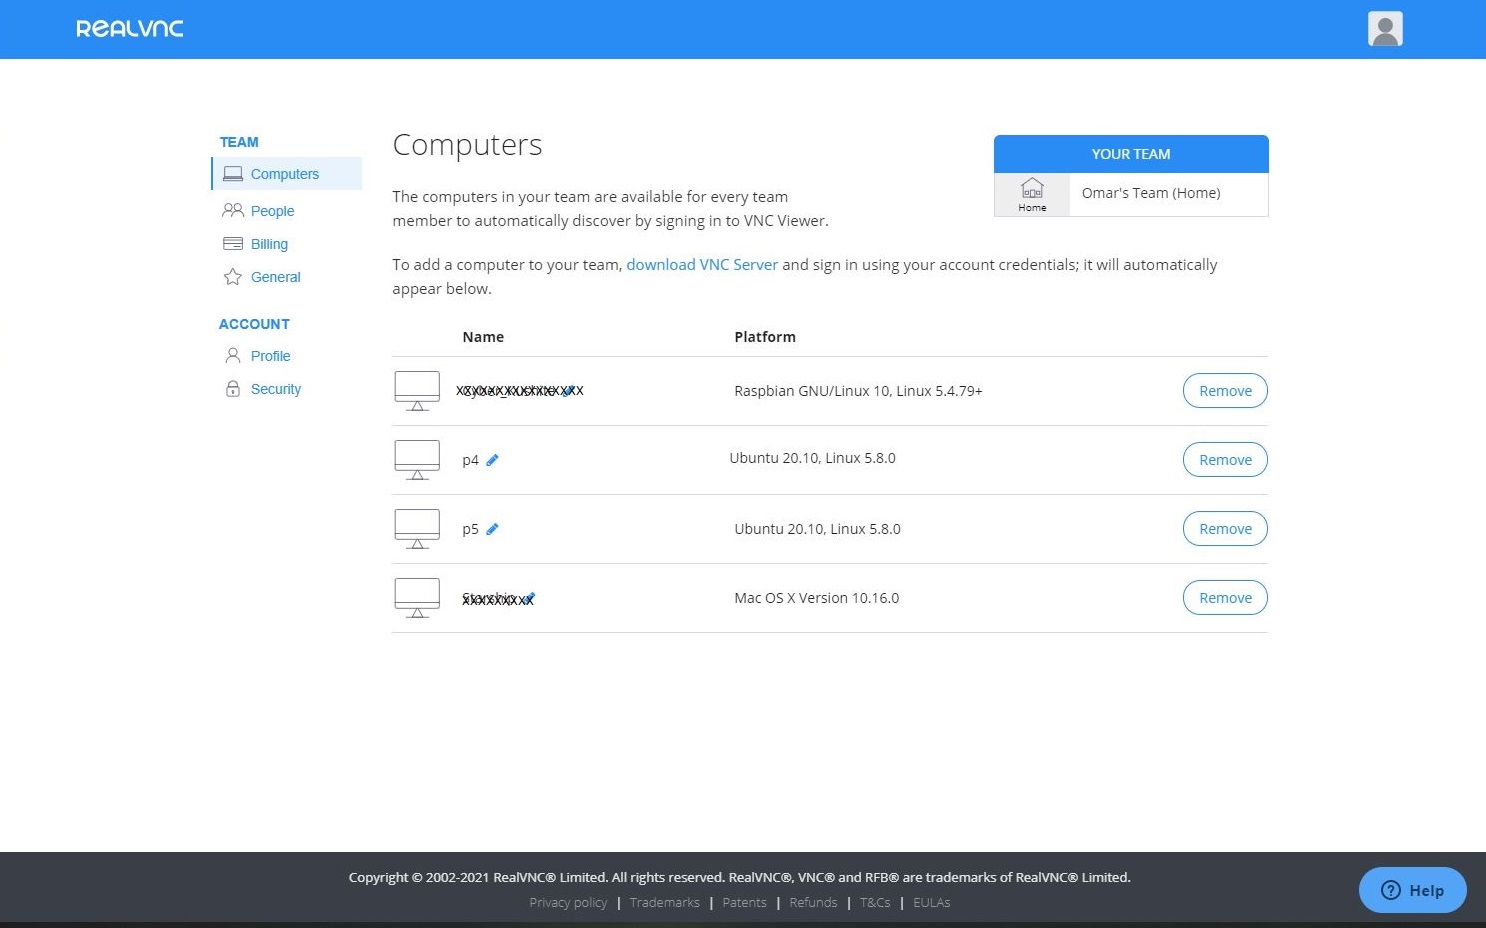
- To manage your devices, navigate to Computers under TEAM on your profile page and you shall see all subscribed devices to Cloud. Remember, you may only add up to 5 devices using the free subscription.
Step 3: Install RealVNC Viewer
Now, we have successfully installed RealVNC server, signup for an account and subscribed our device, we will need a method to remote into our RPI-4. Navigate to RealVNC to download a VNC Viewer to your viewer device. This could be your iPhone, Android phone, Mac Pro or your Windows machine.
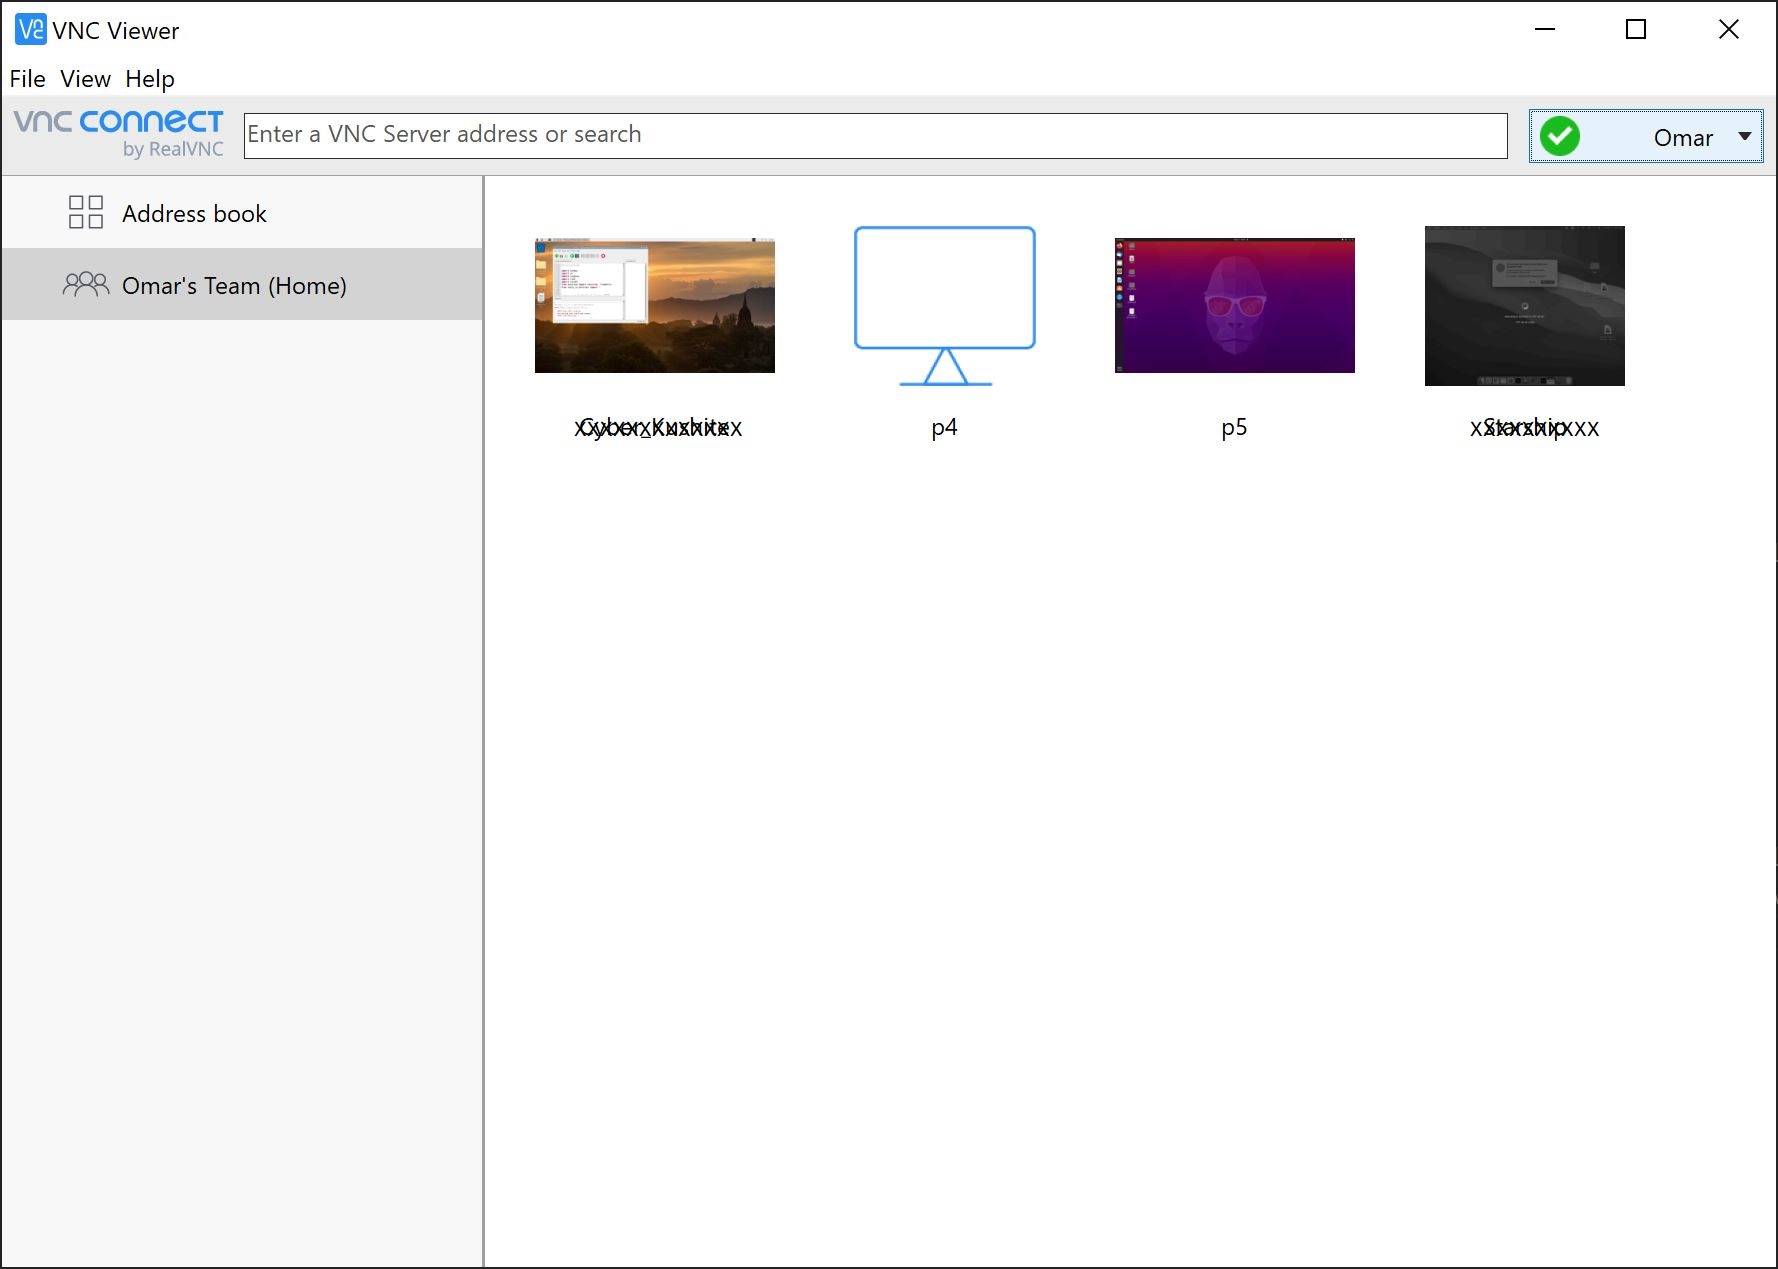
- After installing the VNC Viewer, signin with your credentials and you shall see all subscribed devices for cloud connection automatically. You may also add direct connection device on the Address book section.
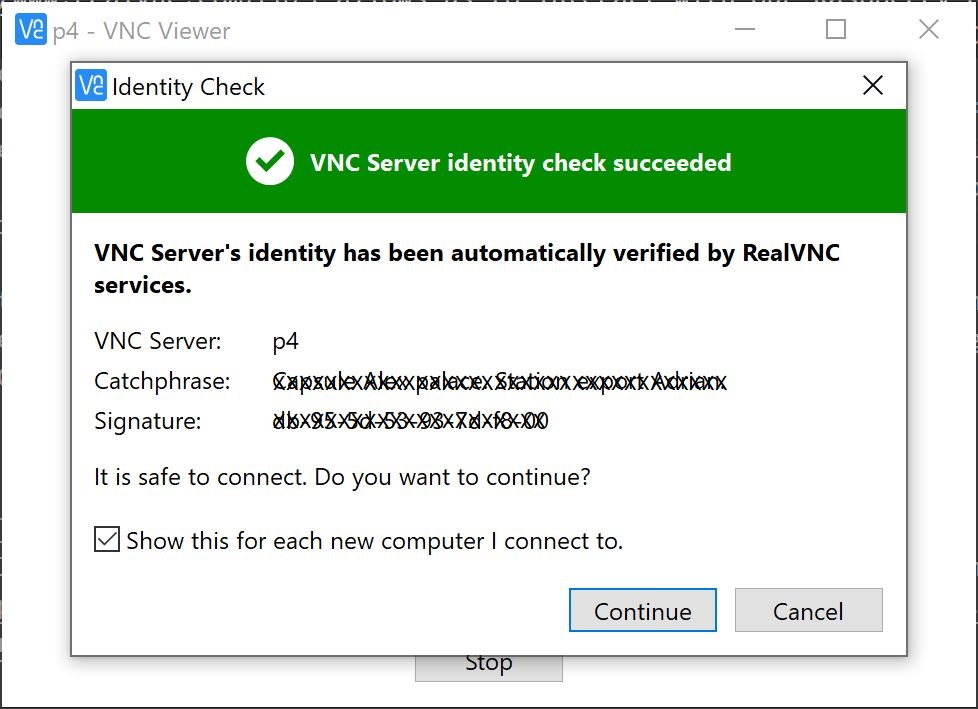
- Double click on your RPI-4, in my case it’s p4. Click on Continue.
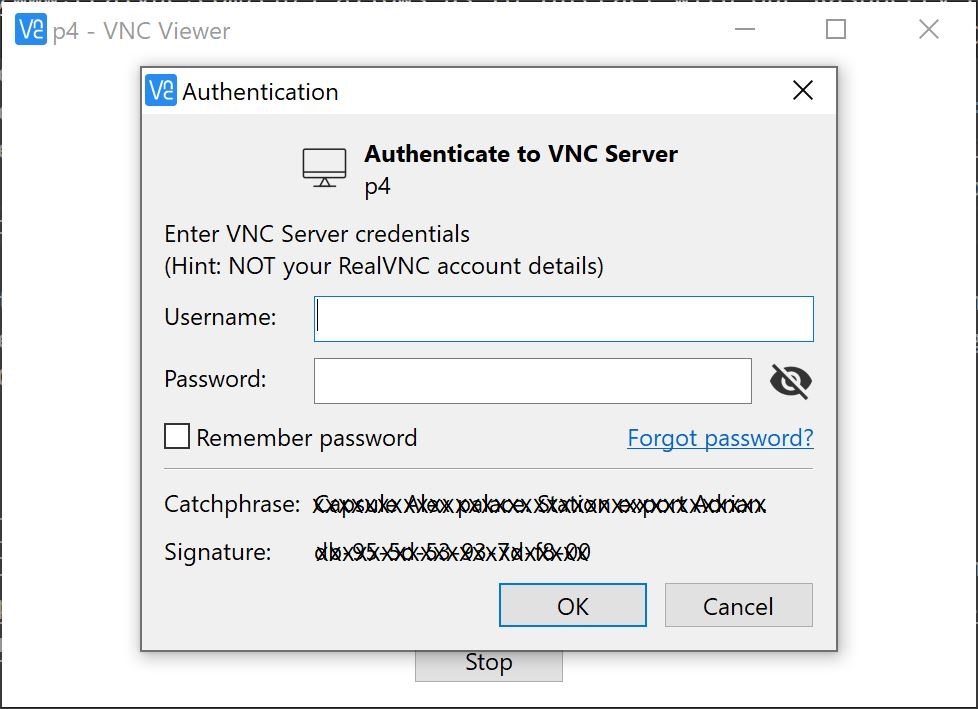
- Enter your RPI-4’s username and password to connect via VNC. These are the credentials you’re using to signin into your RPI-4.
Conclusion:
This concludes our RealVNC server installation on a Ubuntu 20.04 LTS (or 20.10) on a RPI 4. We have successfully installed and configured RealVNC server on our RPI-4 arm64. Moreover, we have installed RealVNC Viewer and established a cloud VNC connection securely to our RPI-4. Cheers!
