Install Unified CloudWatch Agent
Install Unified CloudWatch Agent:
The unified CloudWatch agent. It enables you to collect both logs and advanced metrics with one agent. It offers support across operating systems, including servers running Windows Server. This agent also provides better performance. The older CloudWatch Logs agent, which supports the collection of logs from only servers running Linux. AWS strongly recommends migrating to the unified CloudWatch agent.
The unified CloudWatch agent enables you to do the following:
1- Collect more system-level metrics from Amazon EC2 instances across operating systems. The metrics can include in-guest metrics, in addition to the metrics for EC2 instances. The additional metrics that can be collected are listed in Metrics Collected by the CloudWatch Agent.
2- Collect system-level metrics from on-premises servers. These can include servers in a hybrid environment as well as servers not managed by AWS.
3- Retrieve custom metrics from your applications or services using the StatsD and collectd protocols. StatsD is supported on both Linux servers and servers running Windows Server. collectd is supported only on Linux servers.
4- Collect logs from Amazon EC2 instances and on-premises servers, running either Linux or Windows Server.
Create IAM Role to Use CloudWatch Agent:
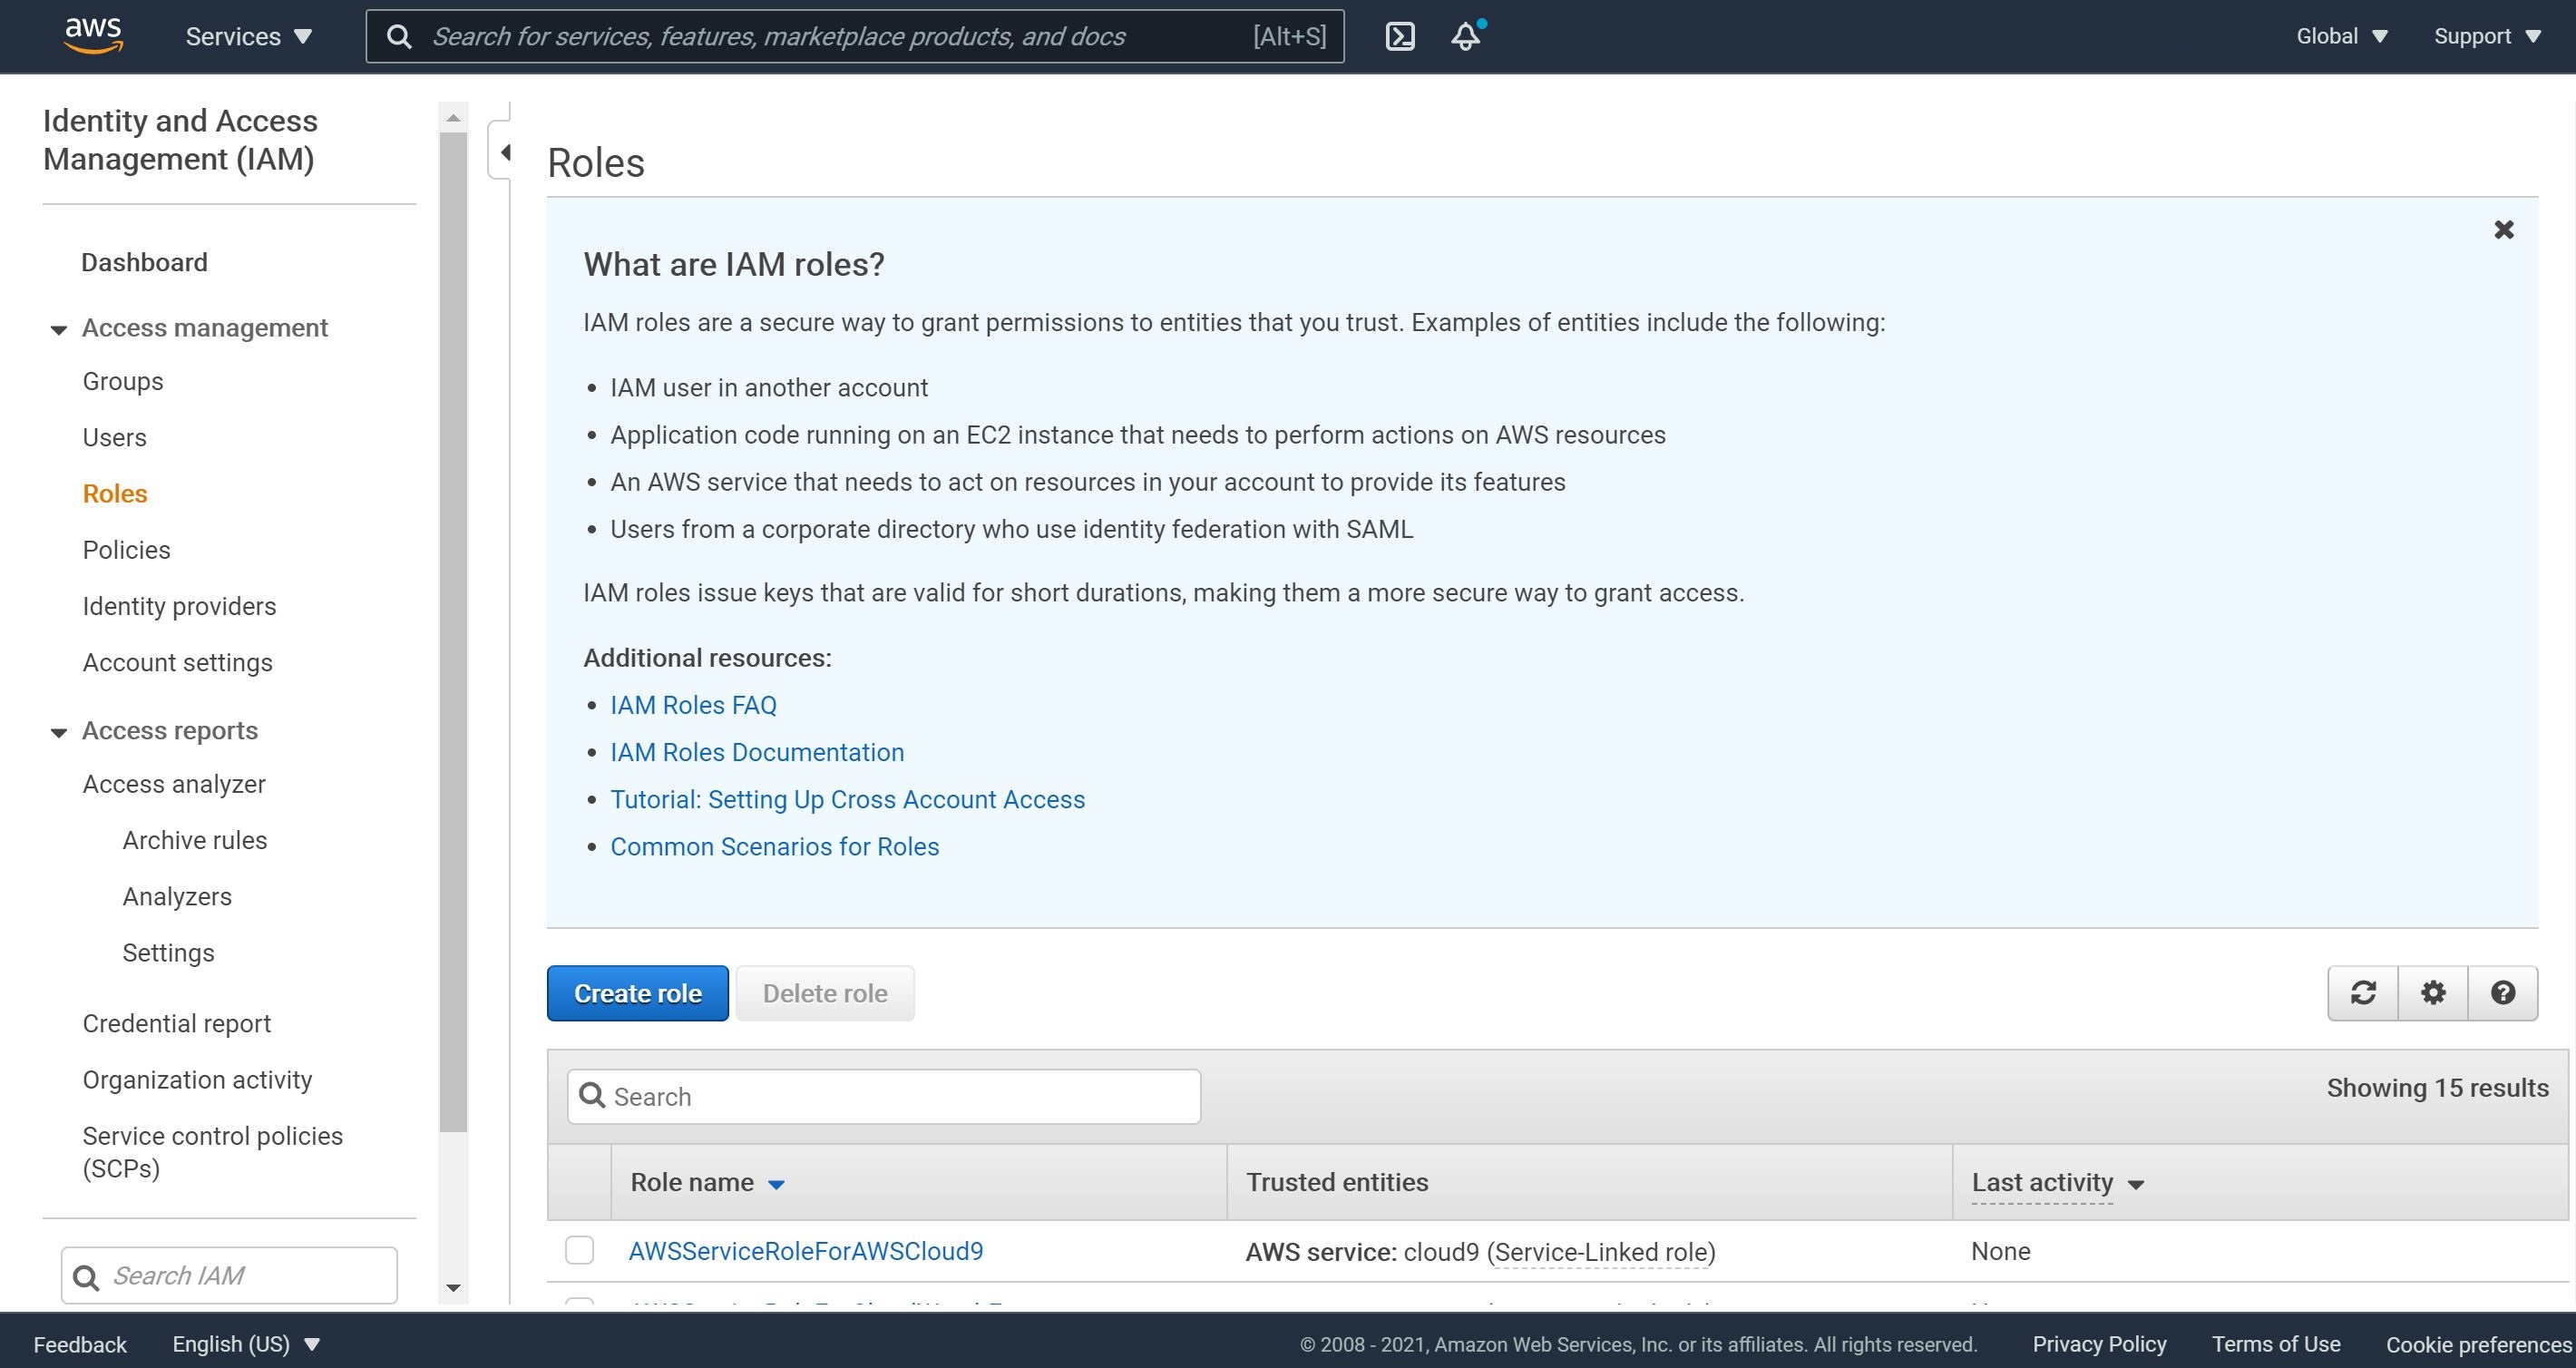
Access to AWS resources requires permissions. You create an IAM role, an IAM user, or both to grant permissions that the CloudWatch agent needs to write metrics to CloudWatch.
In the navigation pane on the left, choose Roles and then Create role.
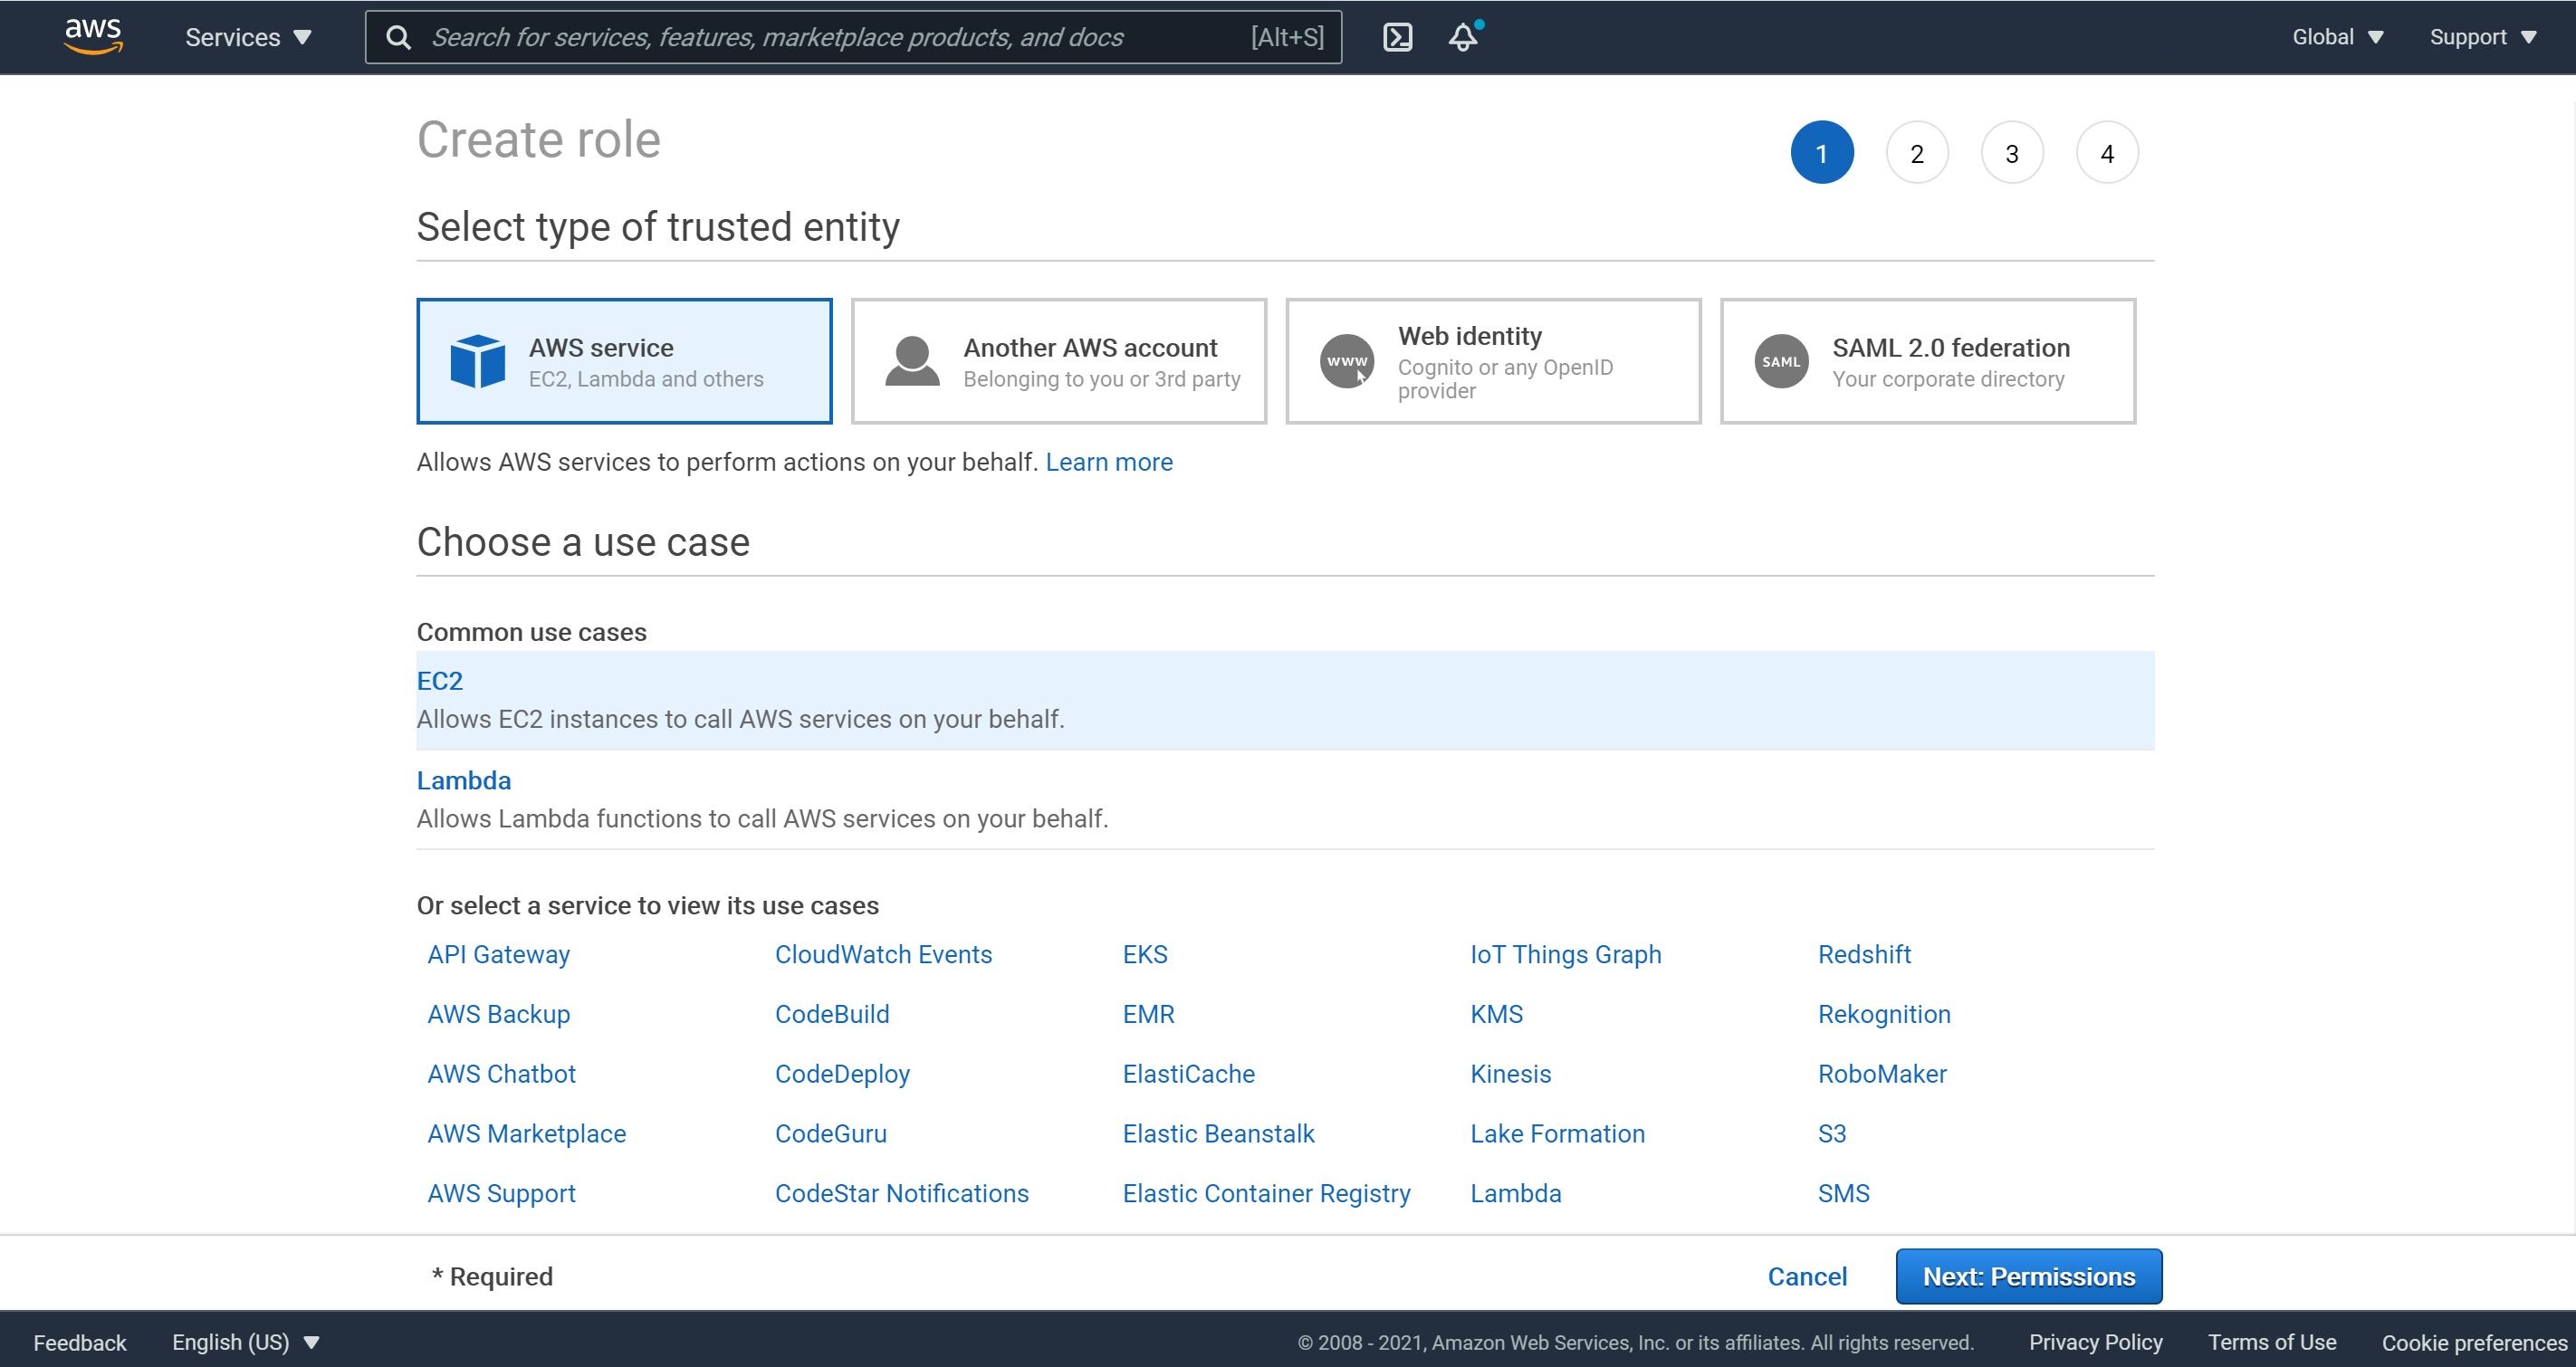
For Choose a use case, choose EC2 under Common use cases.
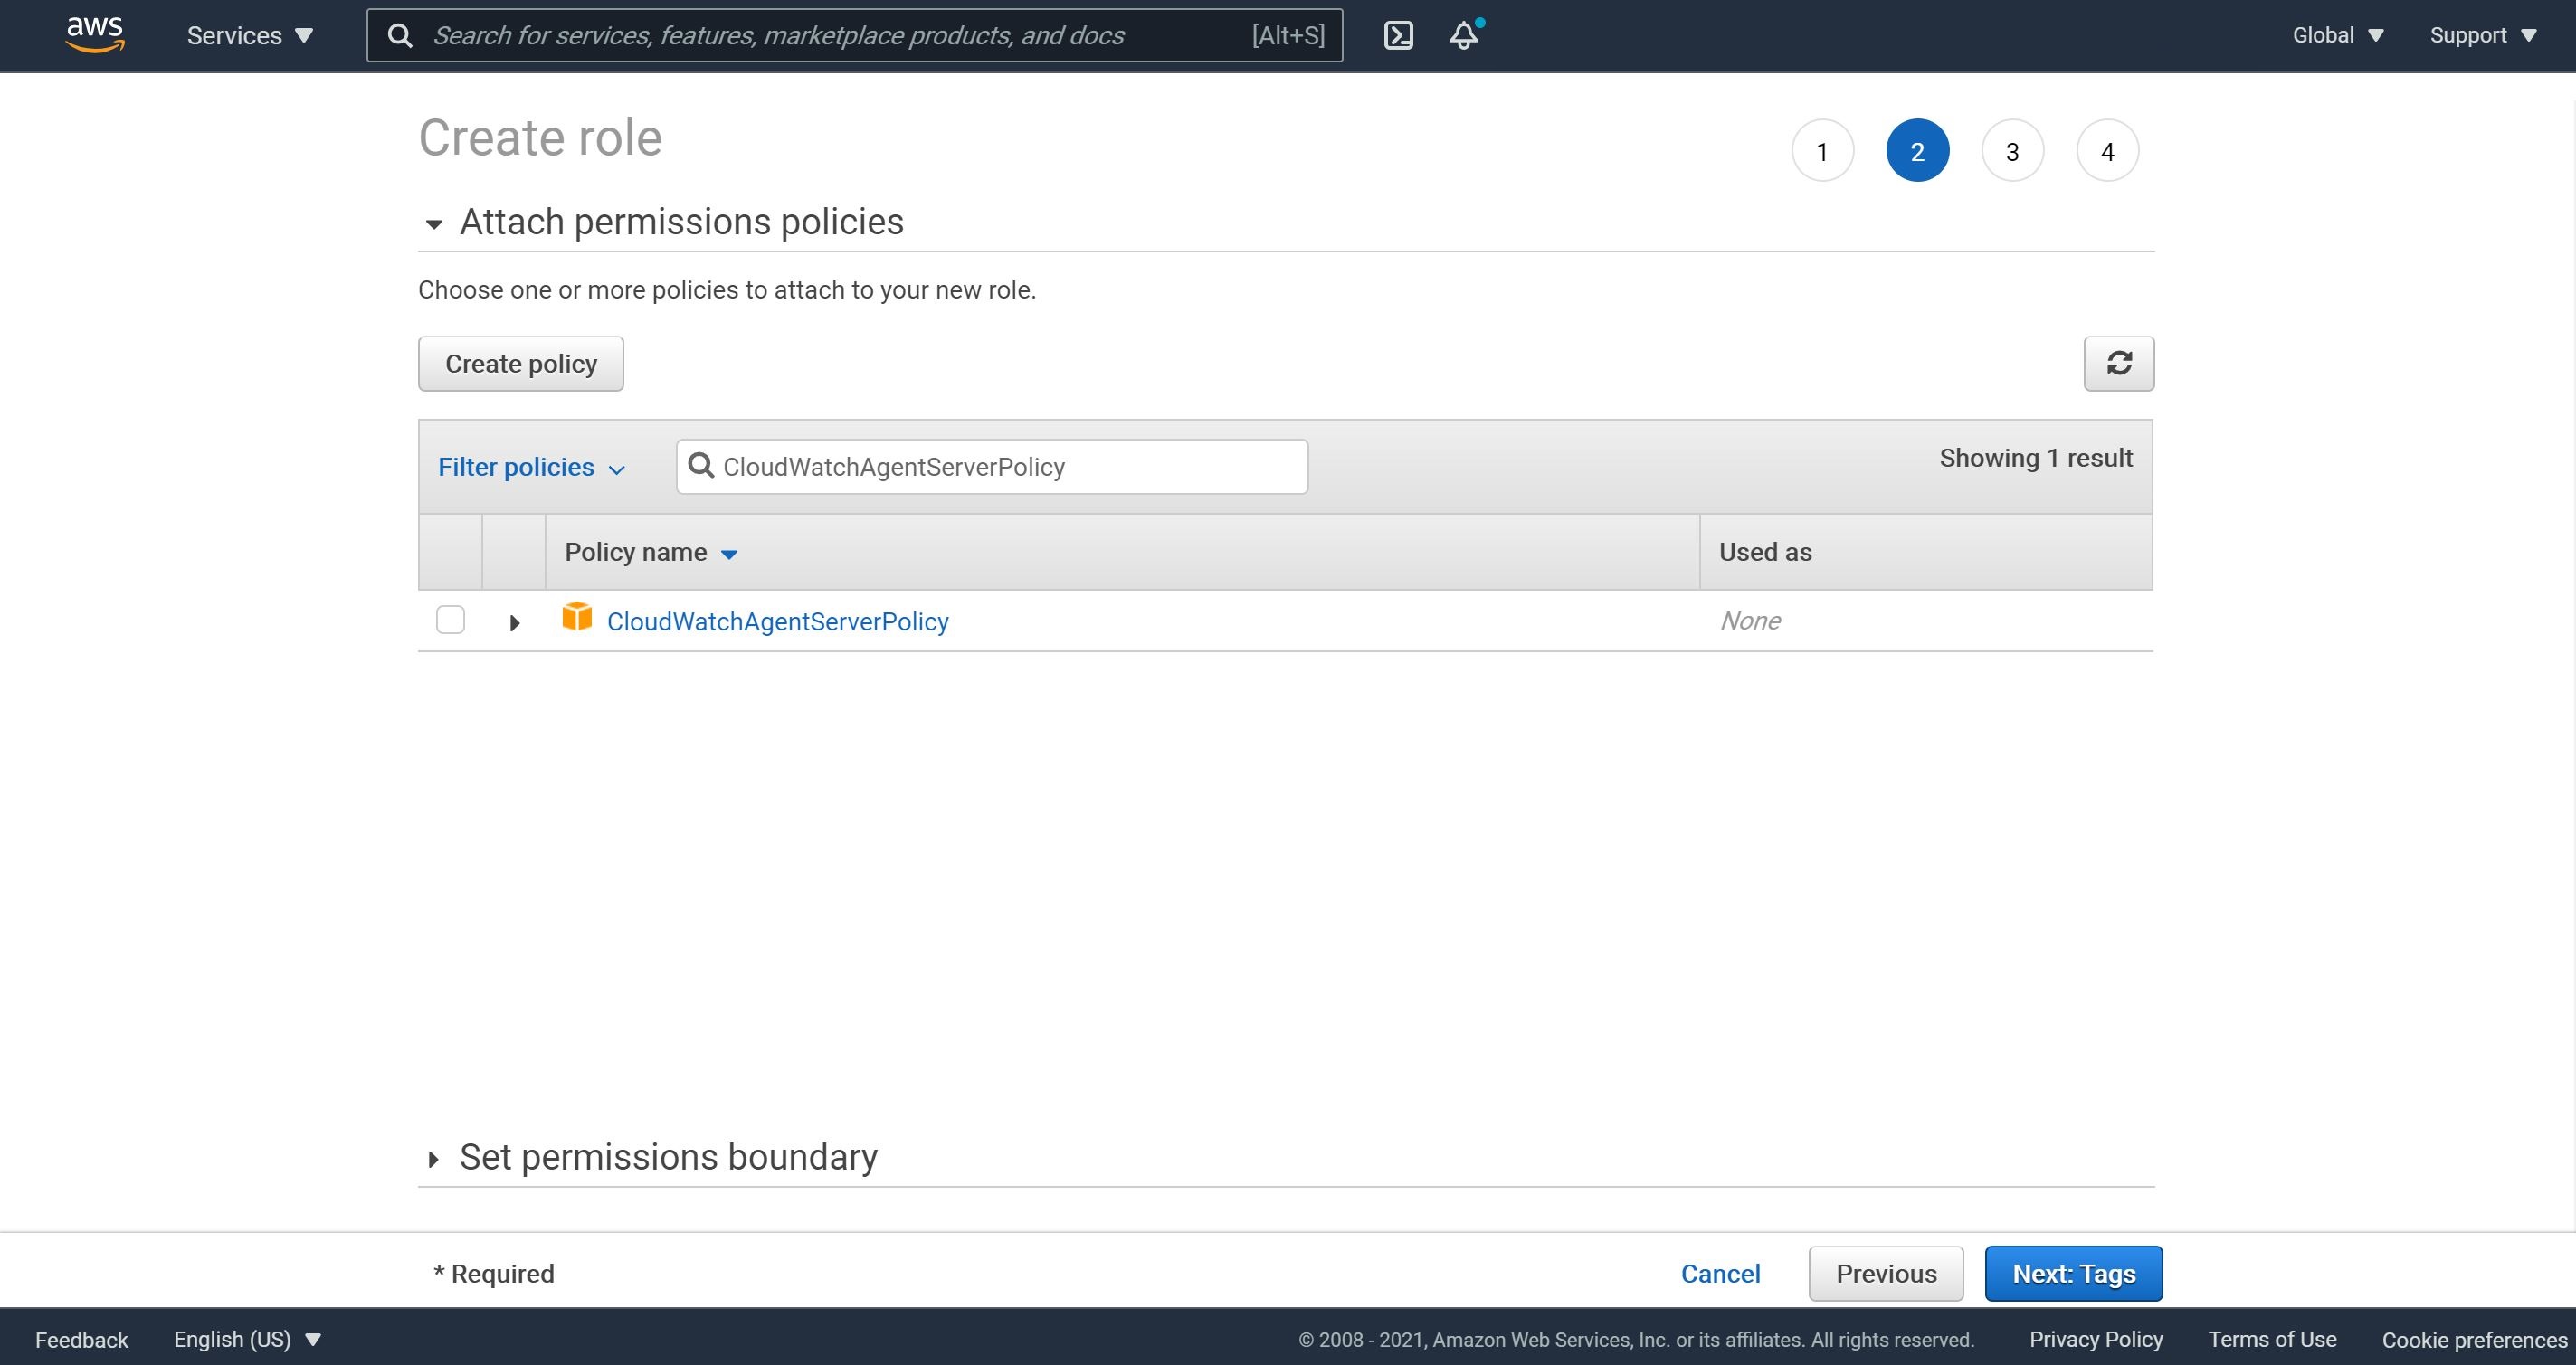
In the list of policies, select the check box next to CloudWatchAgentServerPolicy.
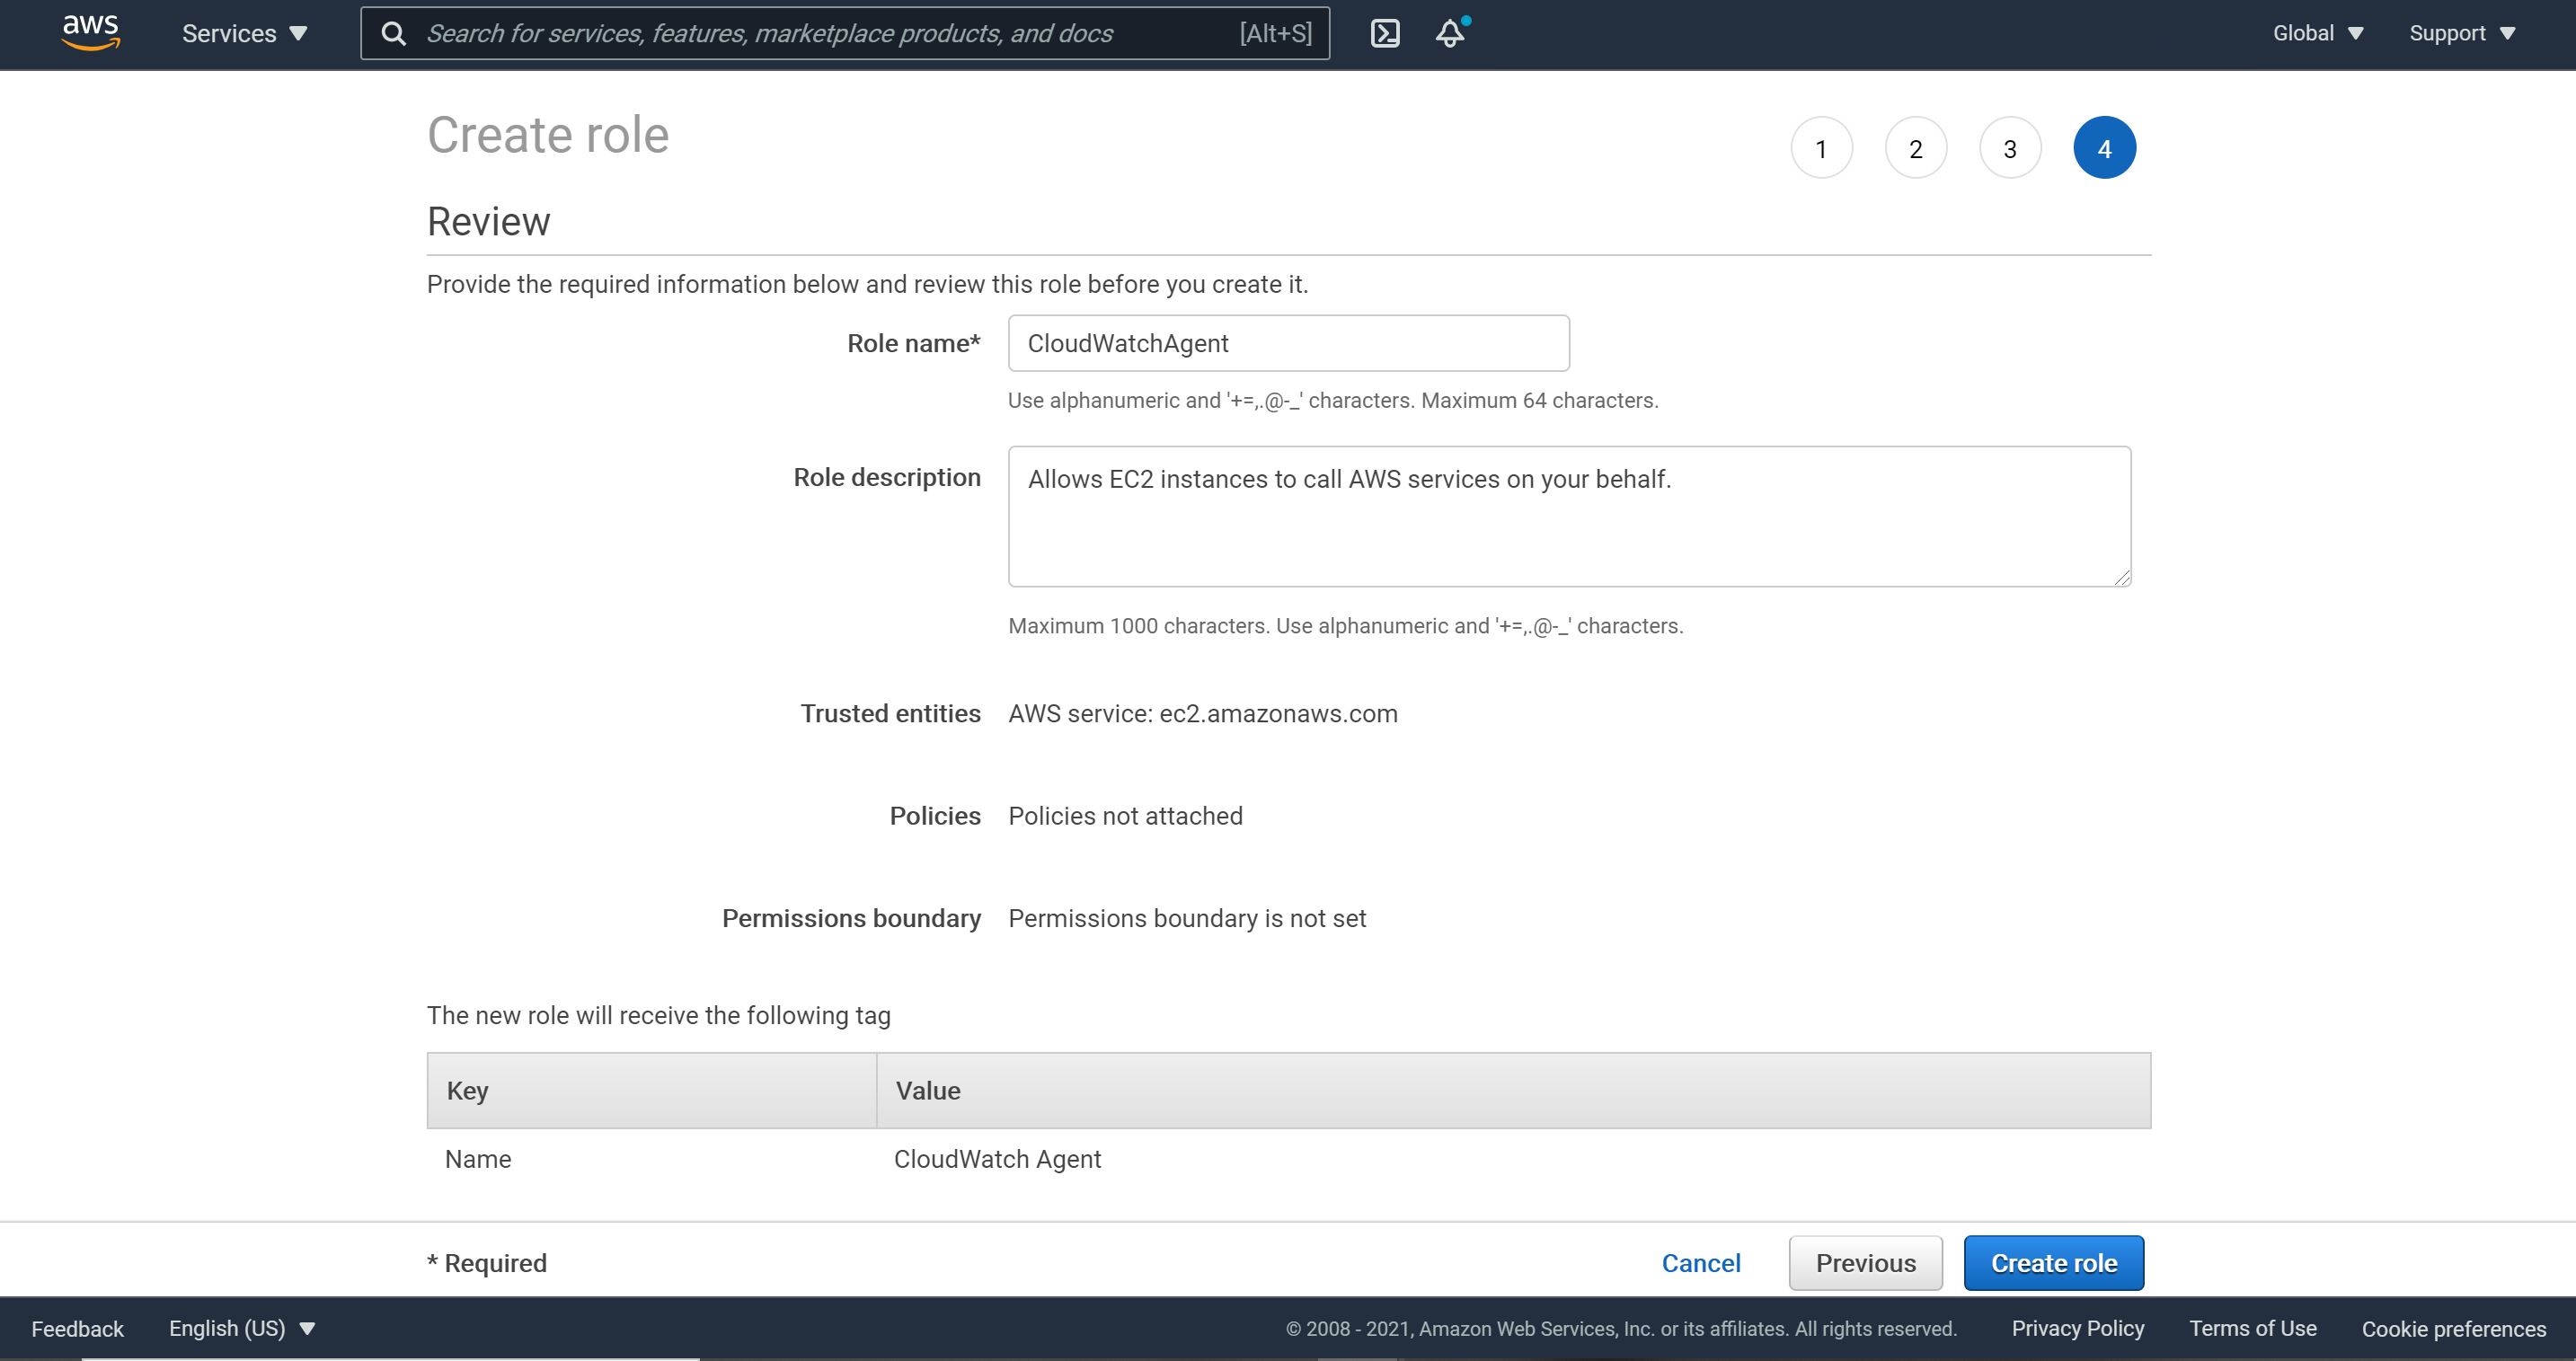
Let us confirm that CloudWatchAgentServerPolicy appears next to Policies, then choose Create role.
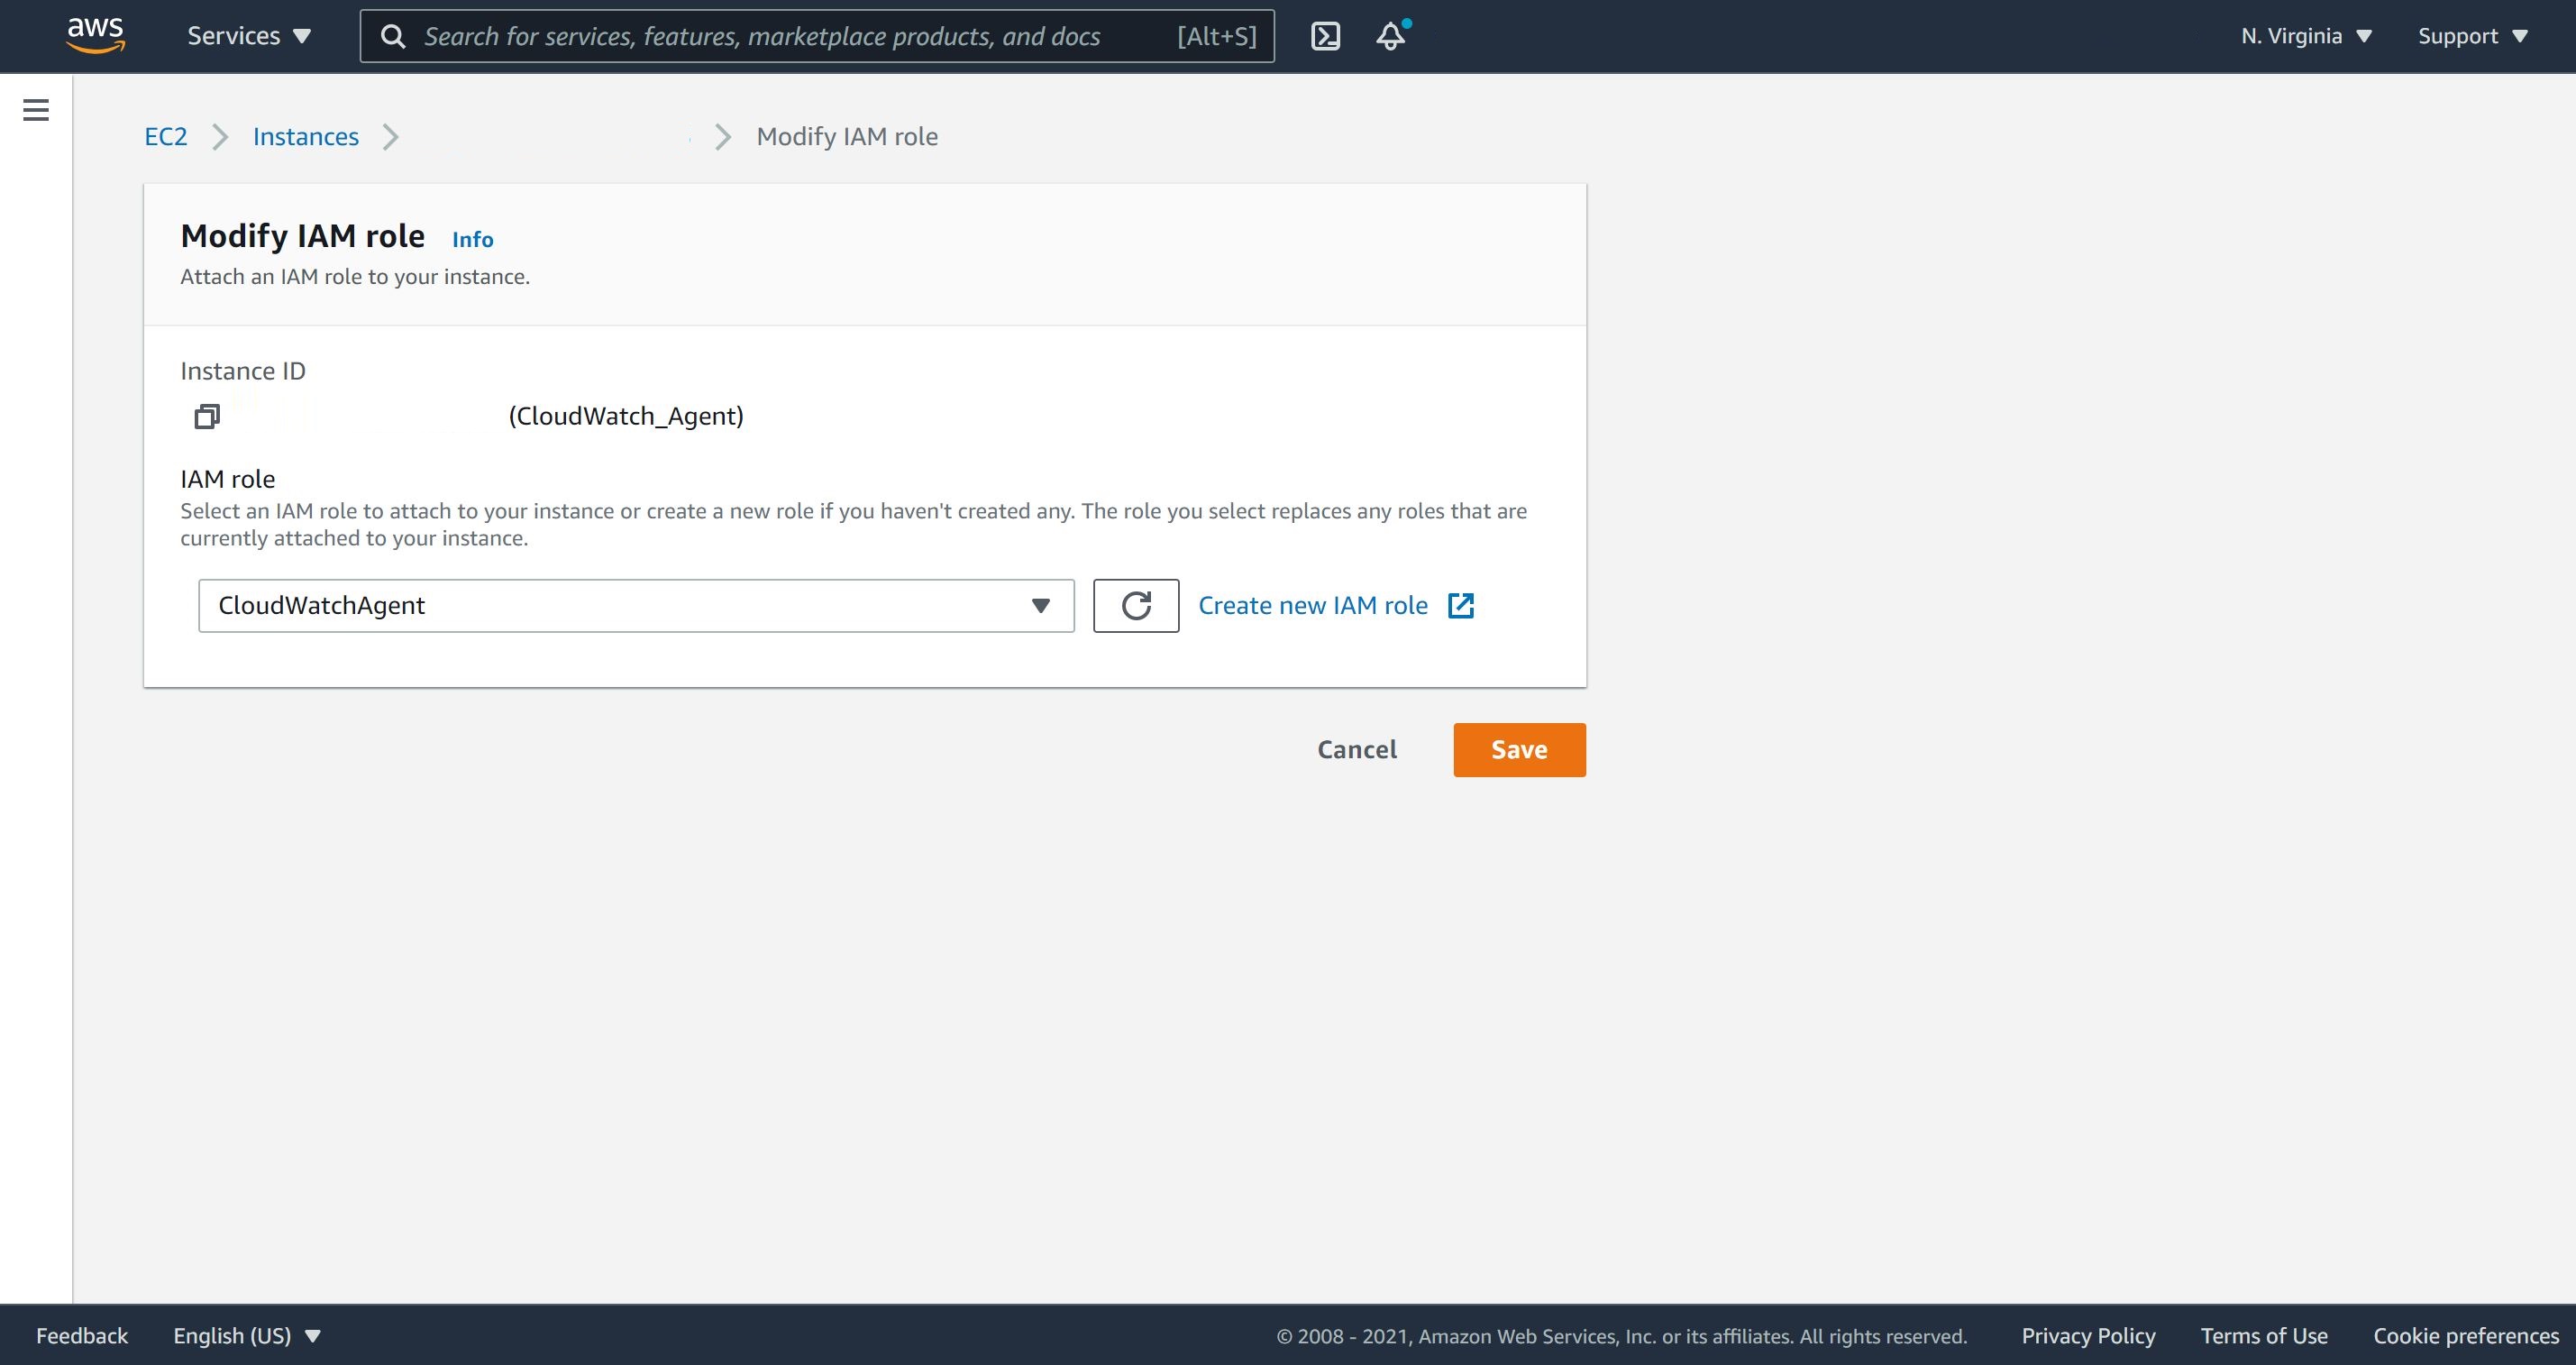
Now, we will go back to our Ubuntu EC2 instance and attach this role to it.
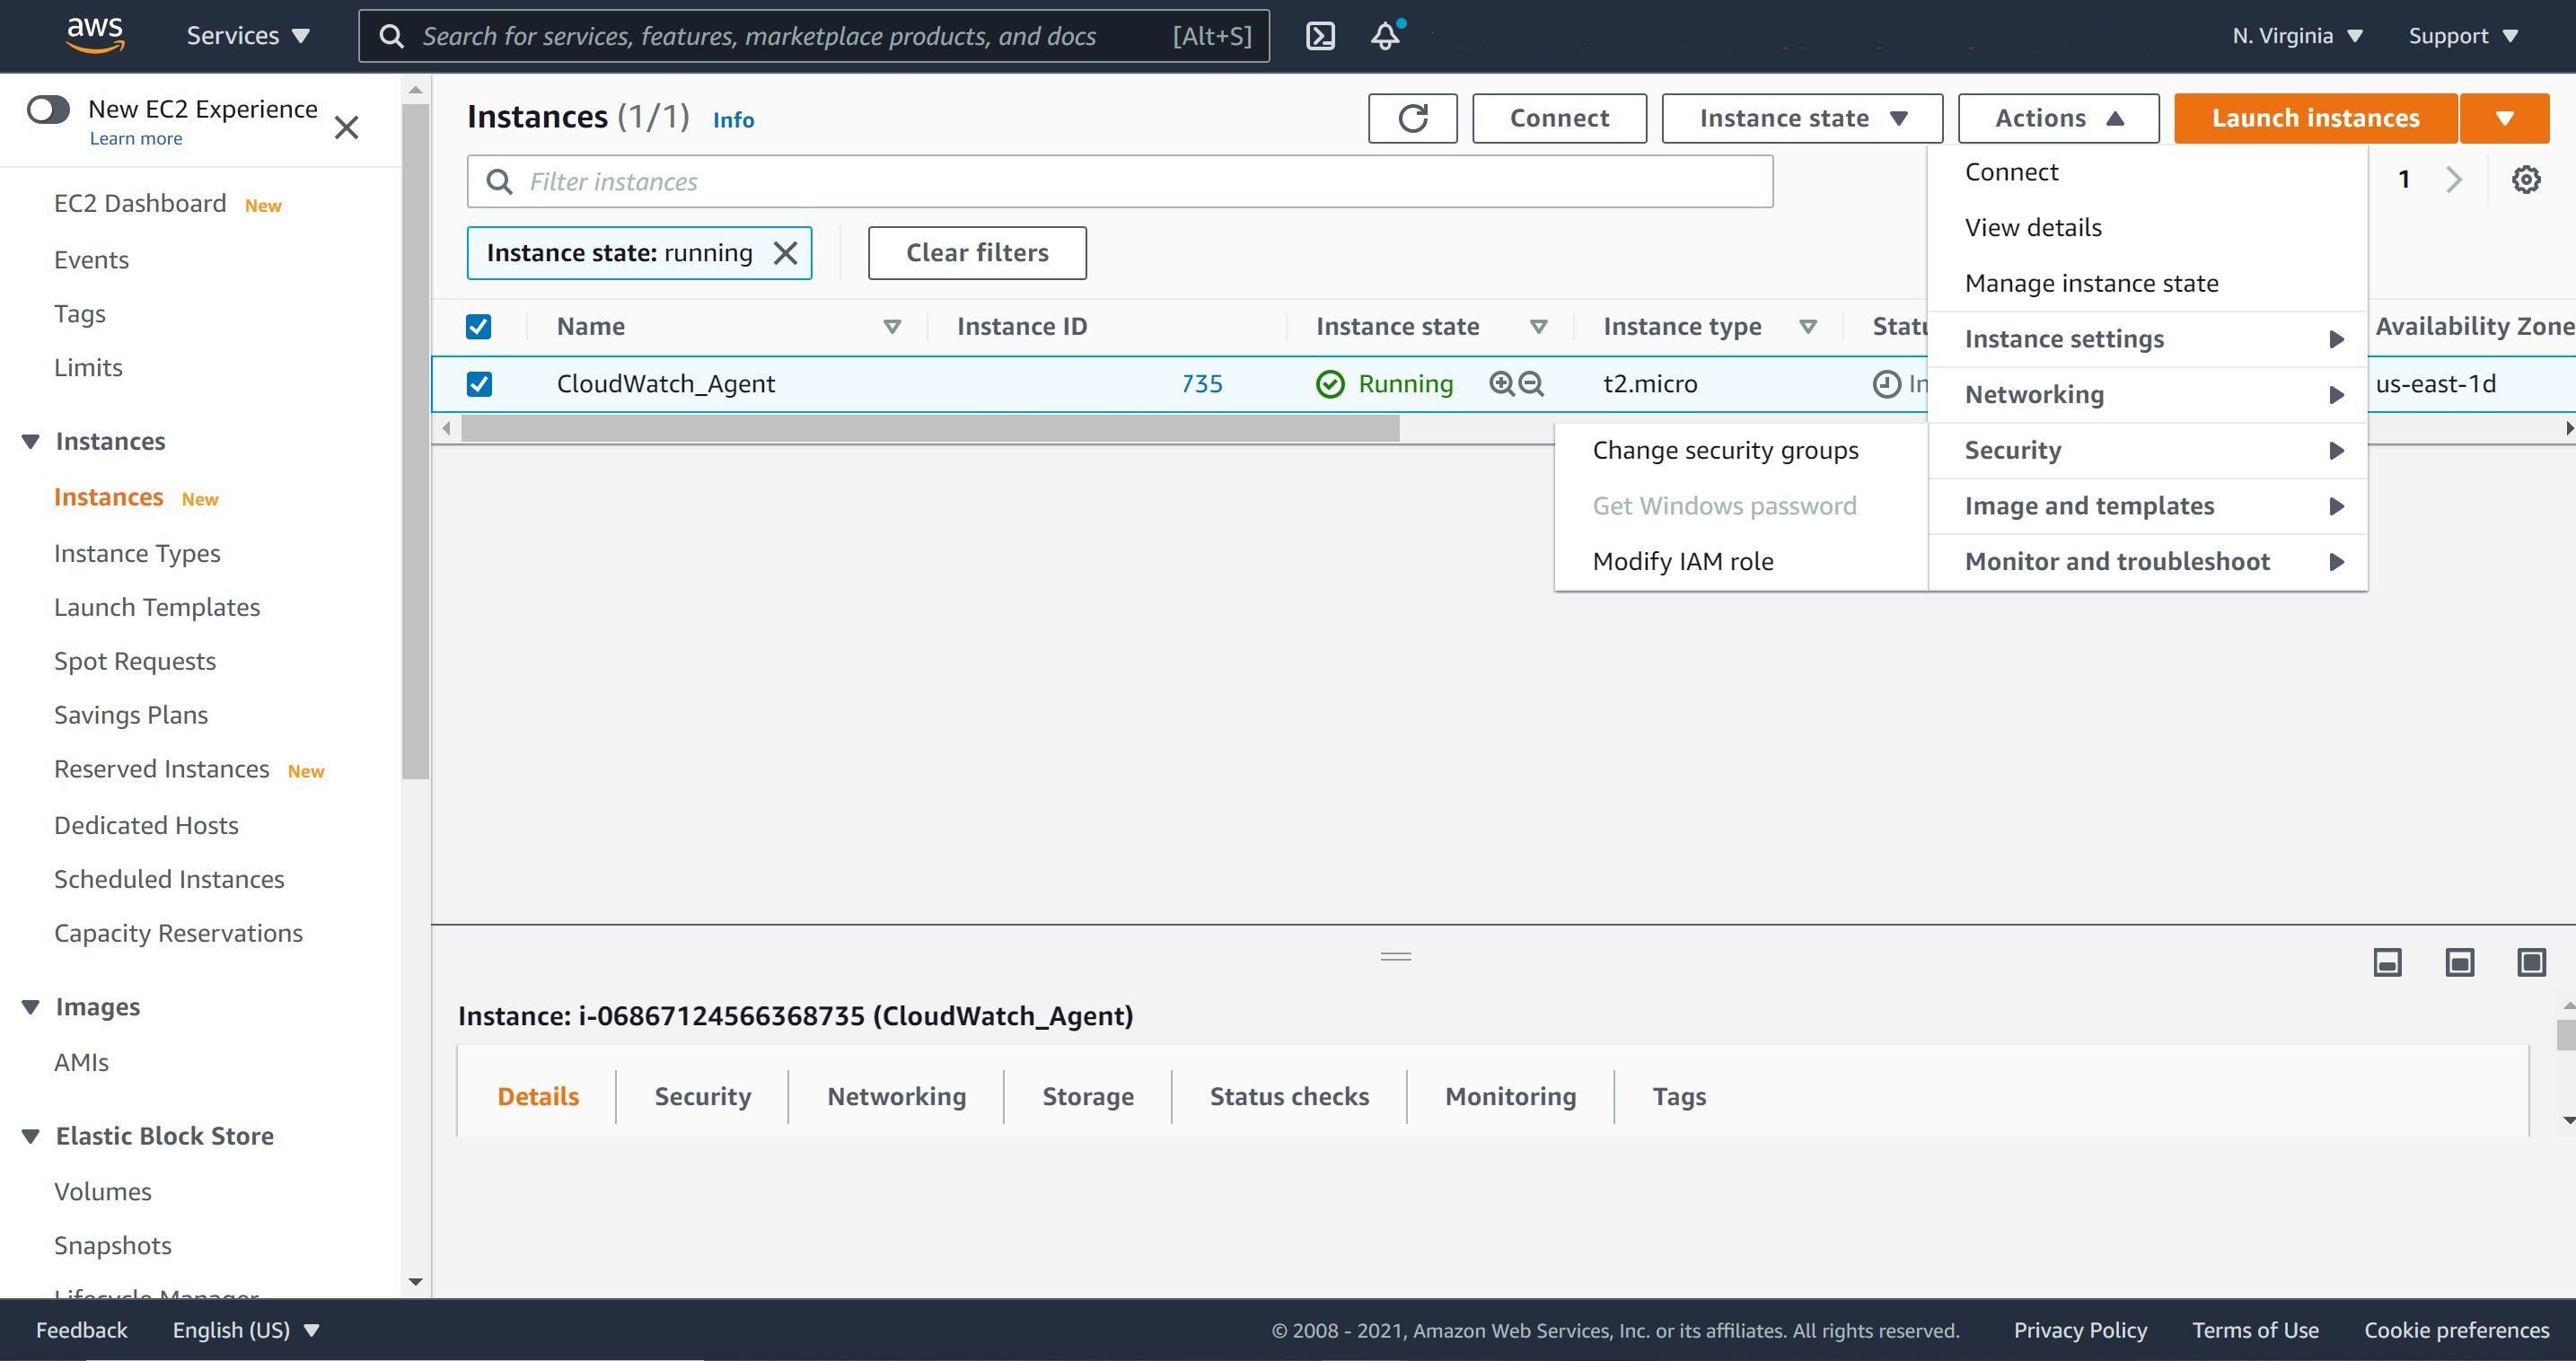
Choose our IAM role and save it.
Install the unified CloudWatch agent:
The following dependencies need to be installed on the EC2 instance ( t2micro running Ubuntu 20.04 LTS) before the agent can be installed:
sudo apt update && sudo apt install collectd -y && sudo apt install awscli -y
The following command will walk you through some configurations. The most important one is the region code to point to the region where the EC2 instance is configured. My region is N Virginia, so it should be us-east-1.
aws configure
We will use a role for the CloudWatch Agent and will attach to the EC2 instance; therefore, we will leave the AWS Access and Secret keys empty. The result:
AWS Access Key ID [None]:
AWS Secret Access Key [None]:
Default region name [None]: us-east-1
Default output format [None]:
Install the agent using the following steps:
sudo chown ubuntu:ubuntu -R /opt
mkdir /opt/softwares
wget https://s3.amazonaws.com/amazoncloudwatch-agent/ubuntu/amd64/latest/amazon-cloudwatch-agent.deb
If you would like to download the agent for a different operating system, please refer to AWS instruction.
Let’s install our Ubuntu version of the CloudWatch Agent.
sudo dpkg -i -E ./amazon-cloudwatch-agent.deb
To start the installation wizard use the following command:
Note: to enable the “usual metrics”, you might to select the defaults for all the questions during the wizard setup. Add the following path to collect logs from /var/log/syslog, and select Advanced for the following question: “Which default metrics config do you want?”.
sudo /opt/aws/amazon-cloudwatch-agent/bin/amazon-cloudwatch-agent-config-wizard
AWS has a well detailed instruction about this installation wizard, for additional configuration of the CloudWatch Agent wizard.
Once the installation is completed, let us run the below commands to run and test the agent.
To start the agent:
sudo /opt/aws/amazon-cloudwatch-agent/bin/amazon-cloudwatch-agent-ctl -a fetch-config -m ec2 -c file:/opt/aws/amazon-cloudwatch-agent/bin/config.json -s
To restart the agent:
sudo service amazon-cloudwatch-agent stop start status
The logs should be in the the below folder:
ls -al /opt/aws/amazon-cloudwatch-agent/logs/
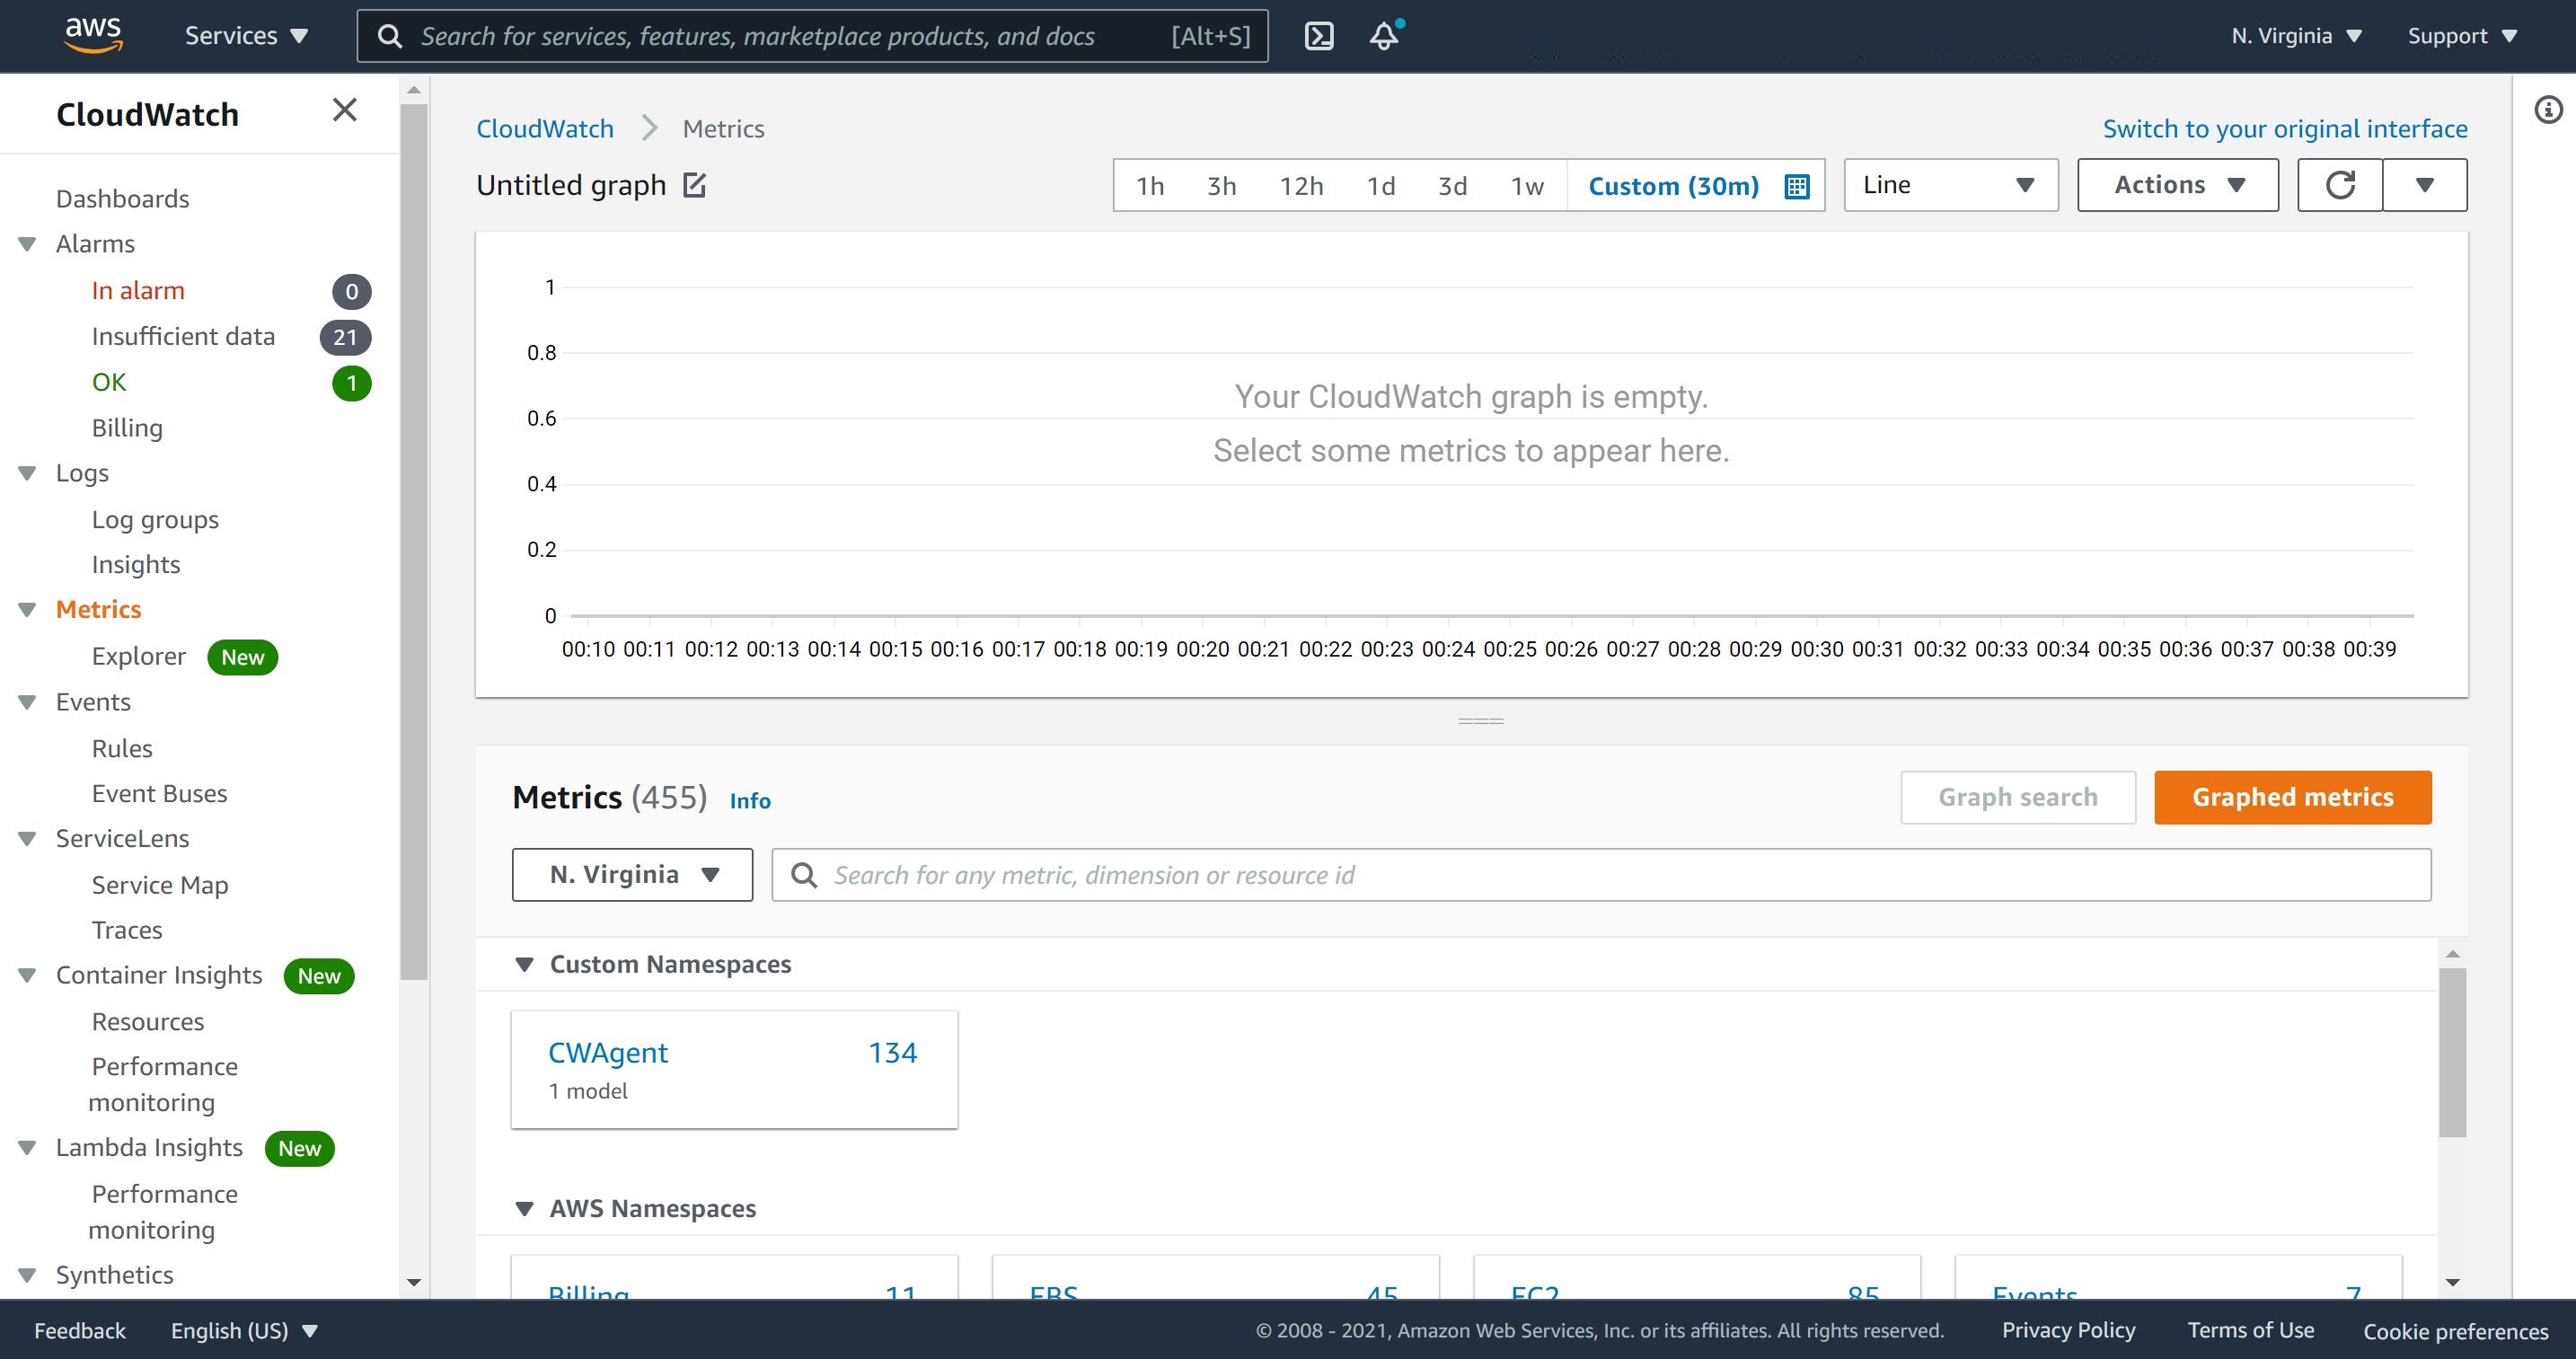
Notice, once you’re on CloudWatch “Metrics” “custom namespace”, scroll all the down until you find “CWAgent."
From the top select “Numbers” as the visualization. In the cloudwatch management console, select metrics under the “EC2” namespace as well to see the CPU and other numbers.
A Stress Tool to Simulate a Stress for testing
Sysbench is a command line app to run benchmarks on our system/instance. It is mainly intended for testing CPU, memory and file throughput as well. We can install this utility to simulate a stress on our EC2 to push CloudWatch Agent to present it on our metrics.
To install Sysbench in Ubuntu, run the command below:
sudo apt install sysbench
We can increase or decrease the threads to simulate the stress.
sysbench cpu --threads=5 run
Below, you will notice clearly the result of the stress on our EC2 instance by Sysbench.
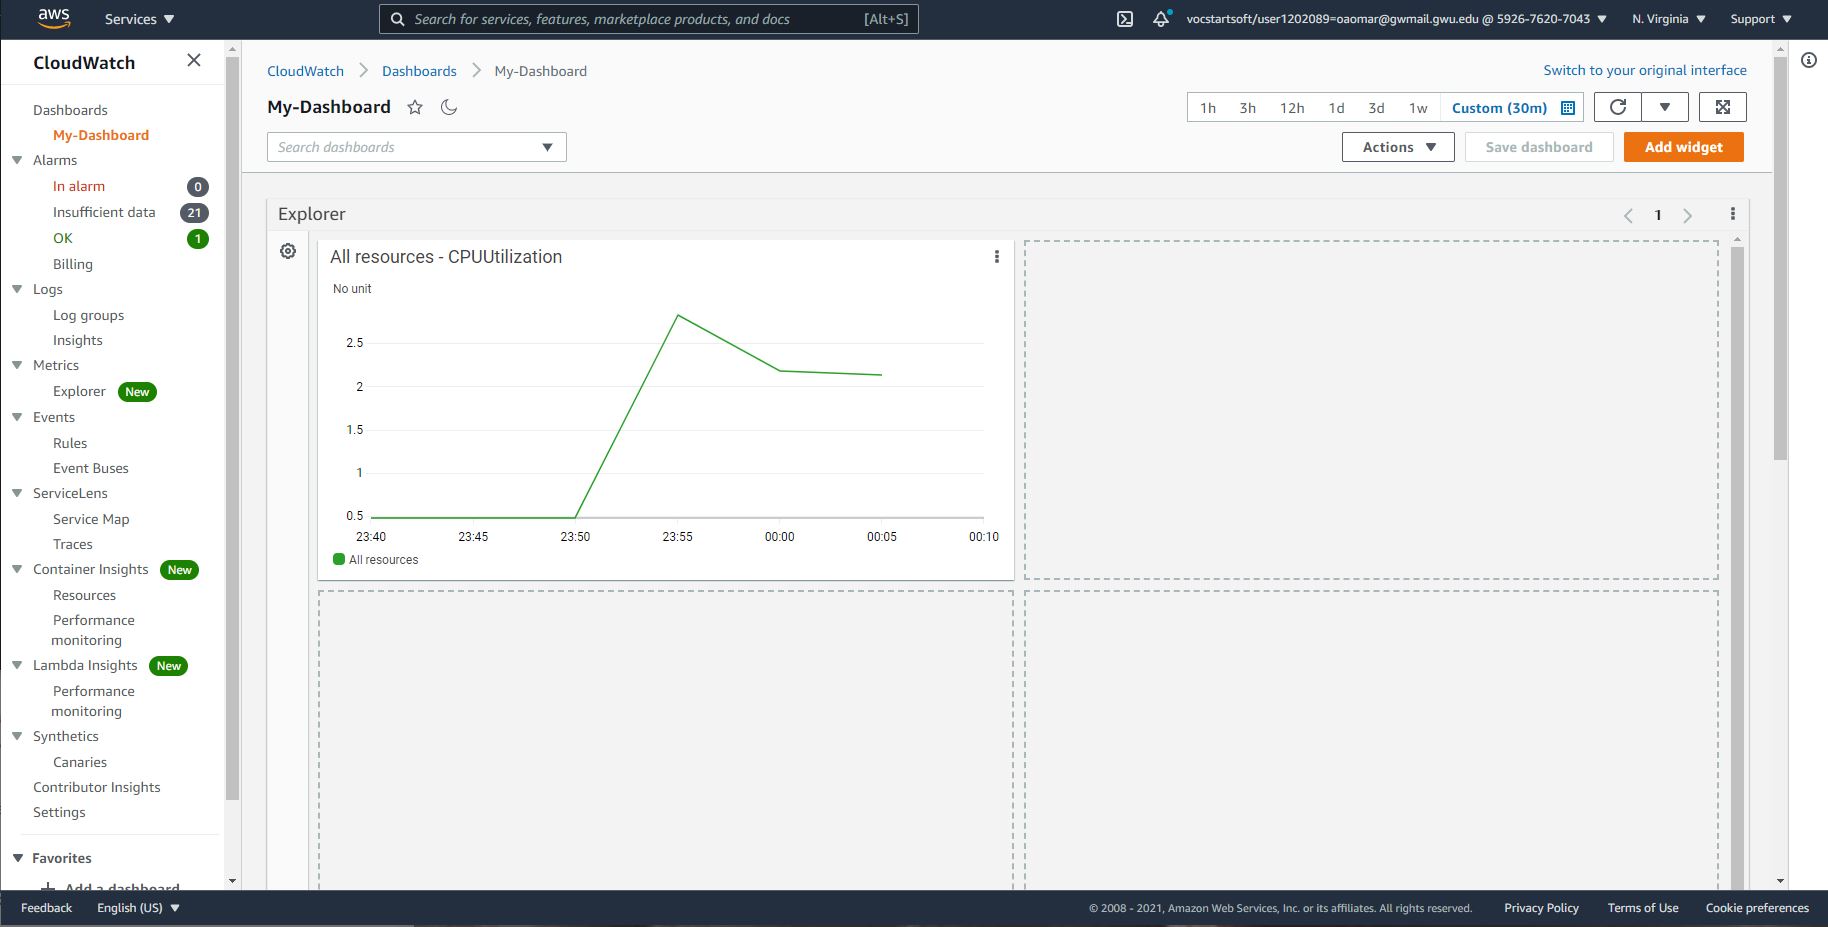
Many metrics are generated by our CloudWatch Agent:

I would suggest you manuever CloudWatch dashboard and get familiar with how to make these metrics presentable in a fashion way by adjusting the x and y axises. Also, let’s try creating a dashboard and explore all other features that CloudWatch offers.
Conclusion:
This concludes our tutorial of the successful installation of CloudWatch Agent.