Image Analysis with AWS Rekognition
AWS Rekognition
Amazon Rekognition is part of AWS cognitive services, which requires no machine learning expertise to use. It’s a simple way to analysis images and videos for any application using proven record of high scalability and deep learning technology. Rekognition technology is utilized to identify and detect objects, shapes, people, texts, and activities in media contents. For more about Amazon Rekognition.
In this tutorial, we will explore the important aspect of AWS Rekognition and practically detect people and text on sample picture and video utilizing boto3 - AWS Python library..
Tutorial Scenario:
-
Create an IAM user to access AWS Rekognition service.
-
Install and configure AWS CLI-v2 on Raspberry Pi 4.
A. Install Python, pip and zip utility.
B. Install boto3 - AWS Python library.
-
Run aws-rekognition sample application to identify objects, people and texts.
Please note that some parts of the images in this tutorial will be pixilated or hidden to hide all sensitive account information..
Step 1: Create an IAM User:
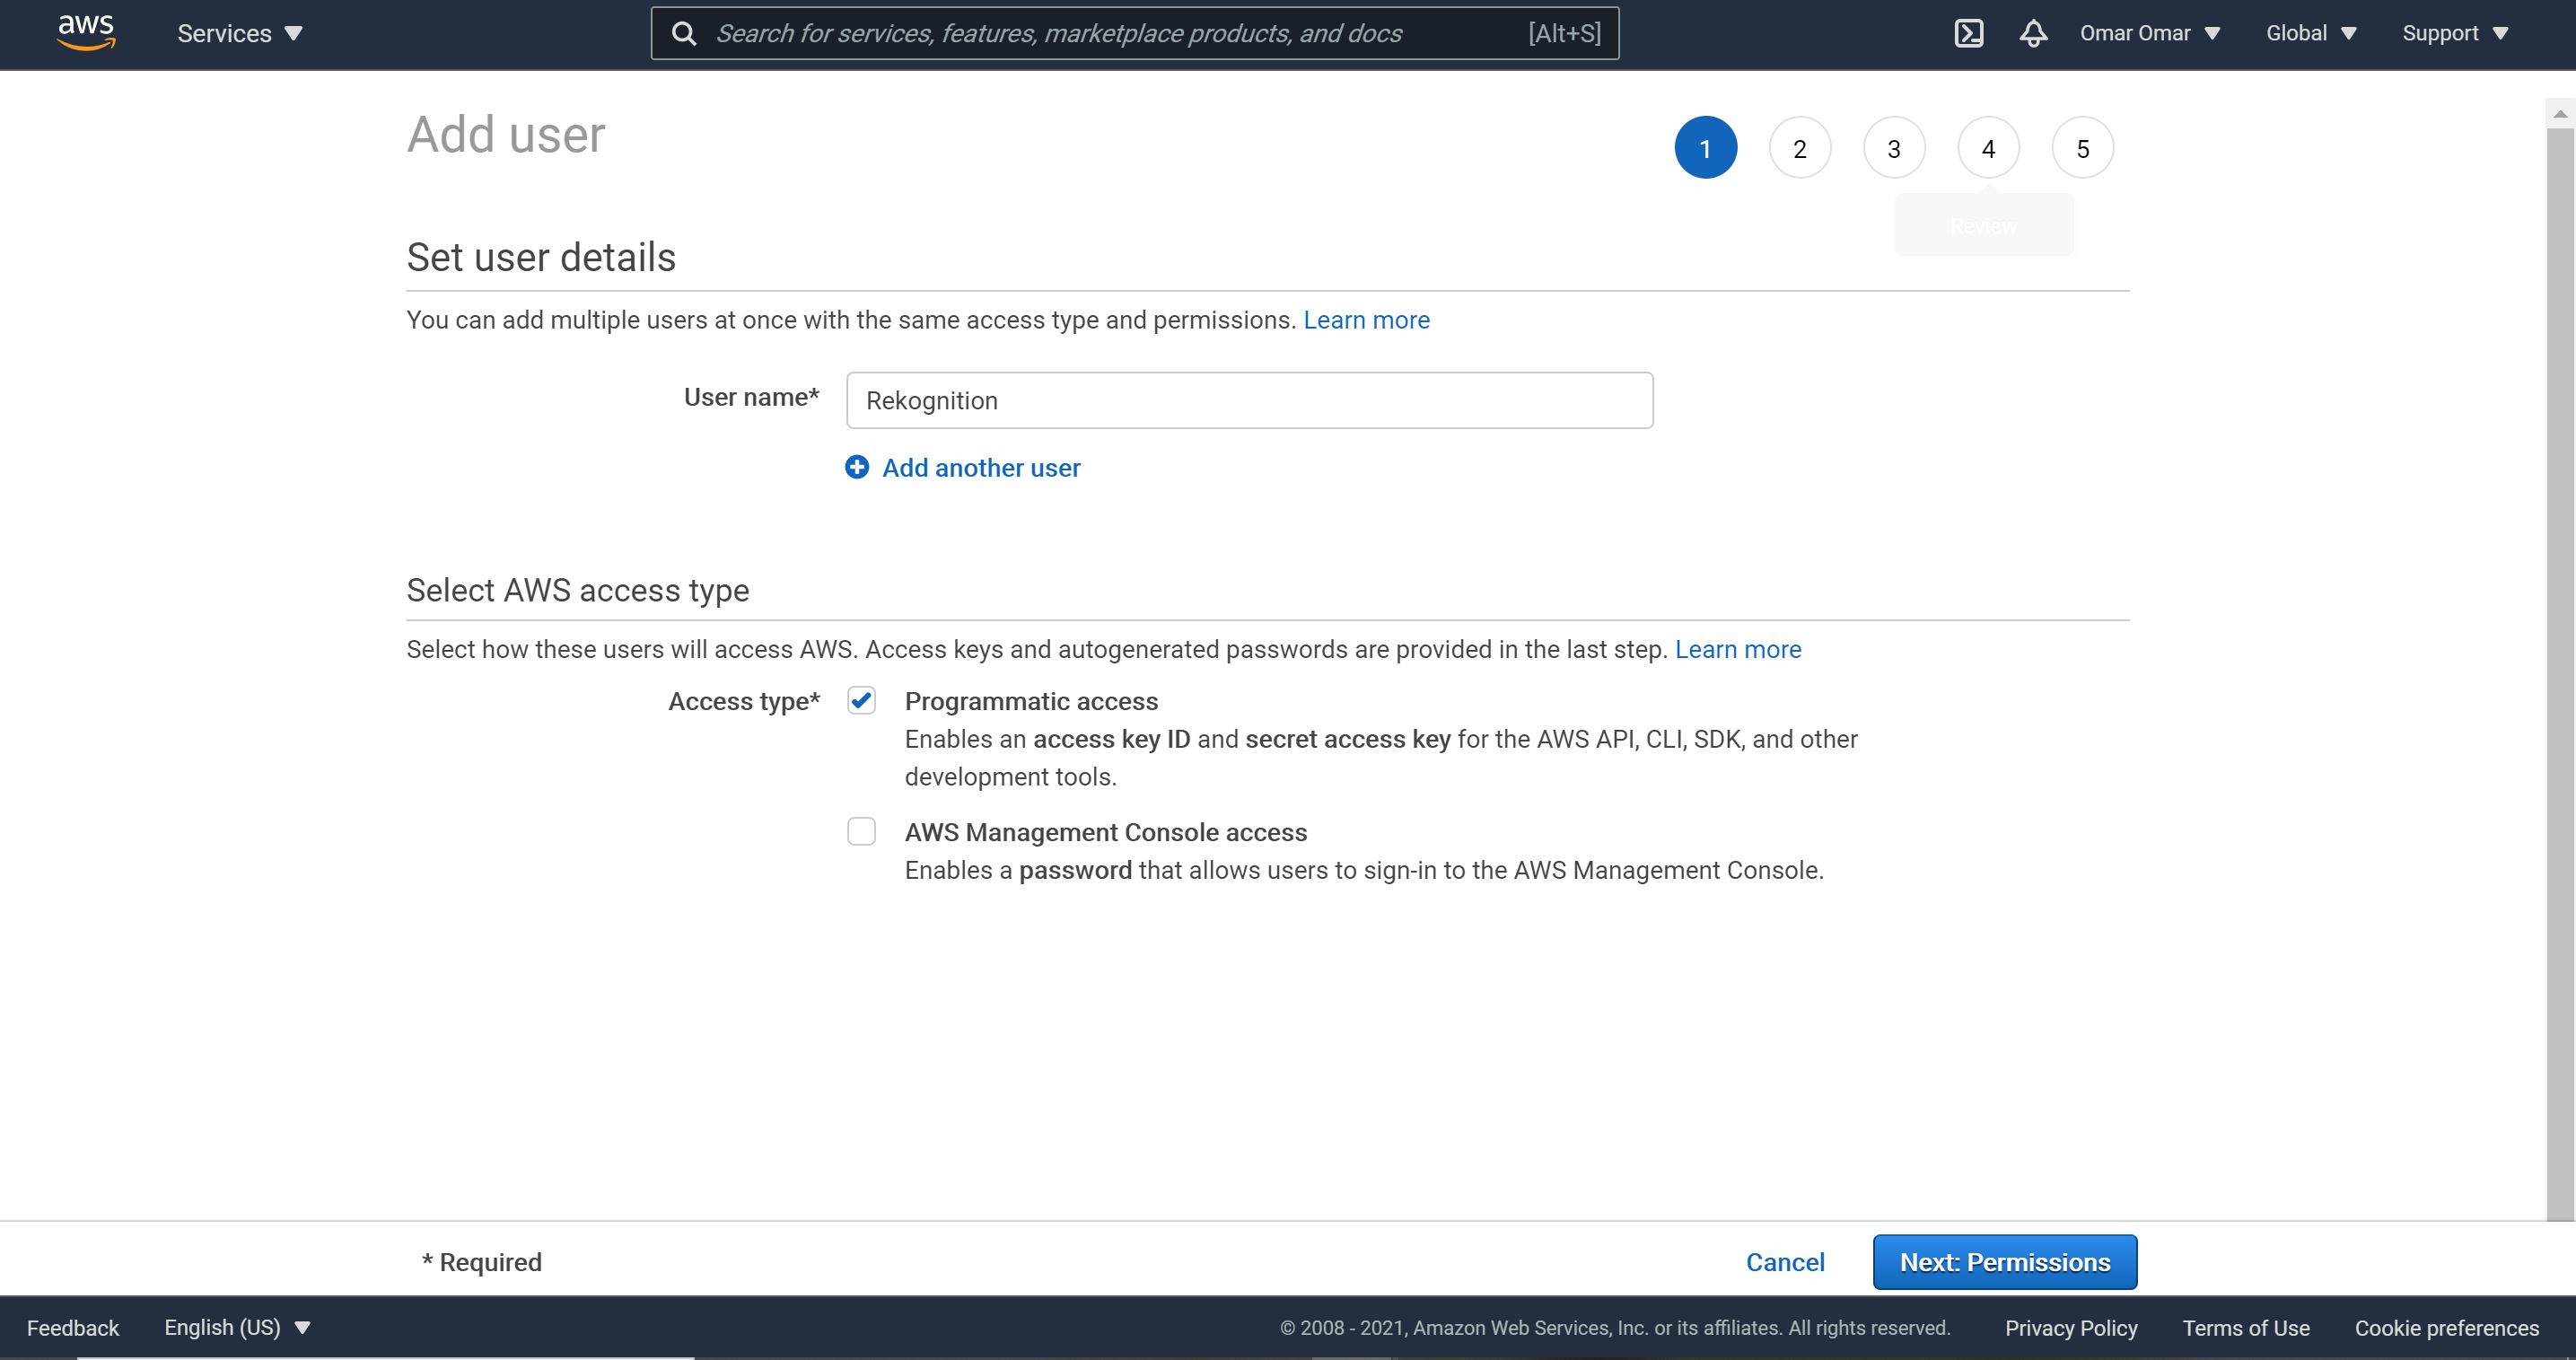
- Navigate to Identity and Access Management (IAM) and click Add user. Then, add a user name and select Access type as Programmatic access as shown below.
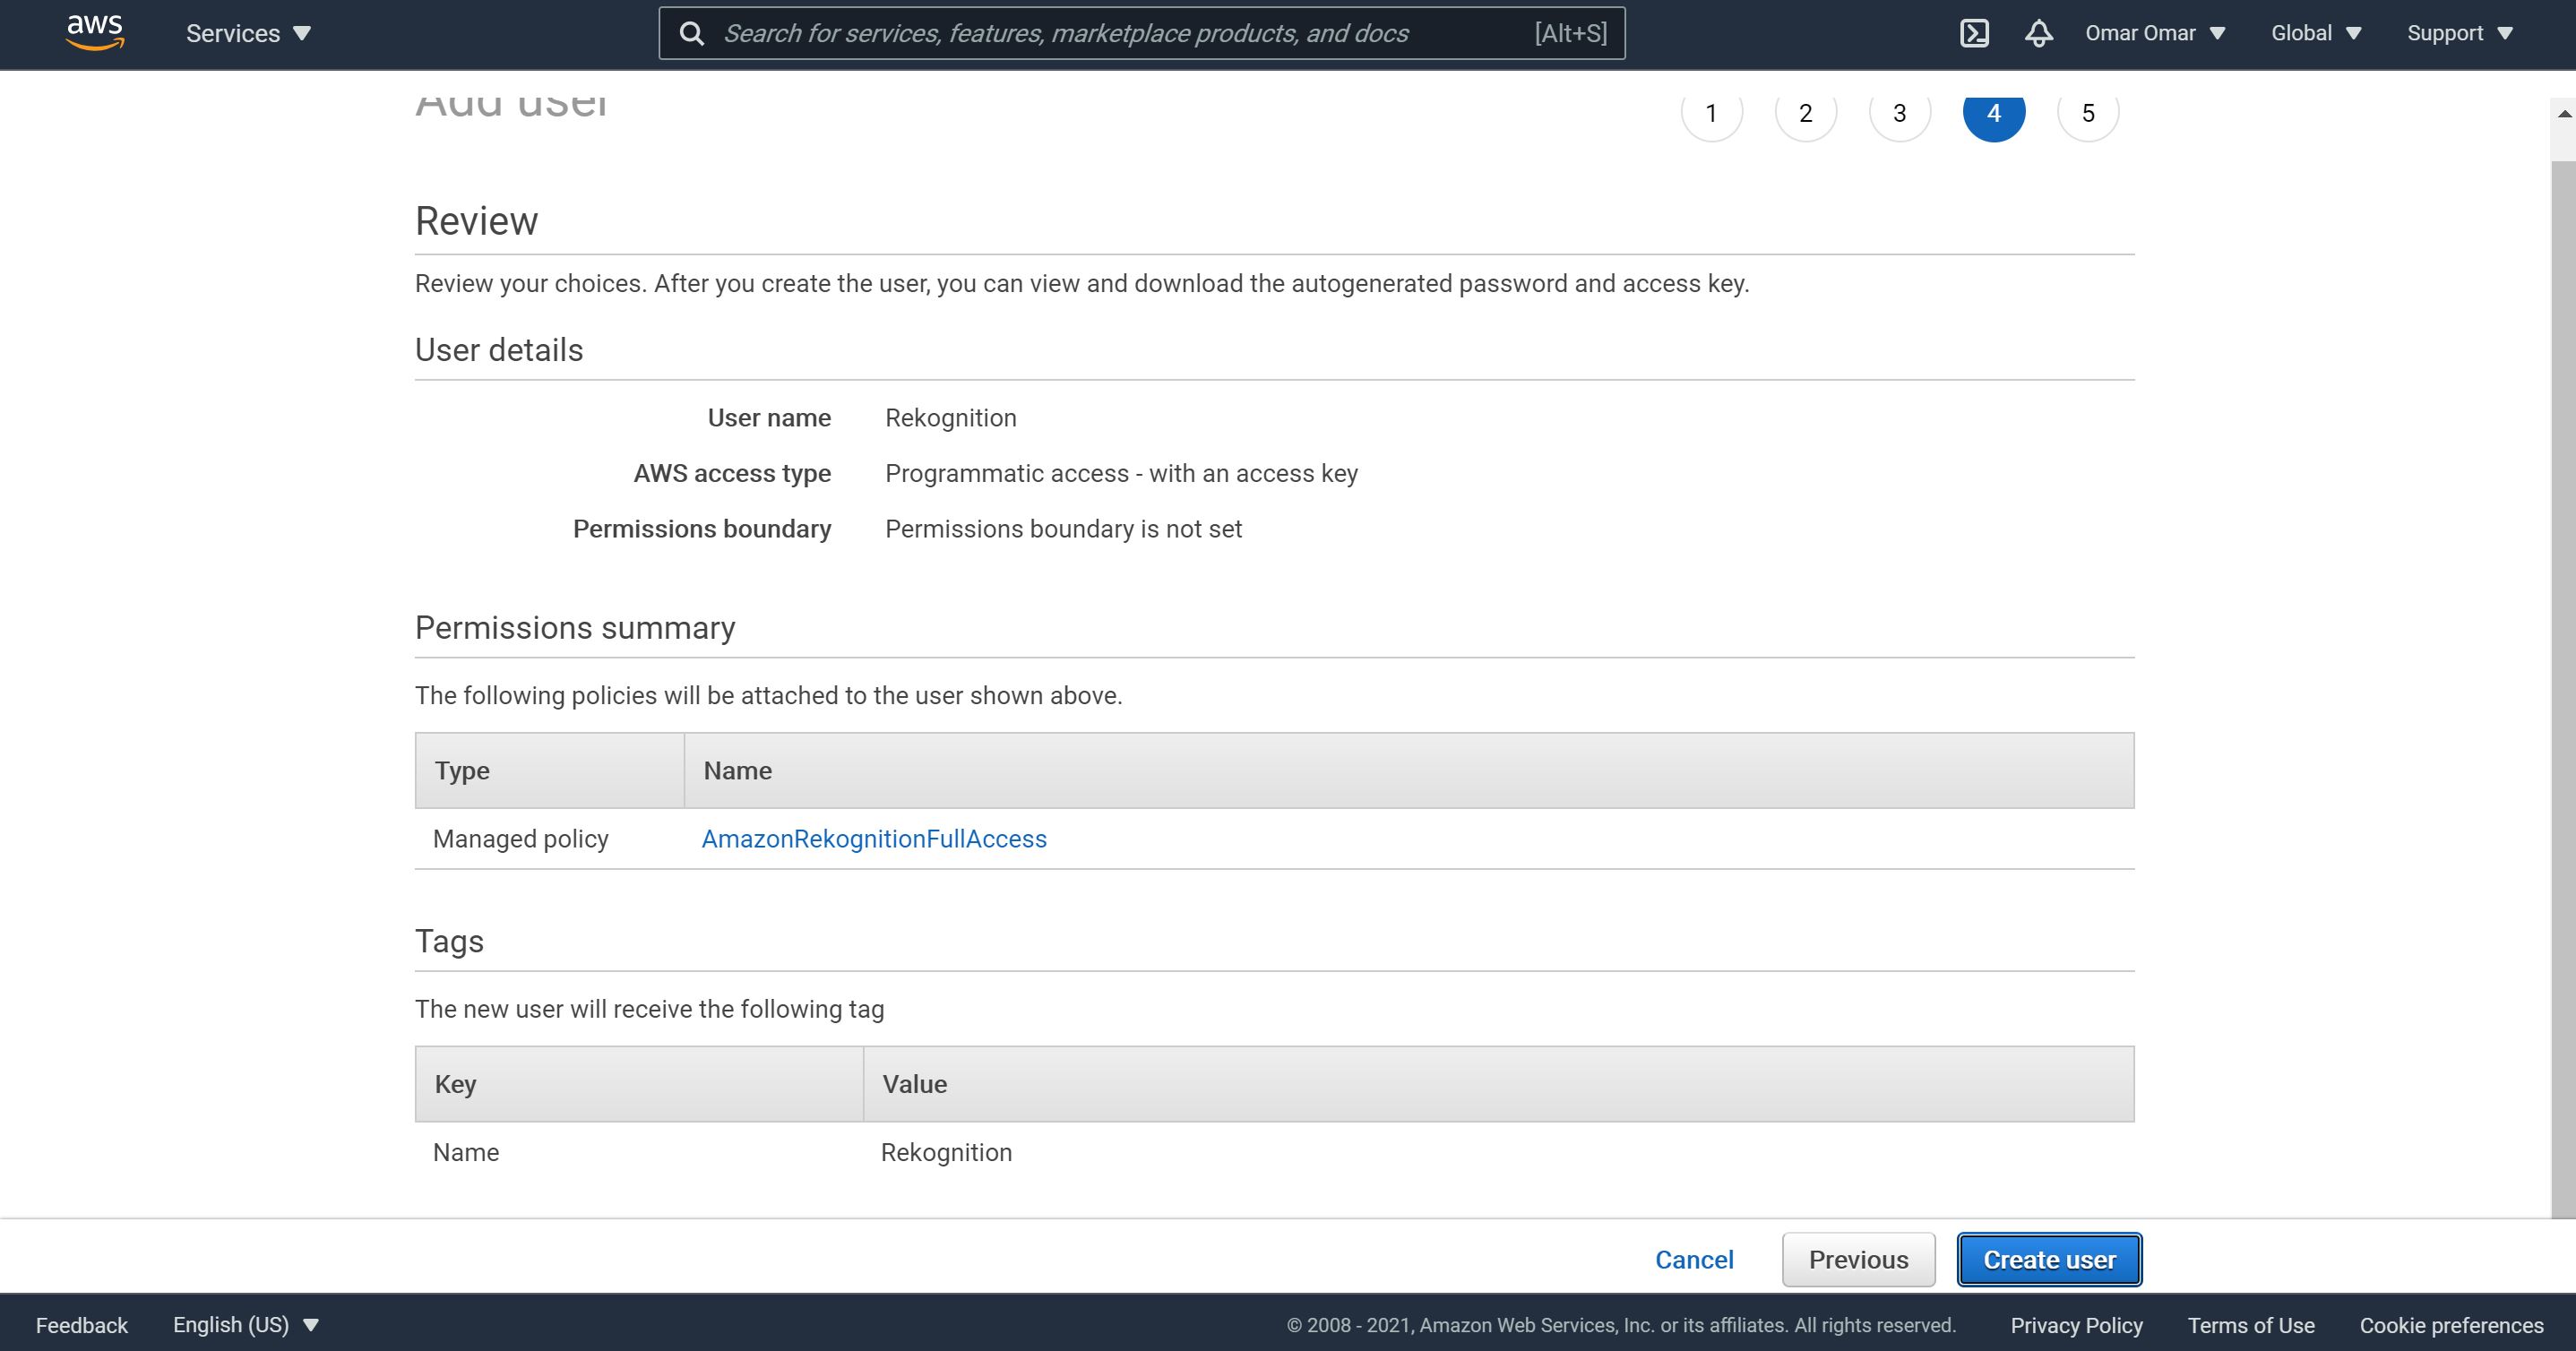
- On the Set permissions screen, select Attach existing policies directly. On the Filter policies, type in the term rekognition and check AmazonRekognitionFullAccess.

-
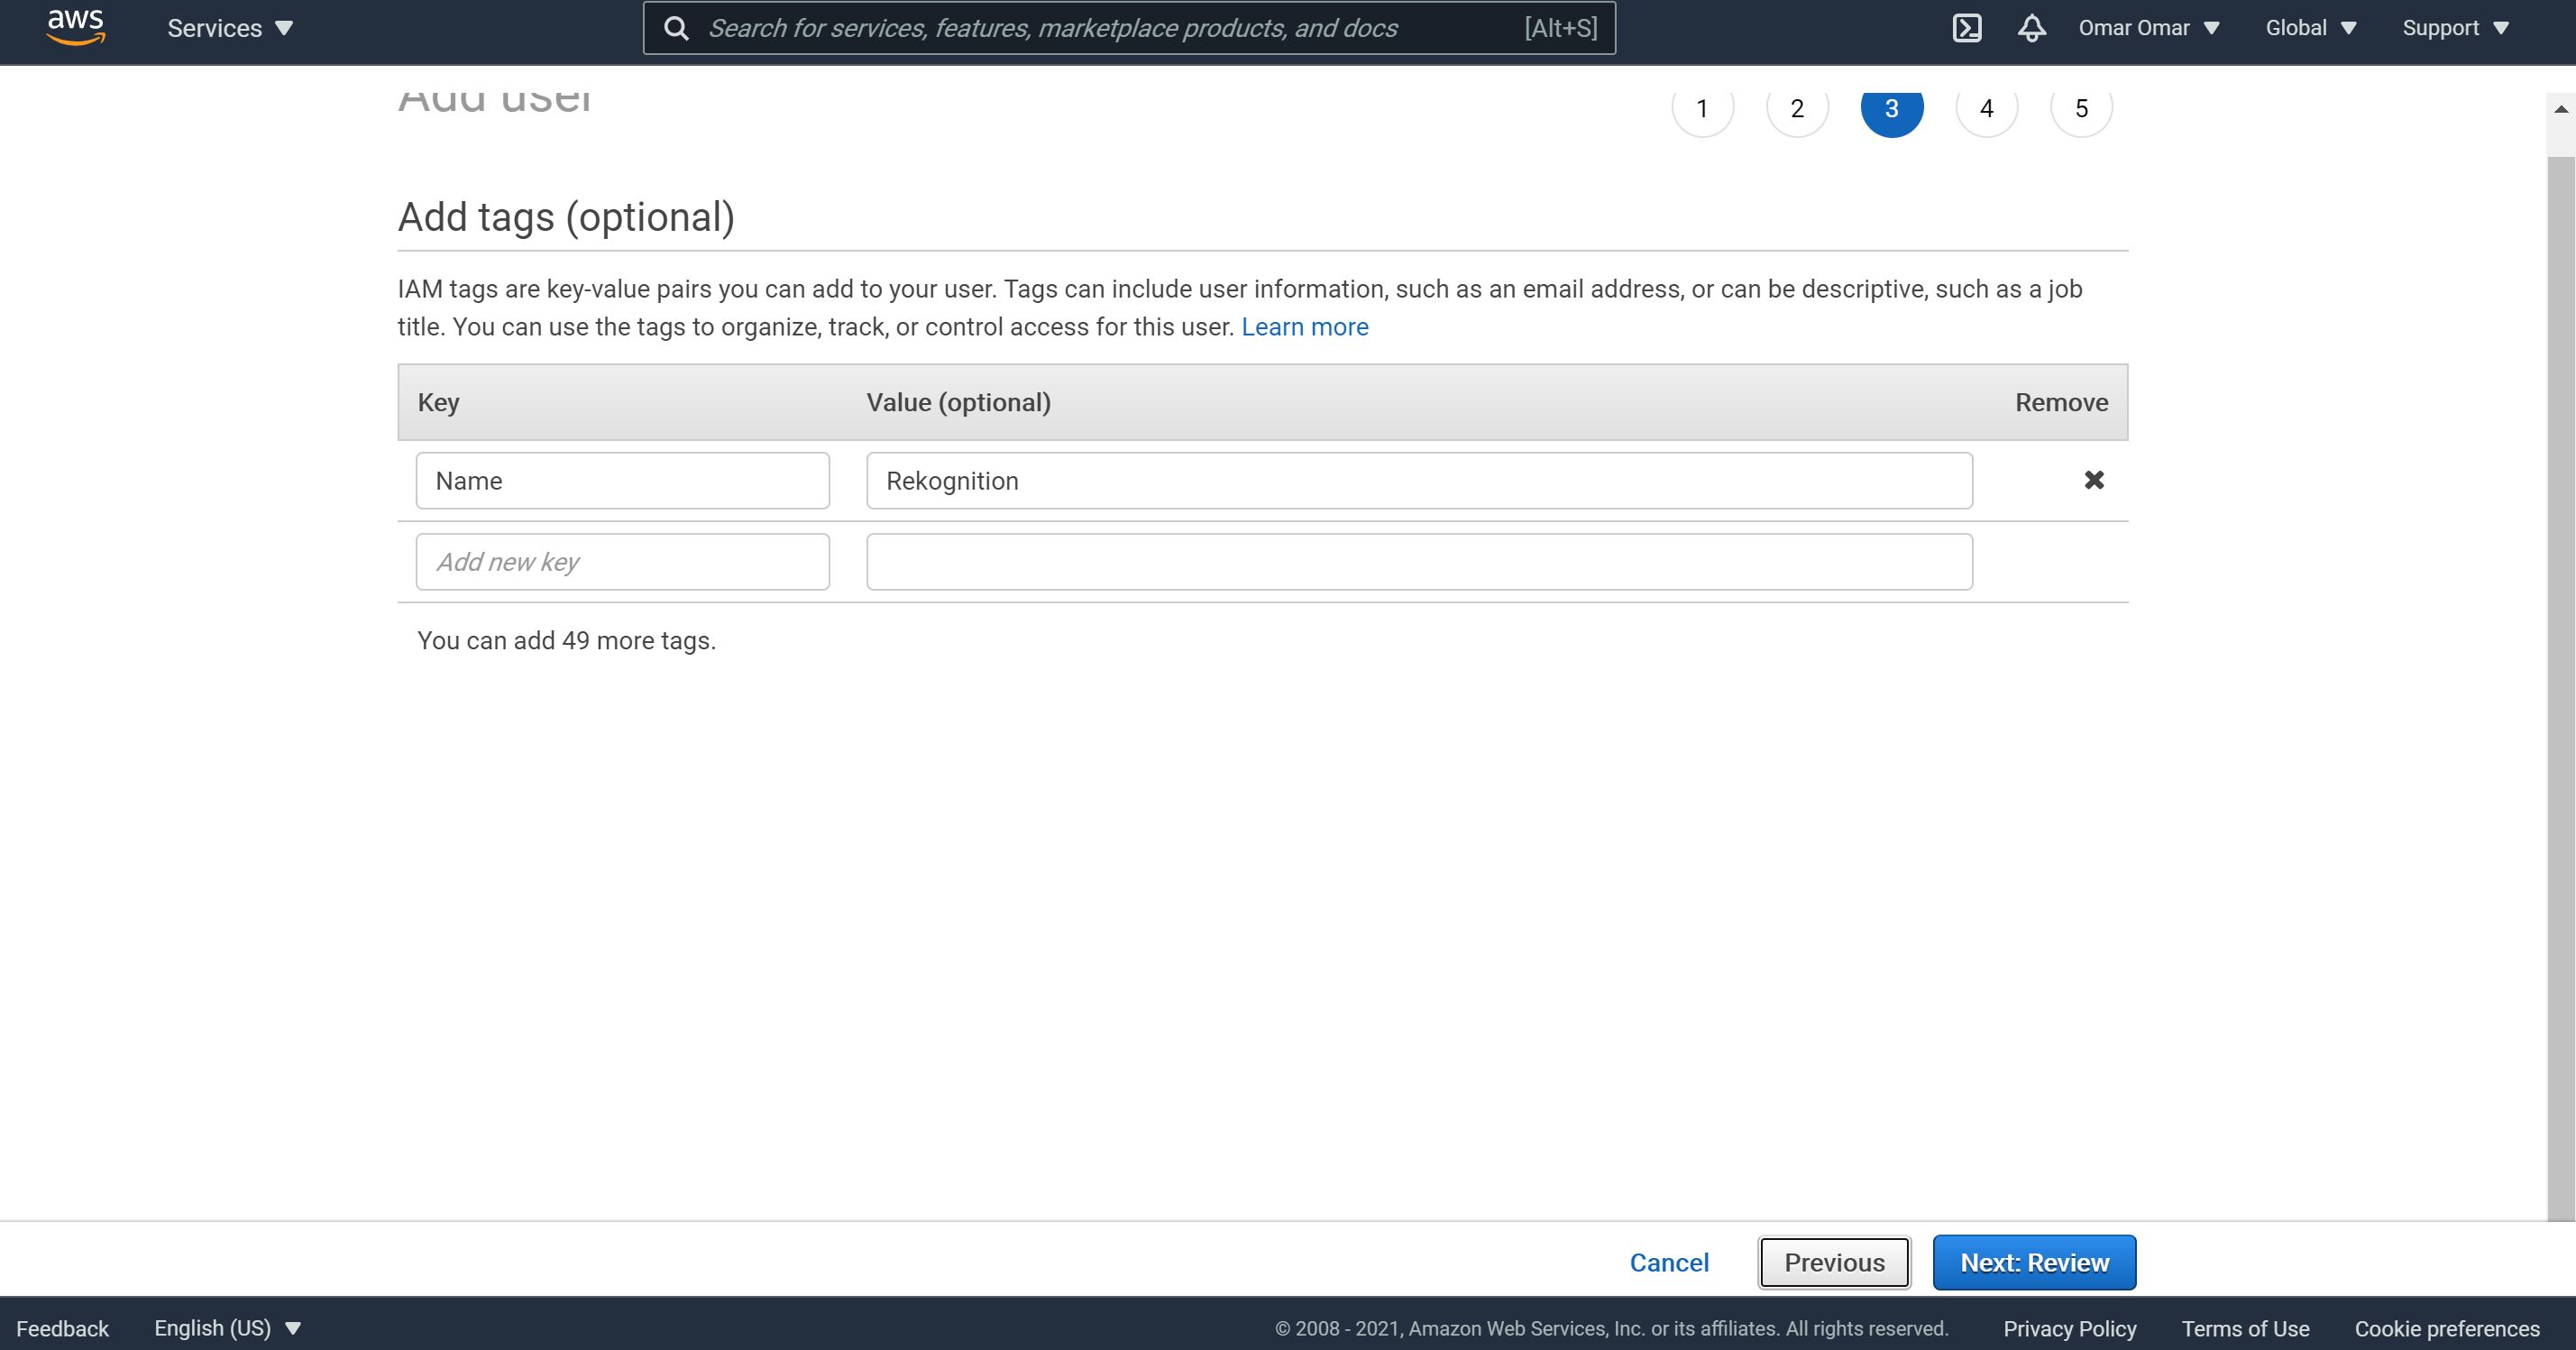
As a best practice and a good habit to acquire, add a tag and then click on Next.
-
Download and save the csv file in a secure location. This file contains the new user credentials needed to sign programmatic requests that you make to AWS.
Step 2: Install and configure AWS CLI-v2 on Raspberry Pi 4:
Prior to installing AWS CLI-v2, we have to make sure Python and some utilities are installed. As a best practice, let’s update our Ubuntu operating system.
sudo apt update
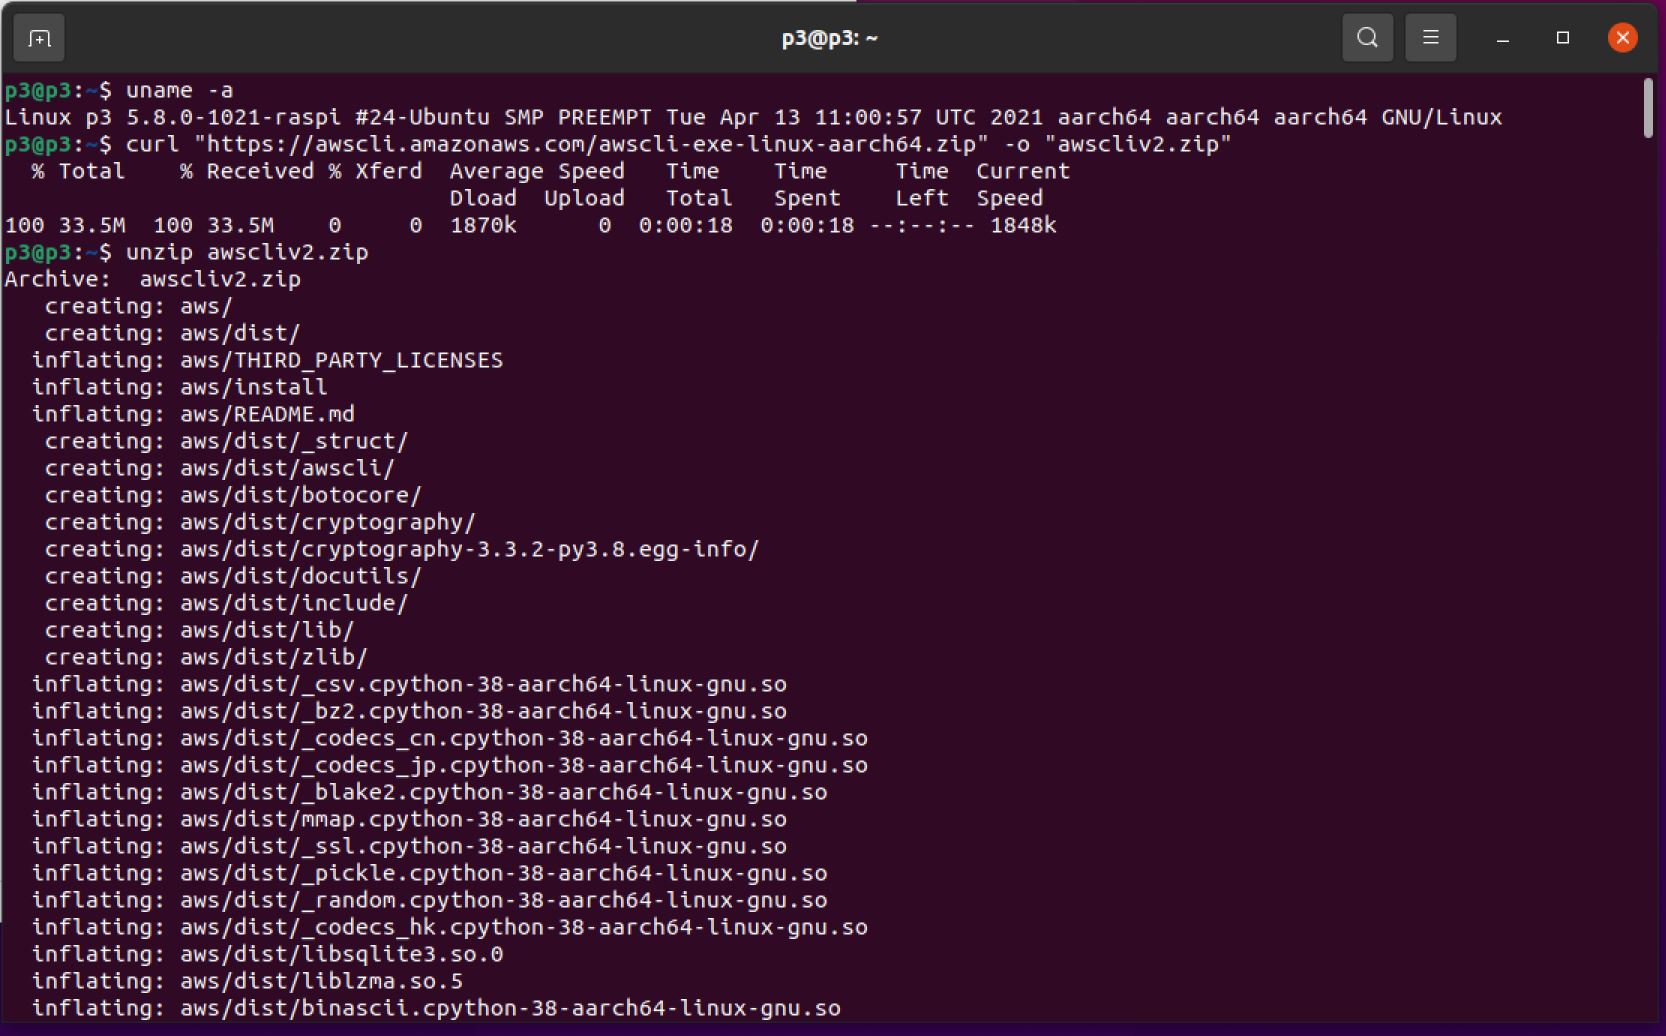
To find more information about our hardware architecture:
uname -a
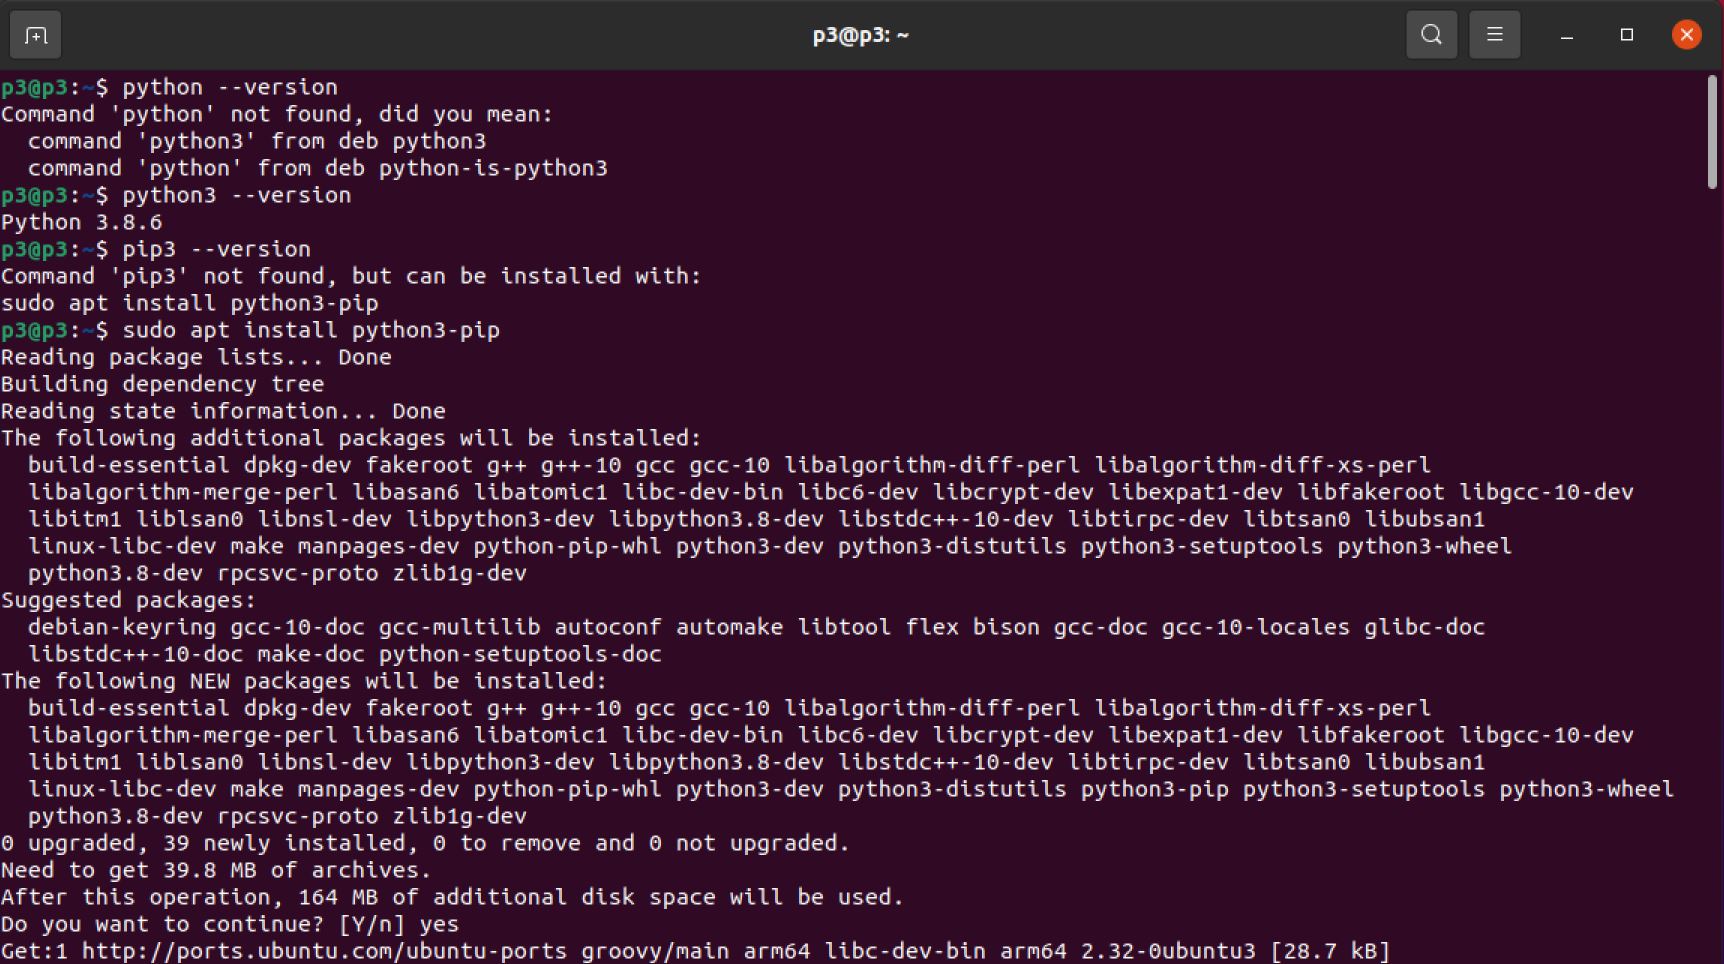
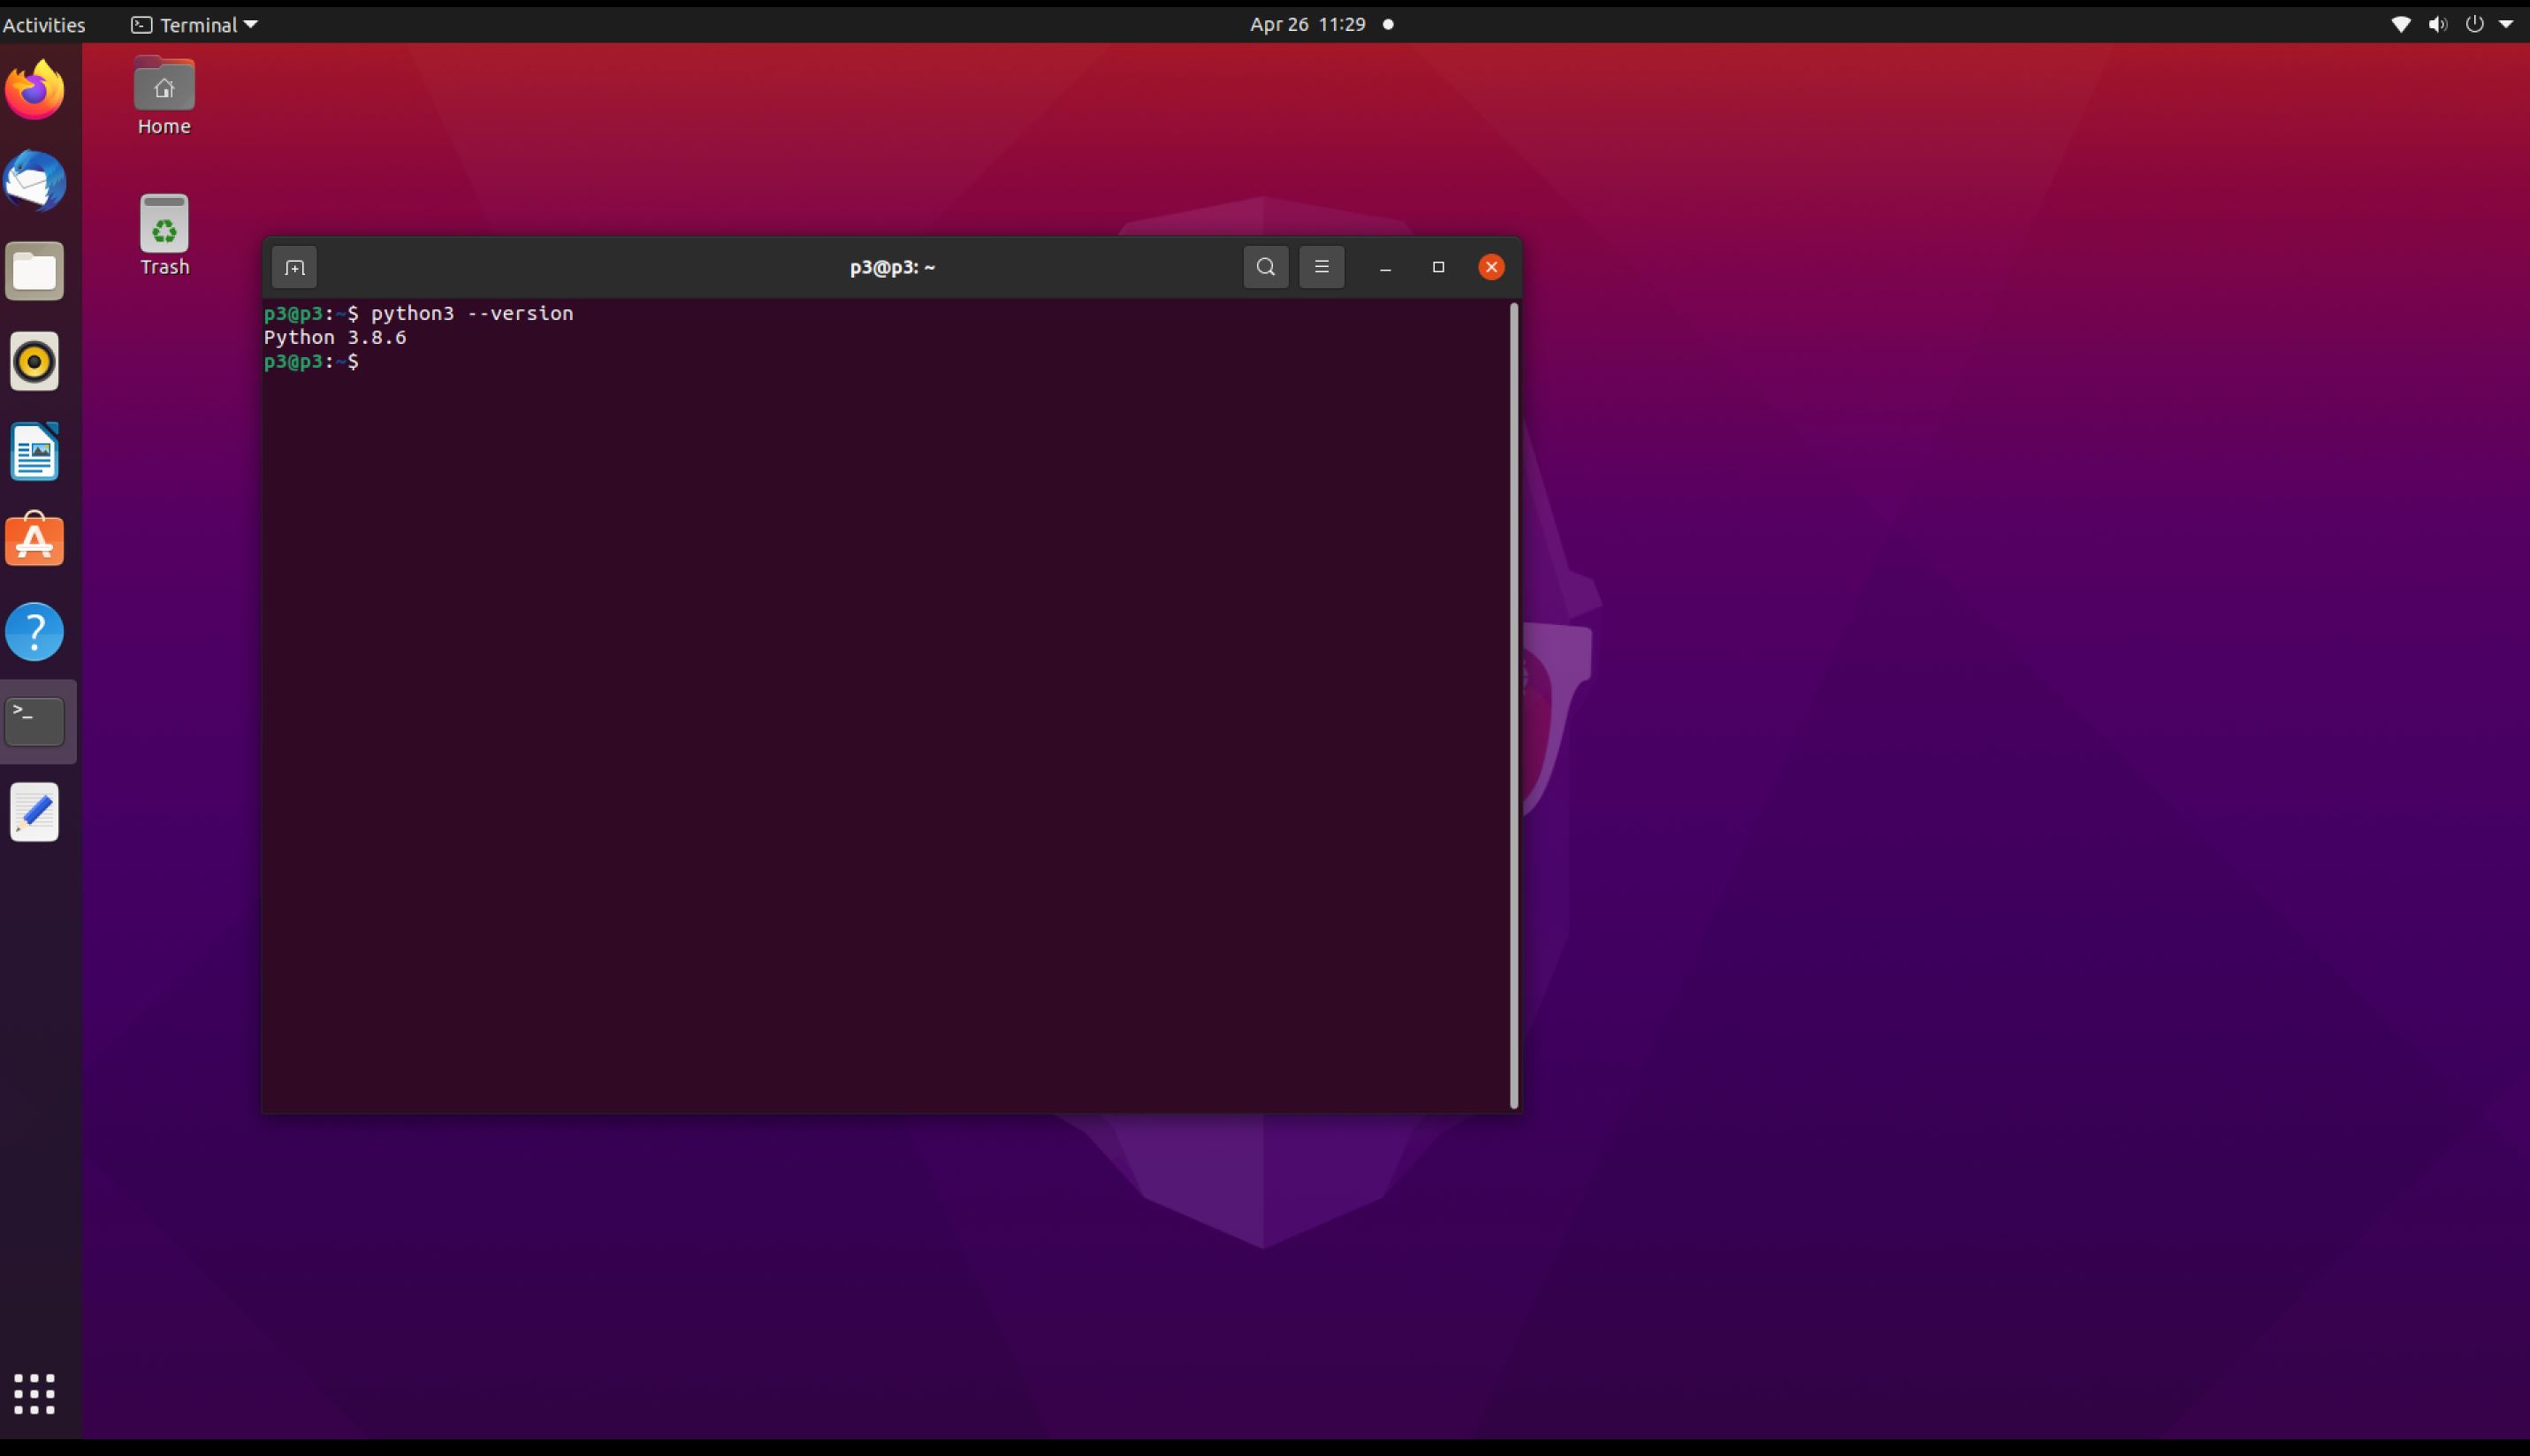
Let’s check out whether or not we have Python and pip installed and their versions if we do:
python3 ---version
pip --version
If we don’t have python3 installed, we need to install it. In my case, pip was not installed on my device, so I installed it. pip is the package installer for Python. For more information pip.
sudo apt install python3-pip
Let’s install the zip utility to unzip files, if you don’t have it installed.
sudo apt install zip -y
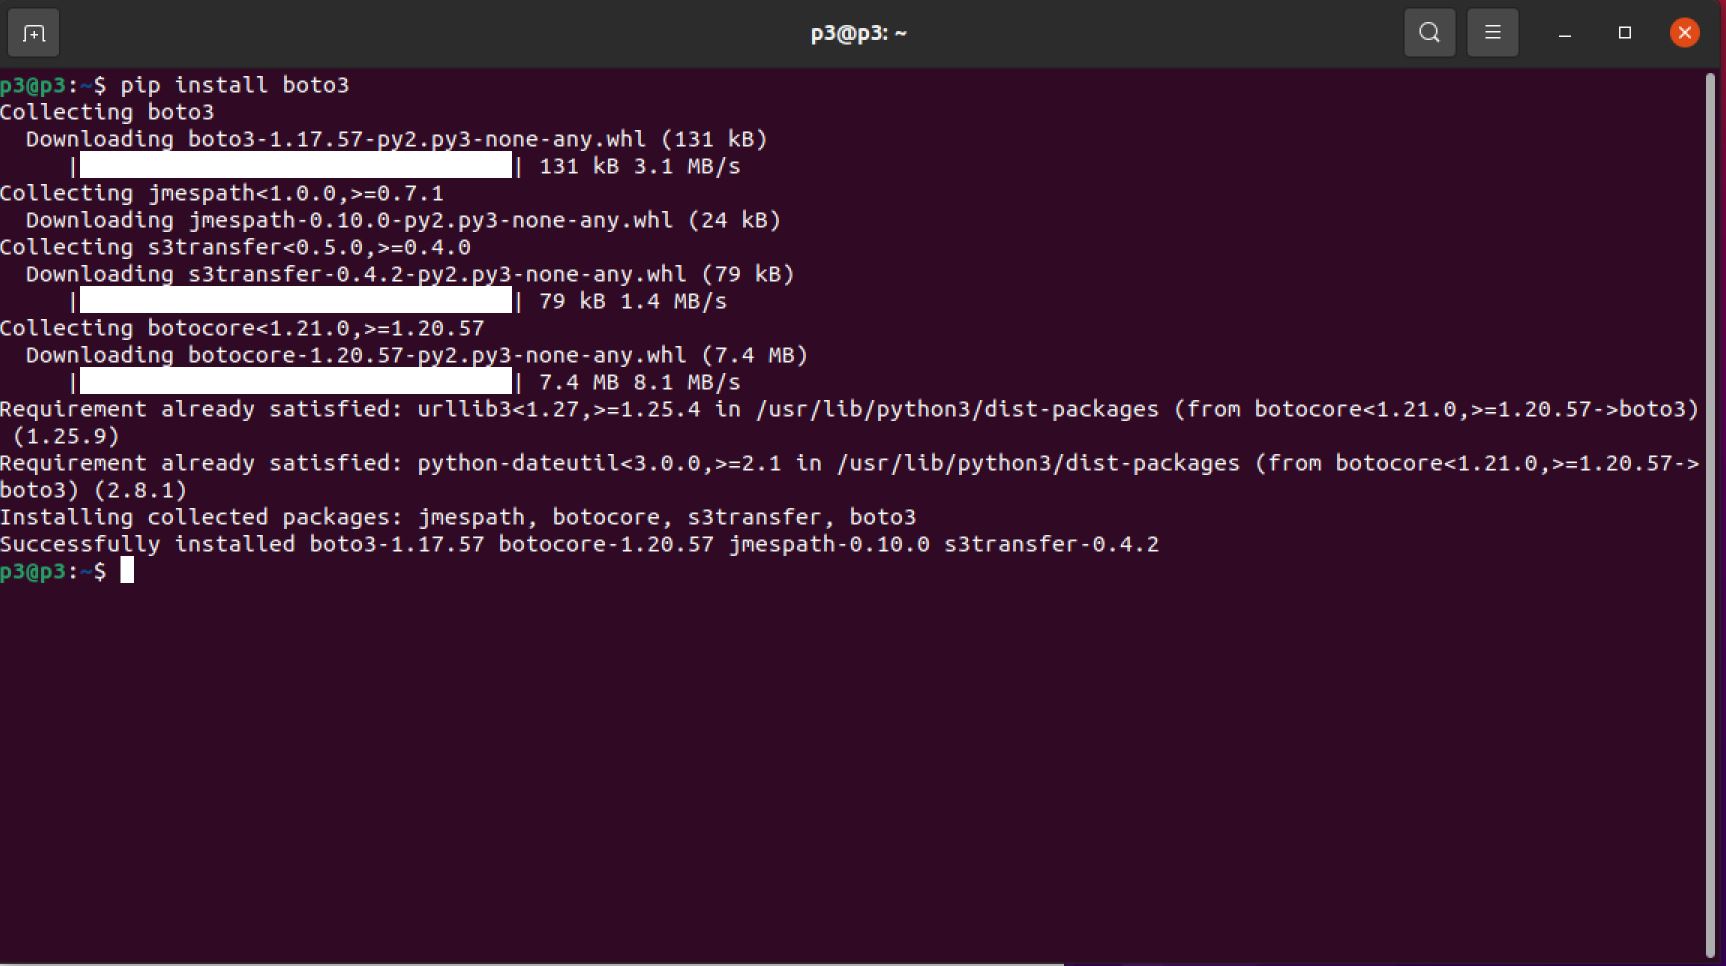
Let’s install Python (Boto3) library.
pip install boto3
Install the latest AWS Command Line Interface - CLI verizon 2 for Linux ARM architecture. Raspberry Pi is an arm64 architecture.
curl "https://awscli.amazonaws.com/awscli-exe-linux-aarch64.zip" -o "awscliv2.zip"
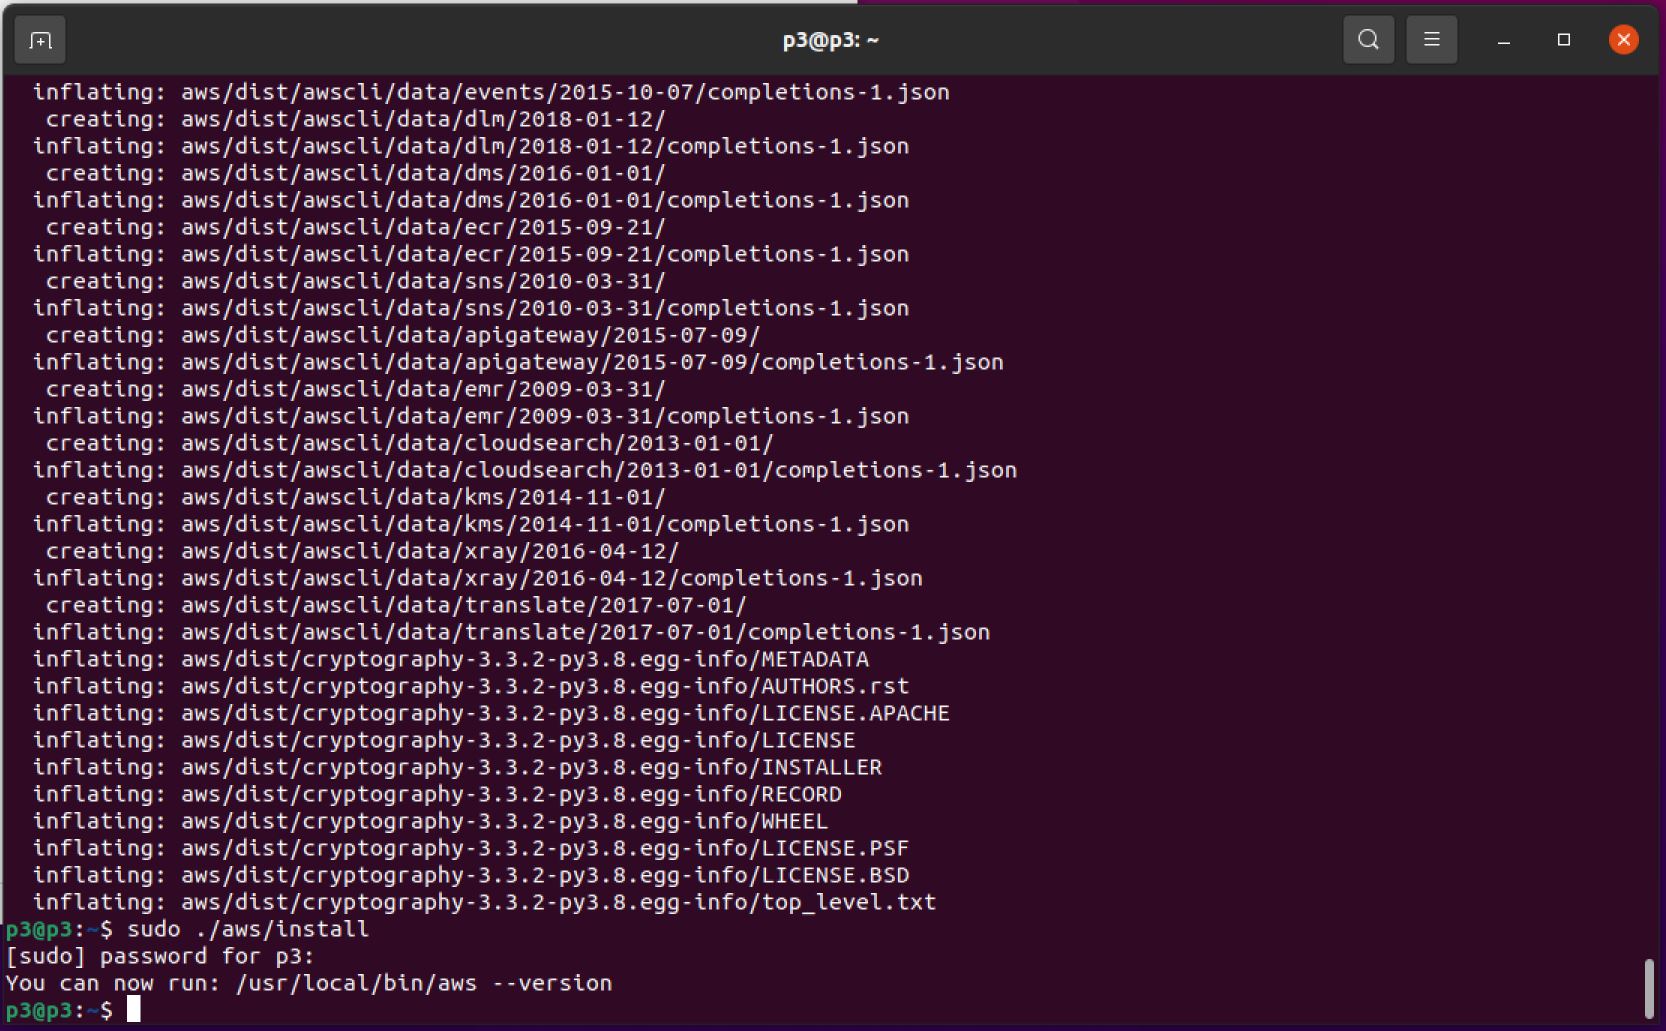
unzip awscliv2.zip
sudo ./aws/install
Now, we are ready to configure aws on our RPI-4, which is the fastest way to set up our AWS CLI installation. When you enter this aws configure command, the AWS CLI prompts you for four pieces of information:
- Access key ID
- Secret access key
- AWS Region
- Output format
The access keys consist of an access key ID and secret access key, which are used to sign programmatic requests that you make to AWS.If you don’t have access keys, you can create them from the AWS Management Console. As a best practice, do not use the AWS account root user access keys for any task where it’s not required.
Let’s start with aws configuration by using the following command in our CLI.
aws configure

Now, let’s setup our file system and add a folder for our sample app.
The chown command allows us to change the user and/or group ownership of a given file or directory.
Note: replace ubuntu by the name of you RPI 4. For example, raspberry:raspberry
sudo chown ubuntu:ubuntu -R /opt
We will cd into opt directory. cd is the command used to move between directories/folders.
cd /opt
mkdir is the command to create directories.
mkdir aws-rekognition
Let’s cd into our sample app folder and download it.
cd aws-rekognition
Now, we will download the aws-rekognition sample application in the aws-rekognition folder.
wget https://github.com/OmarCloud20/aws-tutorials/raw/main/Rekognition/aws-rekognition.zip
unzip aws-rekognition.zip
If you don’t have the unzip utility, run the following command to install it.
sudo apt install zip -y

As we have downloaded our sample application zip file and unzipped it, we have also confirmed that all files are downloaded successfully in the proper directory, which is aws-rekognition.
Step 3: Run aws-rekognition sample application:
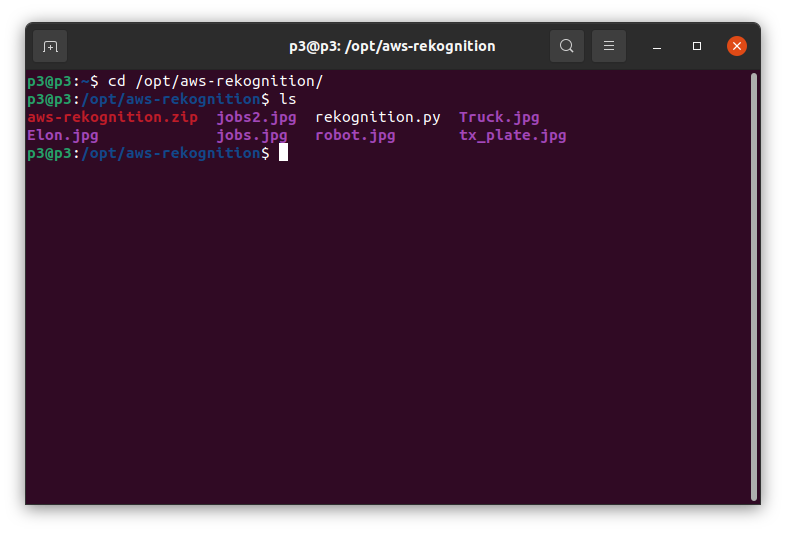
Finally, we completed all necessary configuration and it’s time to run our application. We need to cd into our directory as shown below.
cd /opt/aws-rekognition/
ls
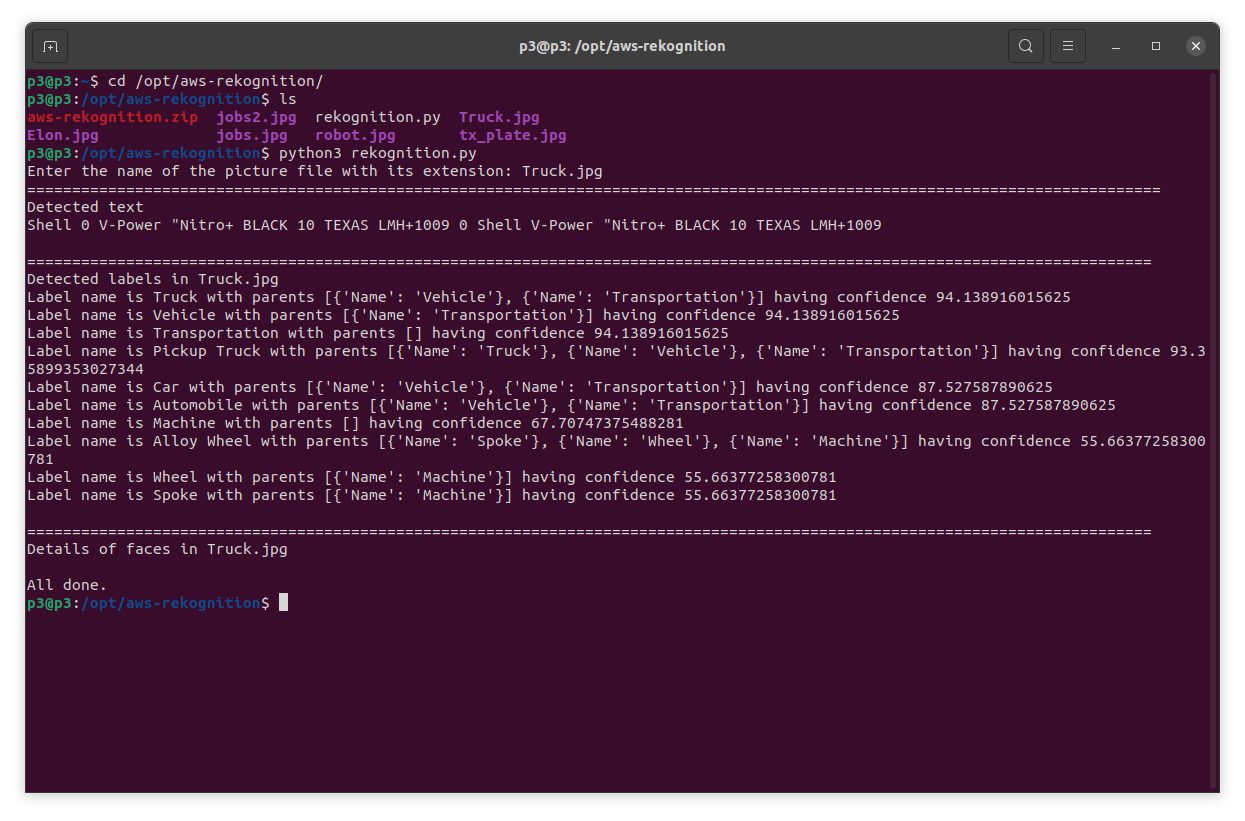
Once we run the python code, rekognition.py, we will be prompted to enter the picture name including its file extension. For the below example, the picture is Truck.jpg.
python3 rekognition.py

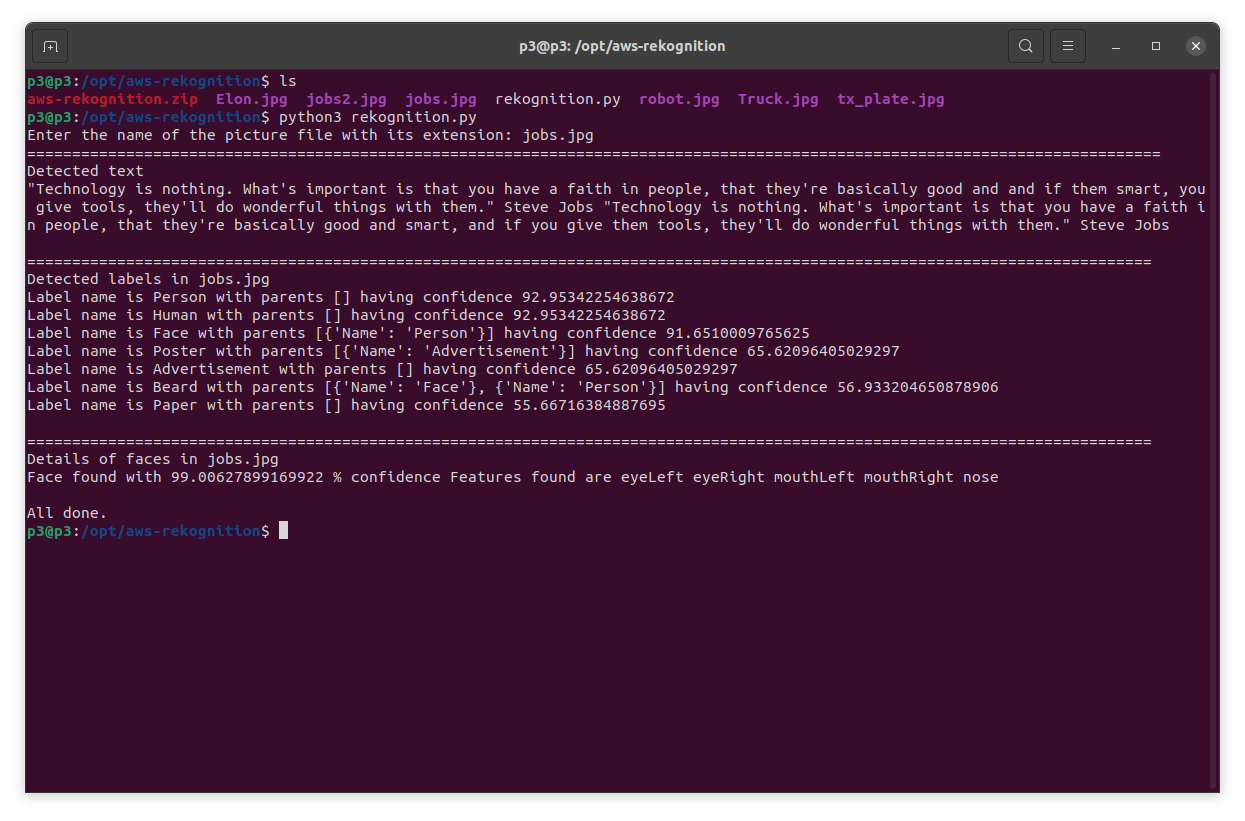
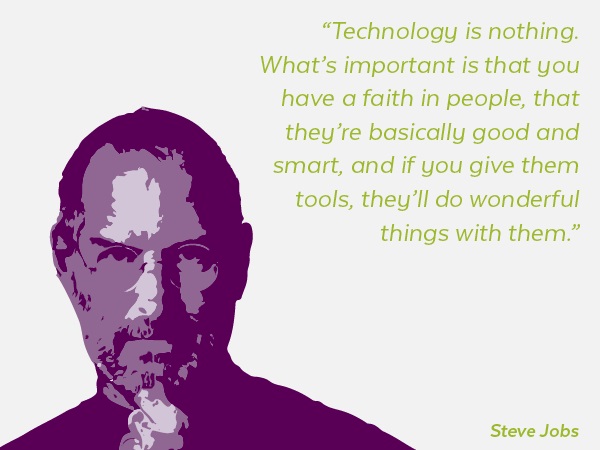
For rhe second example, the picture is jobs.jpg.
Conclusion:
By the end of this tutorial, we have successfully utilized AWS Rekognition service to analyze images. Rekognition is one of AWS cognitive services, and we have made several API calls to it via boto3 - AWS Python library from within a Raspberry Pi 4.
Without any machine learning expertise, we have identified and detected objects, shapes, people, texts, and activities in several images successfully.