Application Load Balancer with Lambda Backend
Application Load Balancer
An Application Load Balancer has the ability to send traffic to a specific target group (TG) based on path. The default path is to send all the traffic to a given Target Group.. Usually a TG comprises of infrastructure components either on the cloud (EC2 instances) or from on-prem data-center (via IP).
However, there is an exciting feature by which the target group can contain a lambda function as the backend. By the end of this tutorial, we should successfully utilize an ALB to direct traffic to a Lambda function backend. The Lambda function is written in Python and is target group for the ALB.
Please note that some parts of the images in this tutorial will be pixilated or hidden to hide all personal information such as account numbers, ip addresses and any other personal or sensitive information.
Architecture Implementation - Tutorial Scenario:
- Create the lambda function using the console, name it “web-backend.”
- Create a lambda IAM role.
- Create an instance of ALB.
- When creating the TG, select lambda.
- Select “web-backend” lambda from the dropdown.
- Enable health check.
- Create the ALB and TG and the wait for status to change from provisioning to active before attempting to access the DNS.
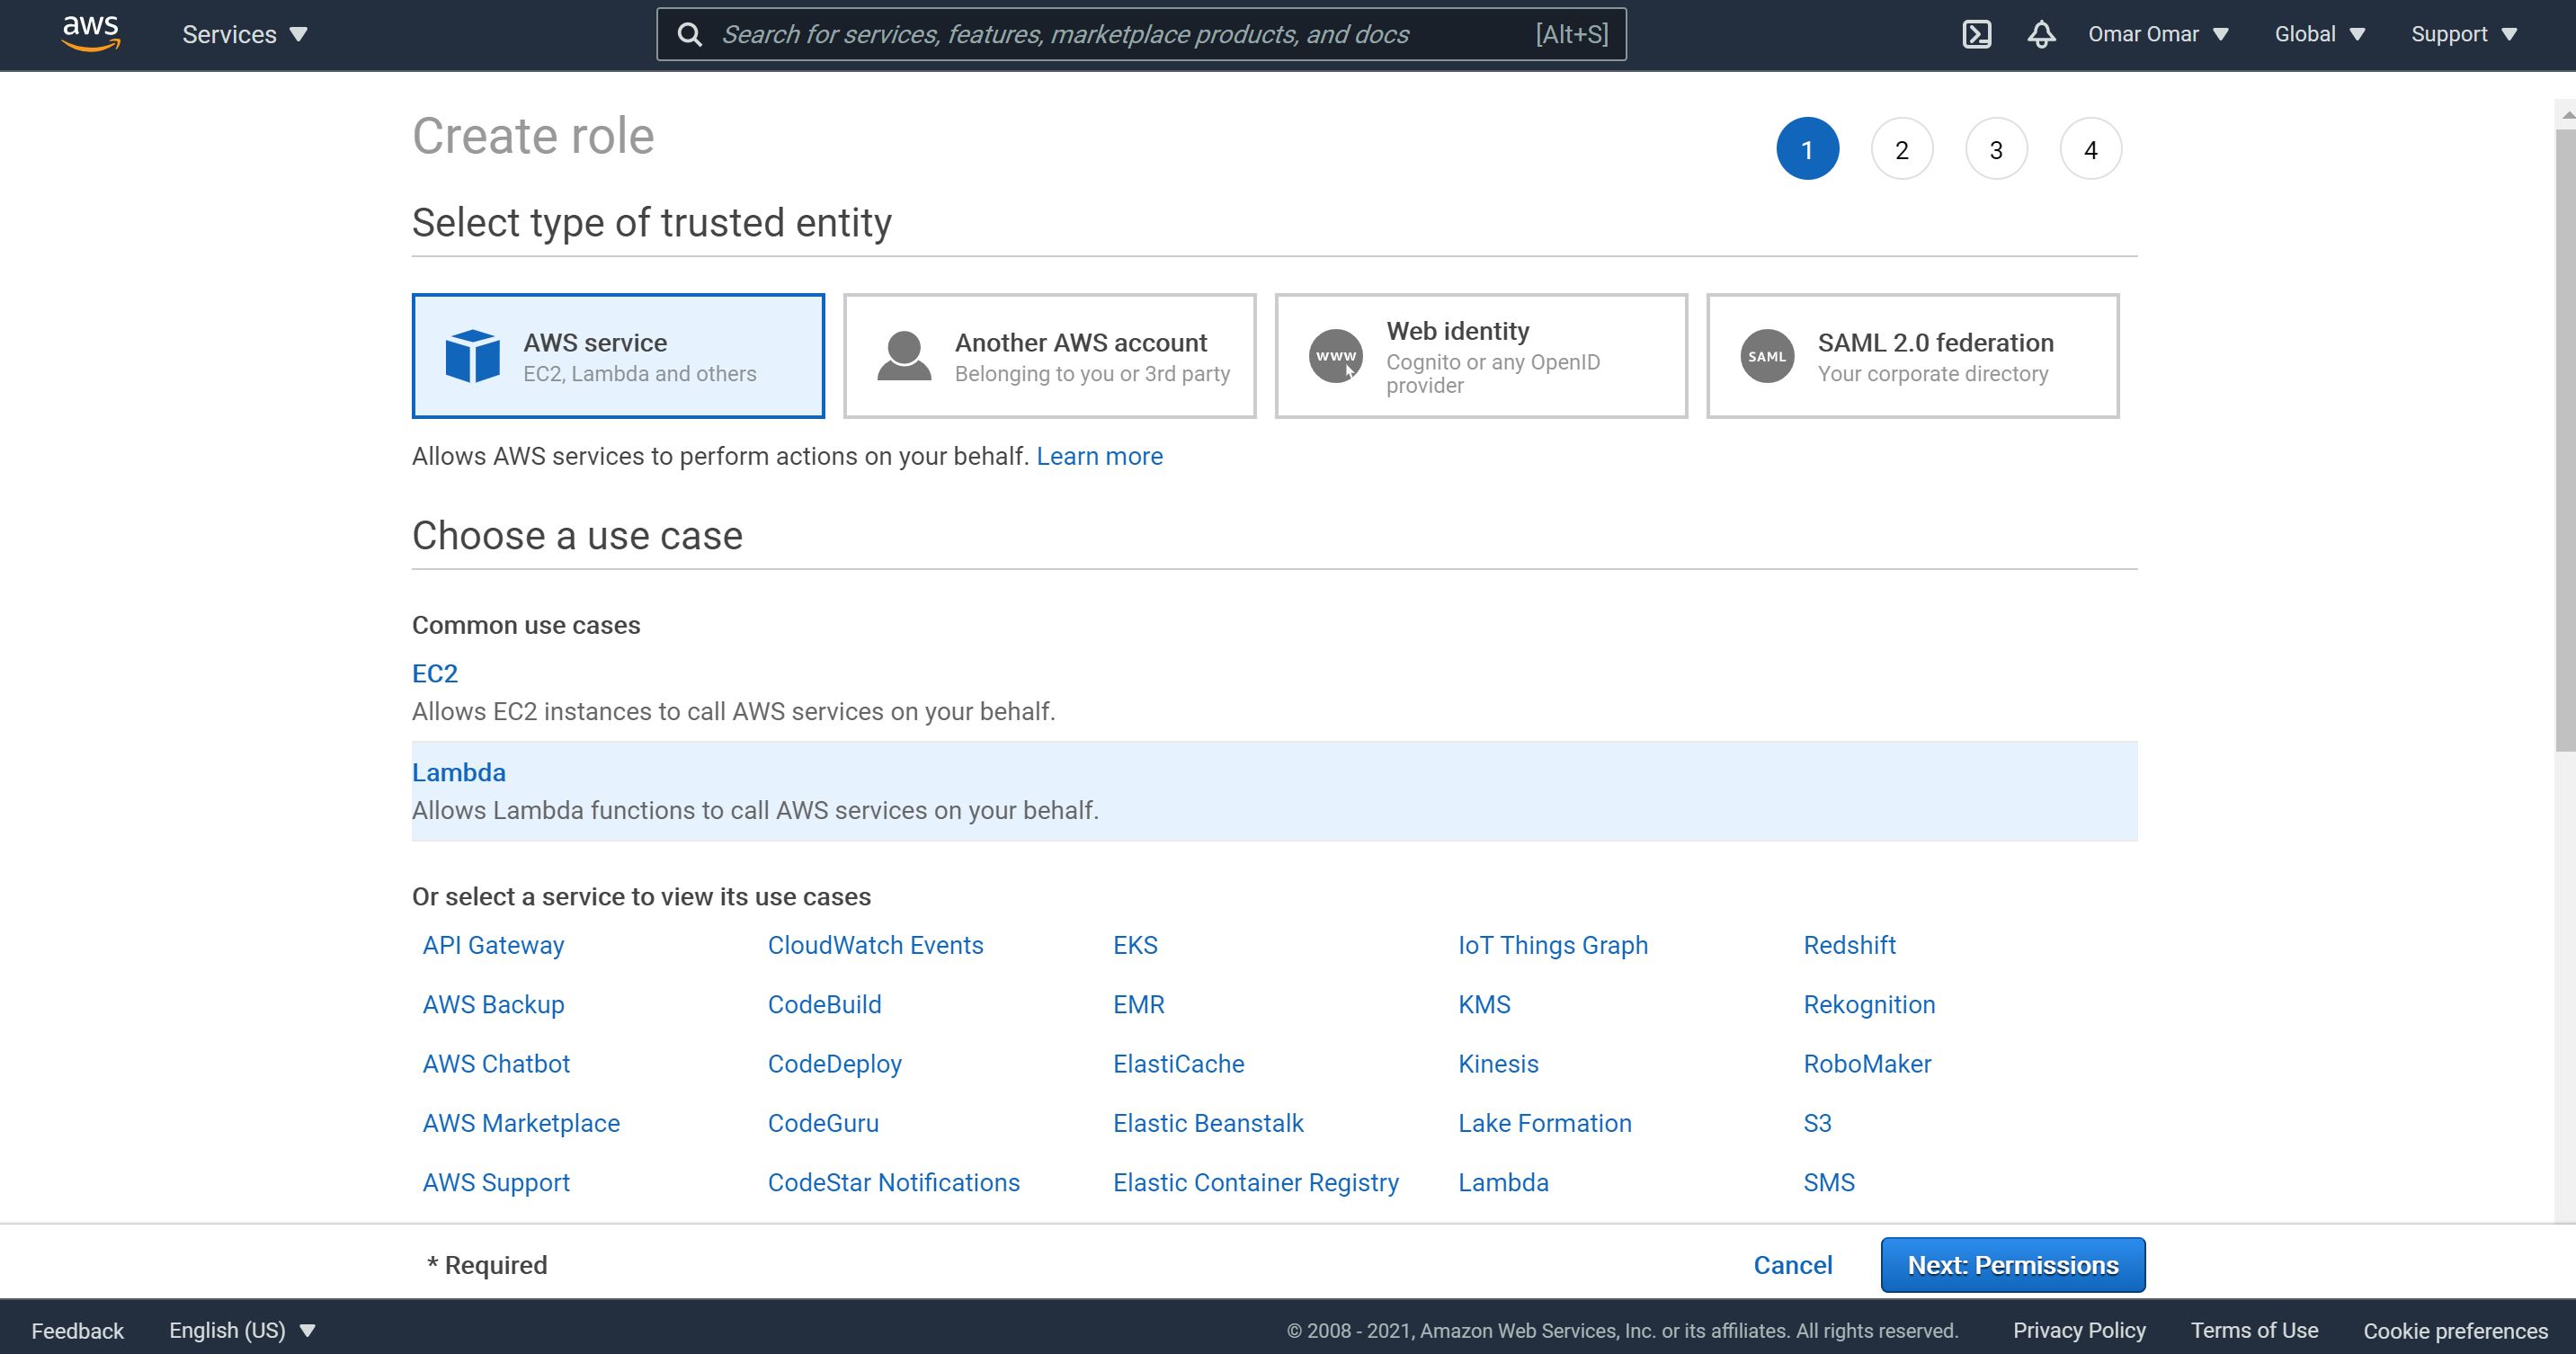
Step 1: Lambda Role
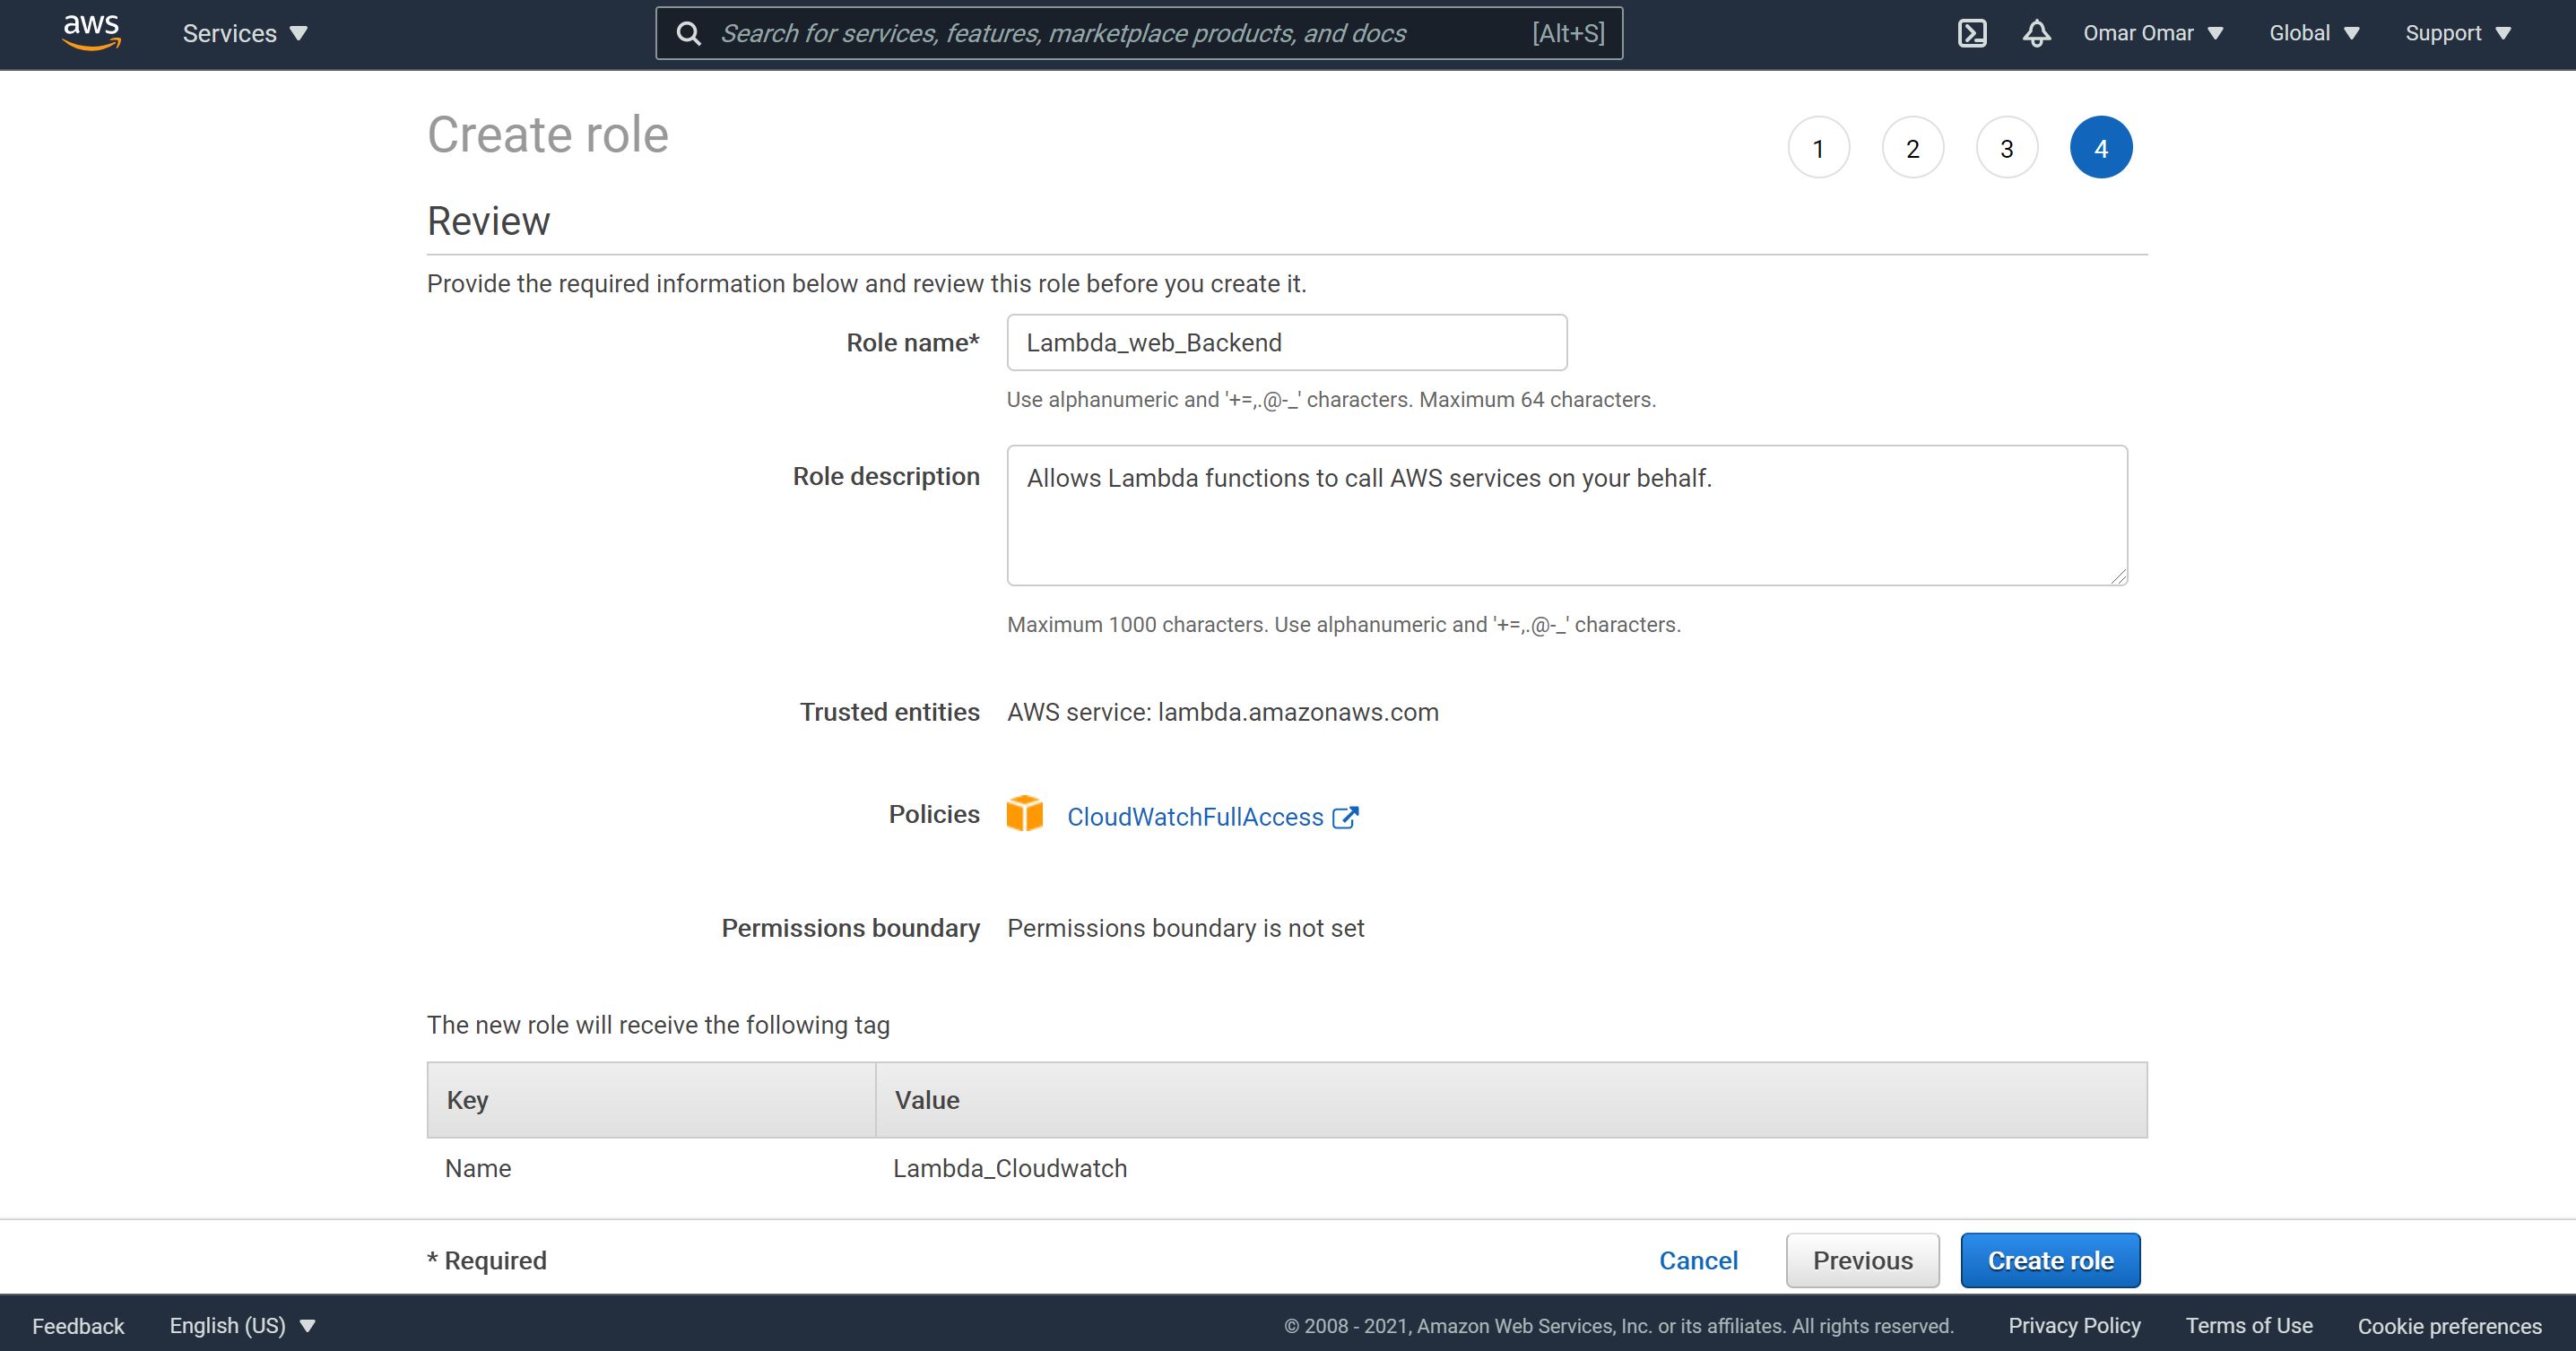
- Create an IAM role which allows the lambda function to access other needed resources.
- Add the following policy to the role CloudWatchFullAccess.
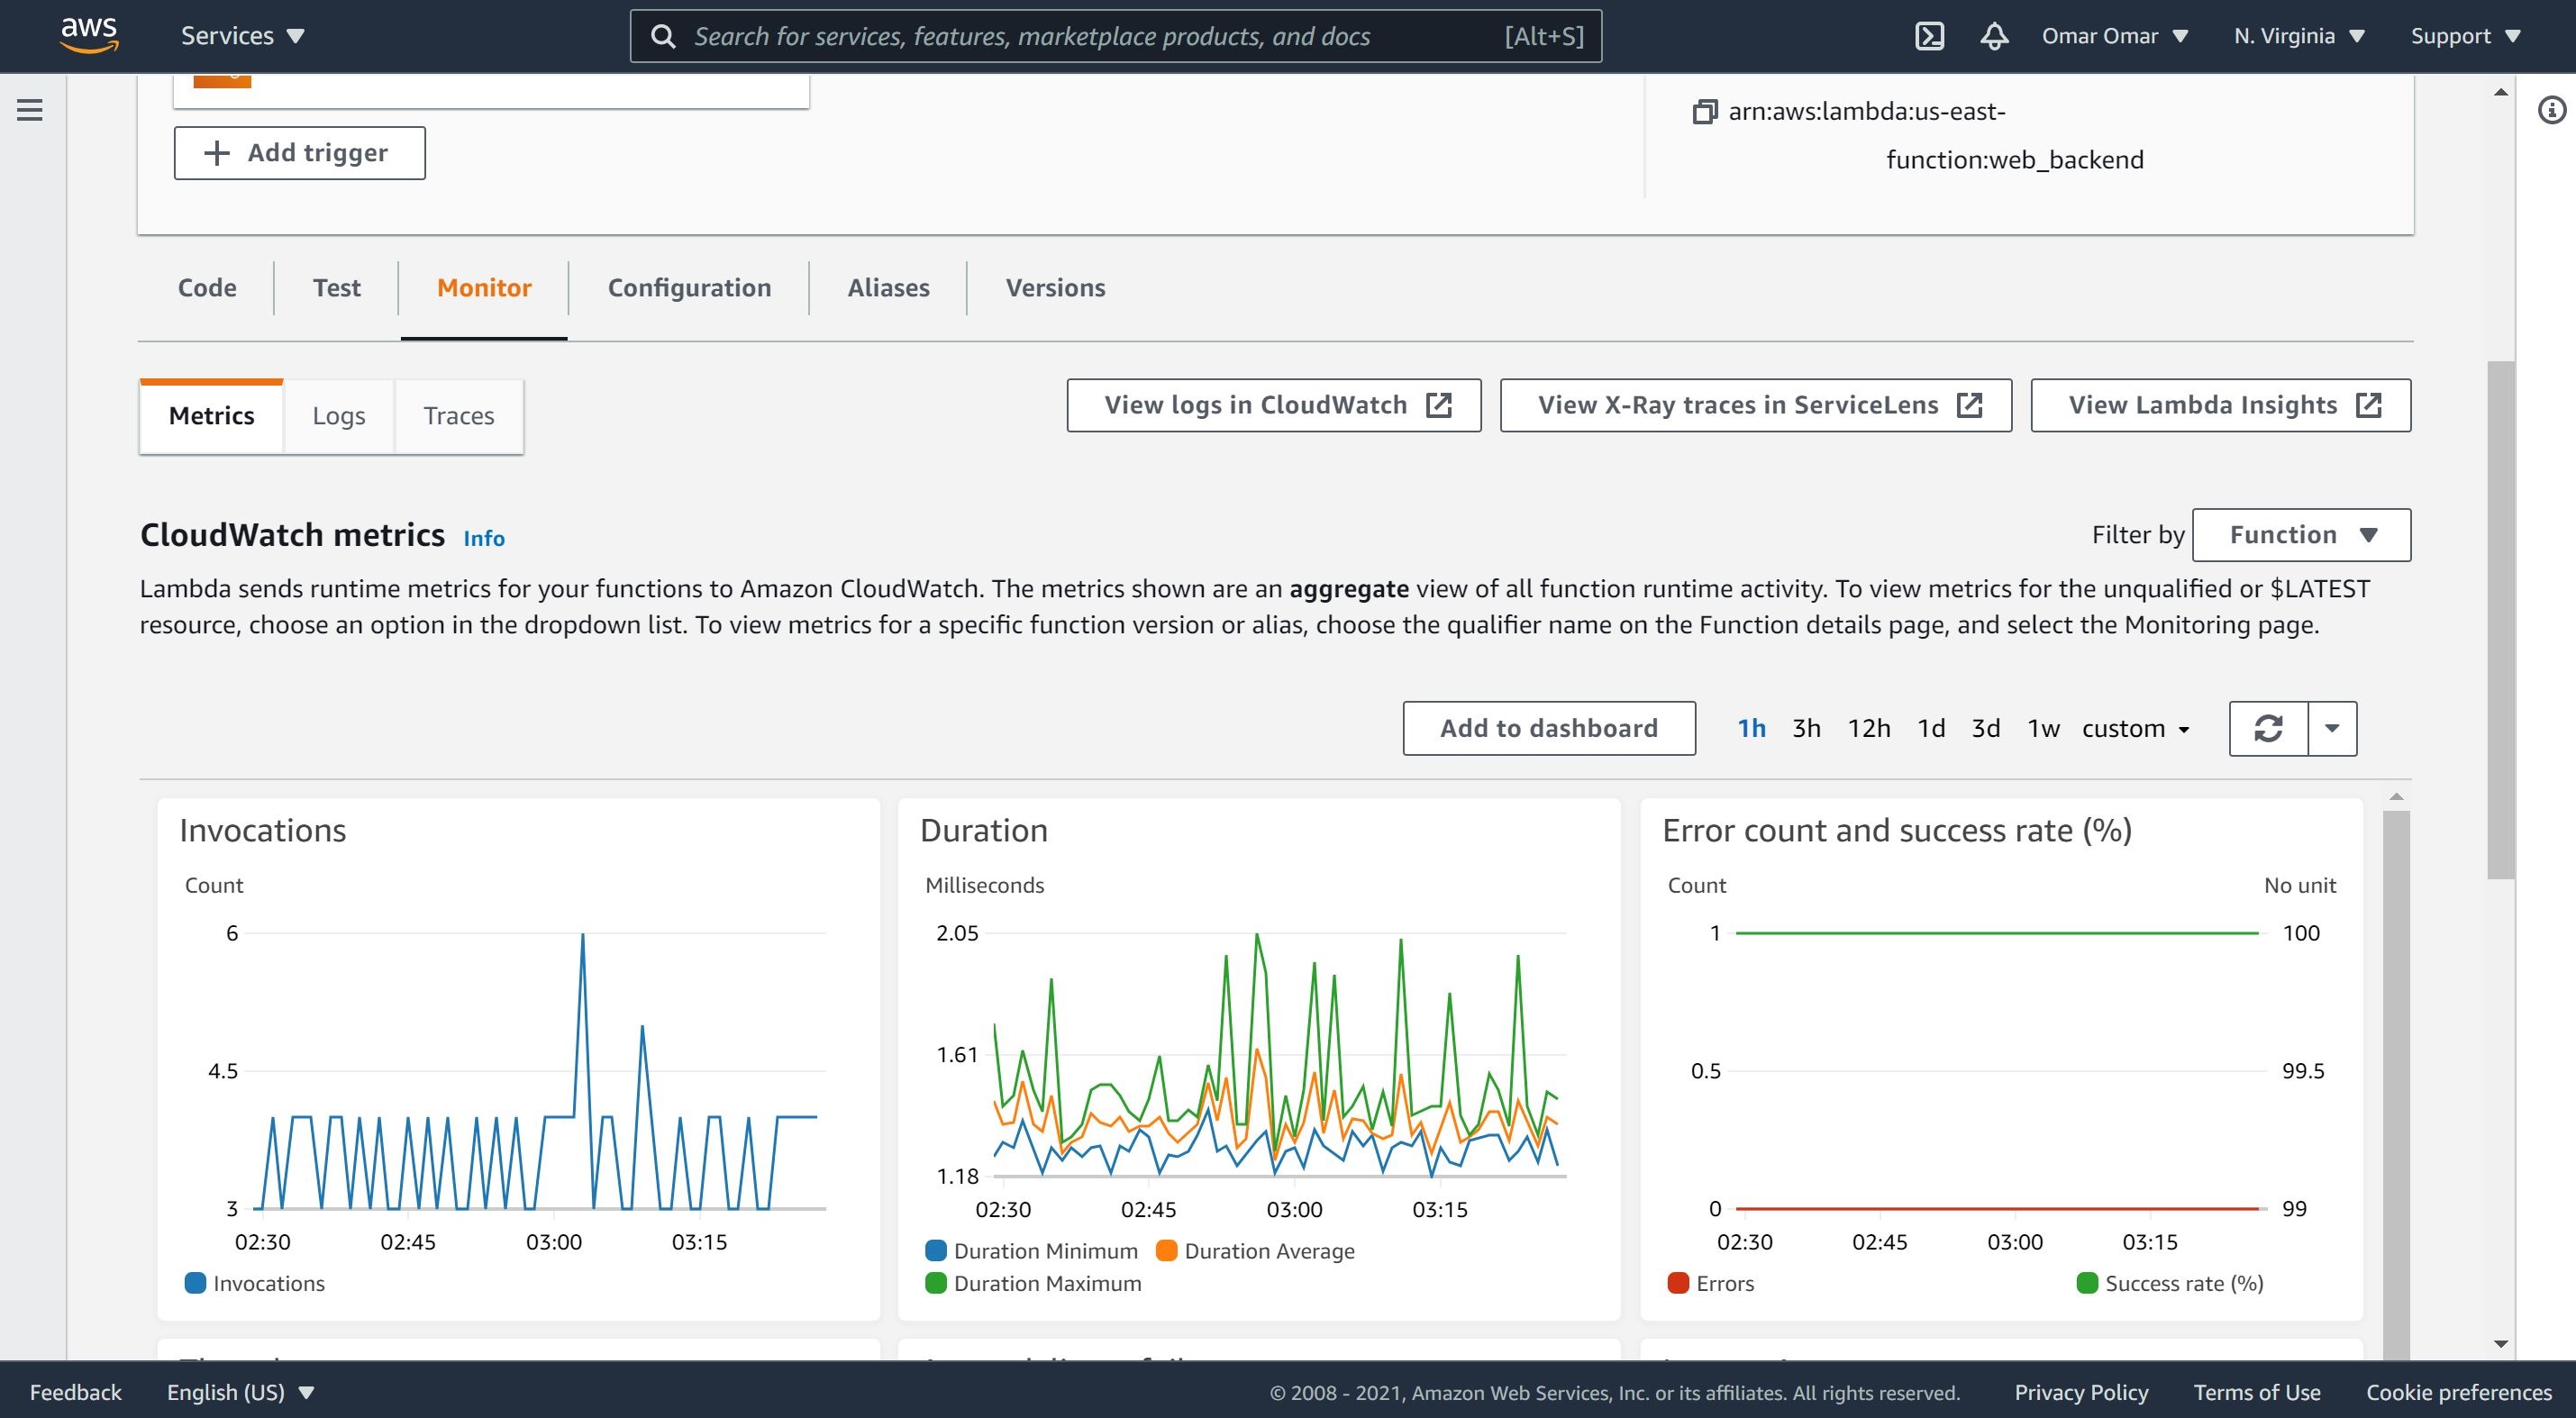
Step 2: Python Lambda Function
Lets' create a lambda function and attach the role we have previously created.
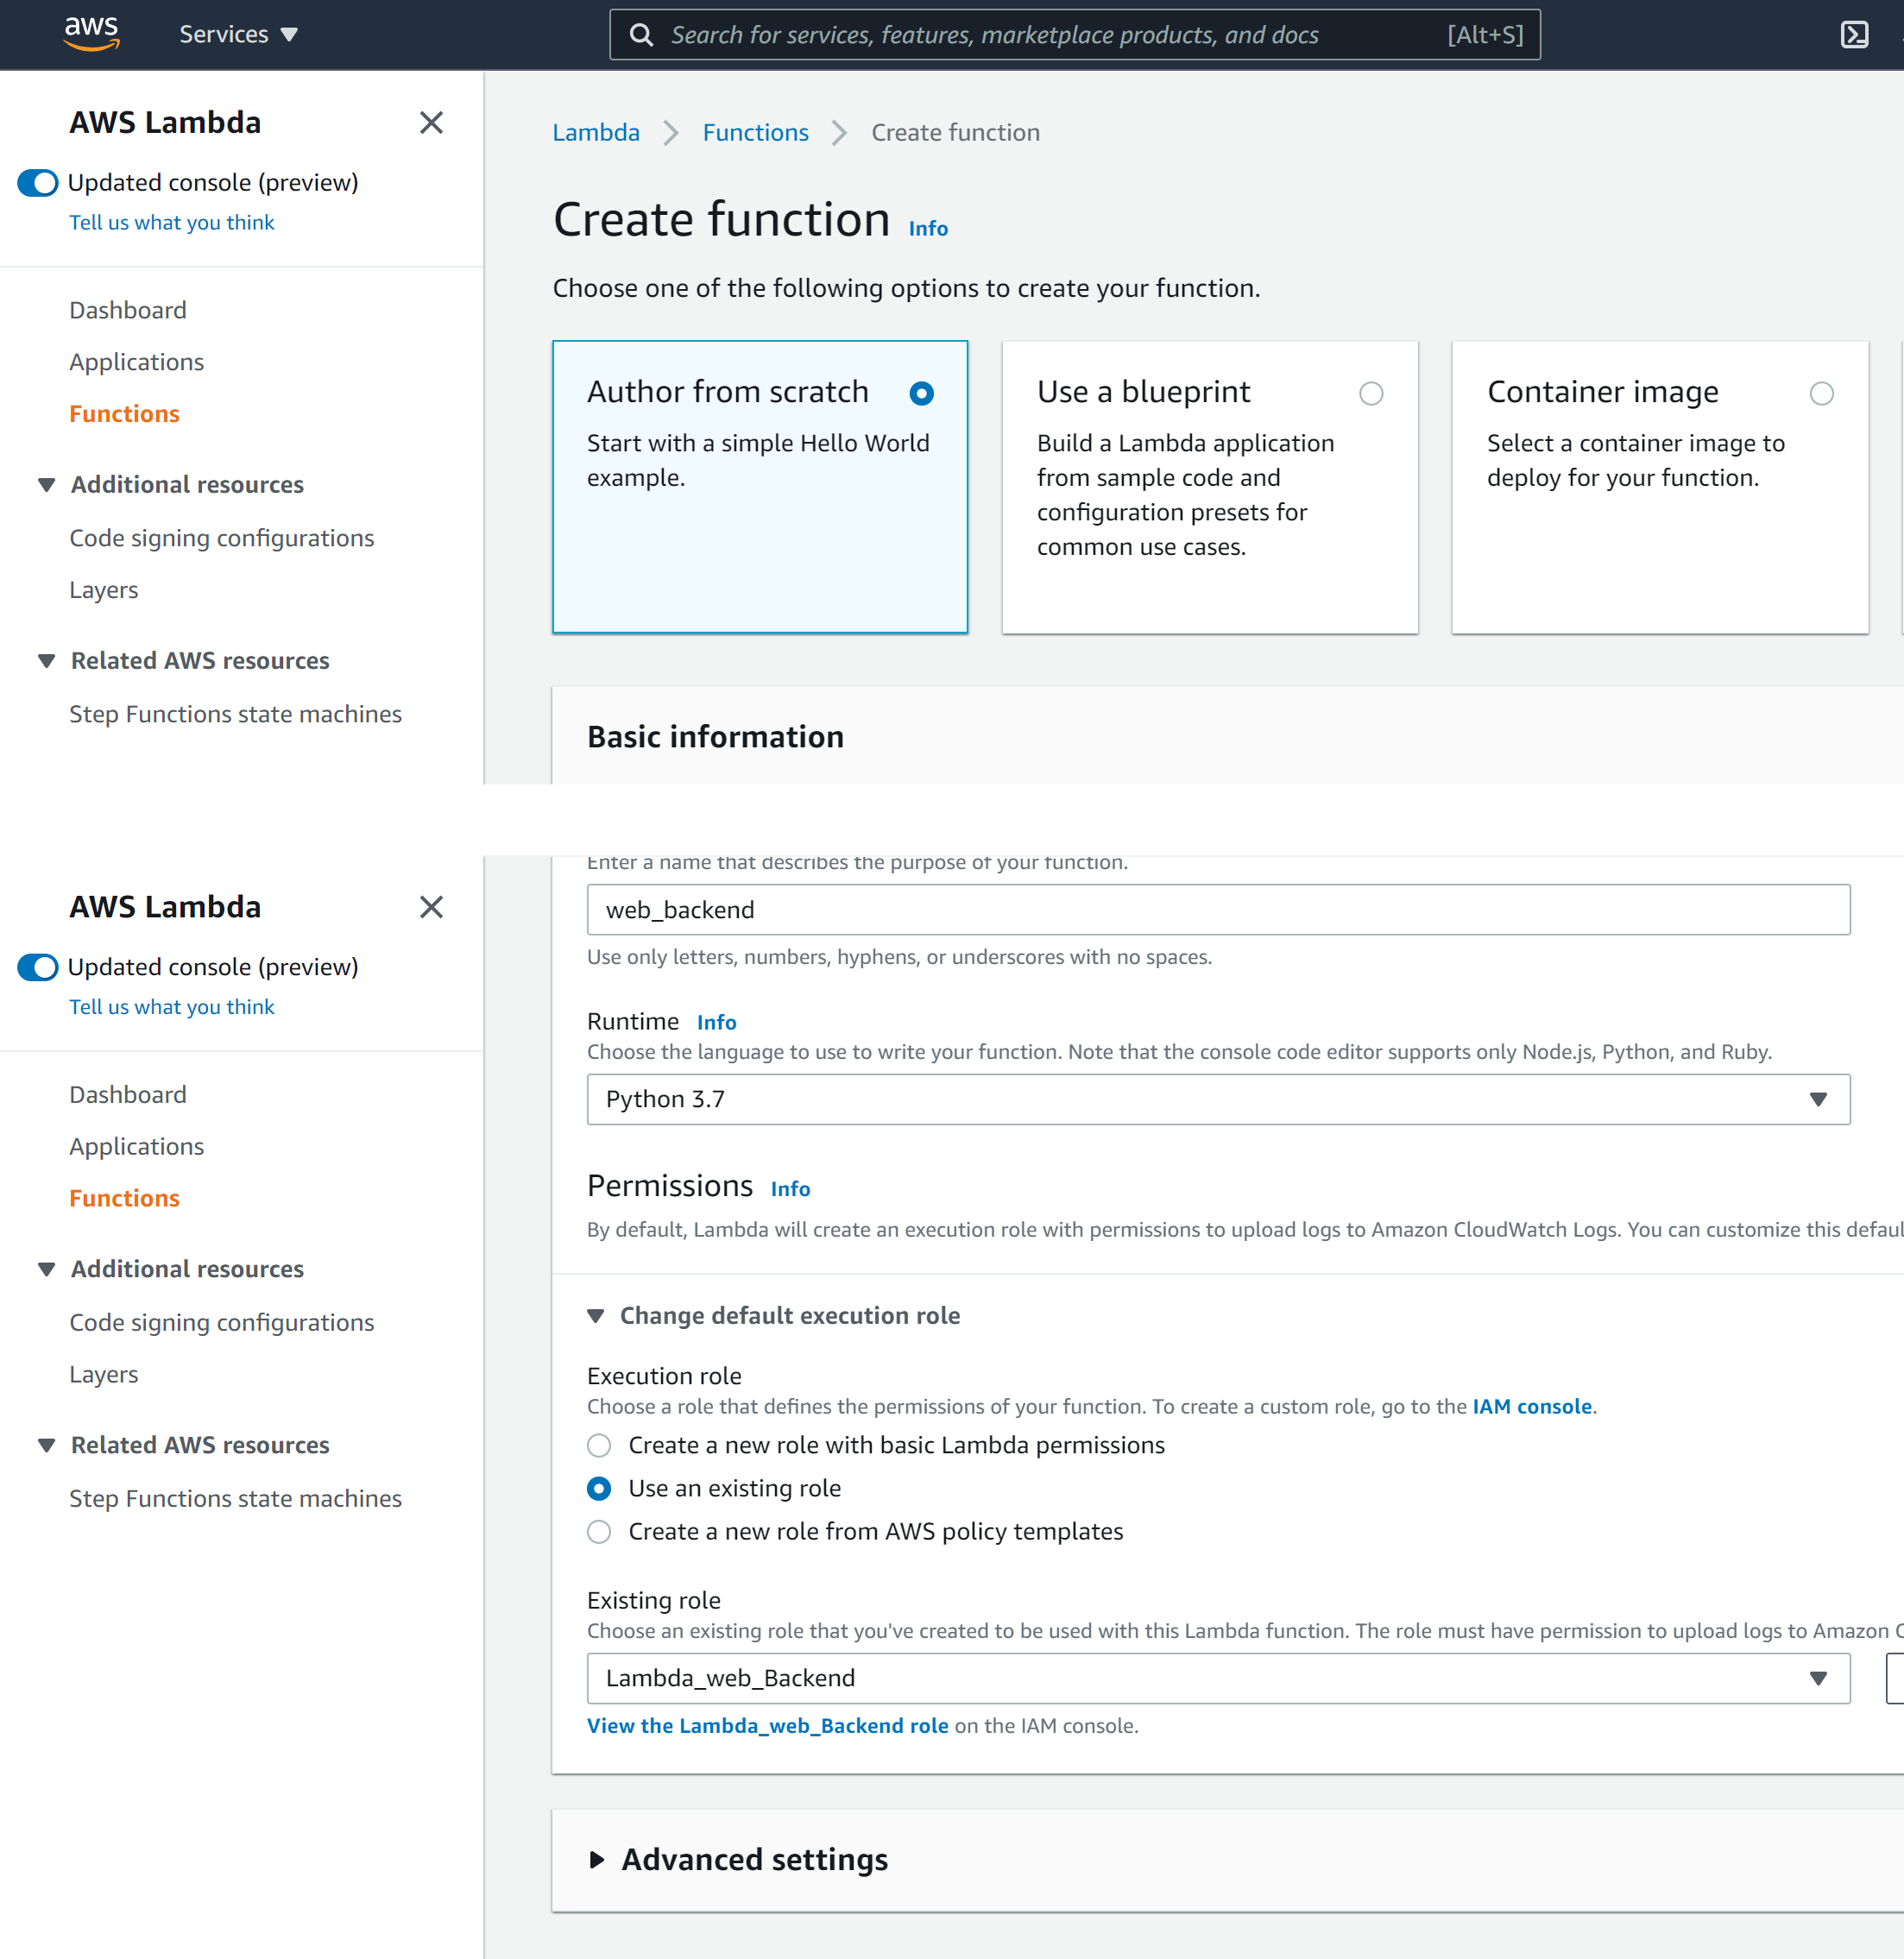
- On the Lambda console, click on “Create function.”
- Function name: web_backend
- Select “Author from scratch.”
- Runtime: Python 3.7.
- Permissions: “Use an existing role” and select the role we have previously created, Lambda_web_Backend.
- Click on “Create function.”
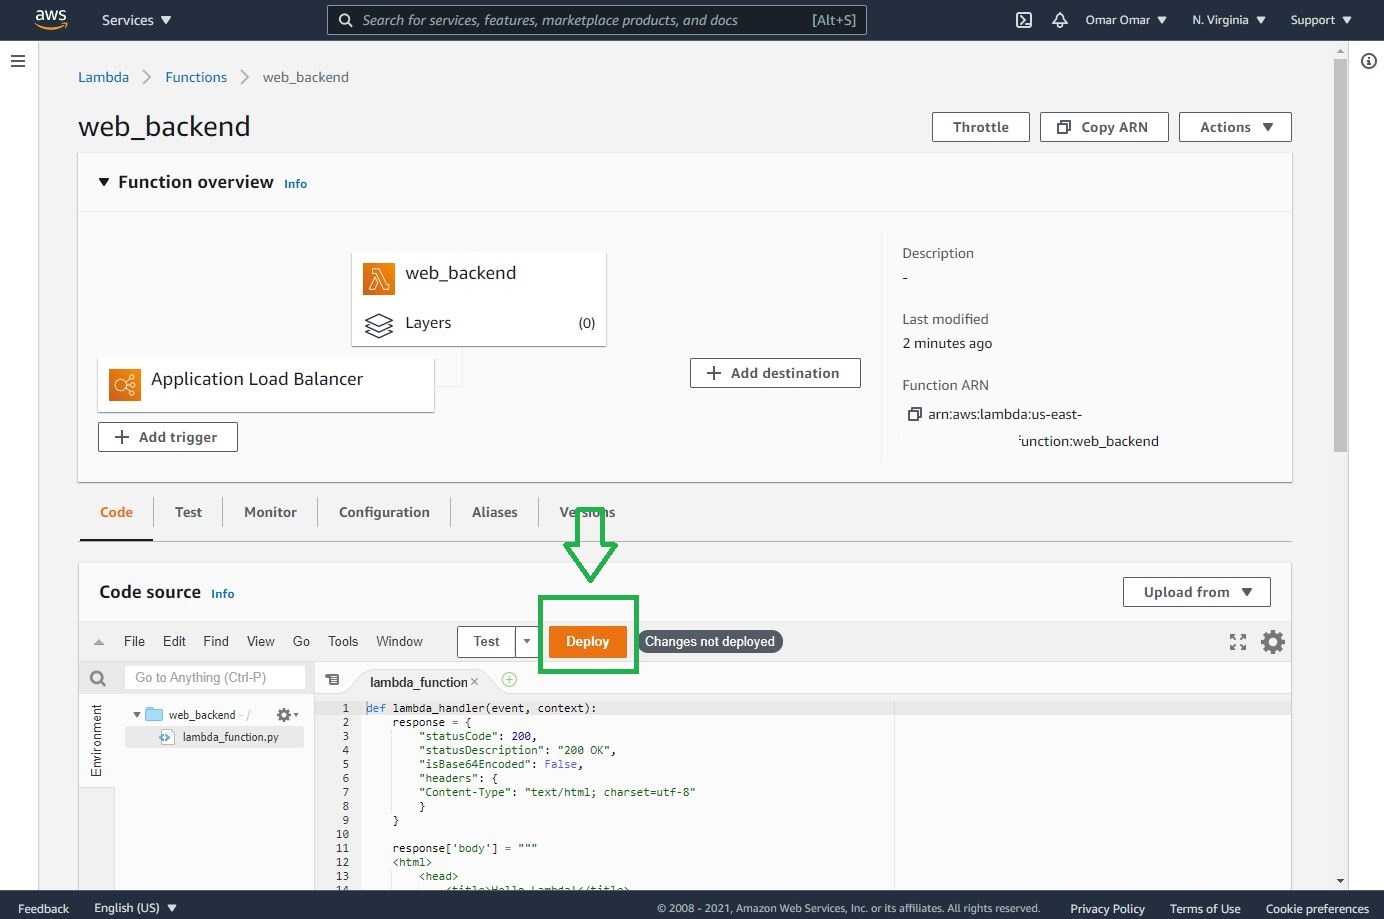
- On the lambda function code editor, remove the existing code and replace it with the code from my GitHub repo. Then, click Deploy.
Step 3: Create an Instance of Application Load Balancer
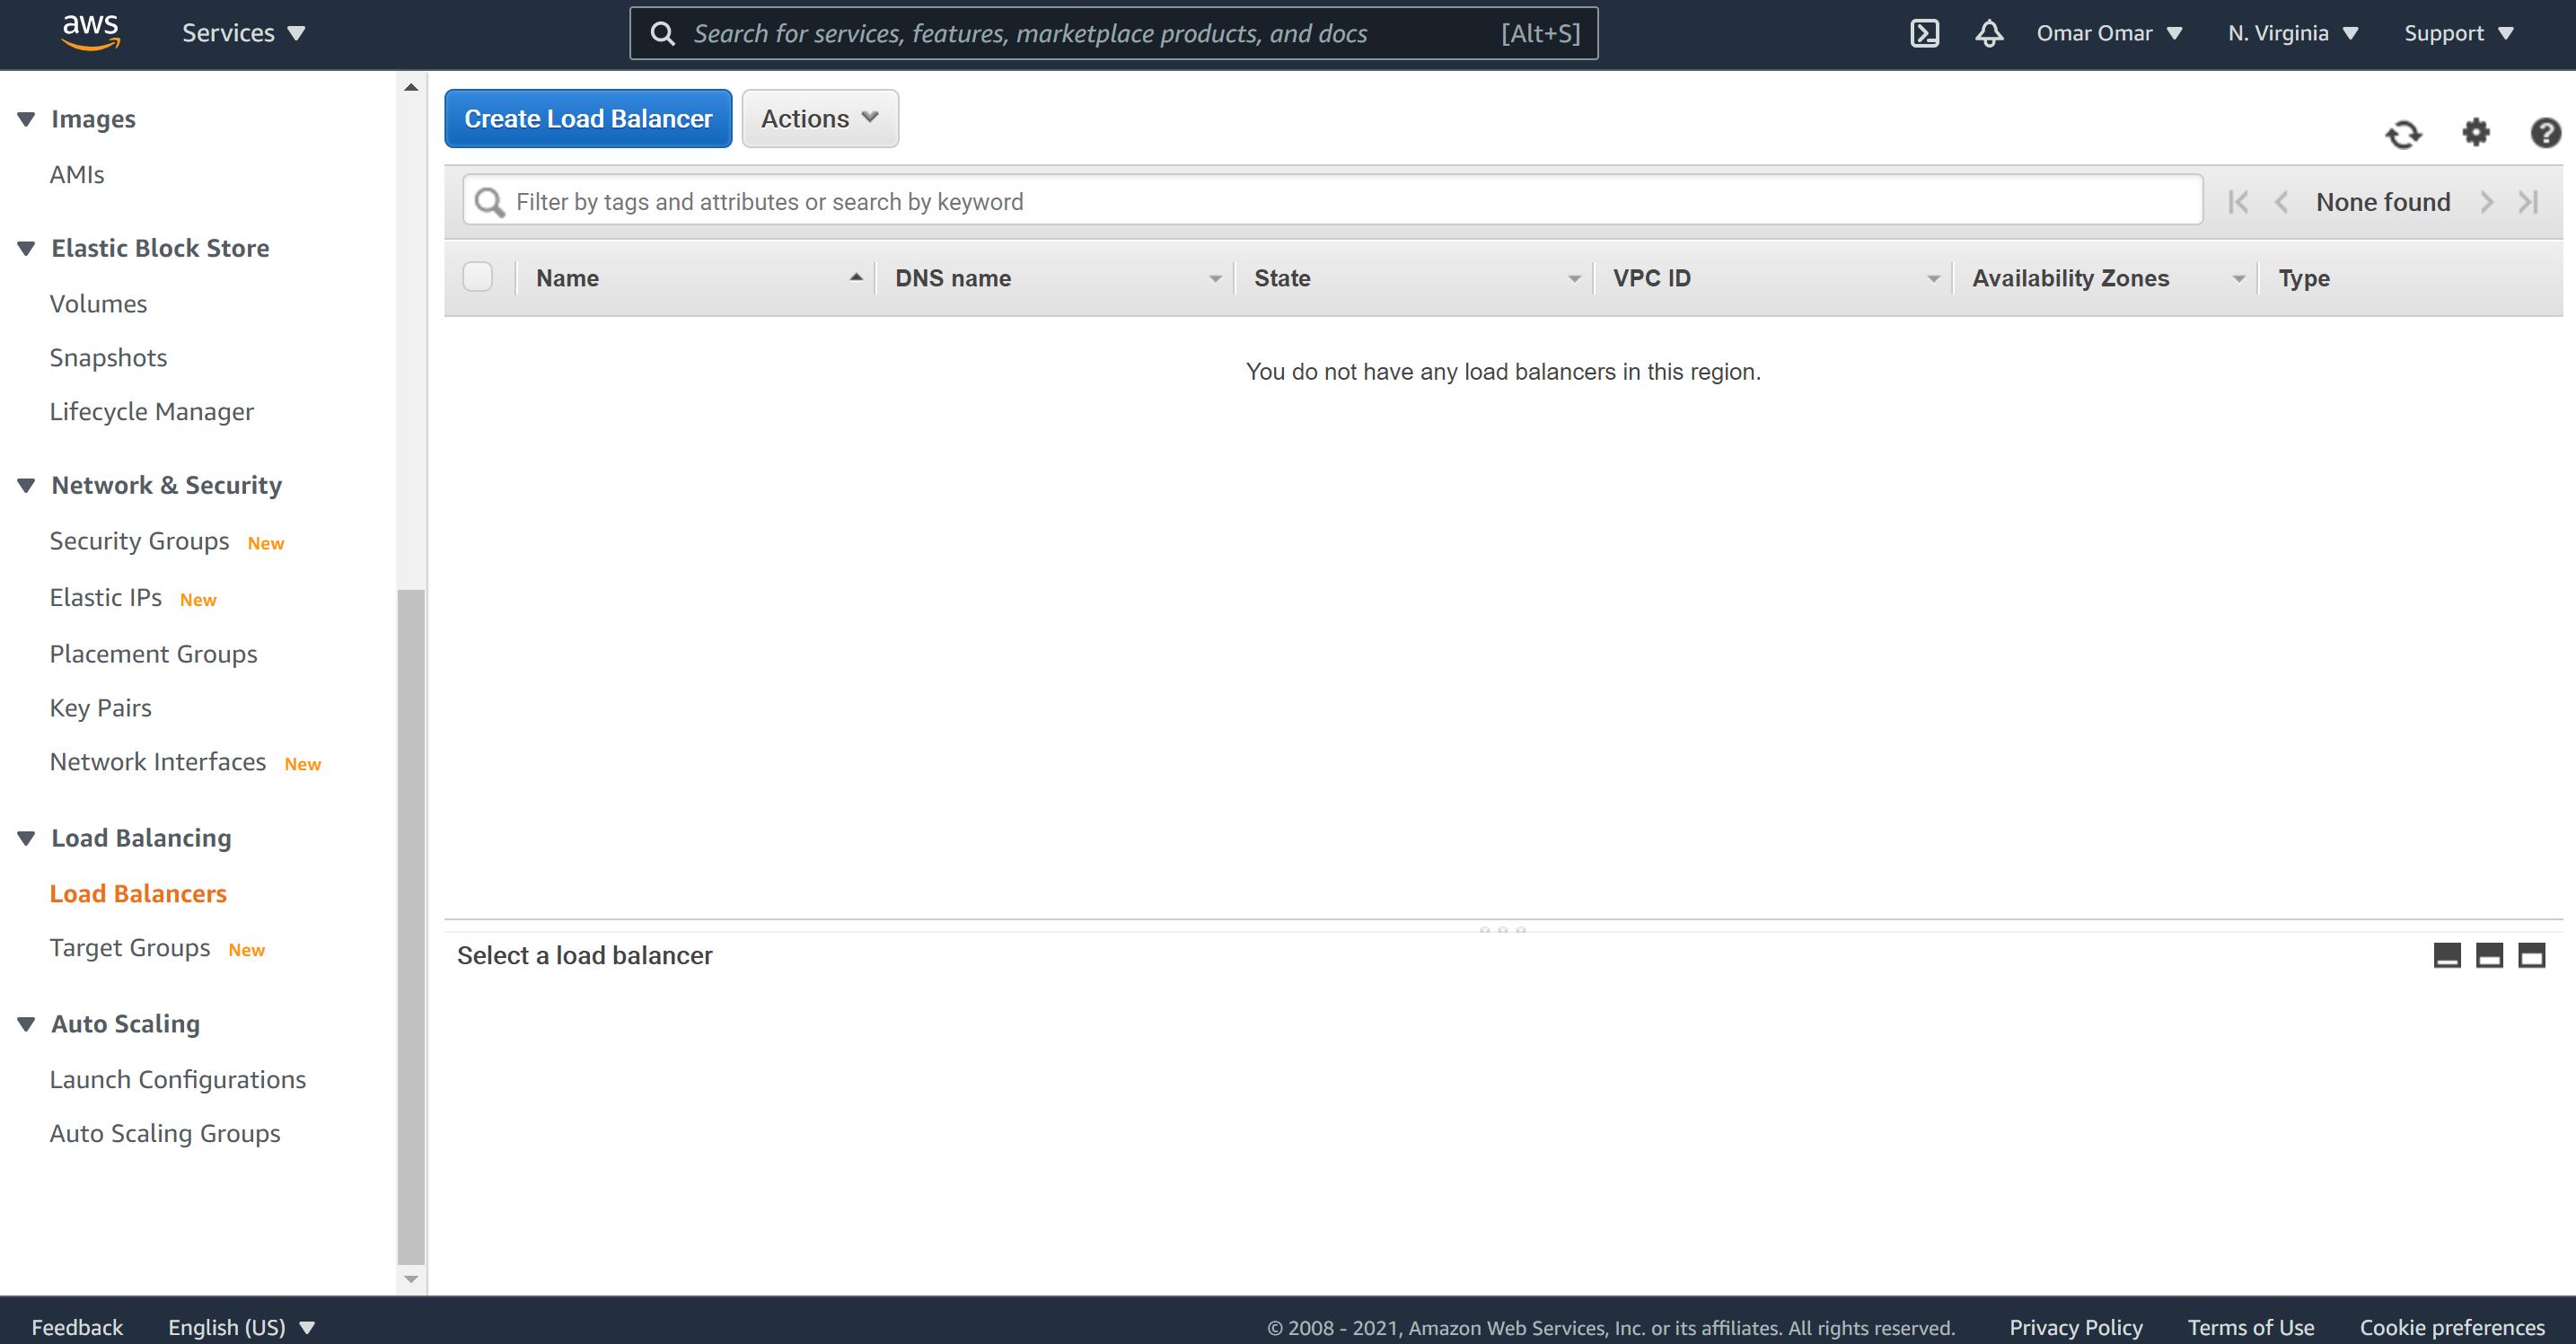
- Navigate to EC2 console, select Load Balancers and Create Load Balancer.
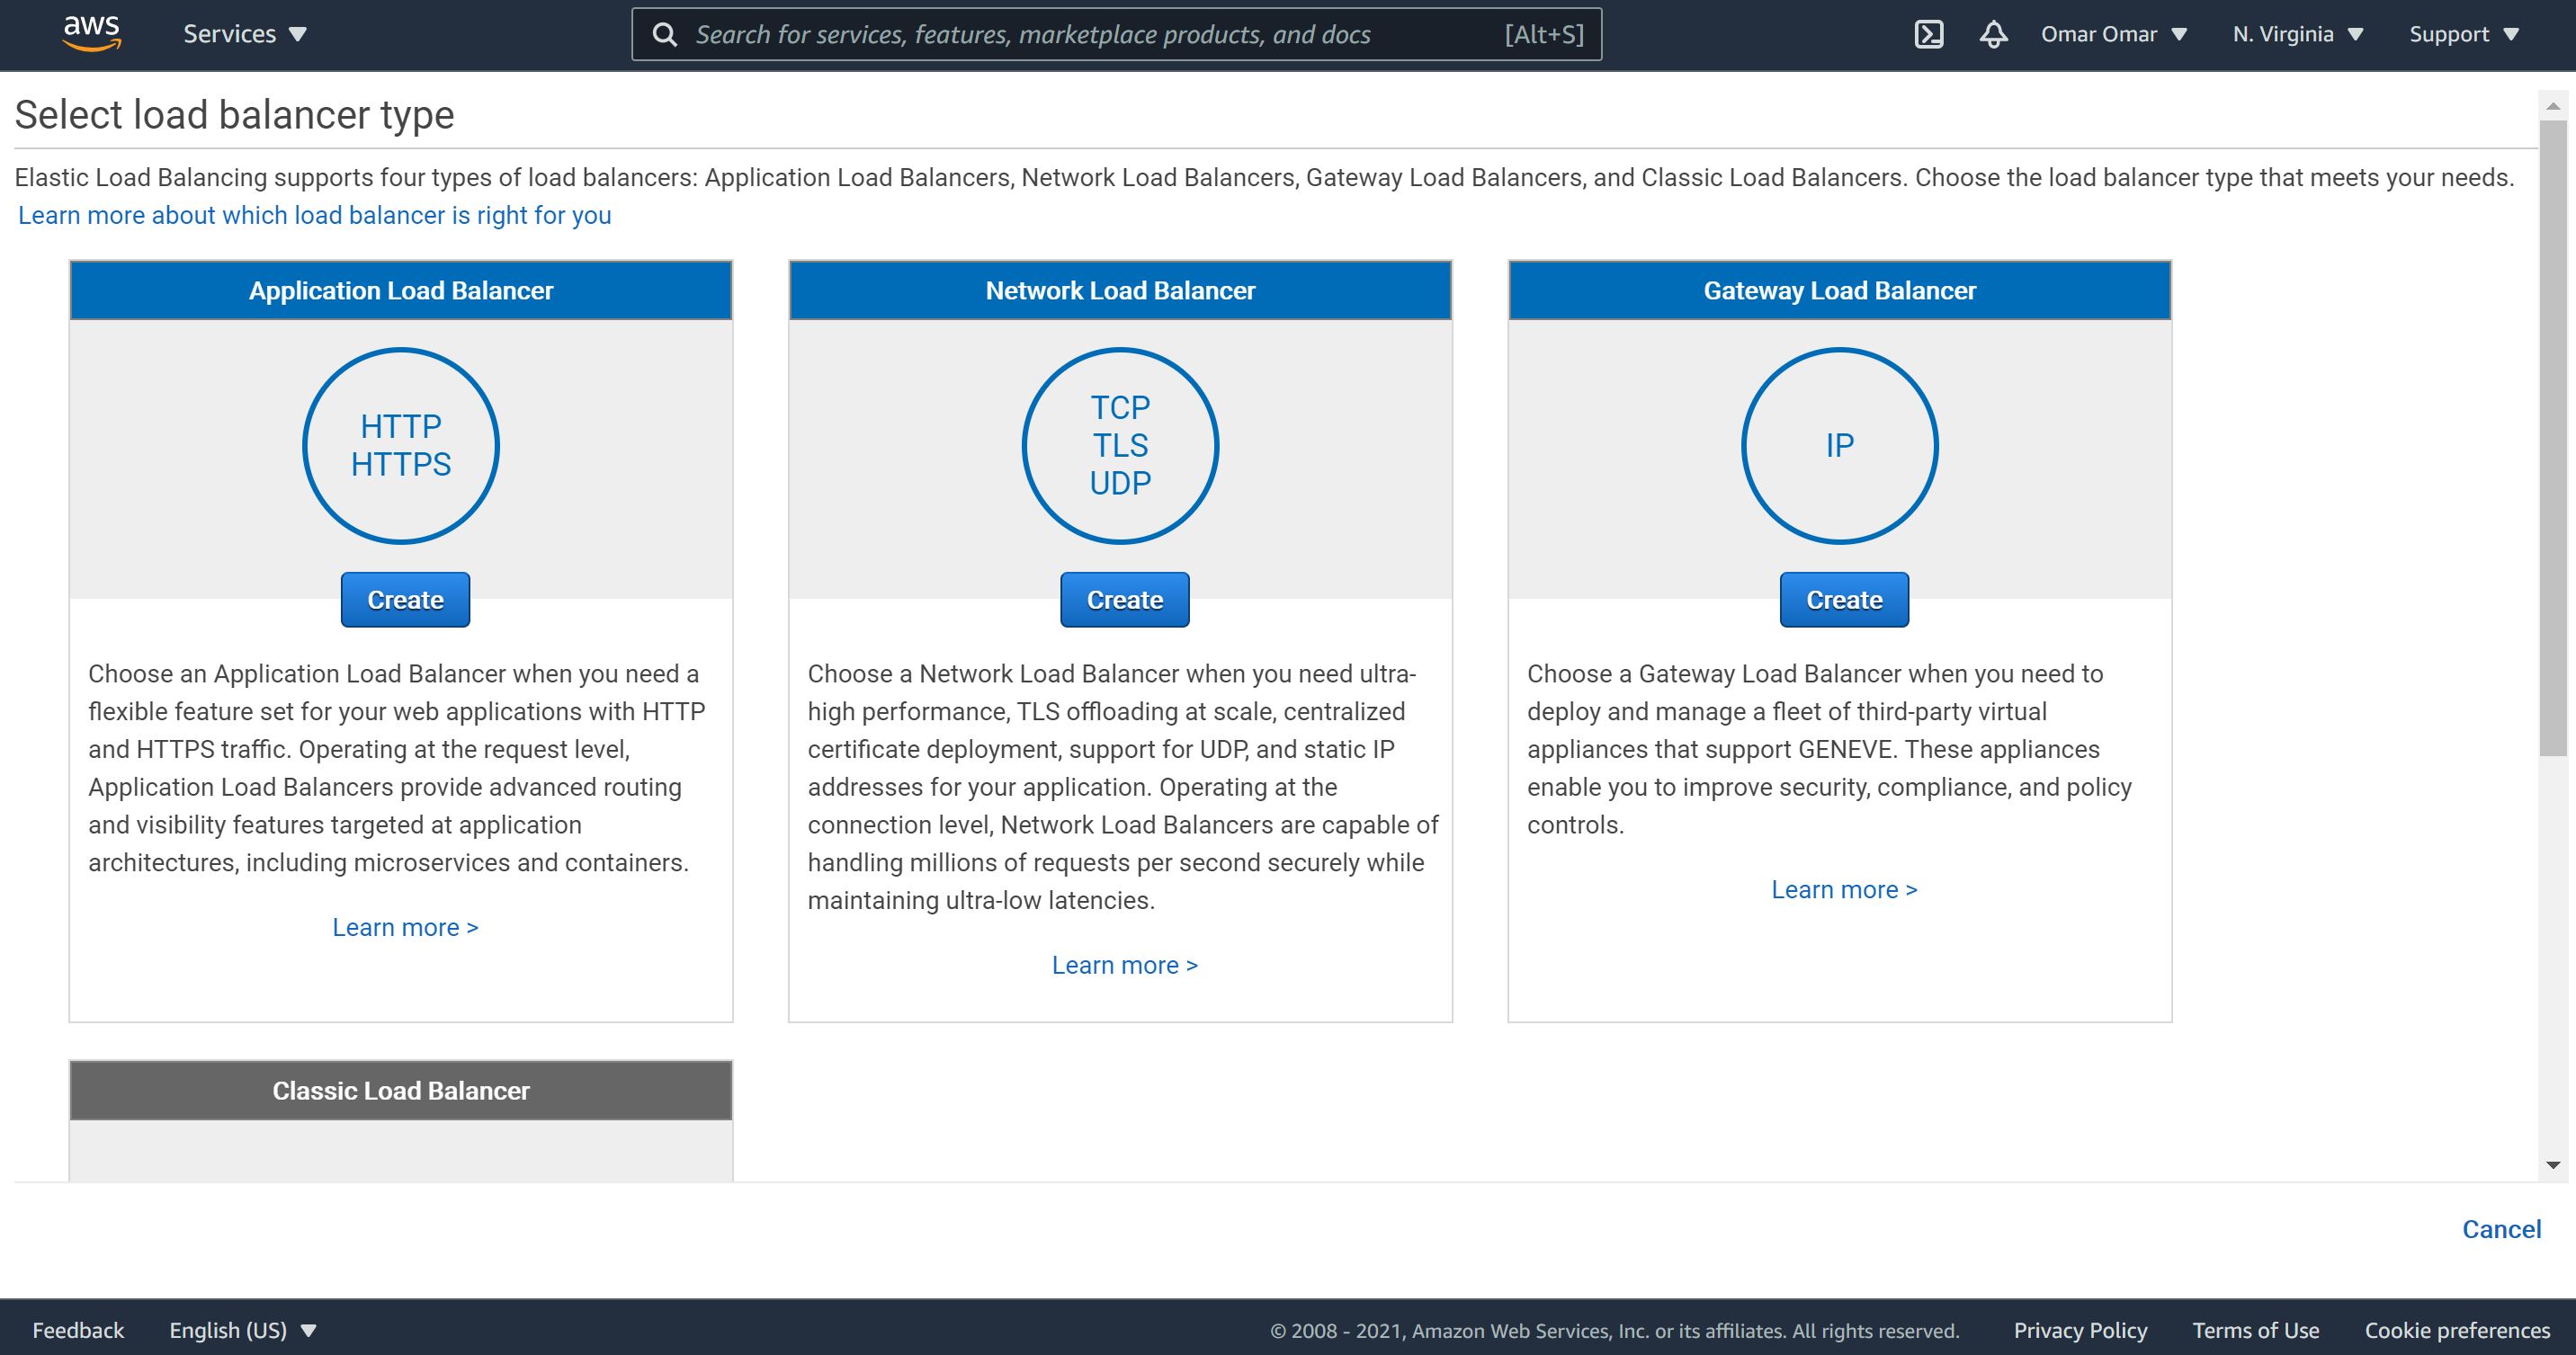
- Select an Application Load Balancer as the type of a load balancer.
- Configure the ALB as shown below. At least, select two AVailability Zones.
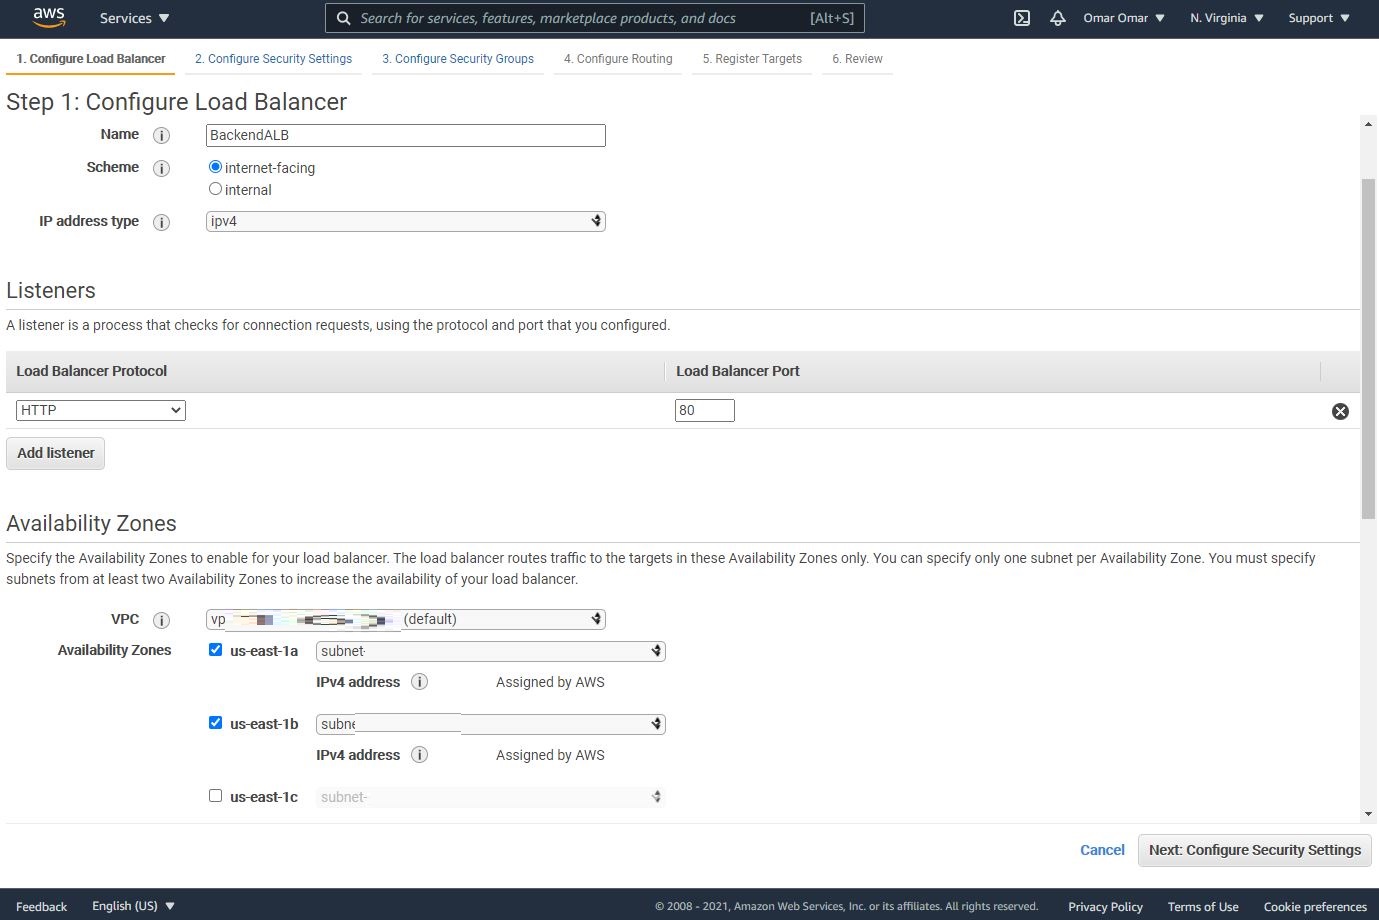
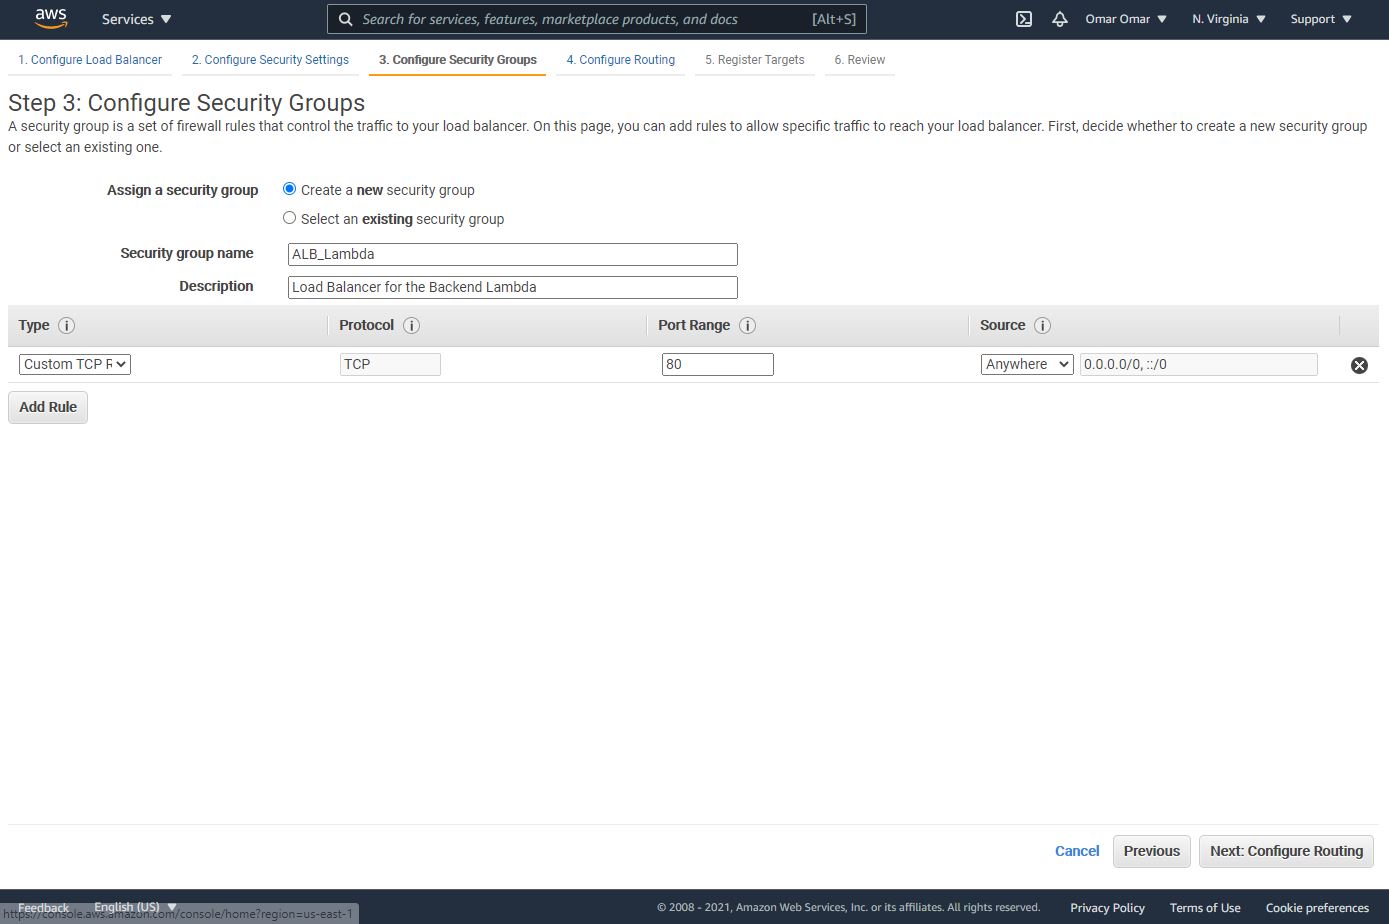
- On the configuration of the security group, create a new security group and make sure you have port 80 open to receive http traffic.
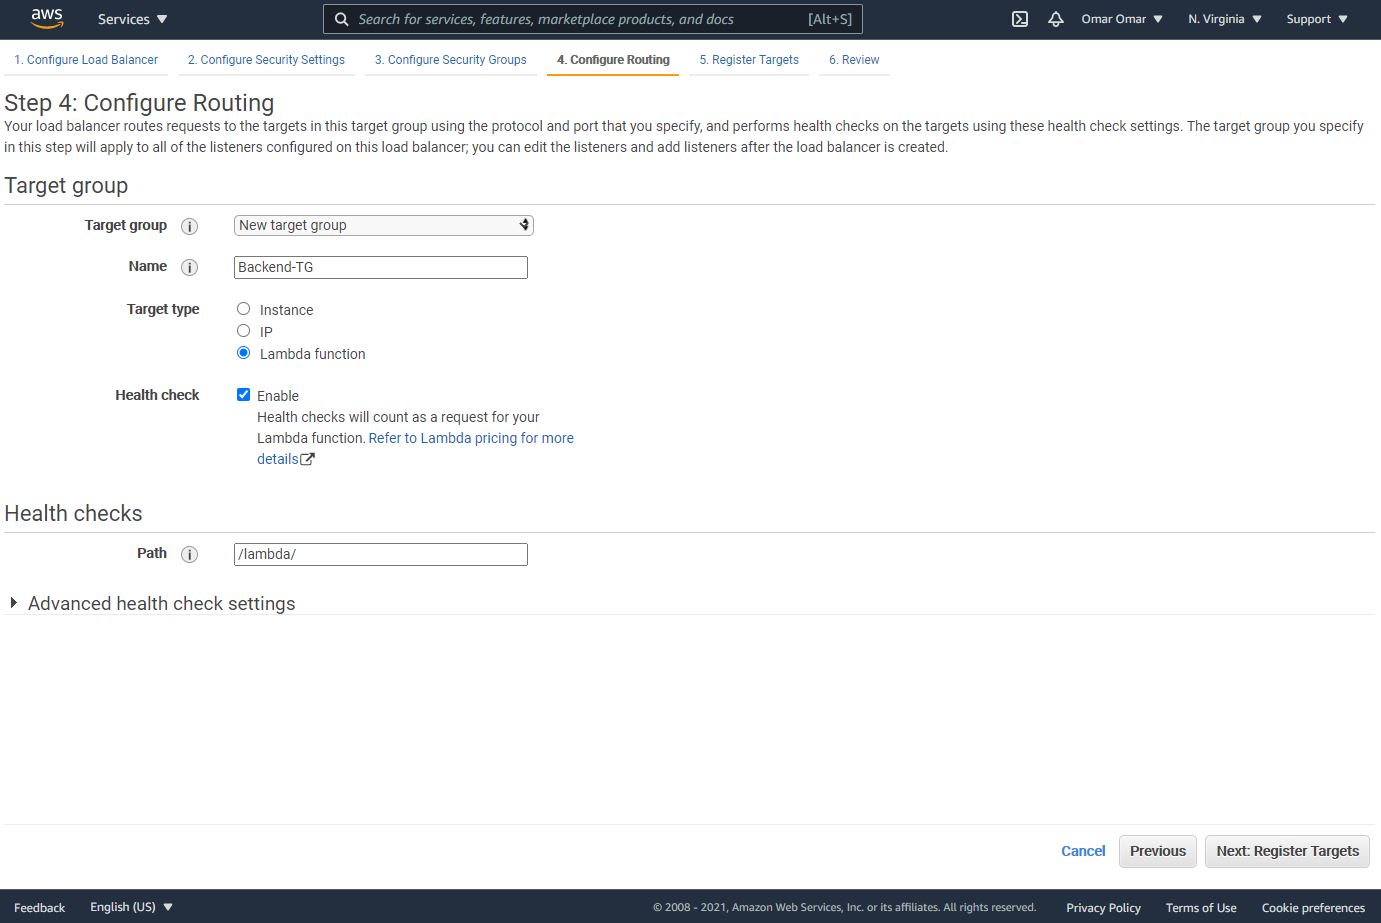
- Add a new target group as a Lambda function and enable Health check. Also, add /lambda/ to the health check path as shown below.
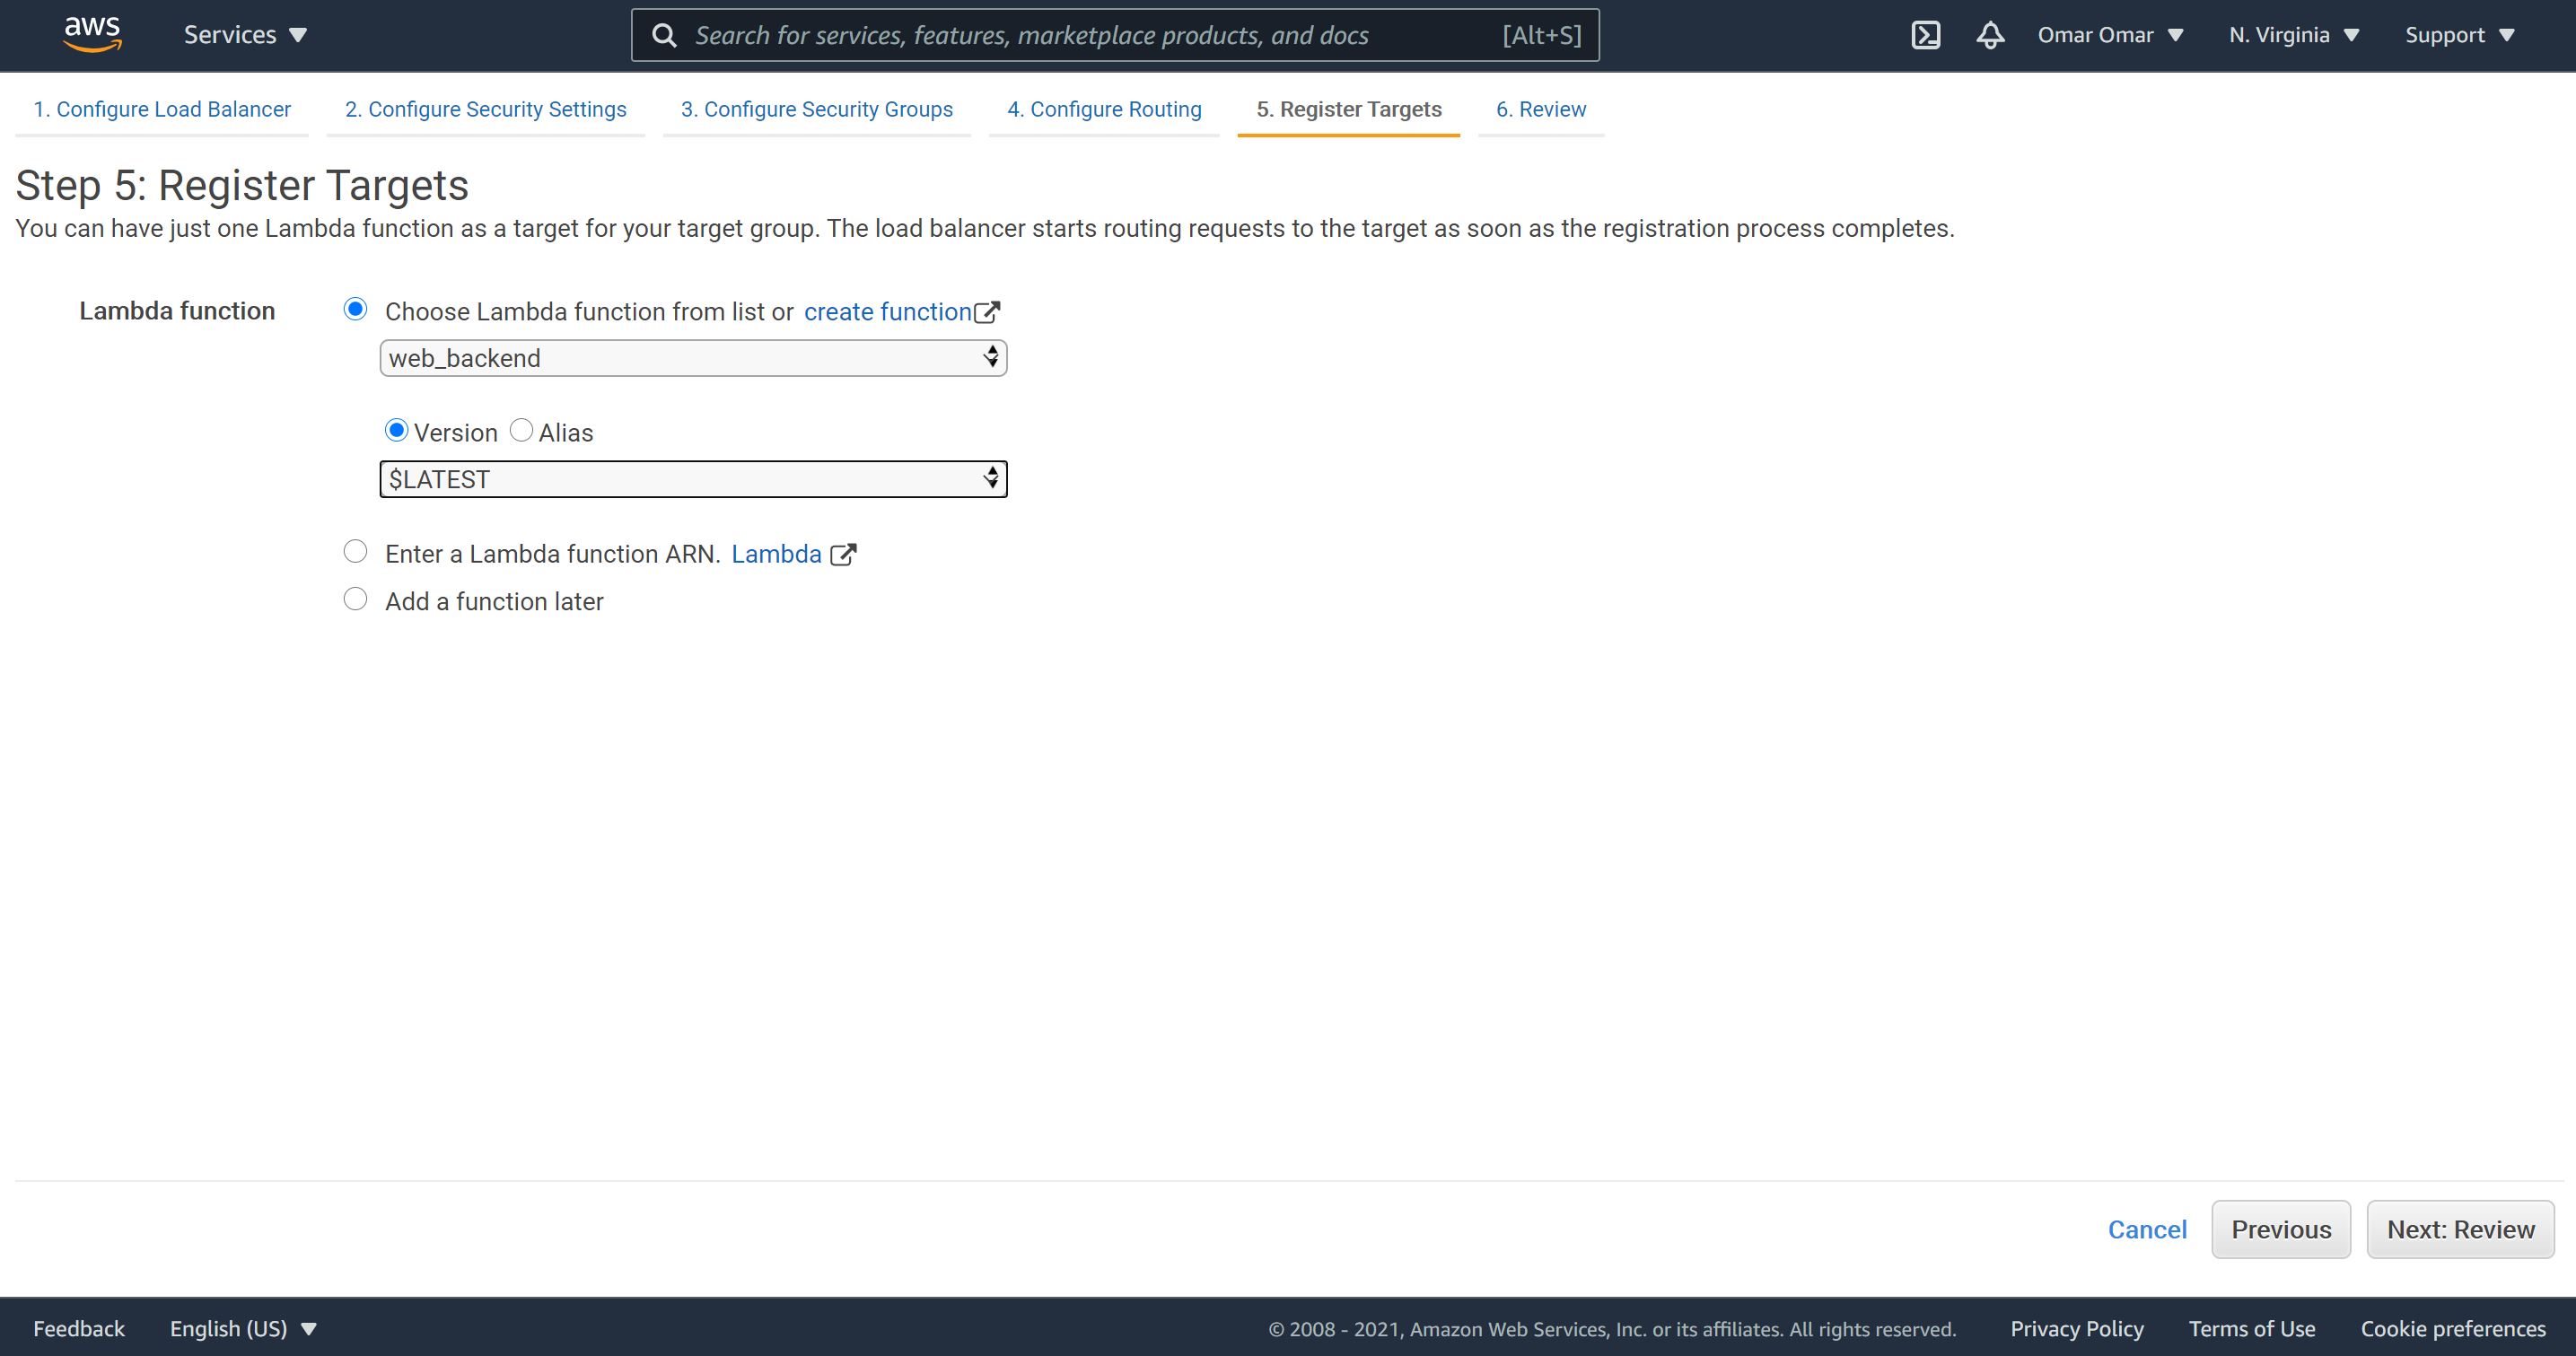
- We will select our lambda function from the drop down menu to register it as a target. If you have multiple versions of lambda function, select the version you’d like to register as a target.
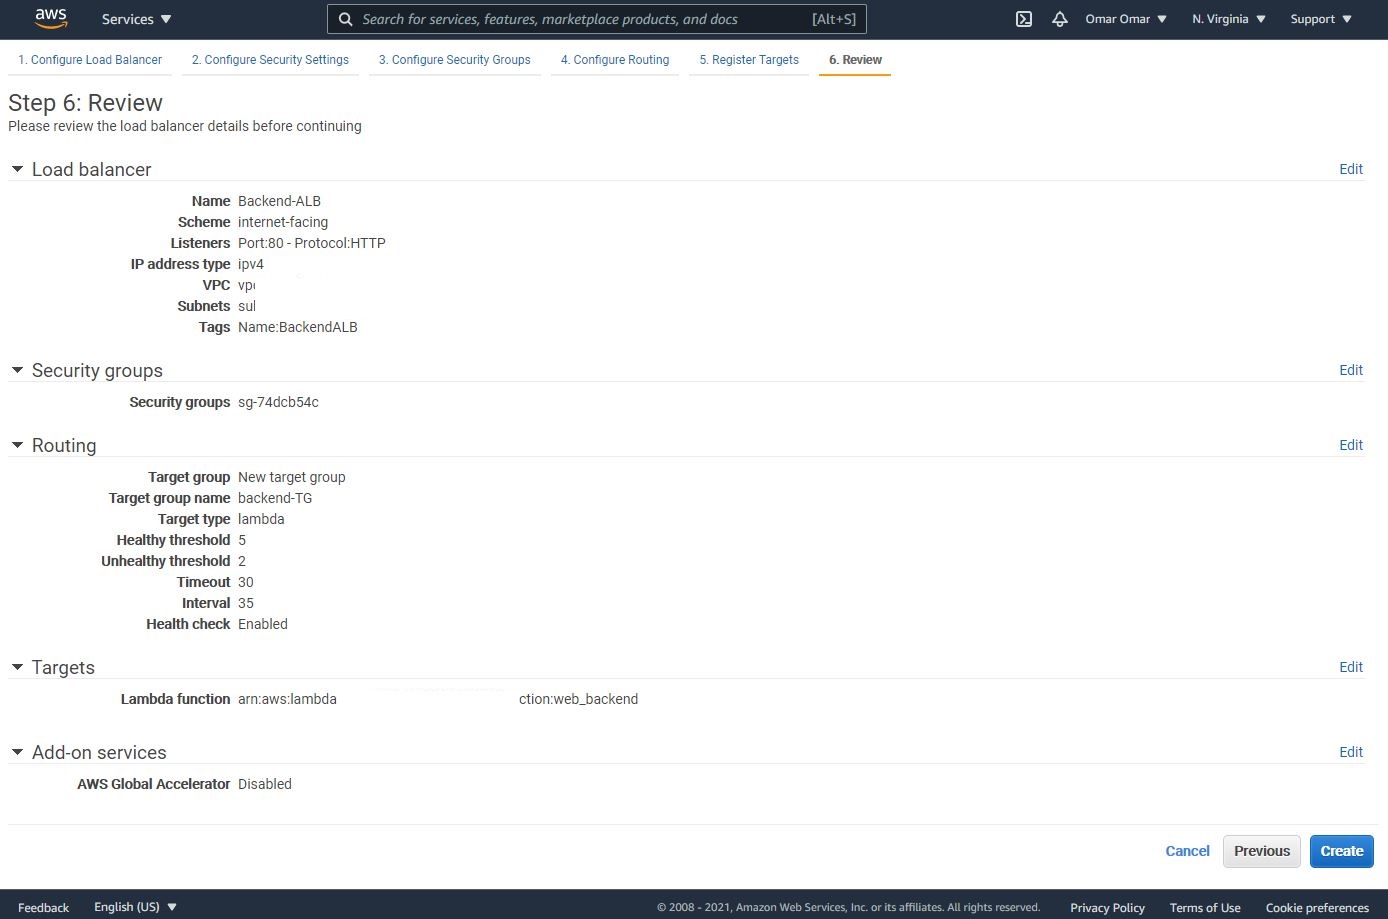
- Review the configuration and then click on Create.
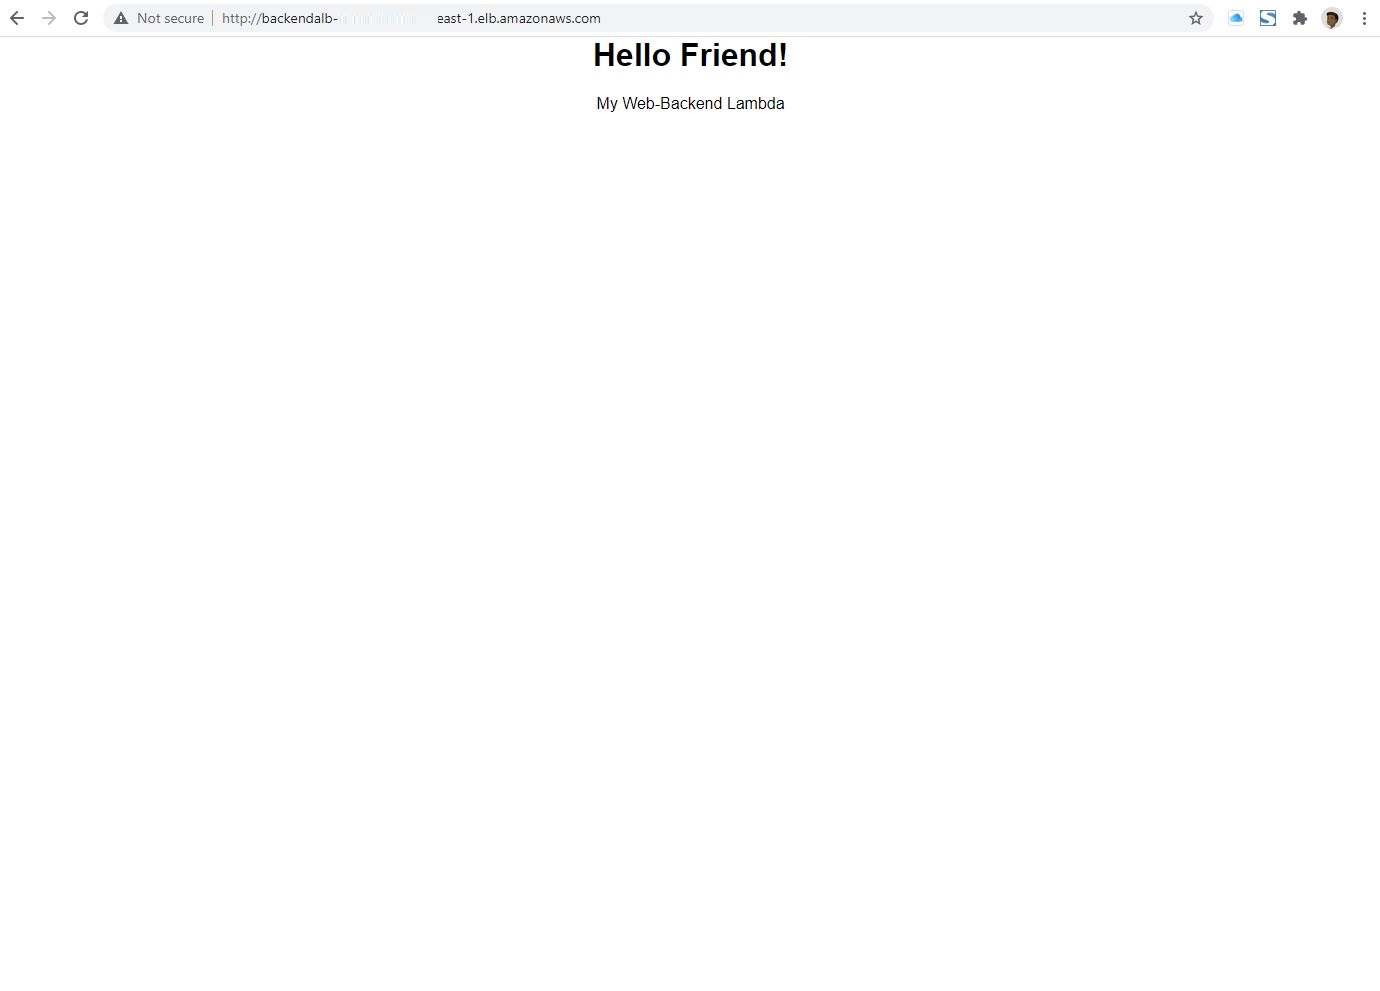
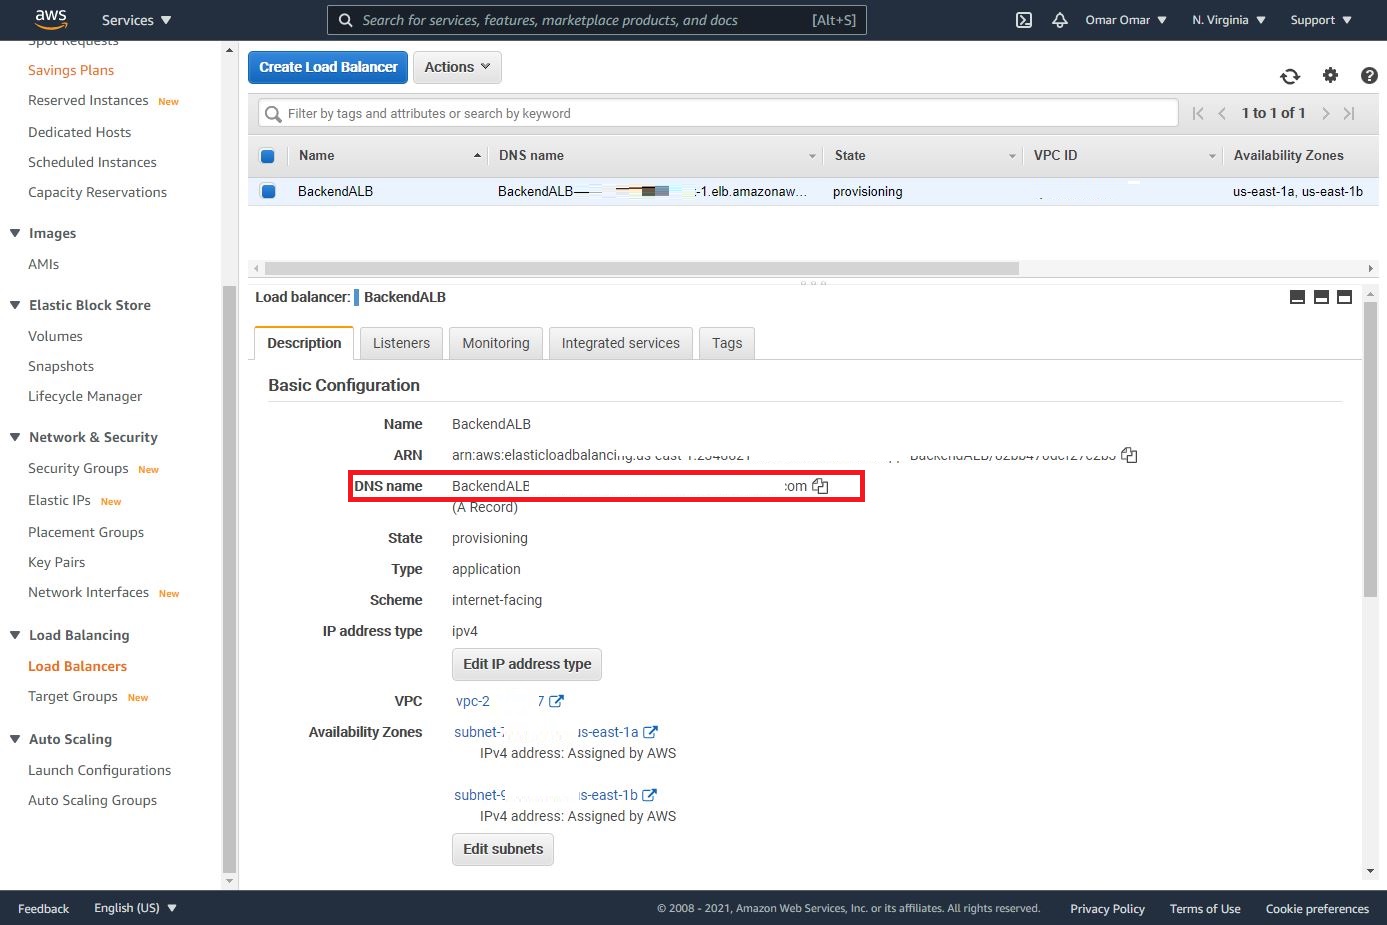
- We will need to wait until our ALB status is updated from provisioning to active. Then, we get the DNS name of the ALB and paste it on the browser.
Conclusion:
Congratulations, we have successfully employed an Application Load Balancer to direct traffic to our Lambda function backend. This Lambda function is written in Python and is target group for the ALB.