Install Docker and Portainer on Ubuntu Instance
What is Portainer?
Portainer is the definitive open source container management tool for Kubernetes, Docker, Docker Swarm and Azure ACI. It allows anyone to deploy and manage containers without the need to write codes. To learn more about Portainer.
Updating the Operating System
Now, we have a secured connection with our instance, let’s update and upgrade the operating system. Updating and upgrading the operating system of the instance is always a good habit to have. We will run the following update/upgrade commands. The -y in the end of the command line will automatically enters “yes” as a confirmation before installing the updates.
sudo apt update && sudo apt upgrade -y
Cleaning up after an update
If this is not the packges first time to run an update, there might have some unnecessary packages left for cleaning. Removing these packages will free space and prevent your system from cluttering. The following command shall do the job.
sudo apt autoremove
Step 1: Install Docker
If always want to automatically get the latest version of Docker on Ubuntu, you must add its official repository to Ubuntu system. To do that, run the commands below to install prerequisite packages:
sudo apt-get install apt-transport-https ca-certificates curl gnupg-agent software-properties-common
Next, run the commands below to download and install Docker’s official GPG key. The key is used to validate packages installed from Docker’s repository making sure they’re trusted.
curl -fsSL https://download.docker.com/linux/ubuntu/gpg | sudo apt-key add -
sudo apt-key fingerprint 0EBFCD88
The response would be like this:
Response:

pub   rsa4096 2017-02-22 [SCEA]
      9DC8 5822 9FC7 DD38 854A  E2D8 8D81 803C 0EBF CD88
uid           [ unknown] Docker Release (CE deb) <docker@docker.com>
sub   rsa4096 2017-02-22 [S]
Now that the official GPG key is installed, run the commands below to add its stable repository to Ubuntu. To add the nightly or test repository, add the word nightly or test (or both) after the word stable in the commands below.
sudo add-apt-repository "deb [arch=amd64] https://download.docker.com/linux/ubuntu $(lsb_release -cs) stable"
After this command, Docker’s official GPG and repository should be installed on Ubuntu. If you have older versions of Docker, run the commands below to remove them:
sudo apt-get remove docker docker-engine docker.io containerd runc
When you have removed all the previous versions of Docker, run the commands below to install the latest and current stable version of Docker: To install specific version of Docker, run the apt-cache command. Then select the version to install.
apt-cache madison docker-ce

Output:
docker-ce | 5:19.03.12~3-0~ubuntu-focal | https://download.docker.com/linux/ubuntu focal/stable amd64 Packages
docker-ce | 5:19.03.11~3-0~ubuntu-focal | https://download.docker.com/linux/ubuntu focal/stable amd64 Packages
docker-ce | 5:19.03.10~3-0~ubuntu-focal | https://download.docker.com/linux/ubuntu focal/stable amd64 Packages
docker-ce | 5:19.03.9~3-0~ubuntu-focal | https://download.docker.com/linux/ubuntu focal/stable amd64 Packages
....
Now to install a specific version, run the commands below with the version you wish to install:
sudo apt-get install docker-ce=5:19.03.10~3-0~ubuntu-focal docker-ce-cli=5:19.03.10~3-0~ubuntu-focal containerd.io
If you just want to latest version without specifying above, run the commands below. The command below will always install the highest possible version:
sudo apt-get install docker-ce docker-ce-cli containerd.io
This will install Docker software on Ubuntu. Add your account, for most cases it will be ubuntu, to Docker group and restart:
sudo usermod -aG docker $USER
Reboot your instance:
sudo reboot
To verify that Docker CE is installed correctly you can run the hello-world image:
sudo docker run hello-world
If Docker is installed correctly you will see the following response:
Response:

Hello from Docker!
This message shows that your installation appears to be working correctly.

To generate this message, Docker took the following steps:
1. The Docker client contacted the Docker daemon.
2. The Docker daemon pulled the "hello-world" image from the Docker Hub.
(amd64)
3. The Docker daemon created a new container from that image which runs the
executable that produces the output you are currently reading.
4. The Docker daemon streamed that output to the Docker client, which sent it
to your terminal.
Step 2: Install Docker Compose
On Ubuntu Linux, you can download the Docker Compose binary from the Compose repository release page on GitHub.
To install it, run the commands below to download version 1.28.5 As of this writing, this was the current version.
sudo curl -L "https://github.com/docker/compose/releases/download/1.28.5/docker-compose-$(uname -s)-$(uname -m)" -o /usr/local/bin/docker-compose
To install a different version of Compose, substitute 1.28.5 with the version of Compose you want to use.
After downloading it, run the commands below to apply executable permissions to the binary file and create a symbolic link to /usr/binary
sudo chmod +x /usr/local/bin/docker-compose
sudo ln -s /usr/local/bin/docker-compose /usr/bin/docker-compose
Now, Docker Compose should work. To test it, we will run the command below:
docker-compose --version
You should see similar output as below:
Response:
docker-compose version 1.28.5, build 0aa59064
Step 3: Setup Portainer
Now that Docker and Docker Composer are installed, follow the steps below to get Portainer setup.
You can use Docker command to deploy the Portainer Server; note the agent is not needed on standalone hosts, however, it does provide additional functionality if used.
To get the server installed, run the commands below.
cd ~/
docker volume create portainer_data
docker run -d -p 8000:8000 -p 9000:9000 --name=portainer --restart=always -v /var/run/docker.sock:/var/run/docker.sock -v portainer_data:/data portainer/portainer-ce:latest
You’ll just need to access the port 9000 of the Docker engine where Portainer is running using your browser.
Note: the -v /var/run/docker.sock:/var/run/docker.sock option can be used in Linux environments only.
After a successful pull, you should get a similar message as below:
latest: Pulling from portainer/portainer-ce
d1e017099d17: Pull complete
a7dca5b5a9e8: Pull complete
Digest: sha256:4ae7f14330b56ffc8728e63d355bc4bc7381417fa45ba0597e5dd32682901080
Status: Downloaded newer image for portainer/portainer-ce:latest
2fd5f4a0883a9d358ad424fd963699445be8839f3e6a2cf73d55778bcc268523
At this point, all you need to do is access Portainer portal to manage Docker. Open your web browser and browse to the server’s hostname or IP address followed by port #9000
http://localhost:9000 or http://your_EC2_instance_public_ip_adress:9000
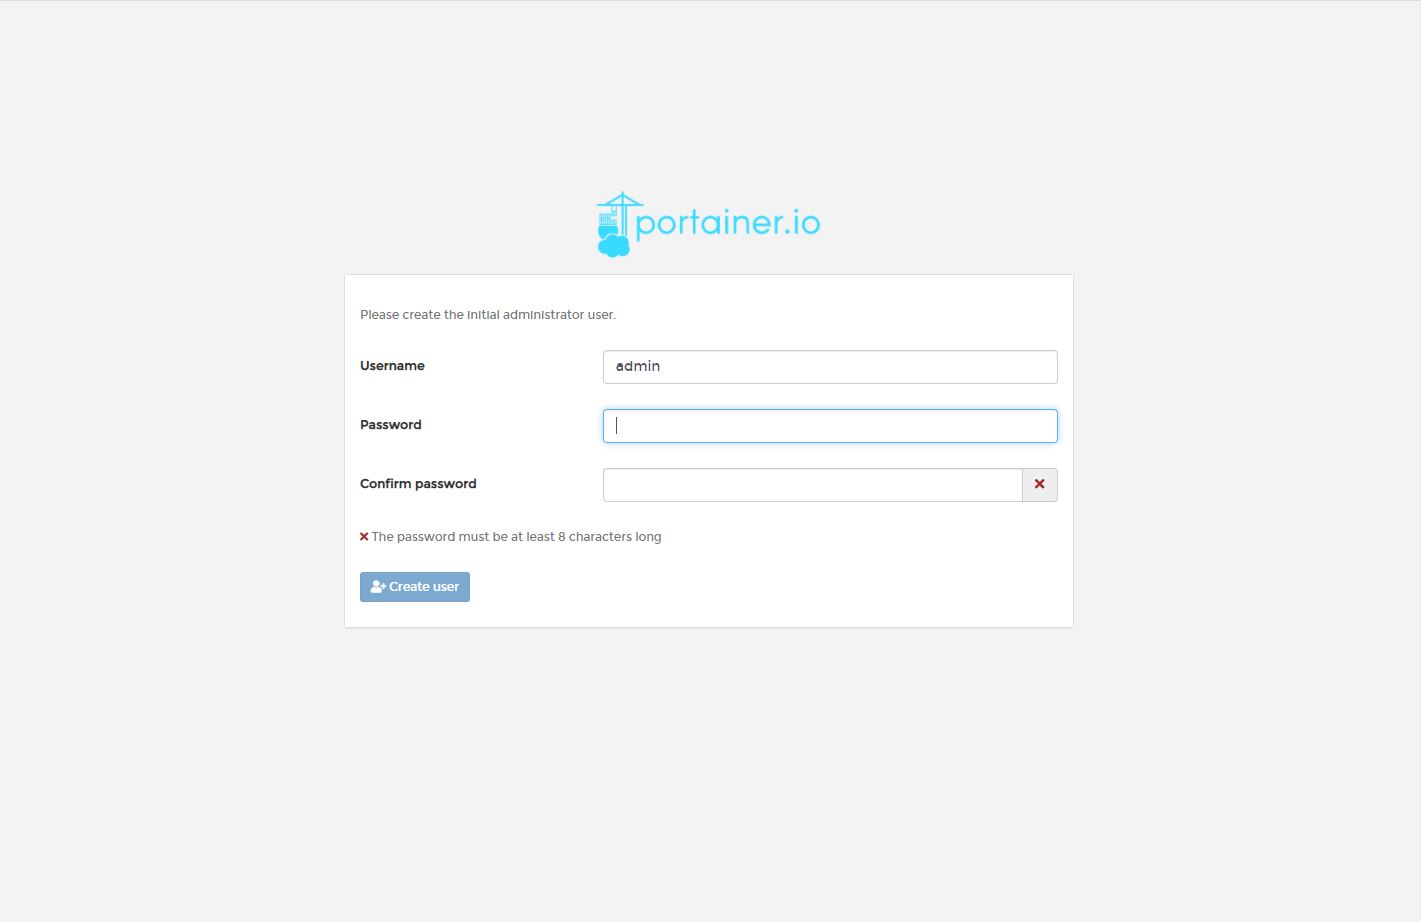
You should get Portainer login page to create an admin password.
Submit a new password.
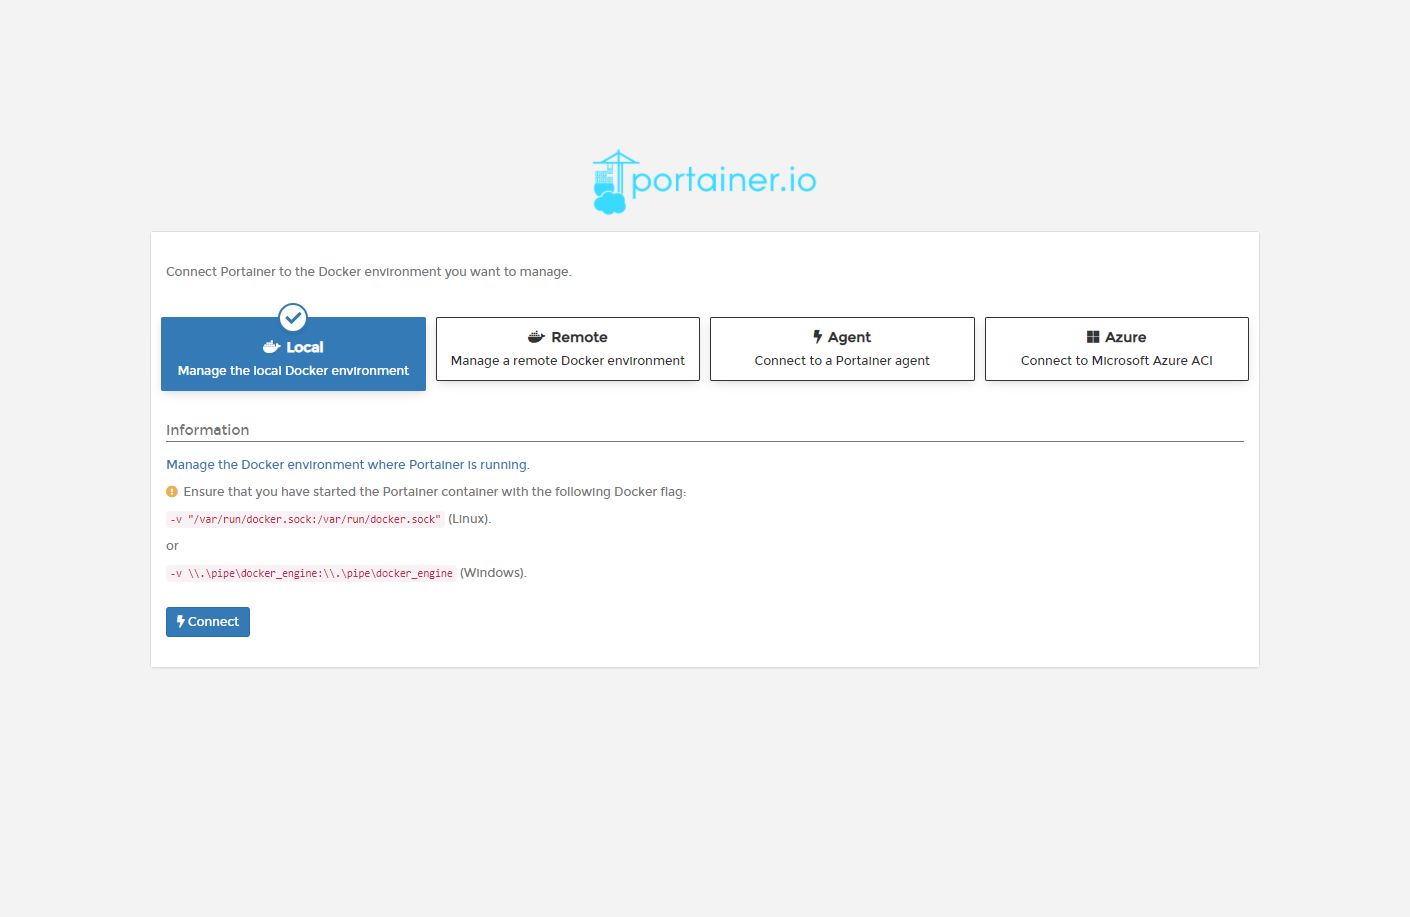
Now, you see some options to choose the environment you want to manage. Since we installed Docker on the same instance, select to connect and manage Docker locally.
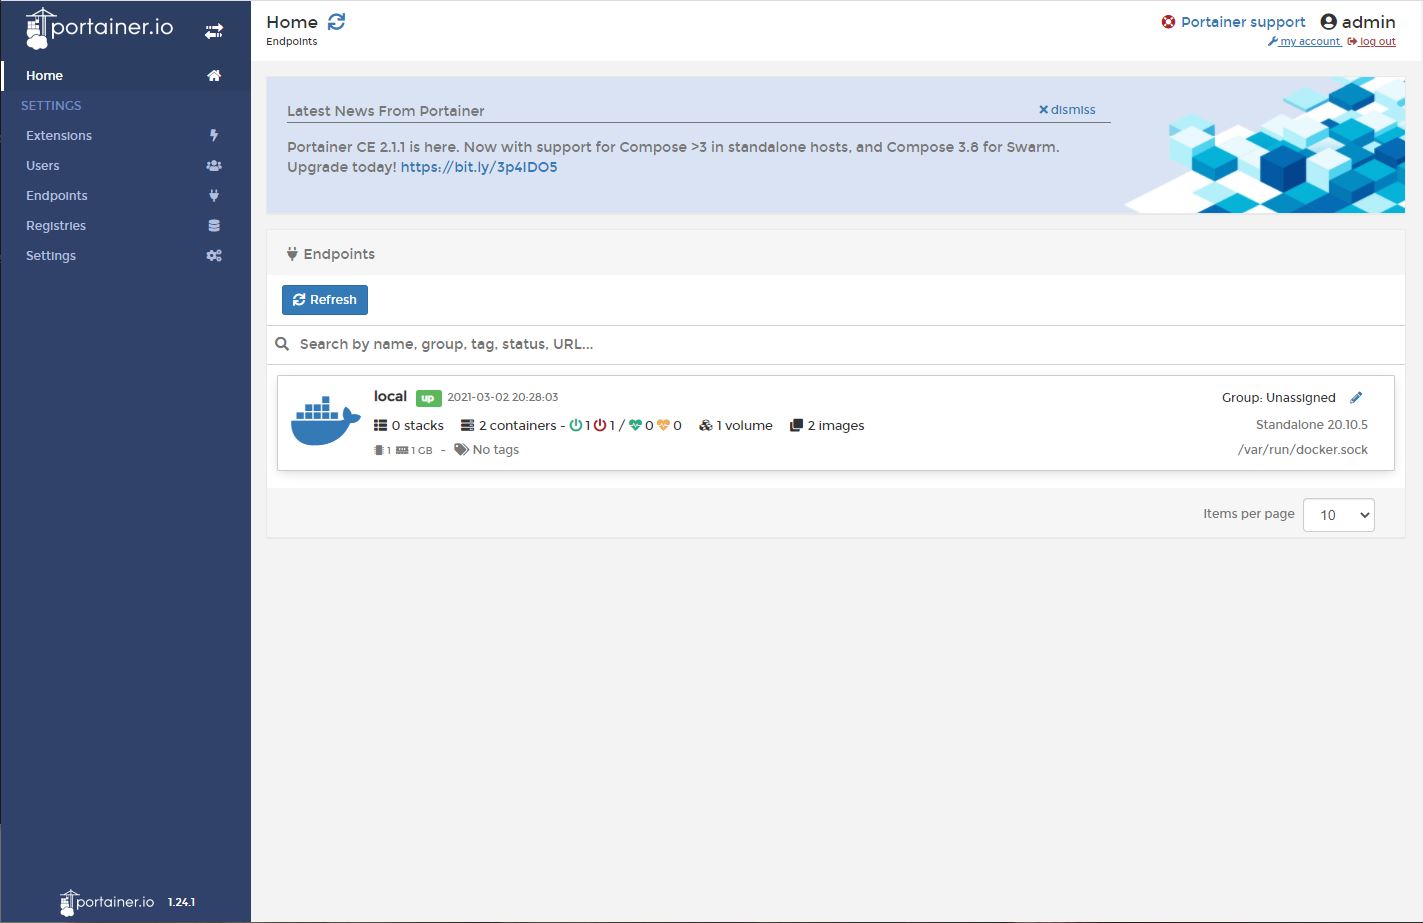
You’ll be directed to Portainer dashboard where you can start managing Docker. If you see a notification for upgrade, click on it and proceed with the upgrade process.
Conclusion:
By the end of this tutorial, we have successfully installed Portainer Docker management tool on our Ubuntu 20.04 EC2 instance. In part 3 of this tutorial, we will learn how to install and run a Wordpress web application.