Create a Free Domain Name
Tutorial Scenario:
- Register a free domain at Freenom
- Signup for a free account at Cloudflare
- Add a site to Cloudflare
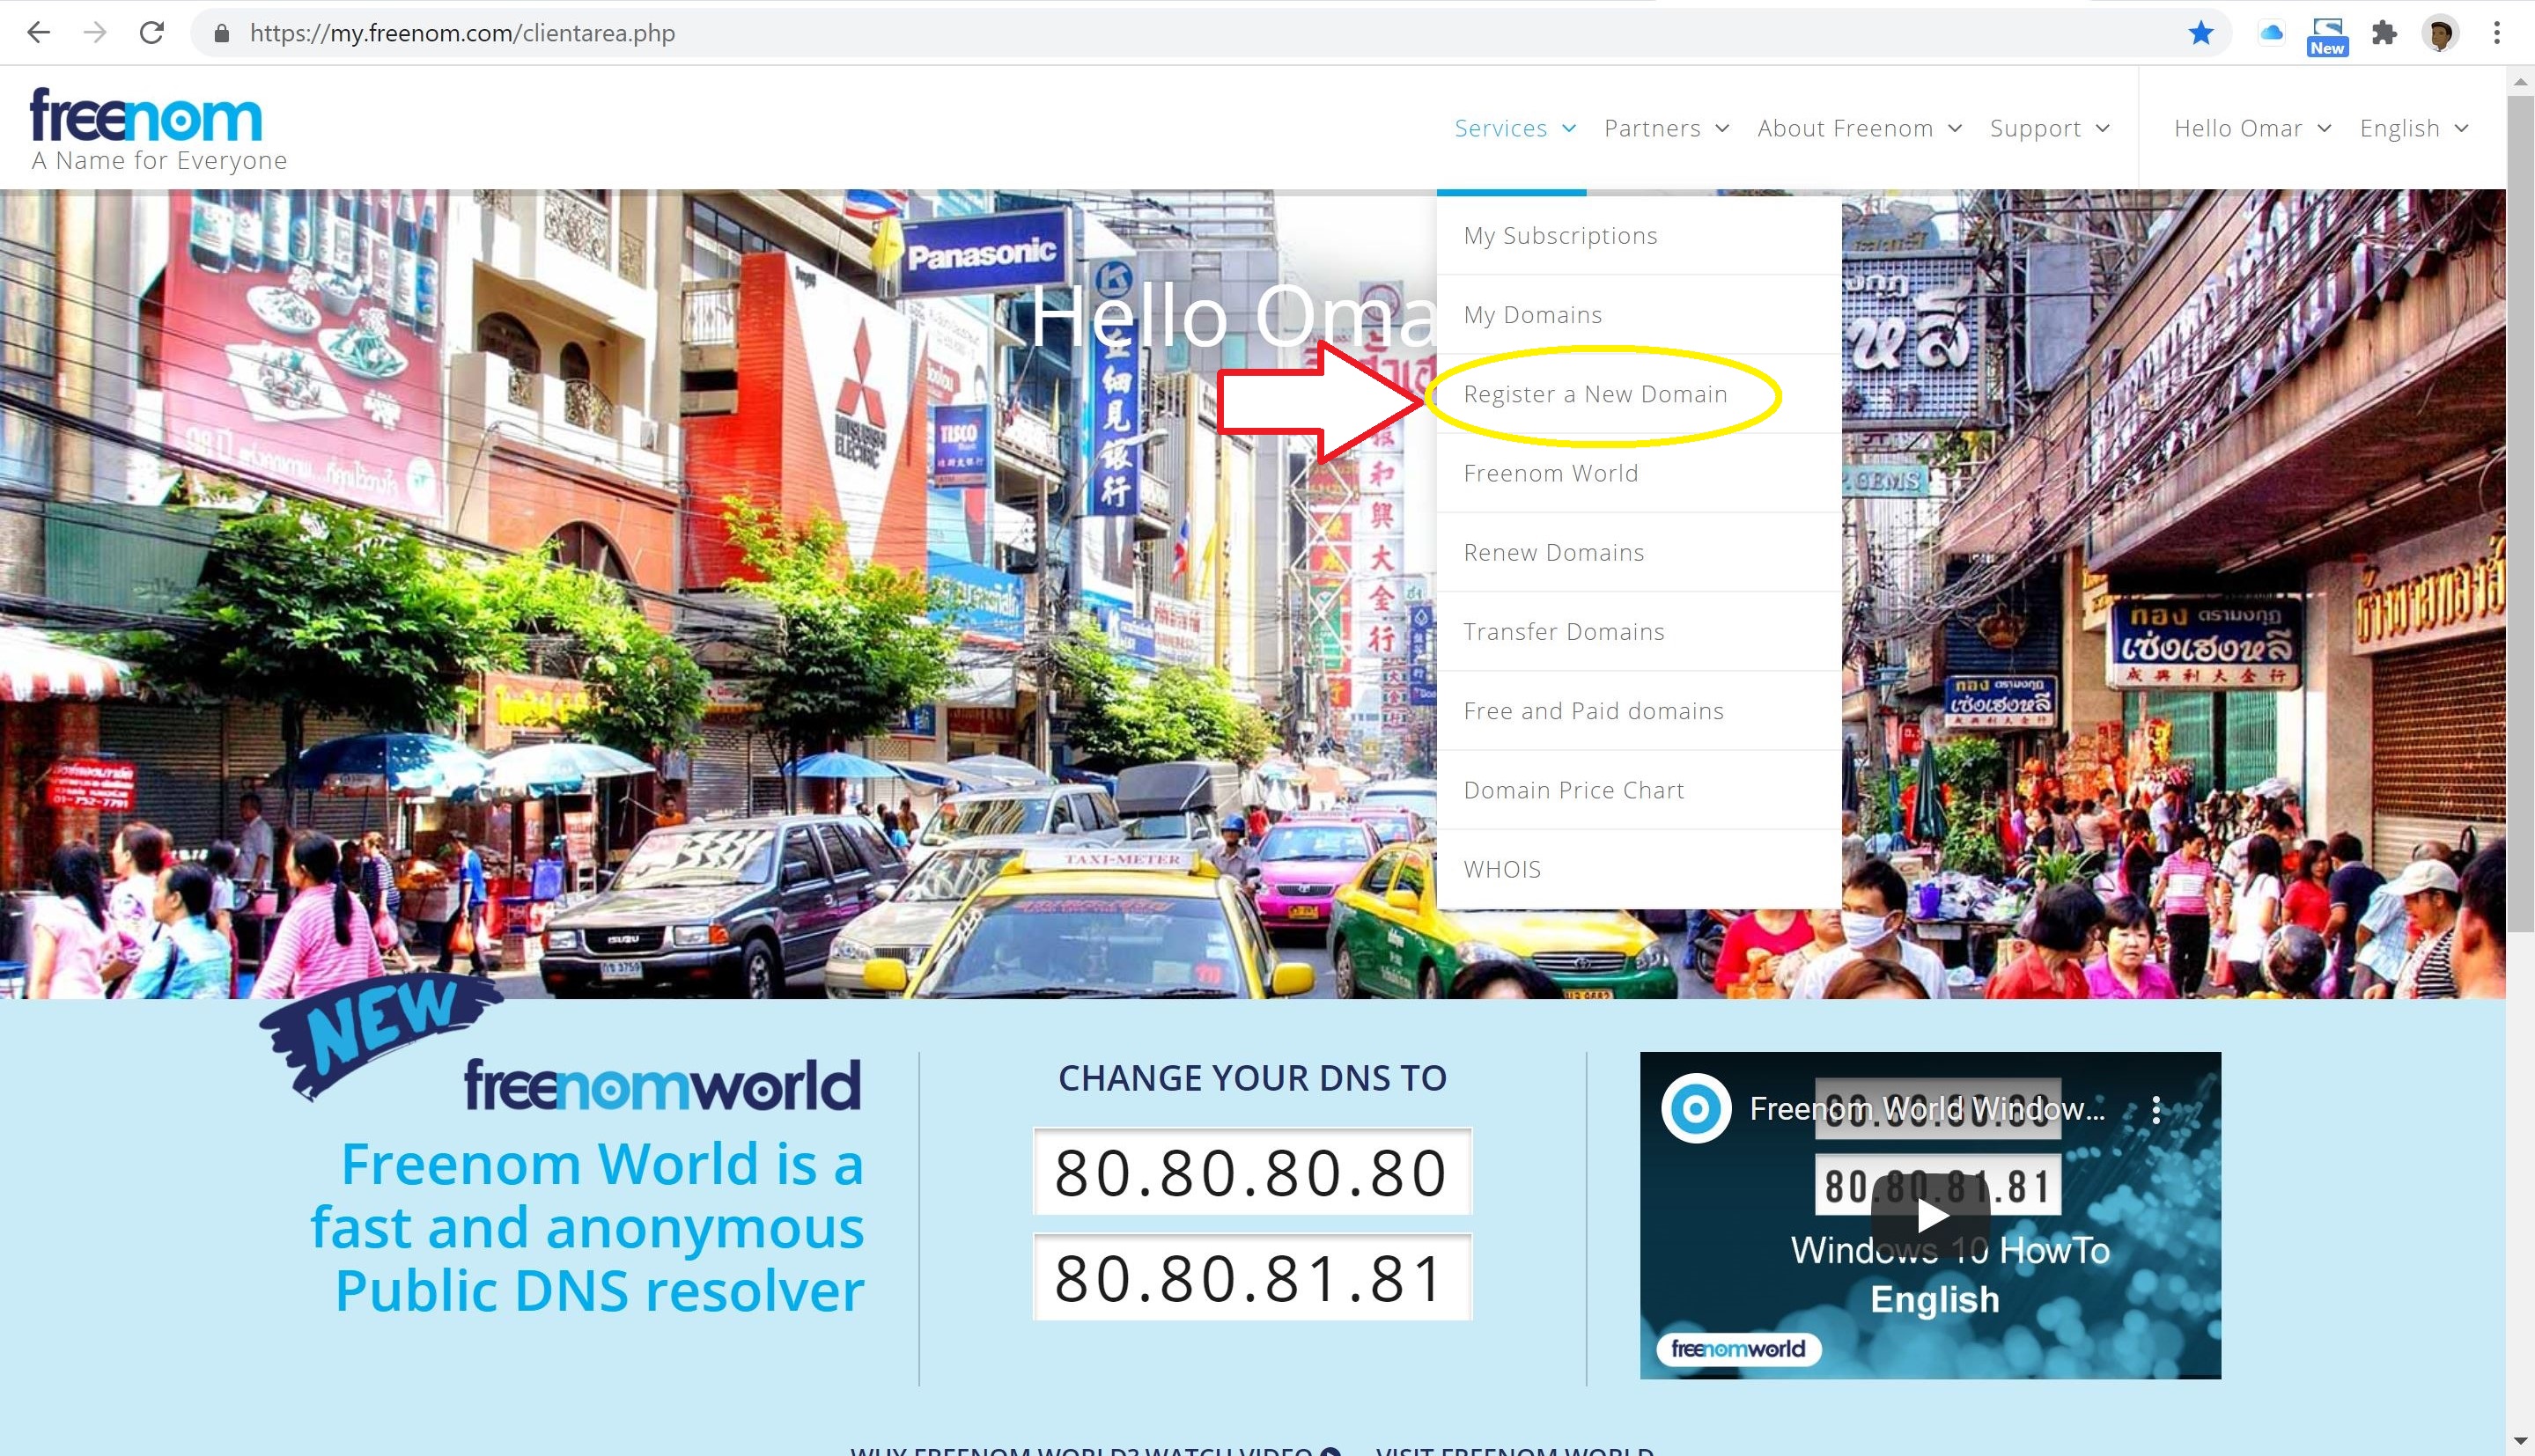
Step 1: Register a free domain at Freenom:
- Navigate to Freenom and create a free account.
- Select Register a New Domain as show below.
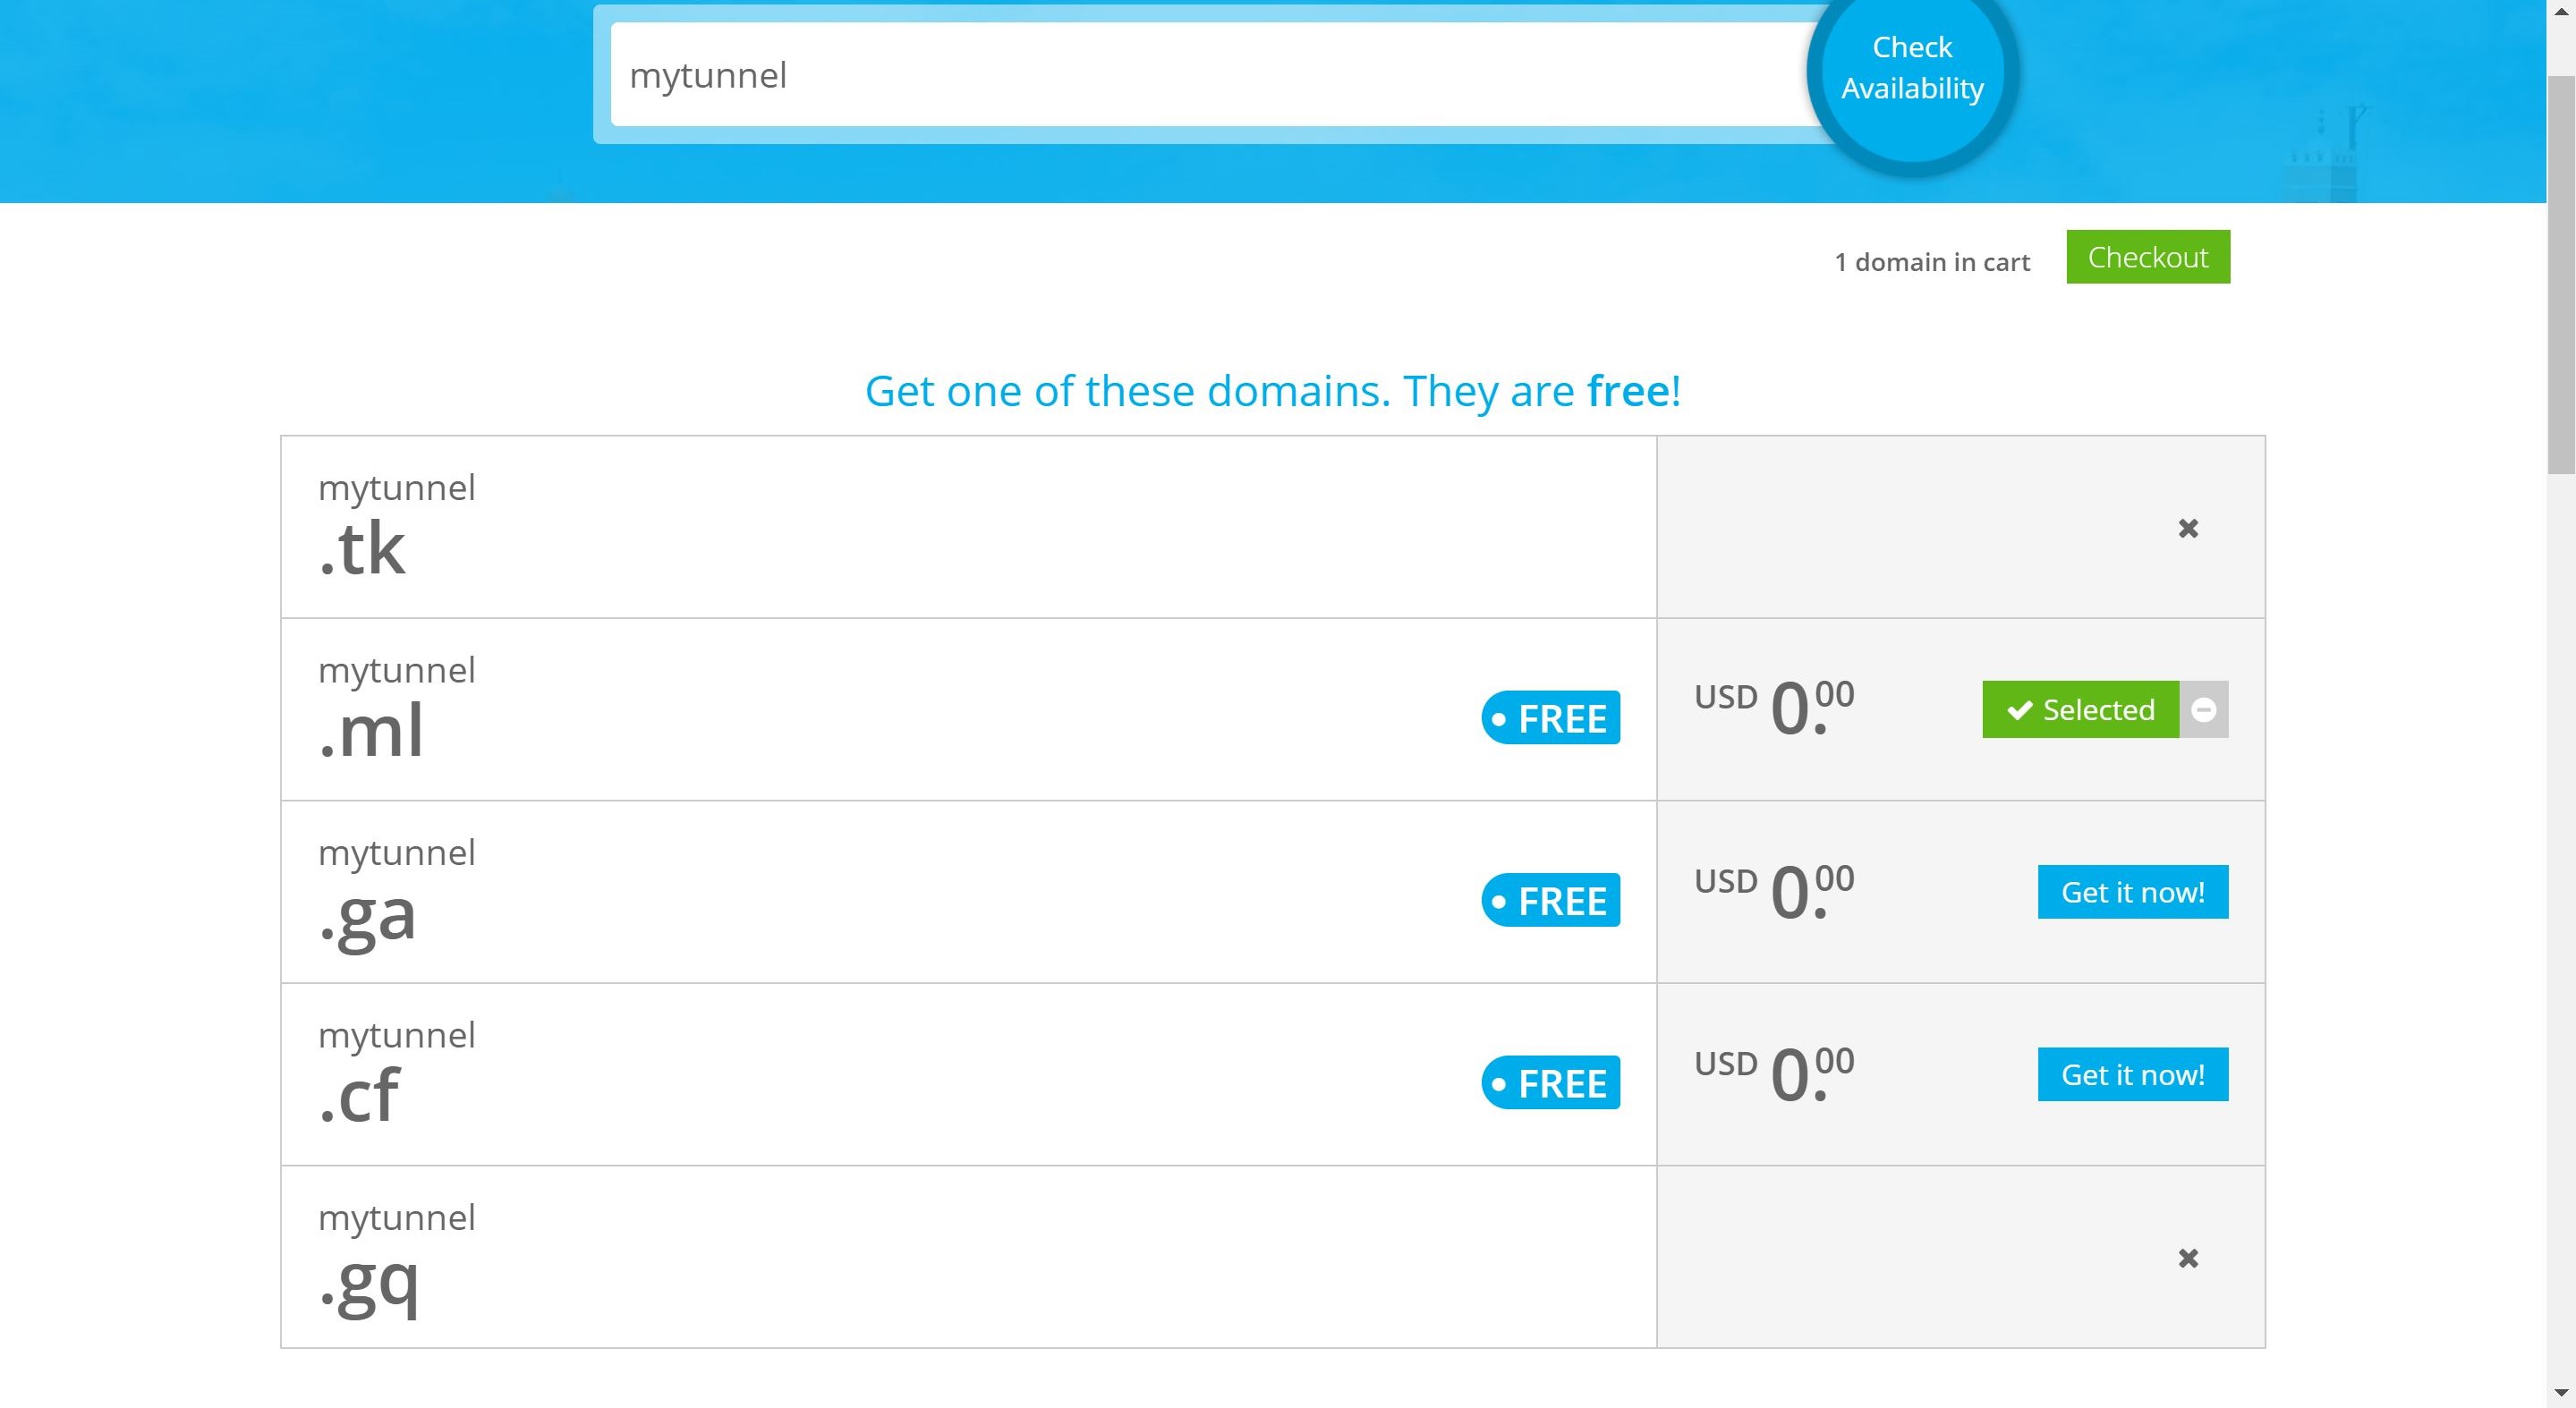
- Check the availability of a domain name of your choice. In my case, it’s mytunnel. Then, select the free domain TDL
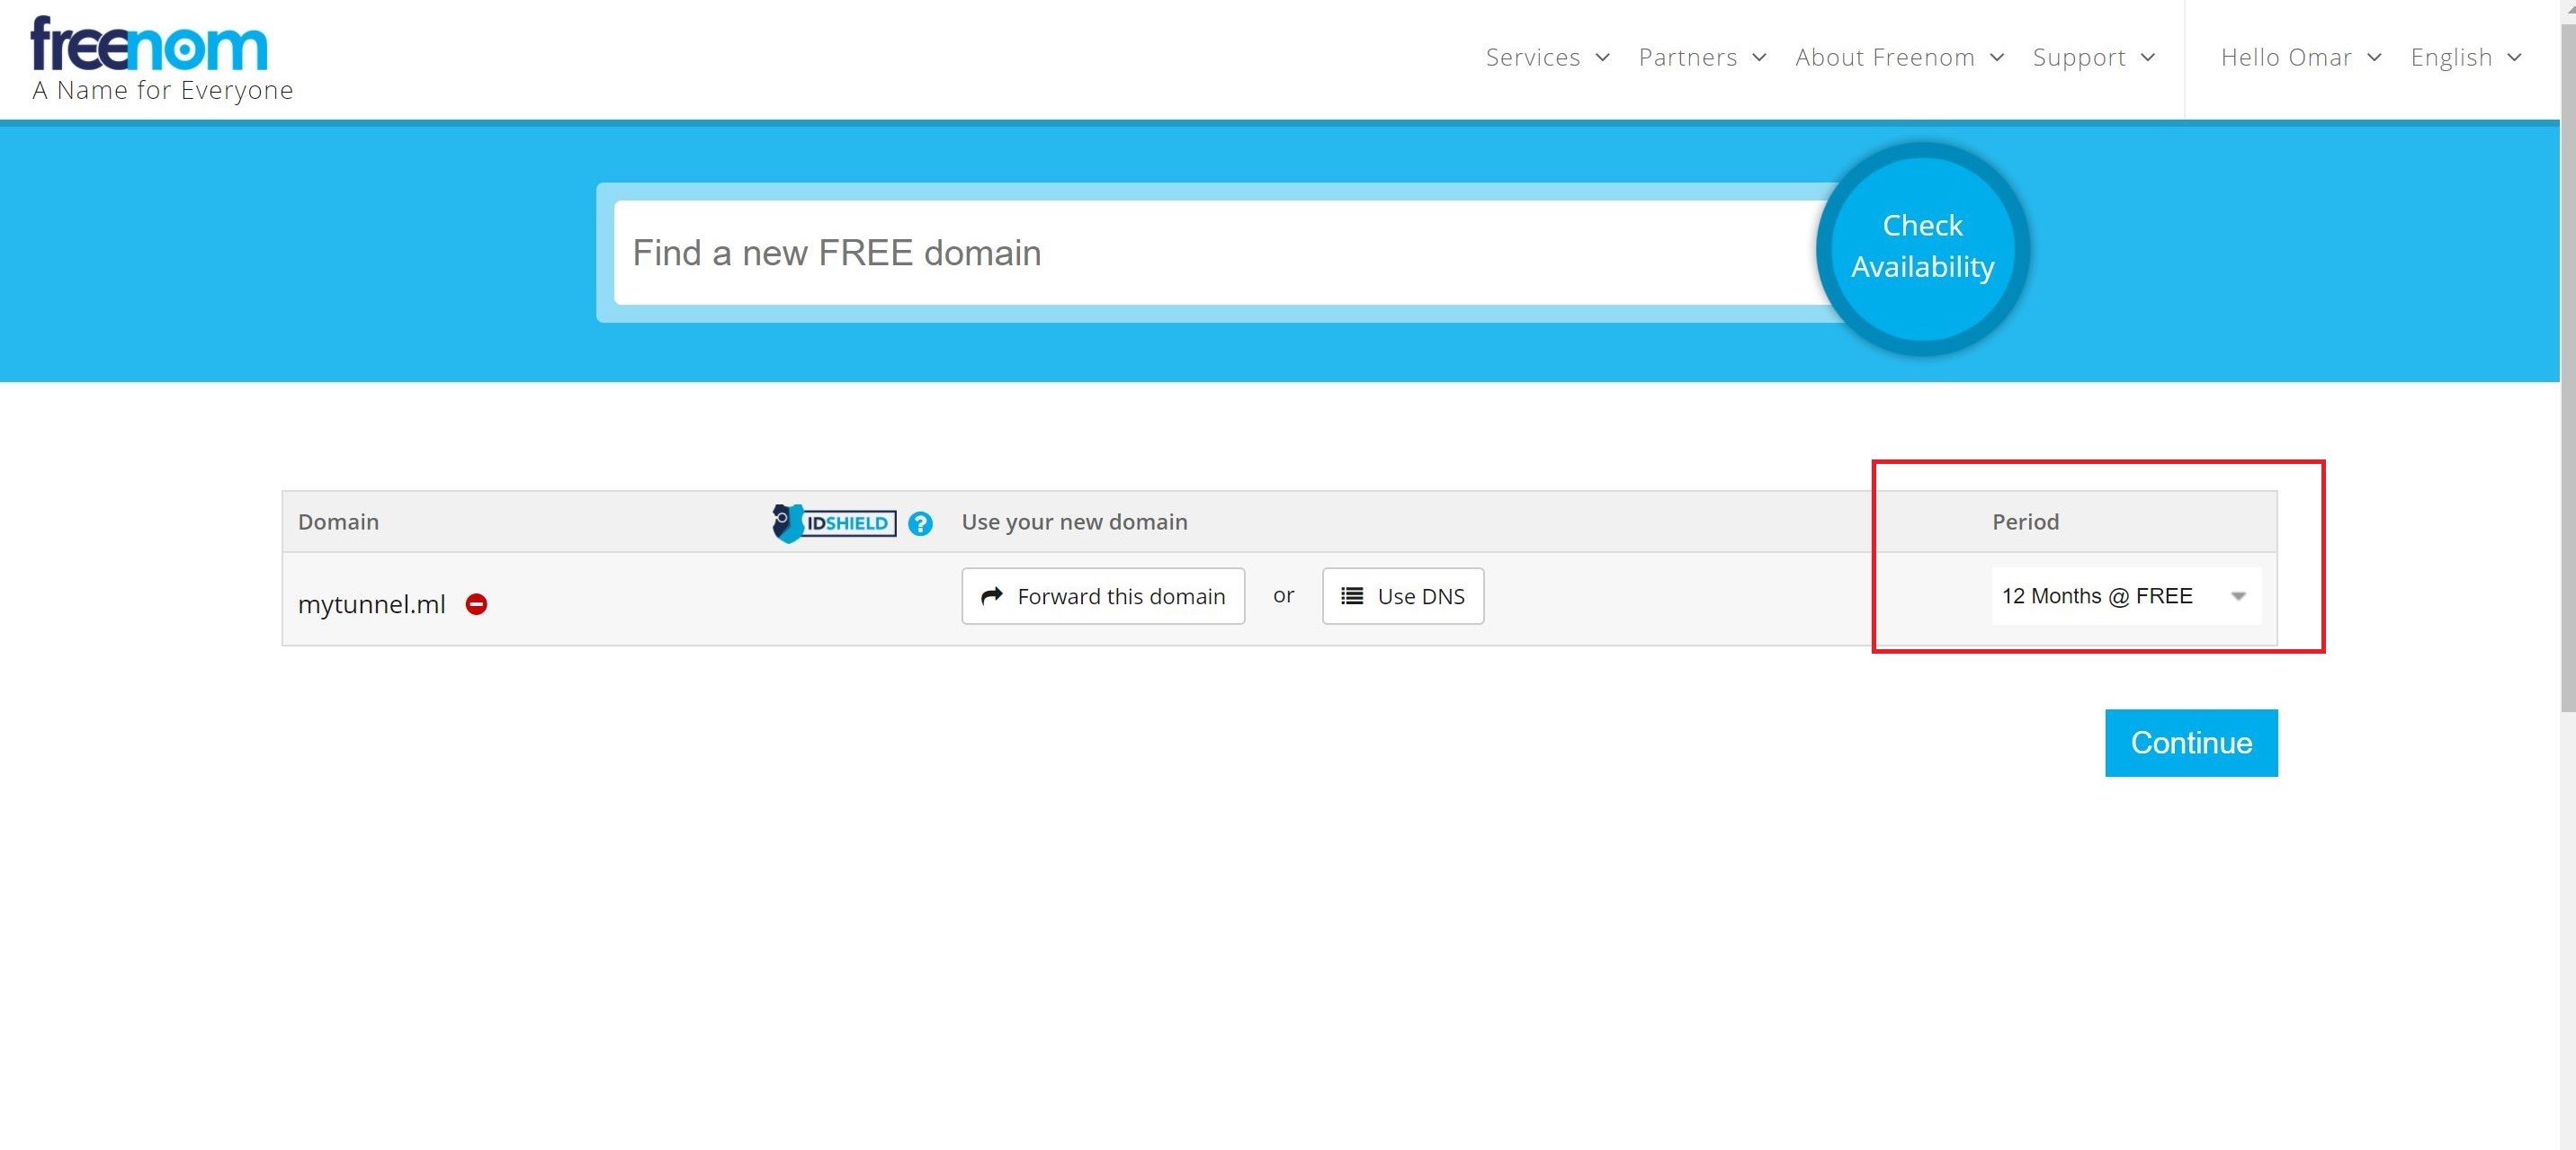
- Choose the Period for your selected domain. It ranges from 1 to 12 months. Then, click Continue.
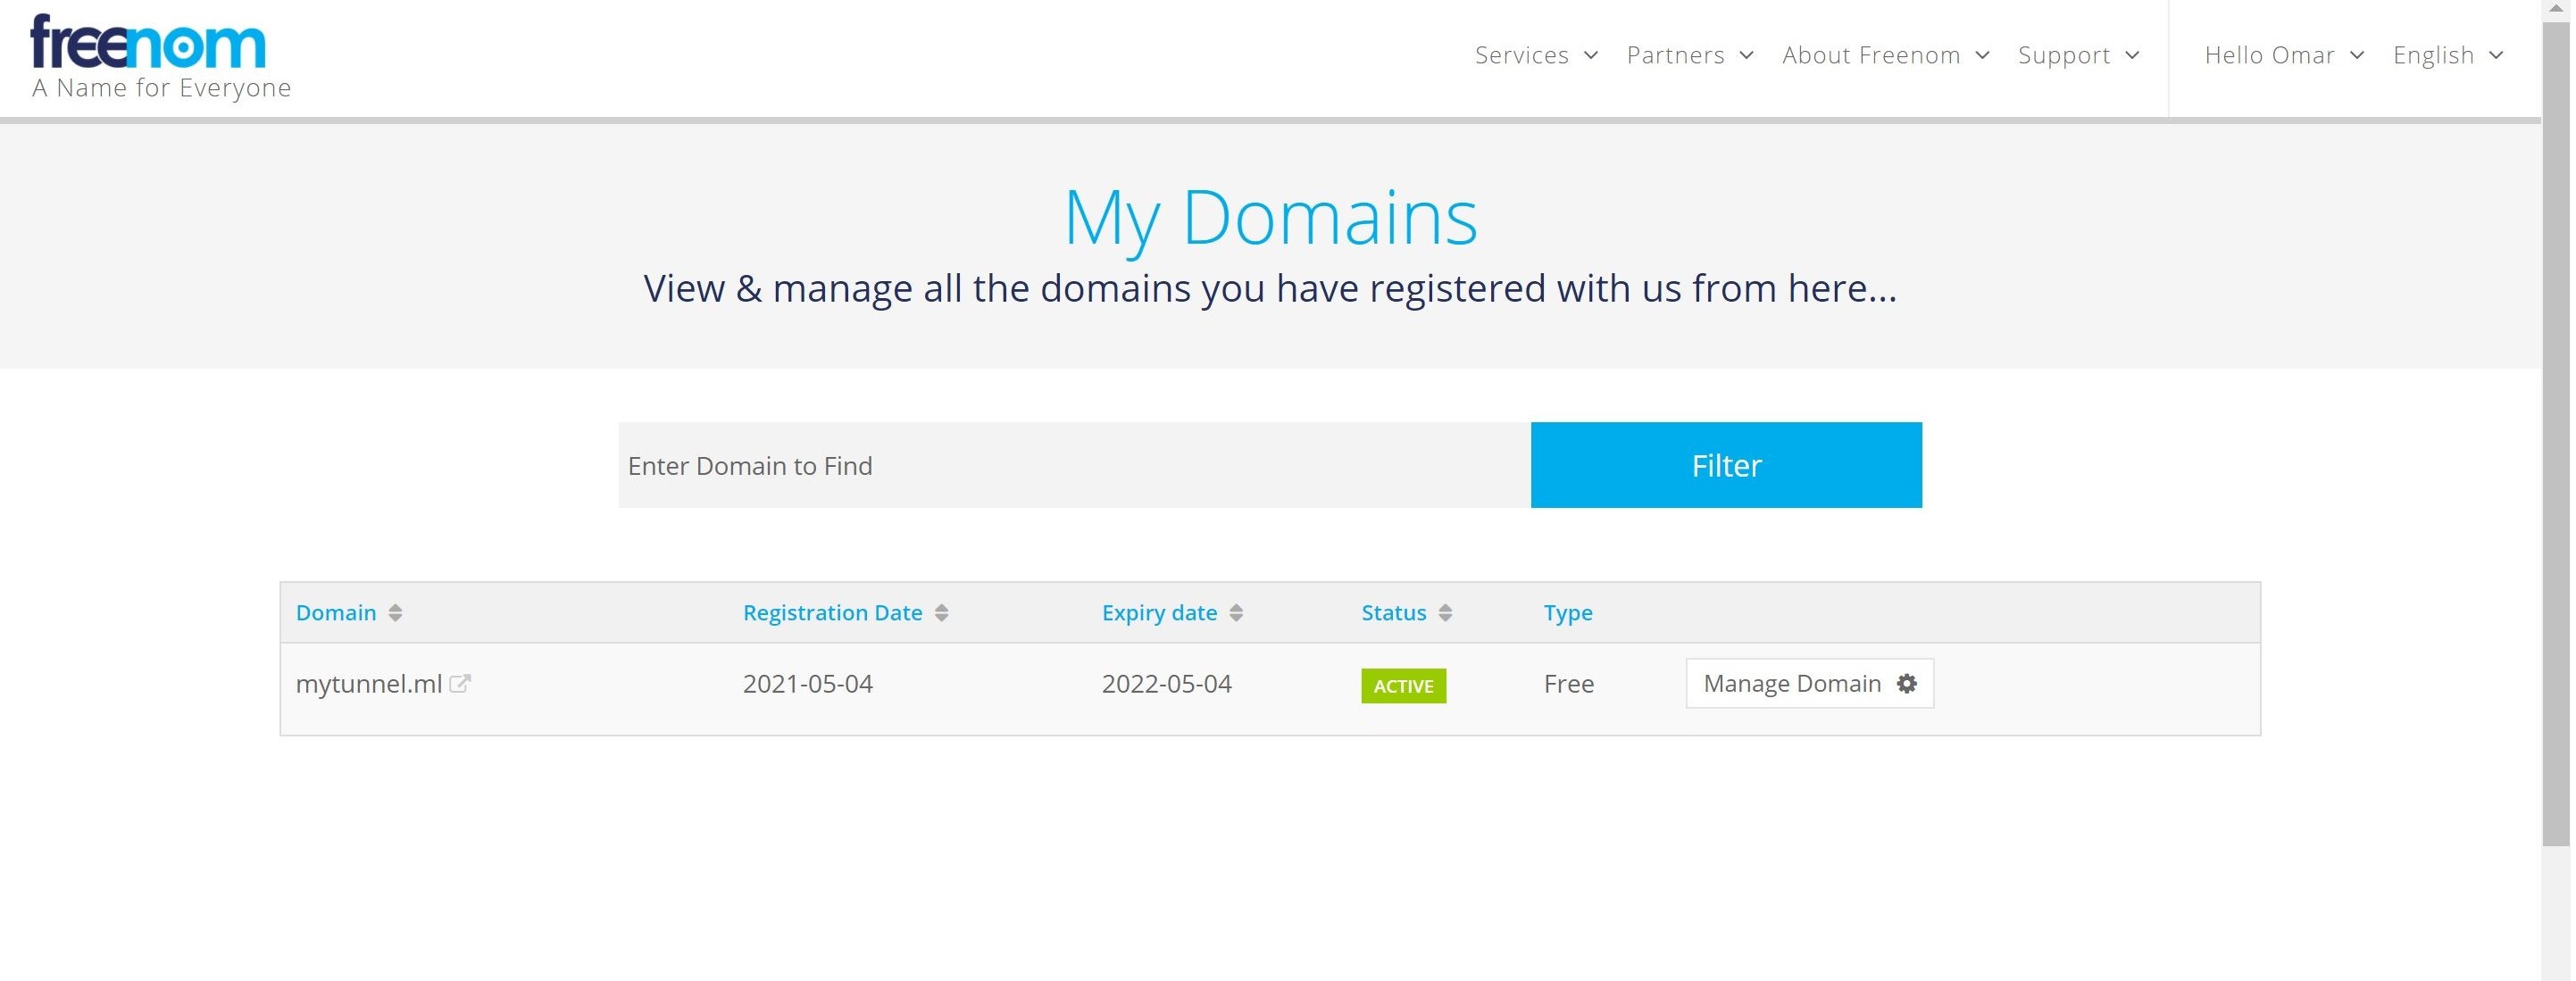
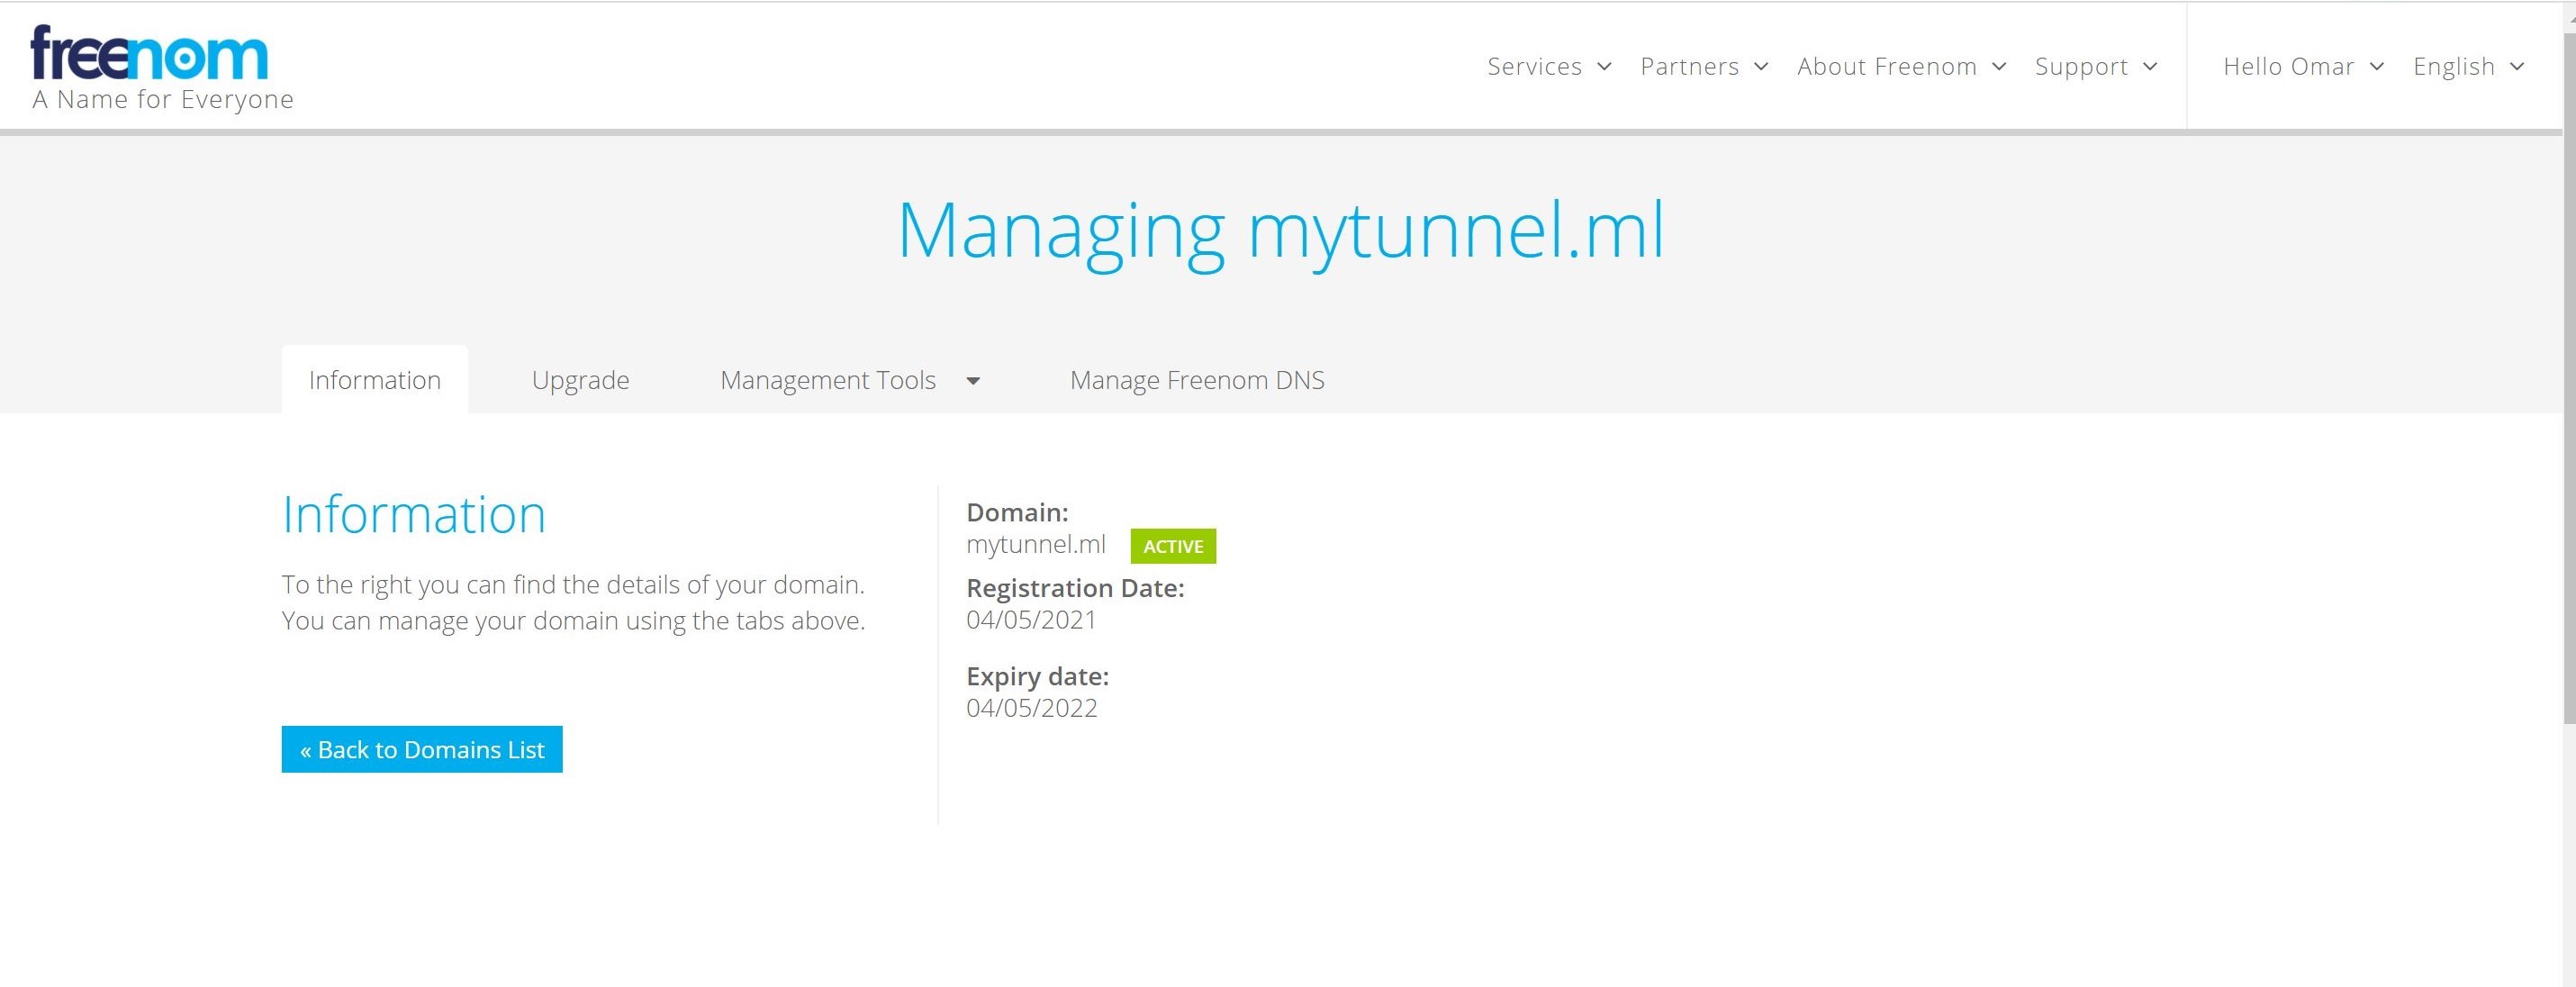
Congratulations. You have successfully obtained your first free domain.
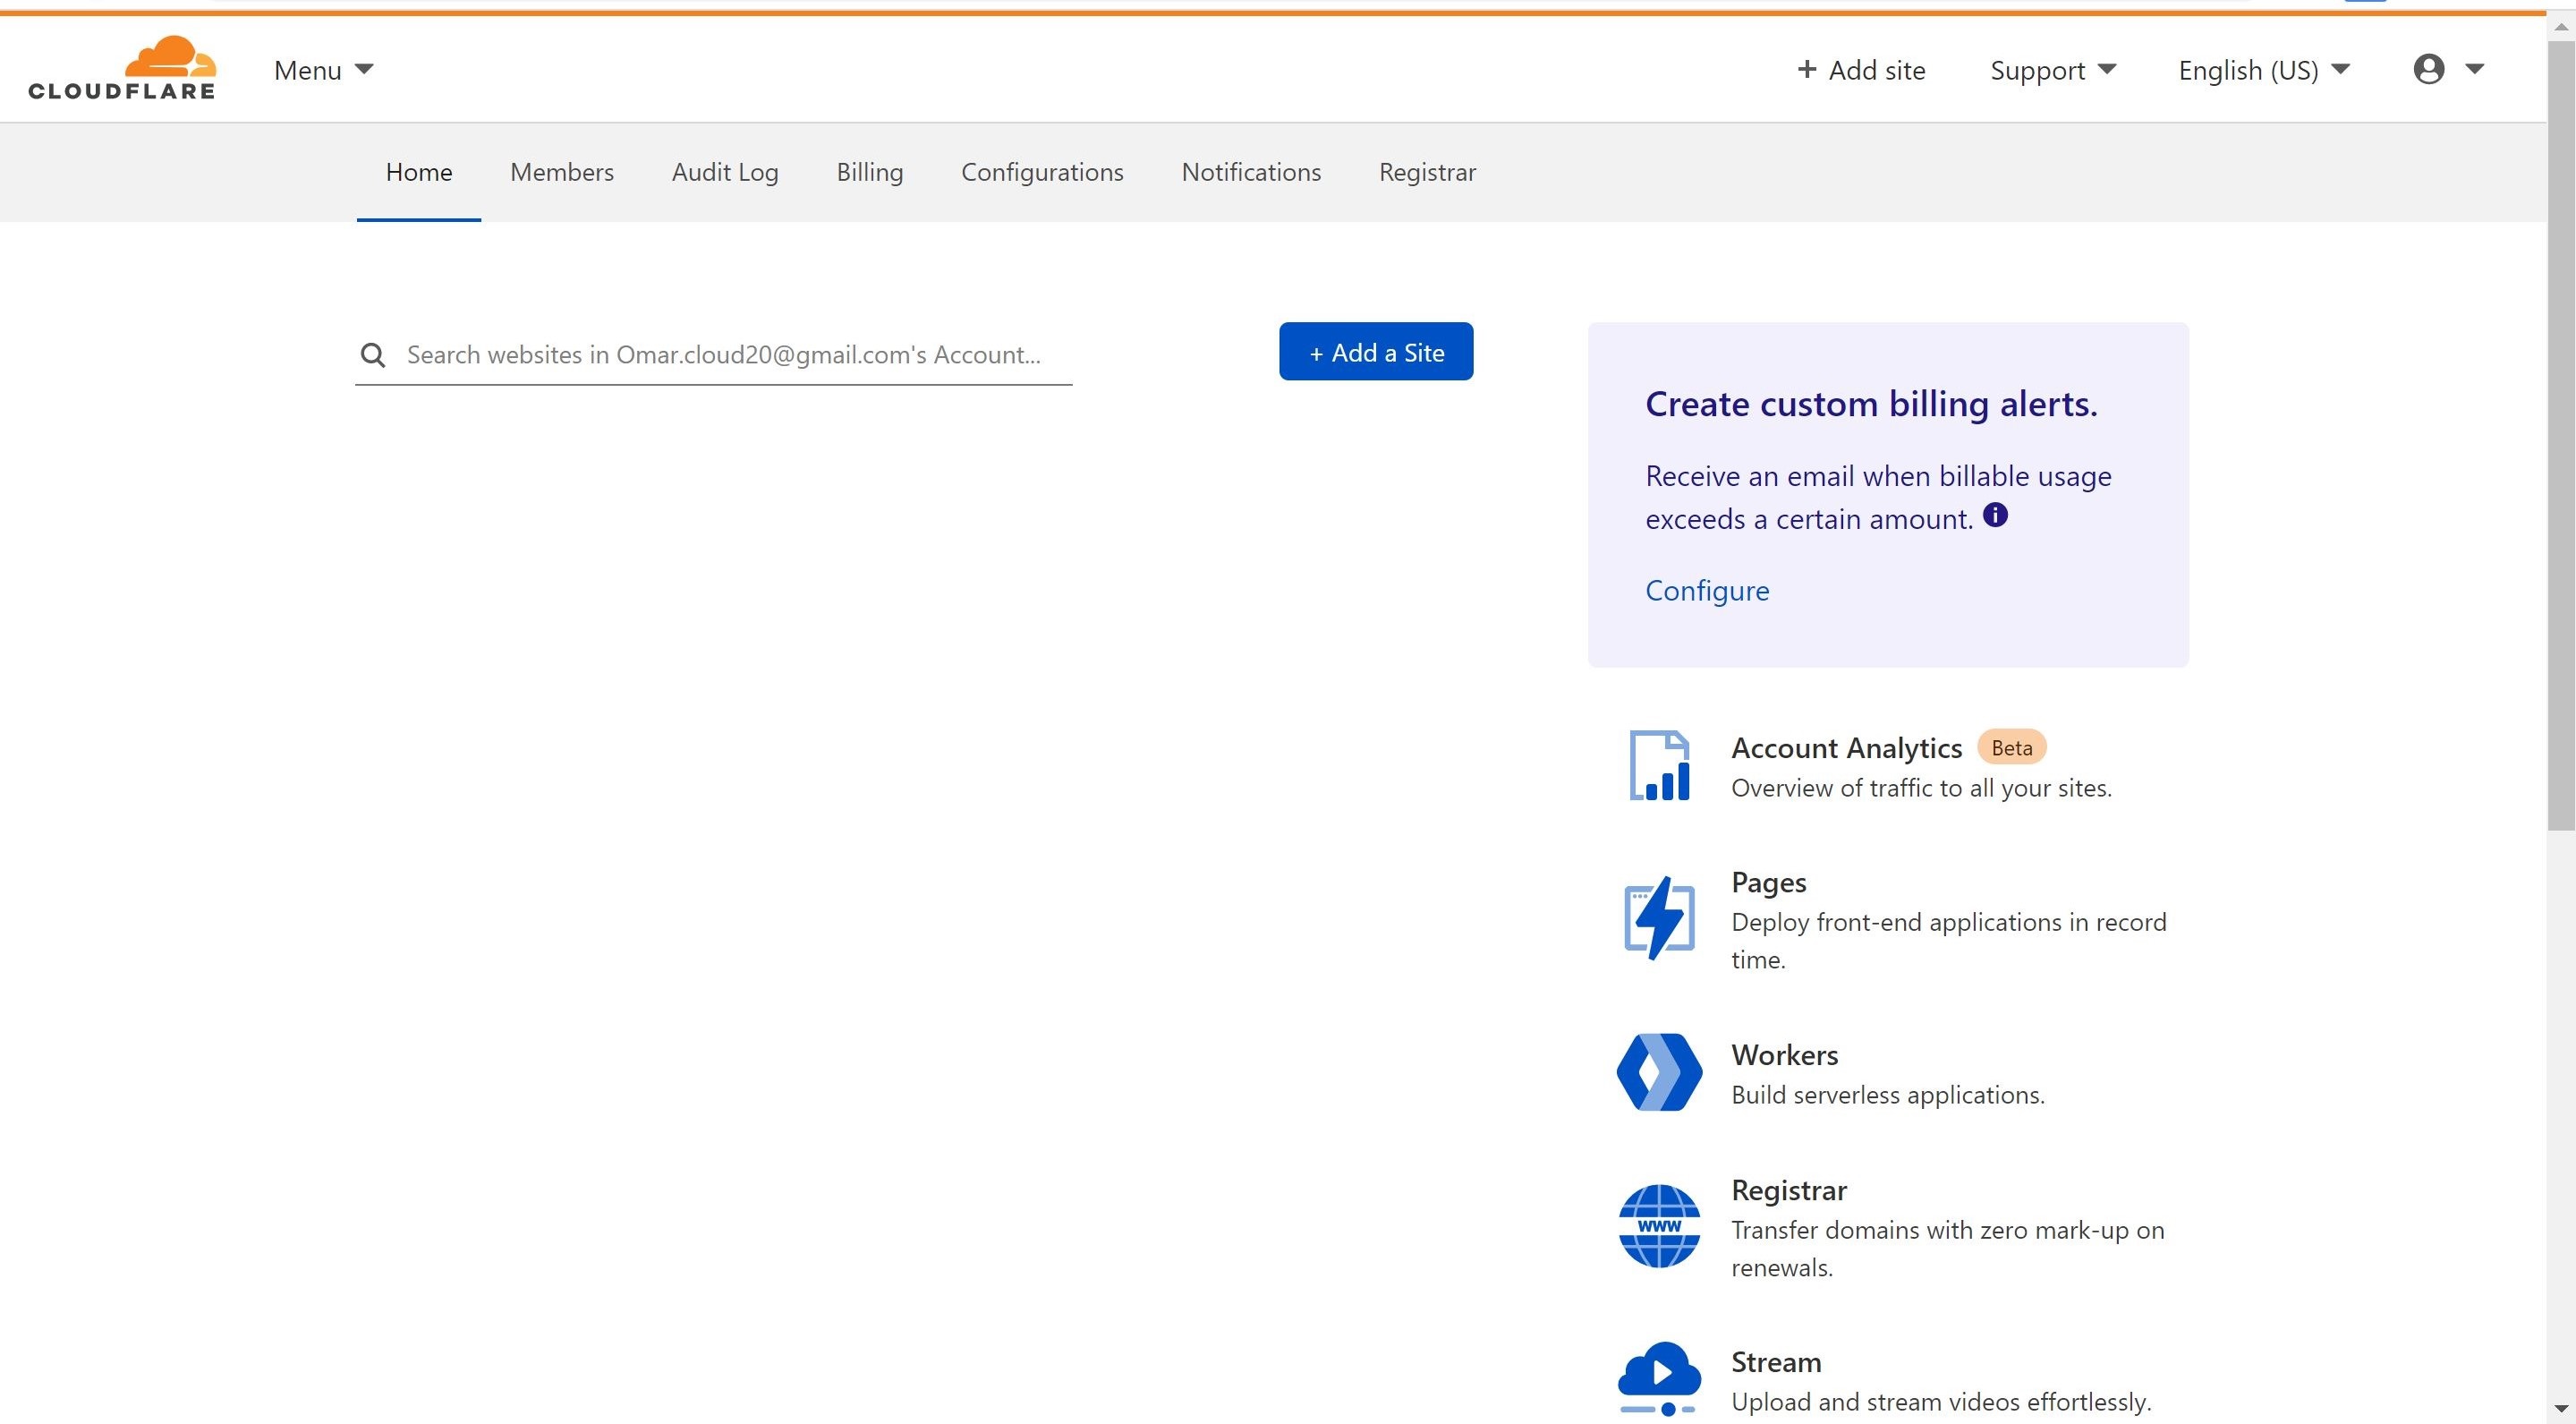
Step 2: Signup for a free account at Cloudflare:
-
Navigate to Cloudflare and signup for a free account.
-
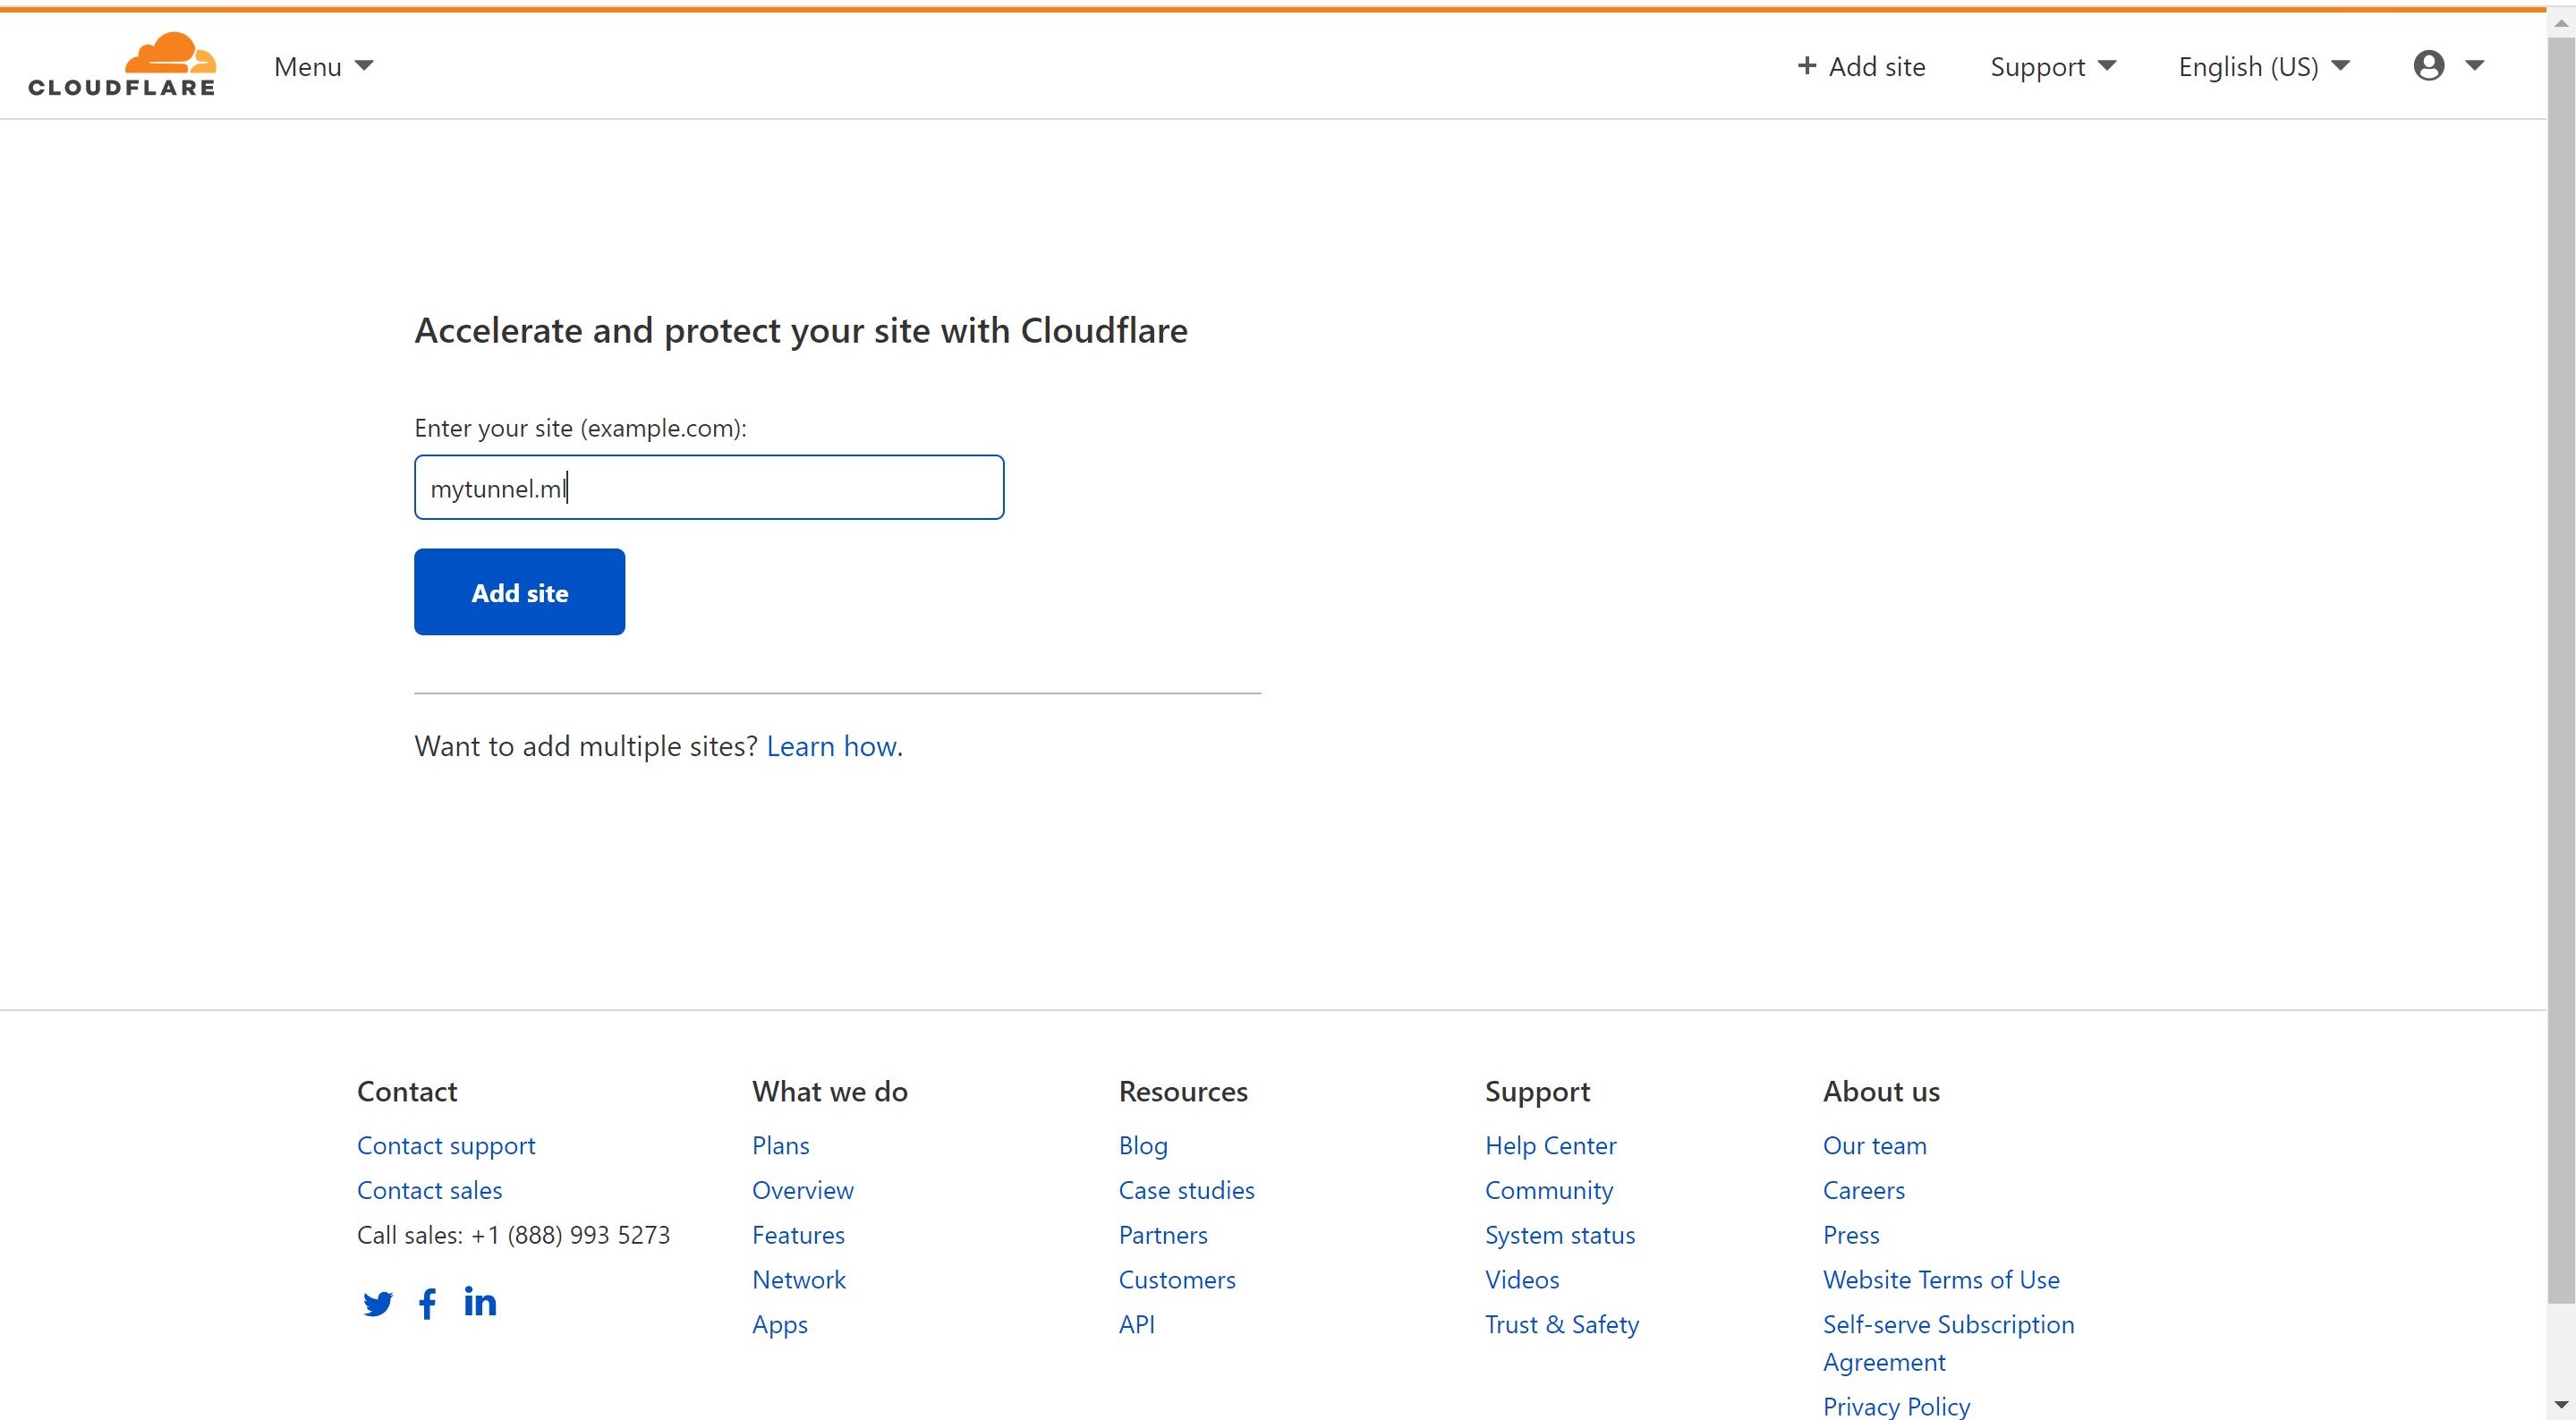
Click on Add a Site and type in the name of your new domain.
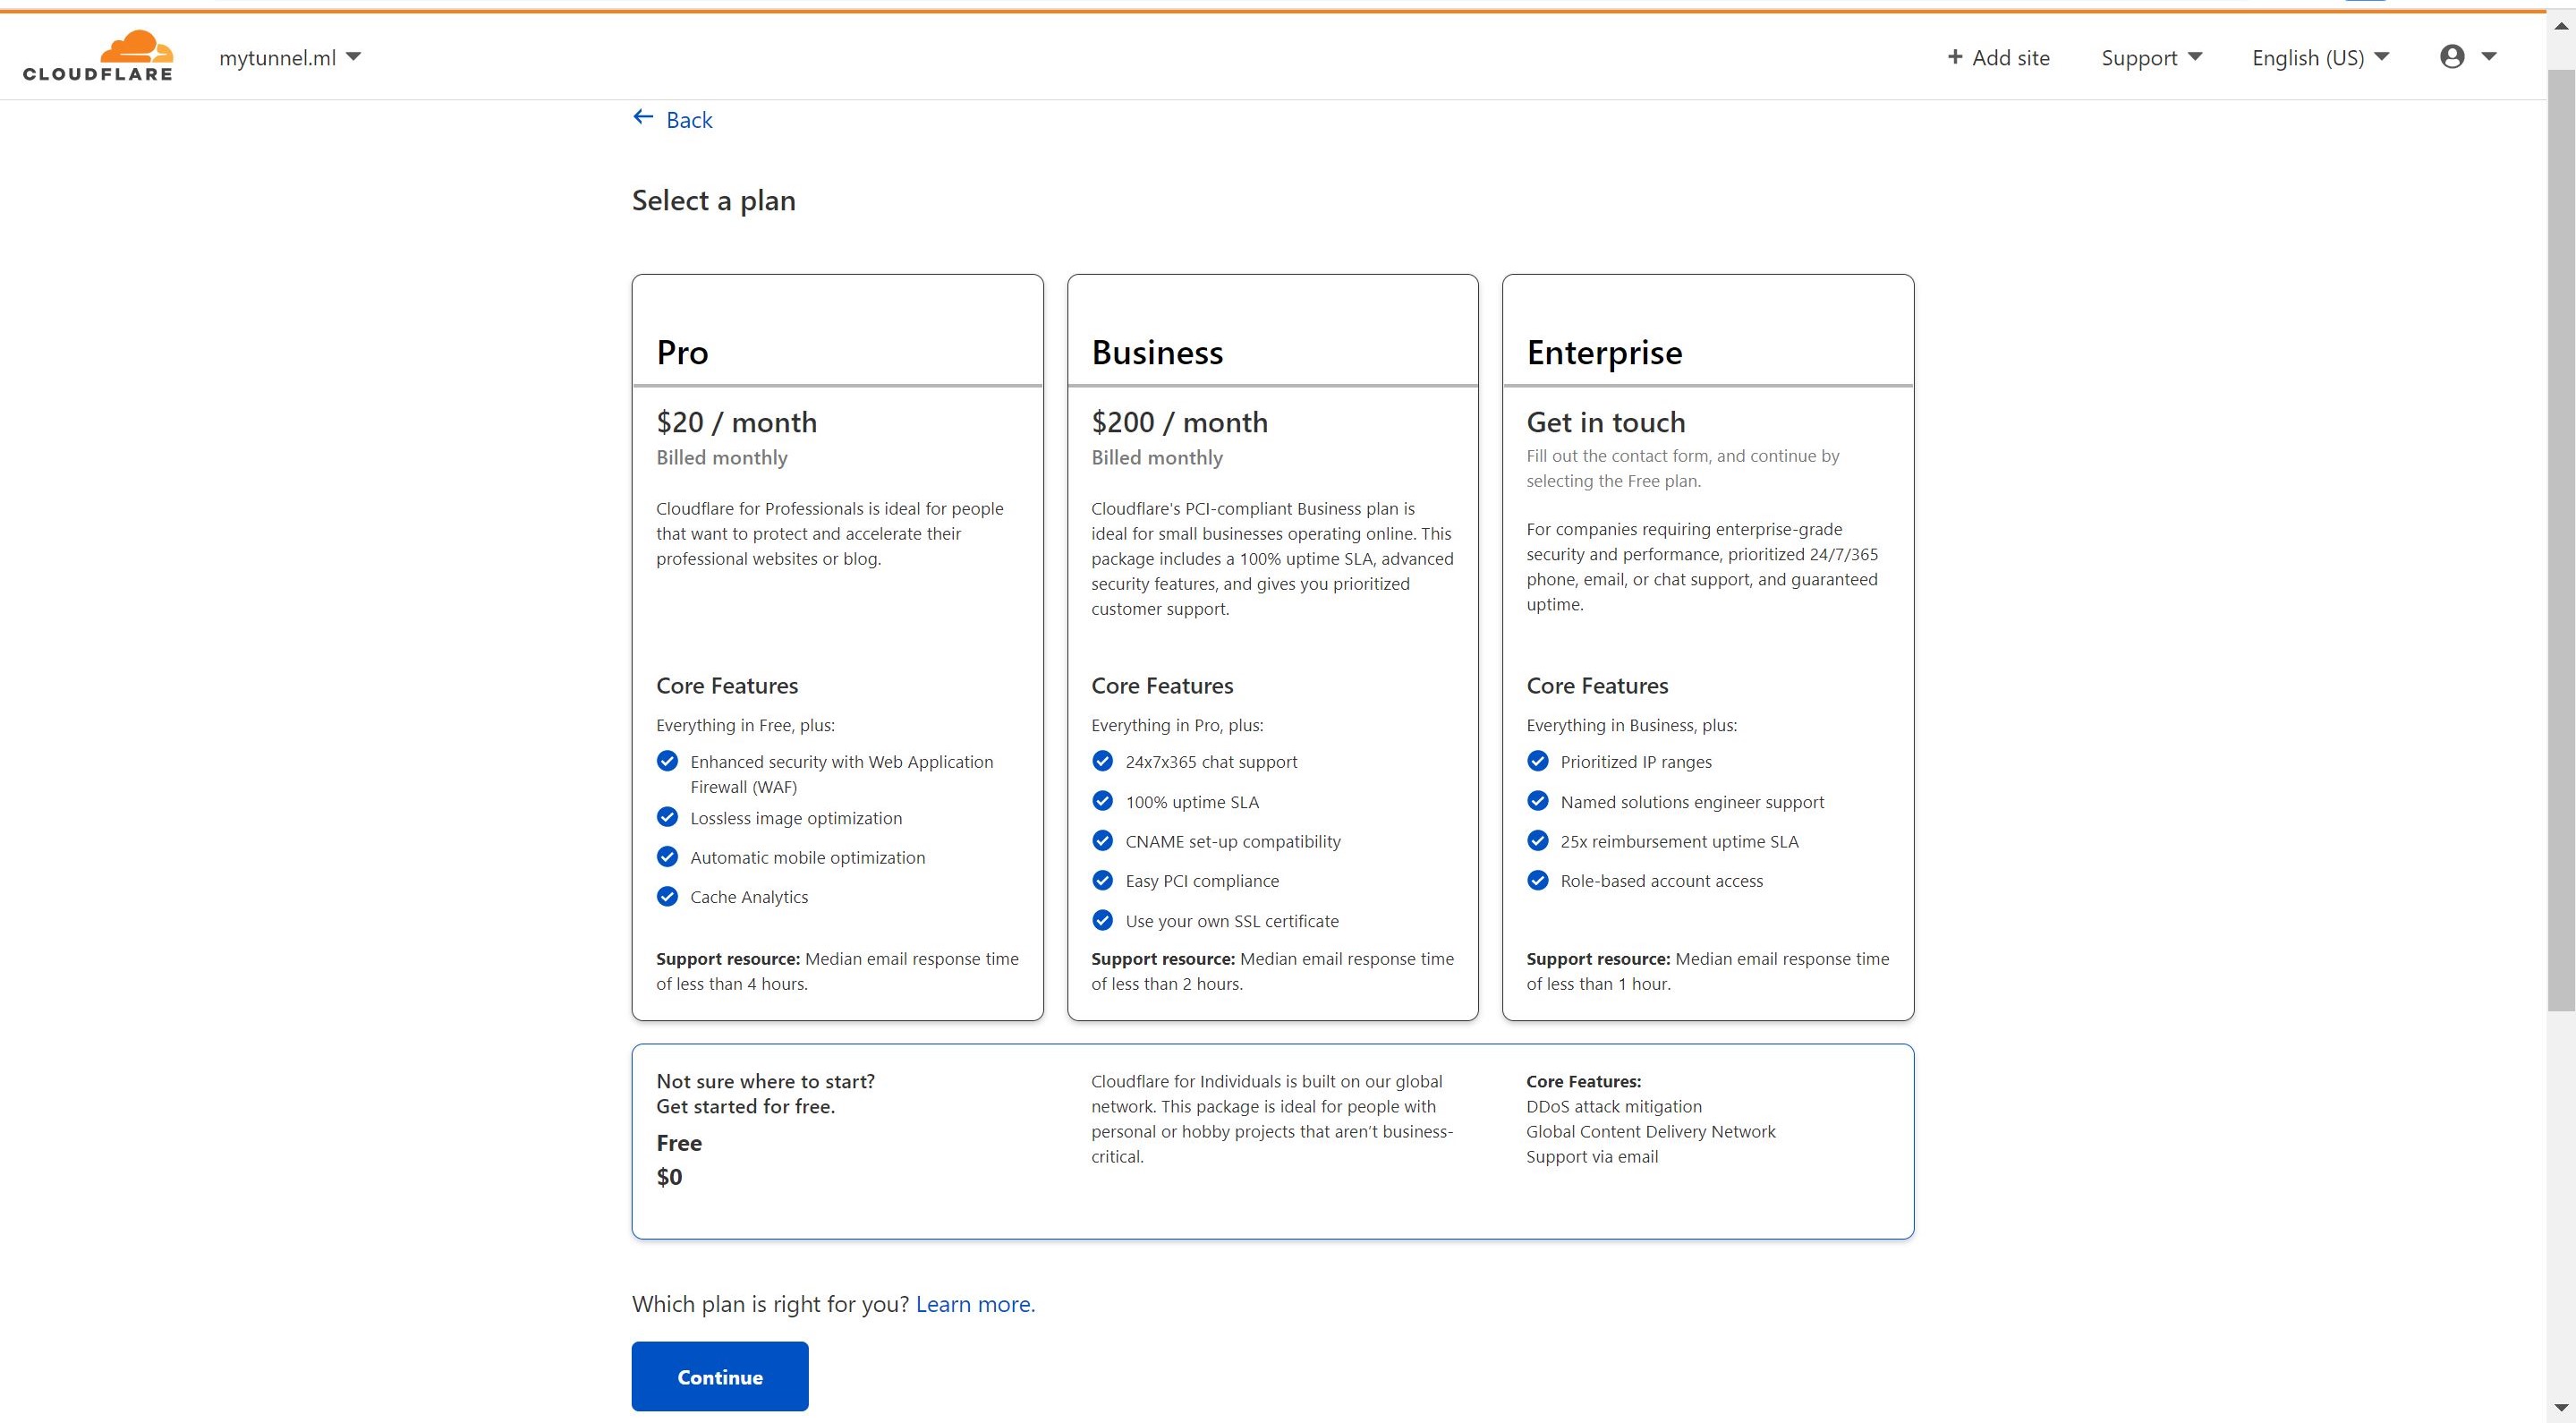
- Select Get started for free and hit Continue.
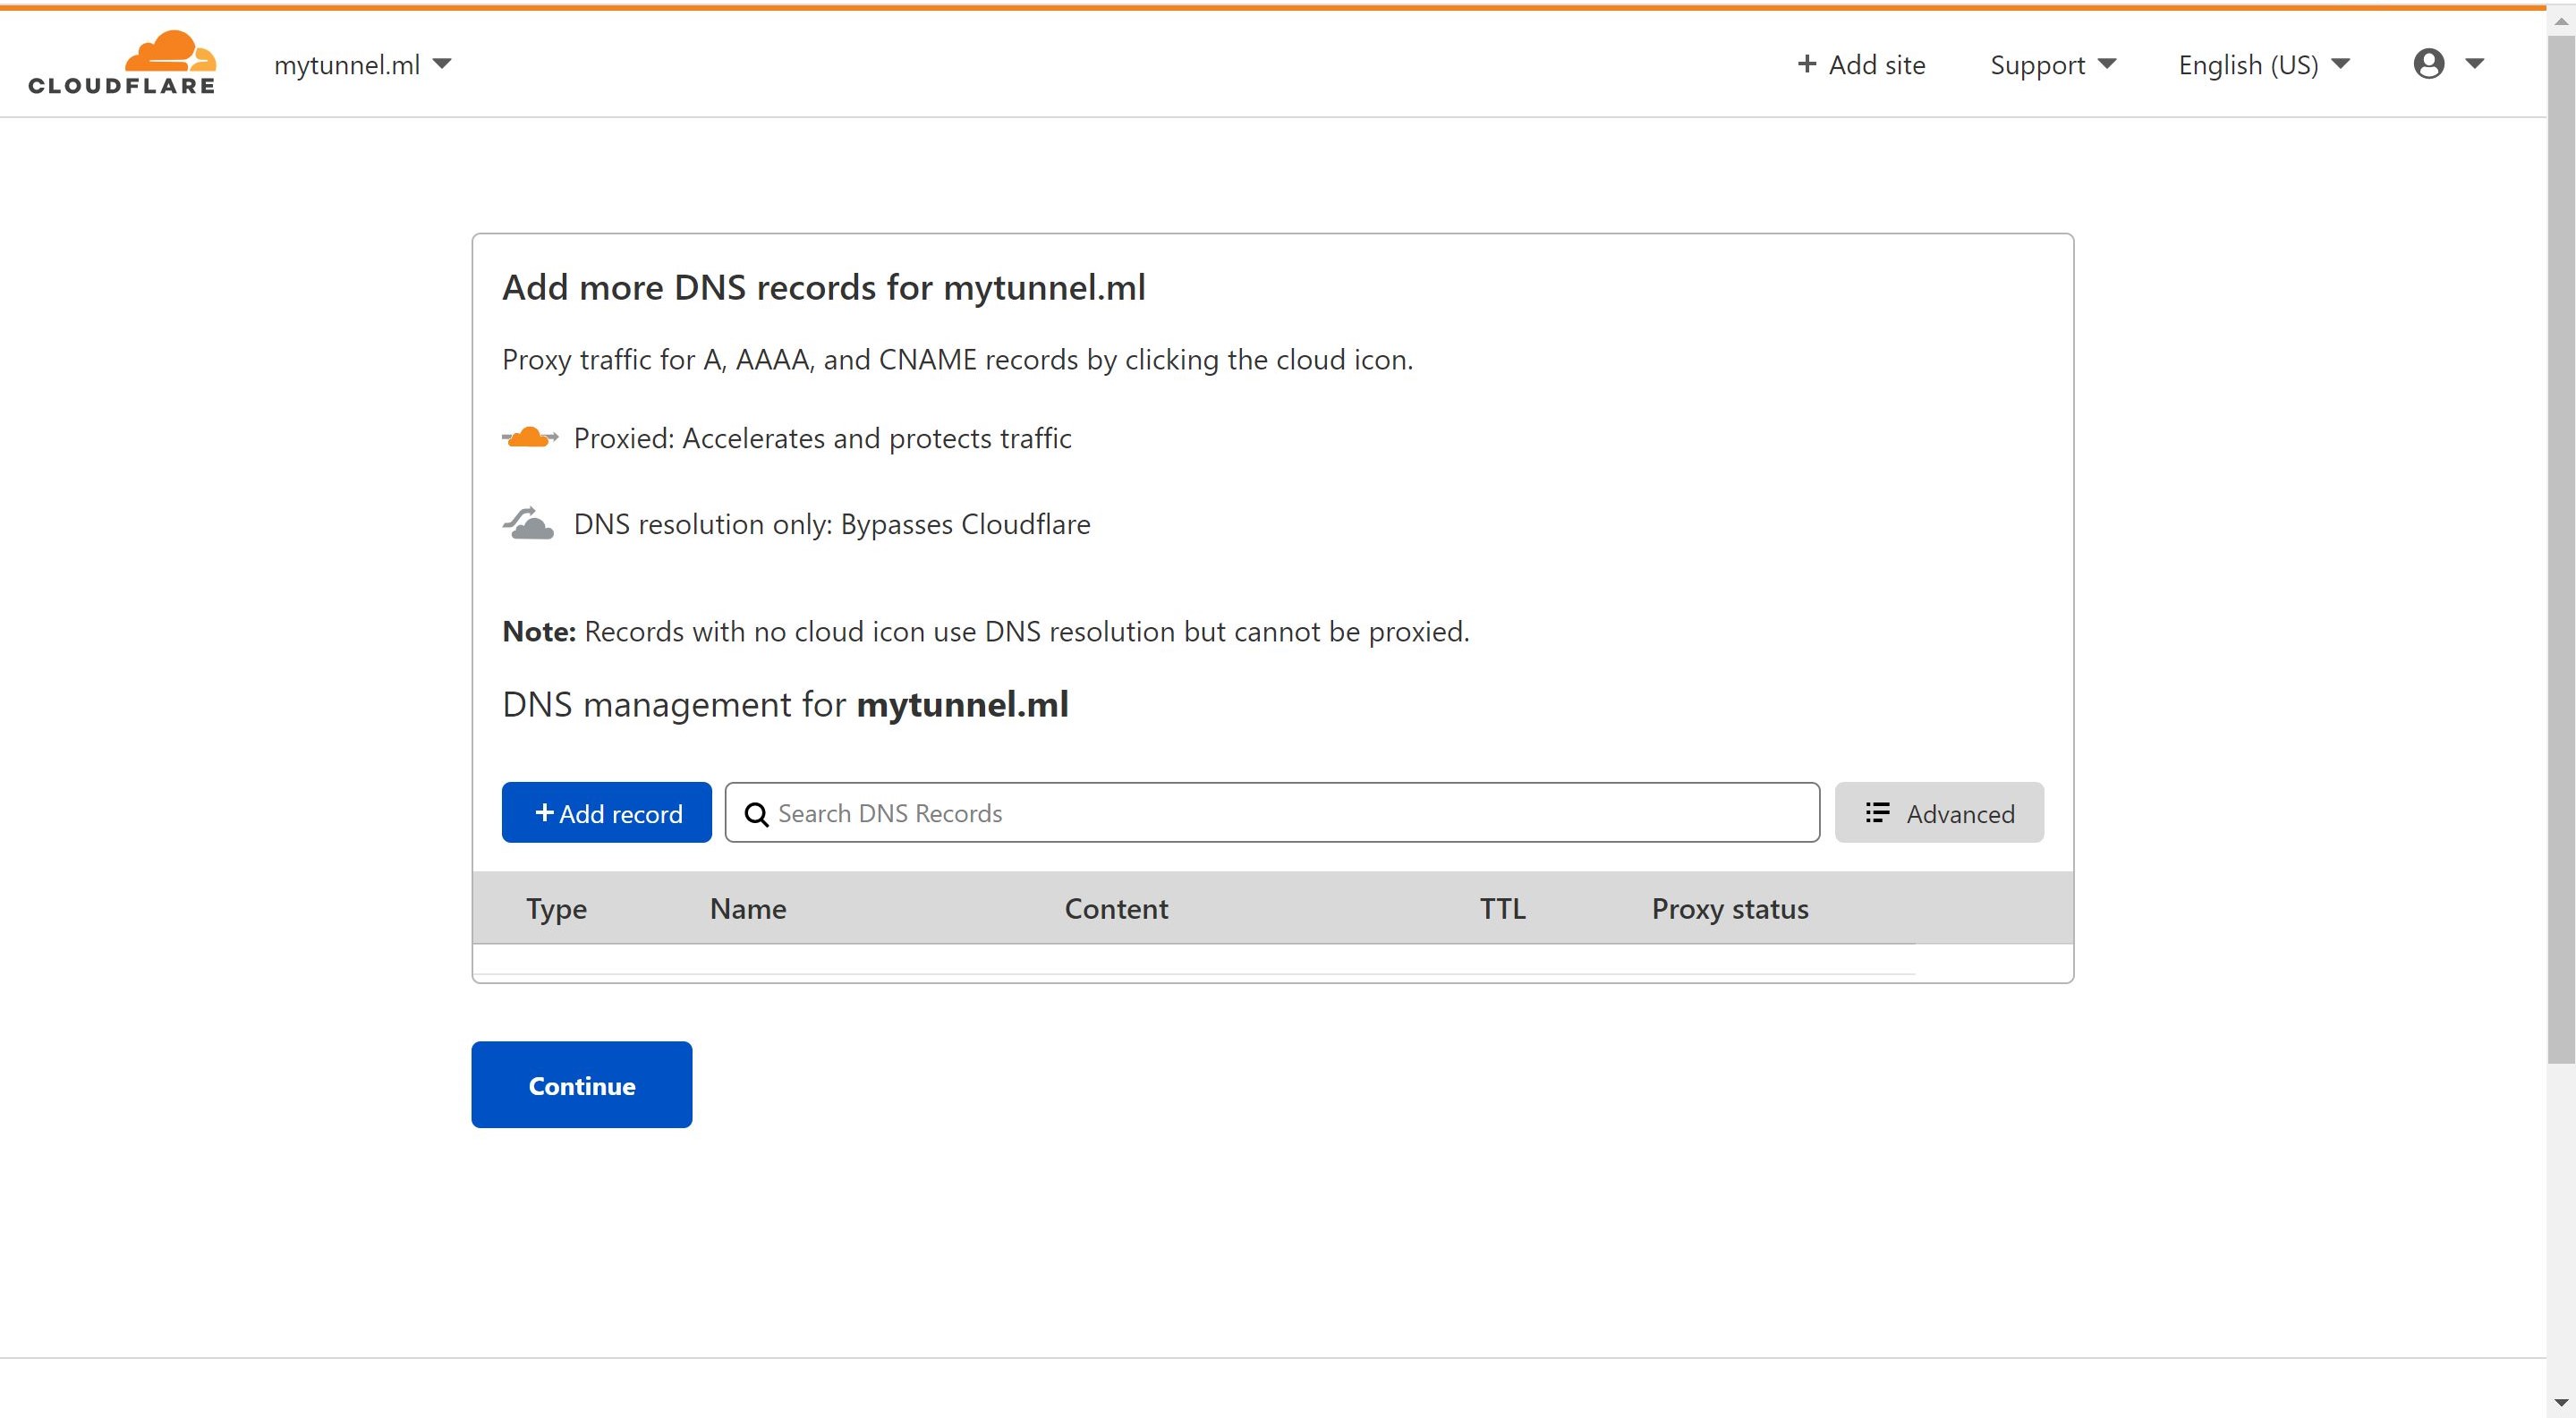
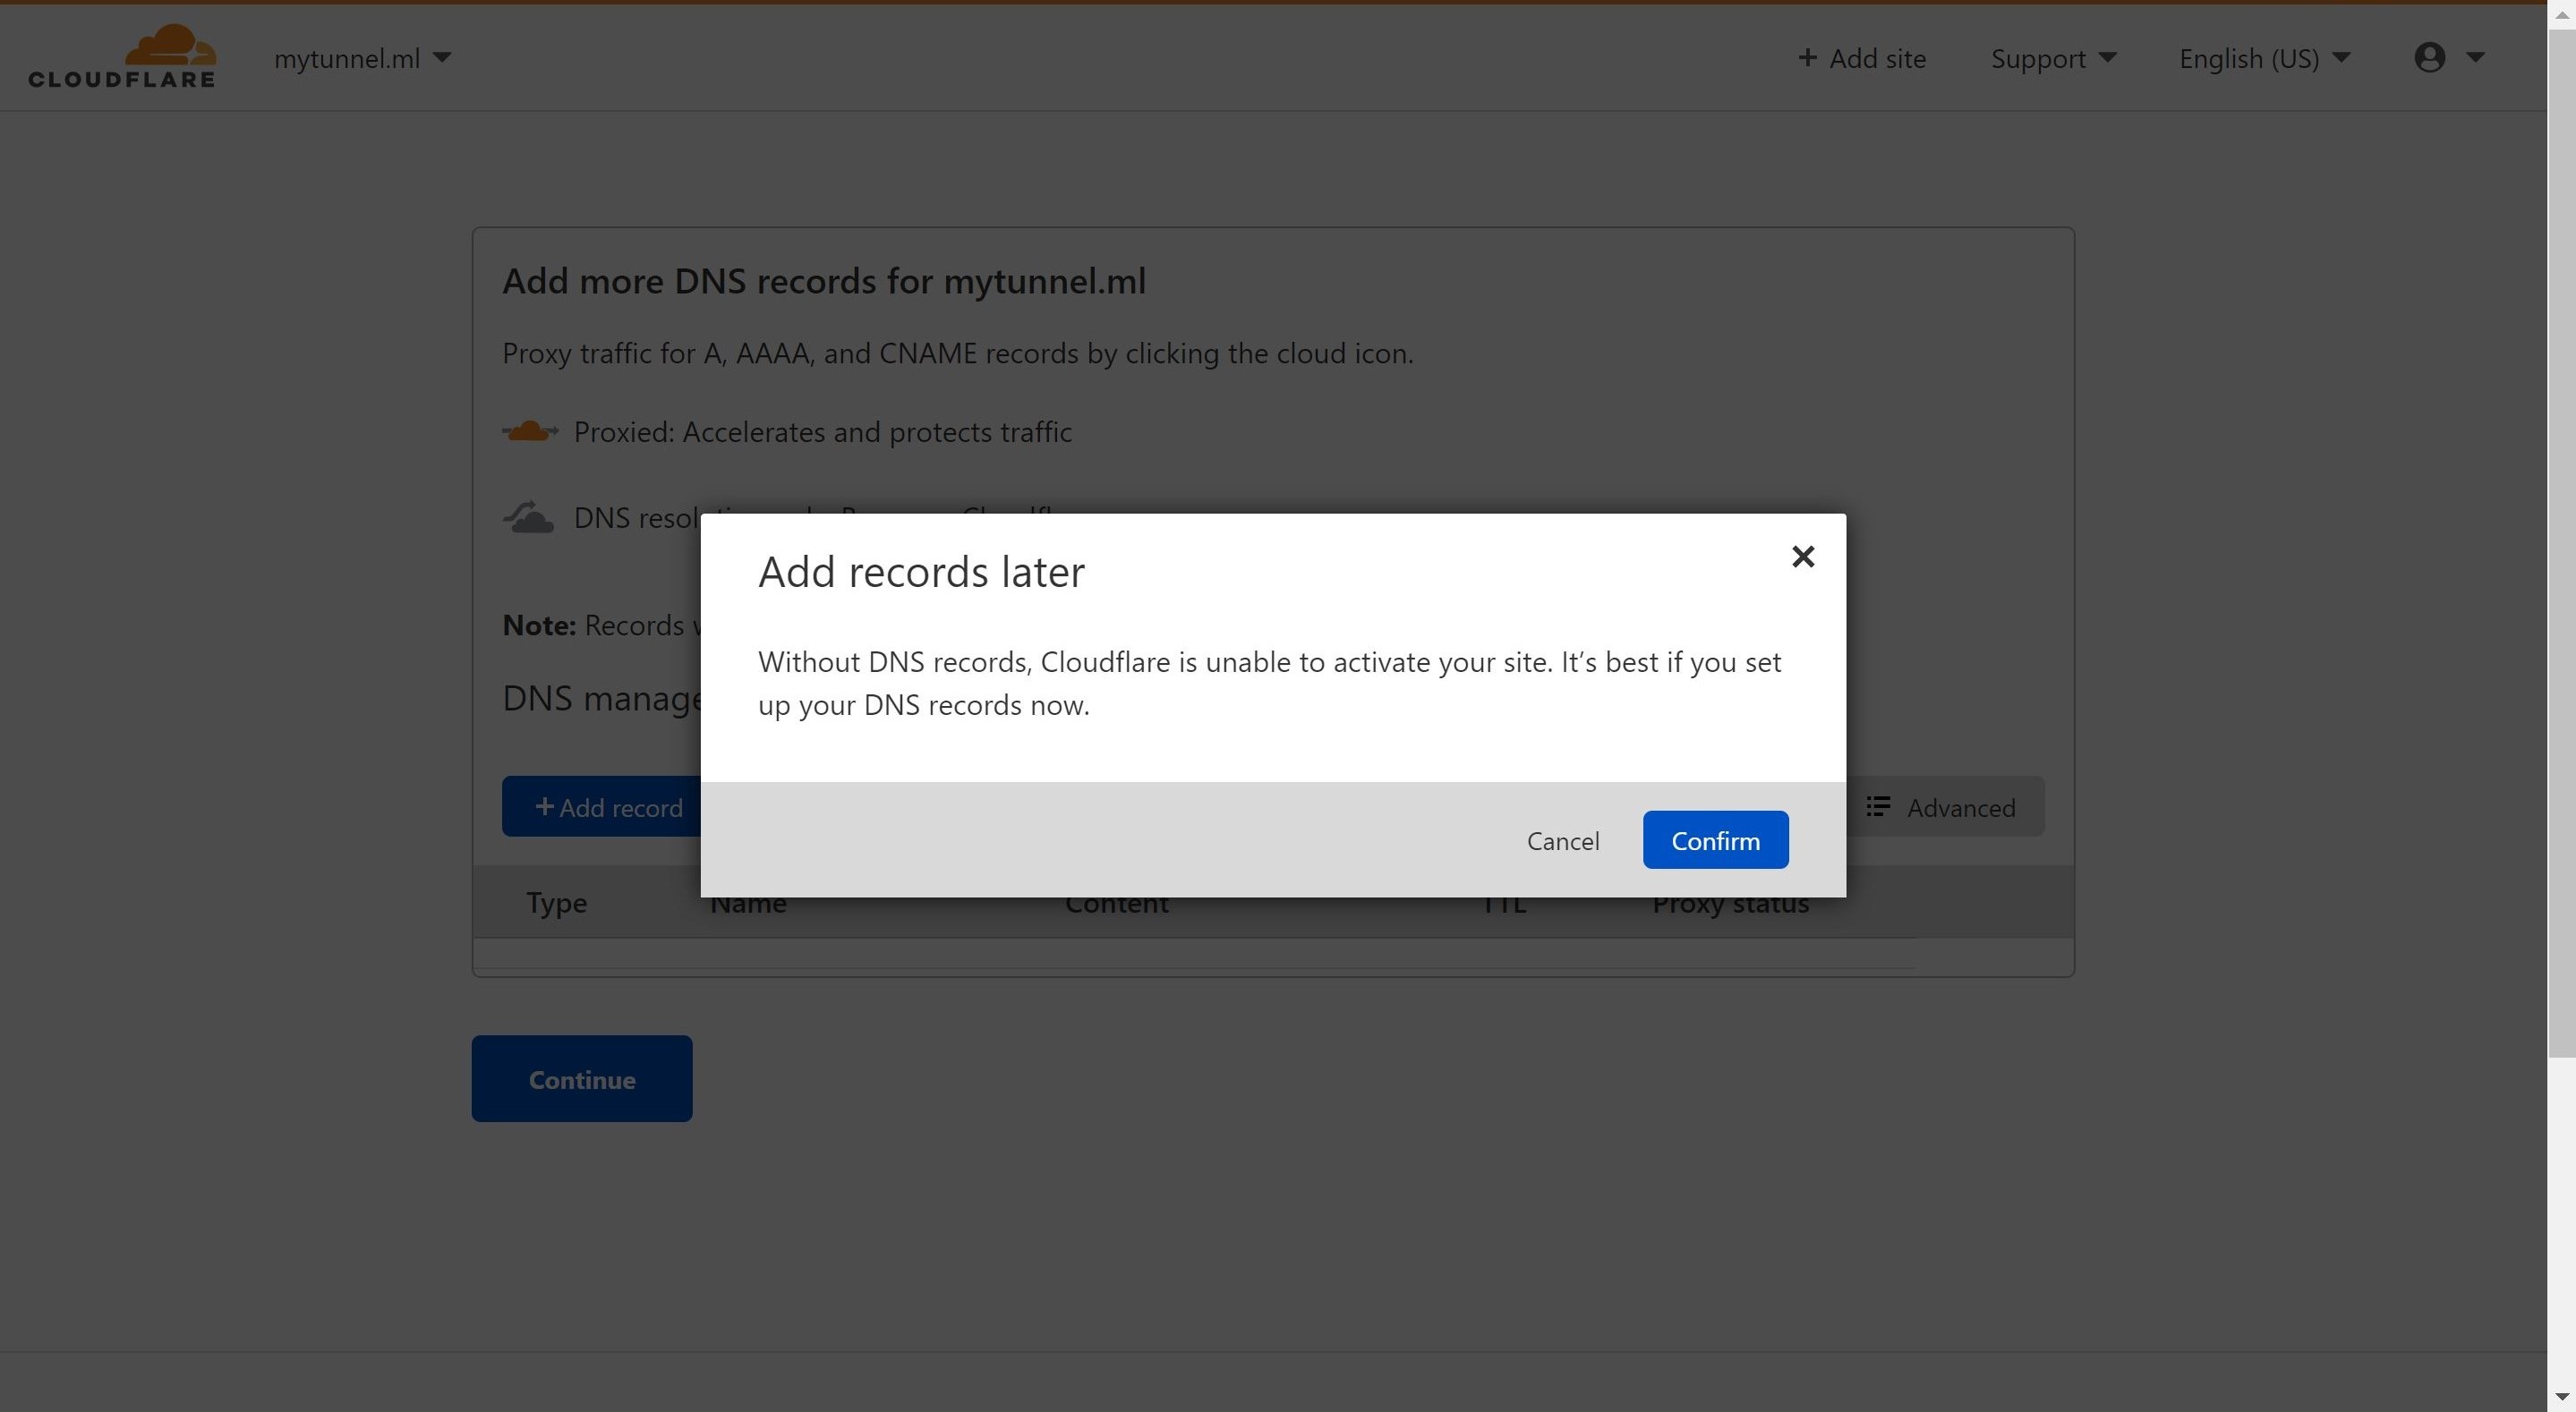
- We will add records later (CNAME). Click Continue.
-
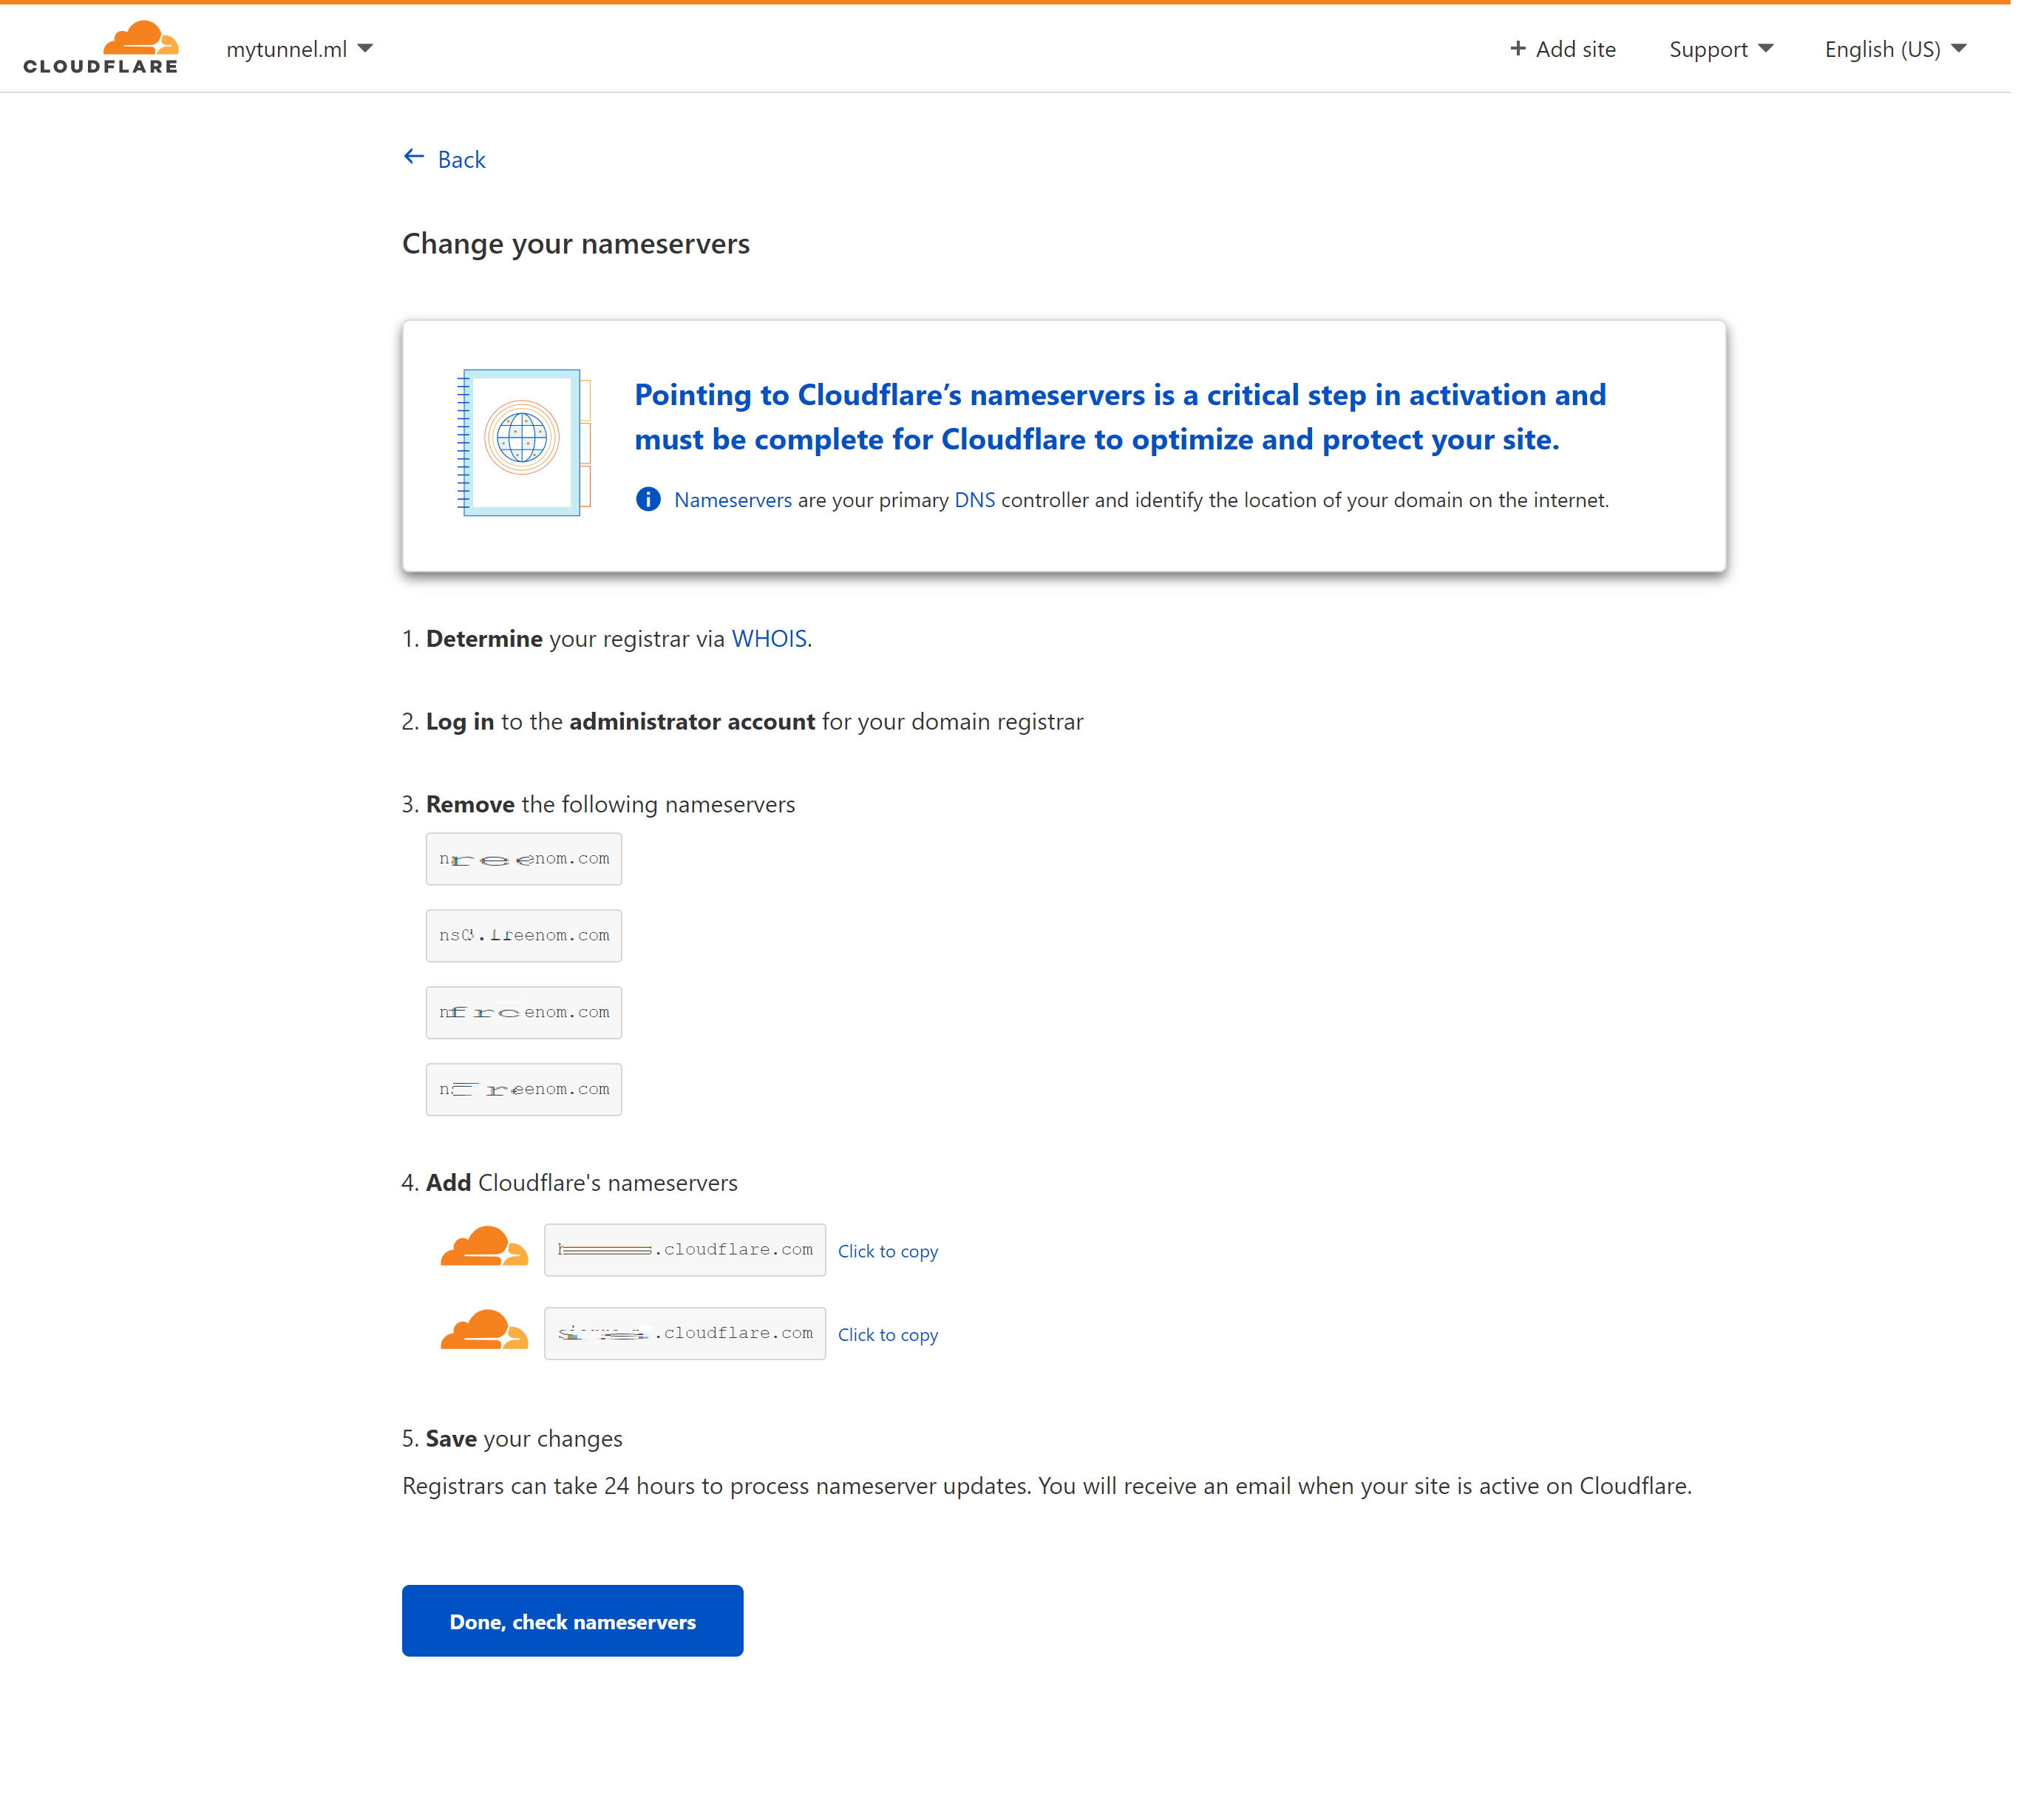
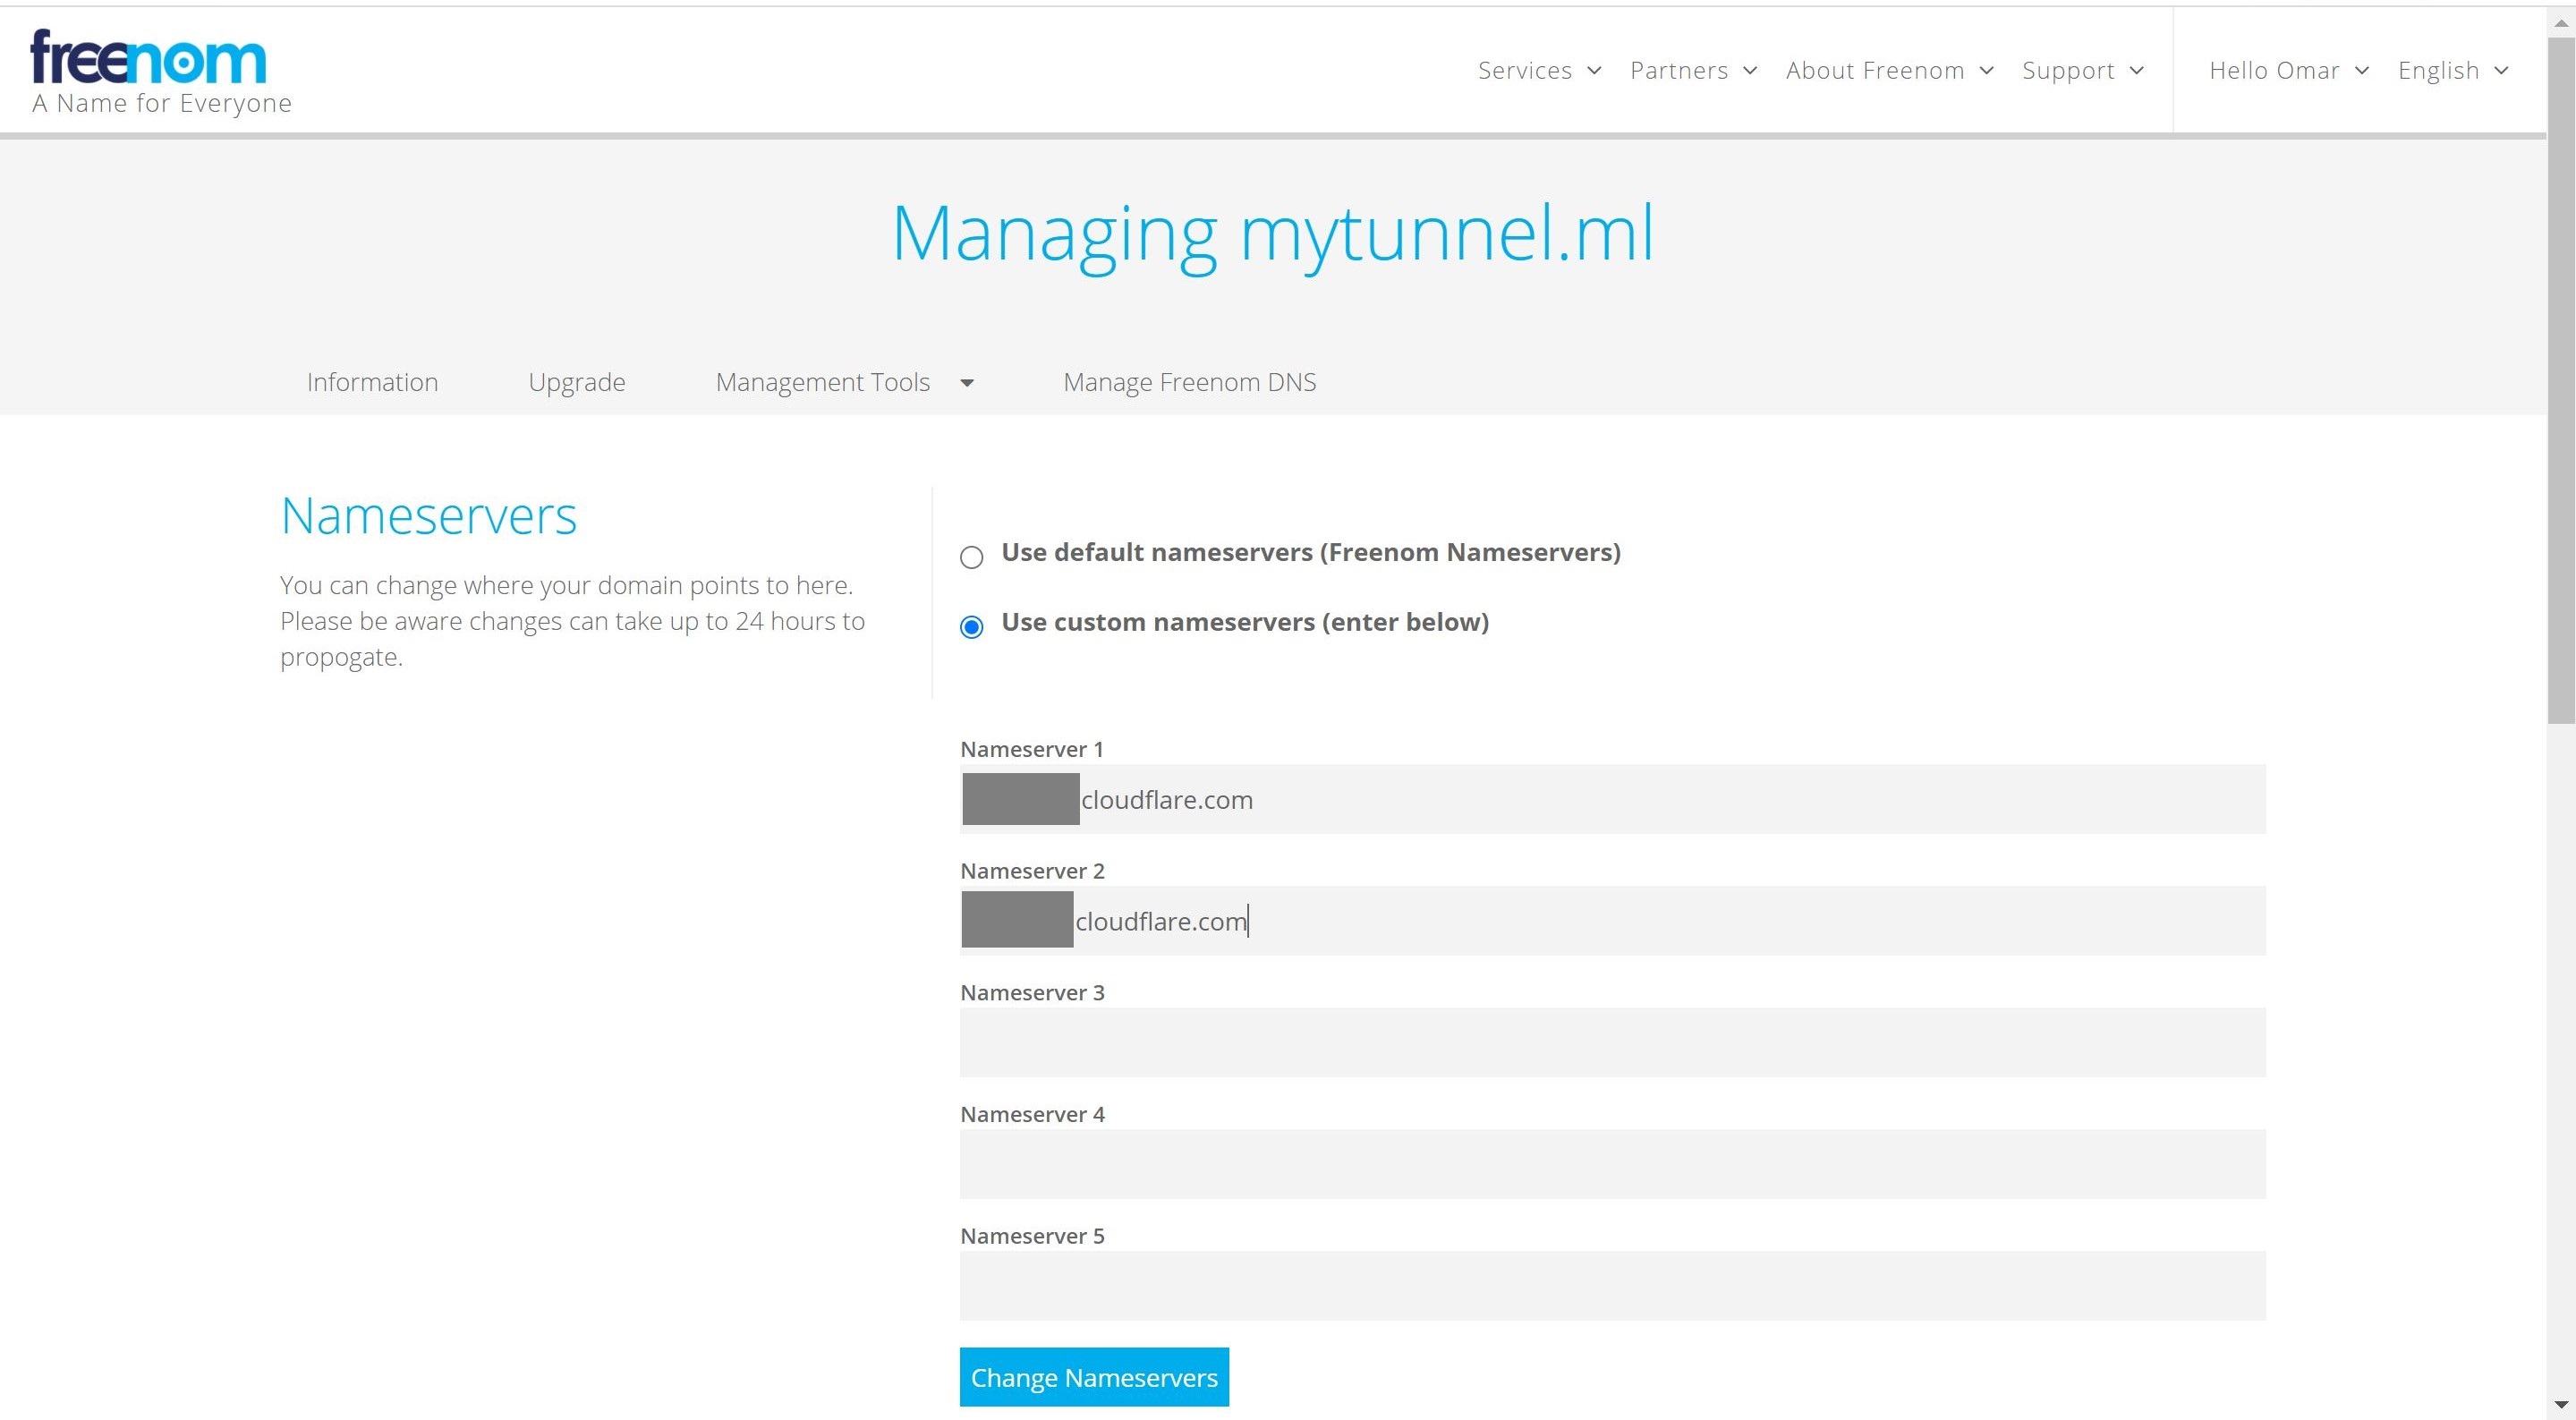
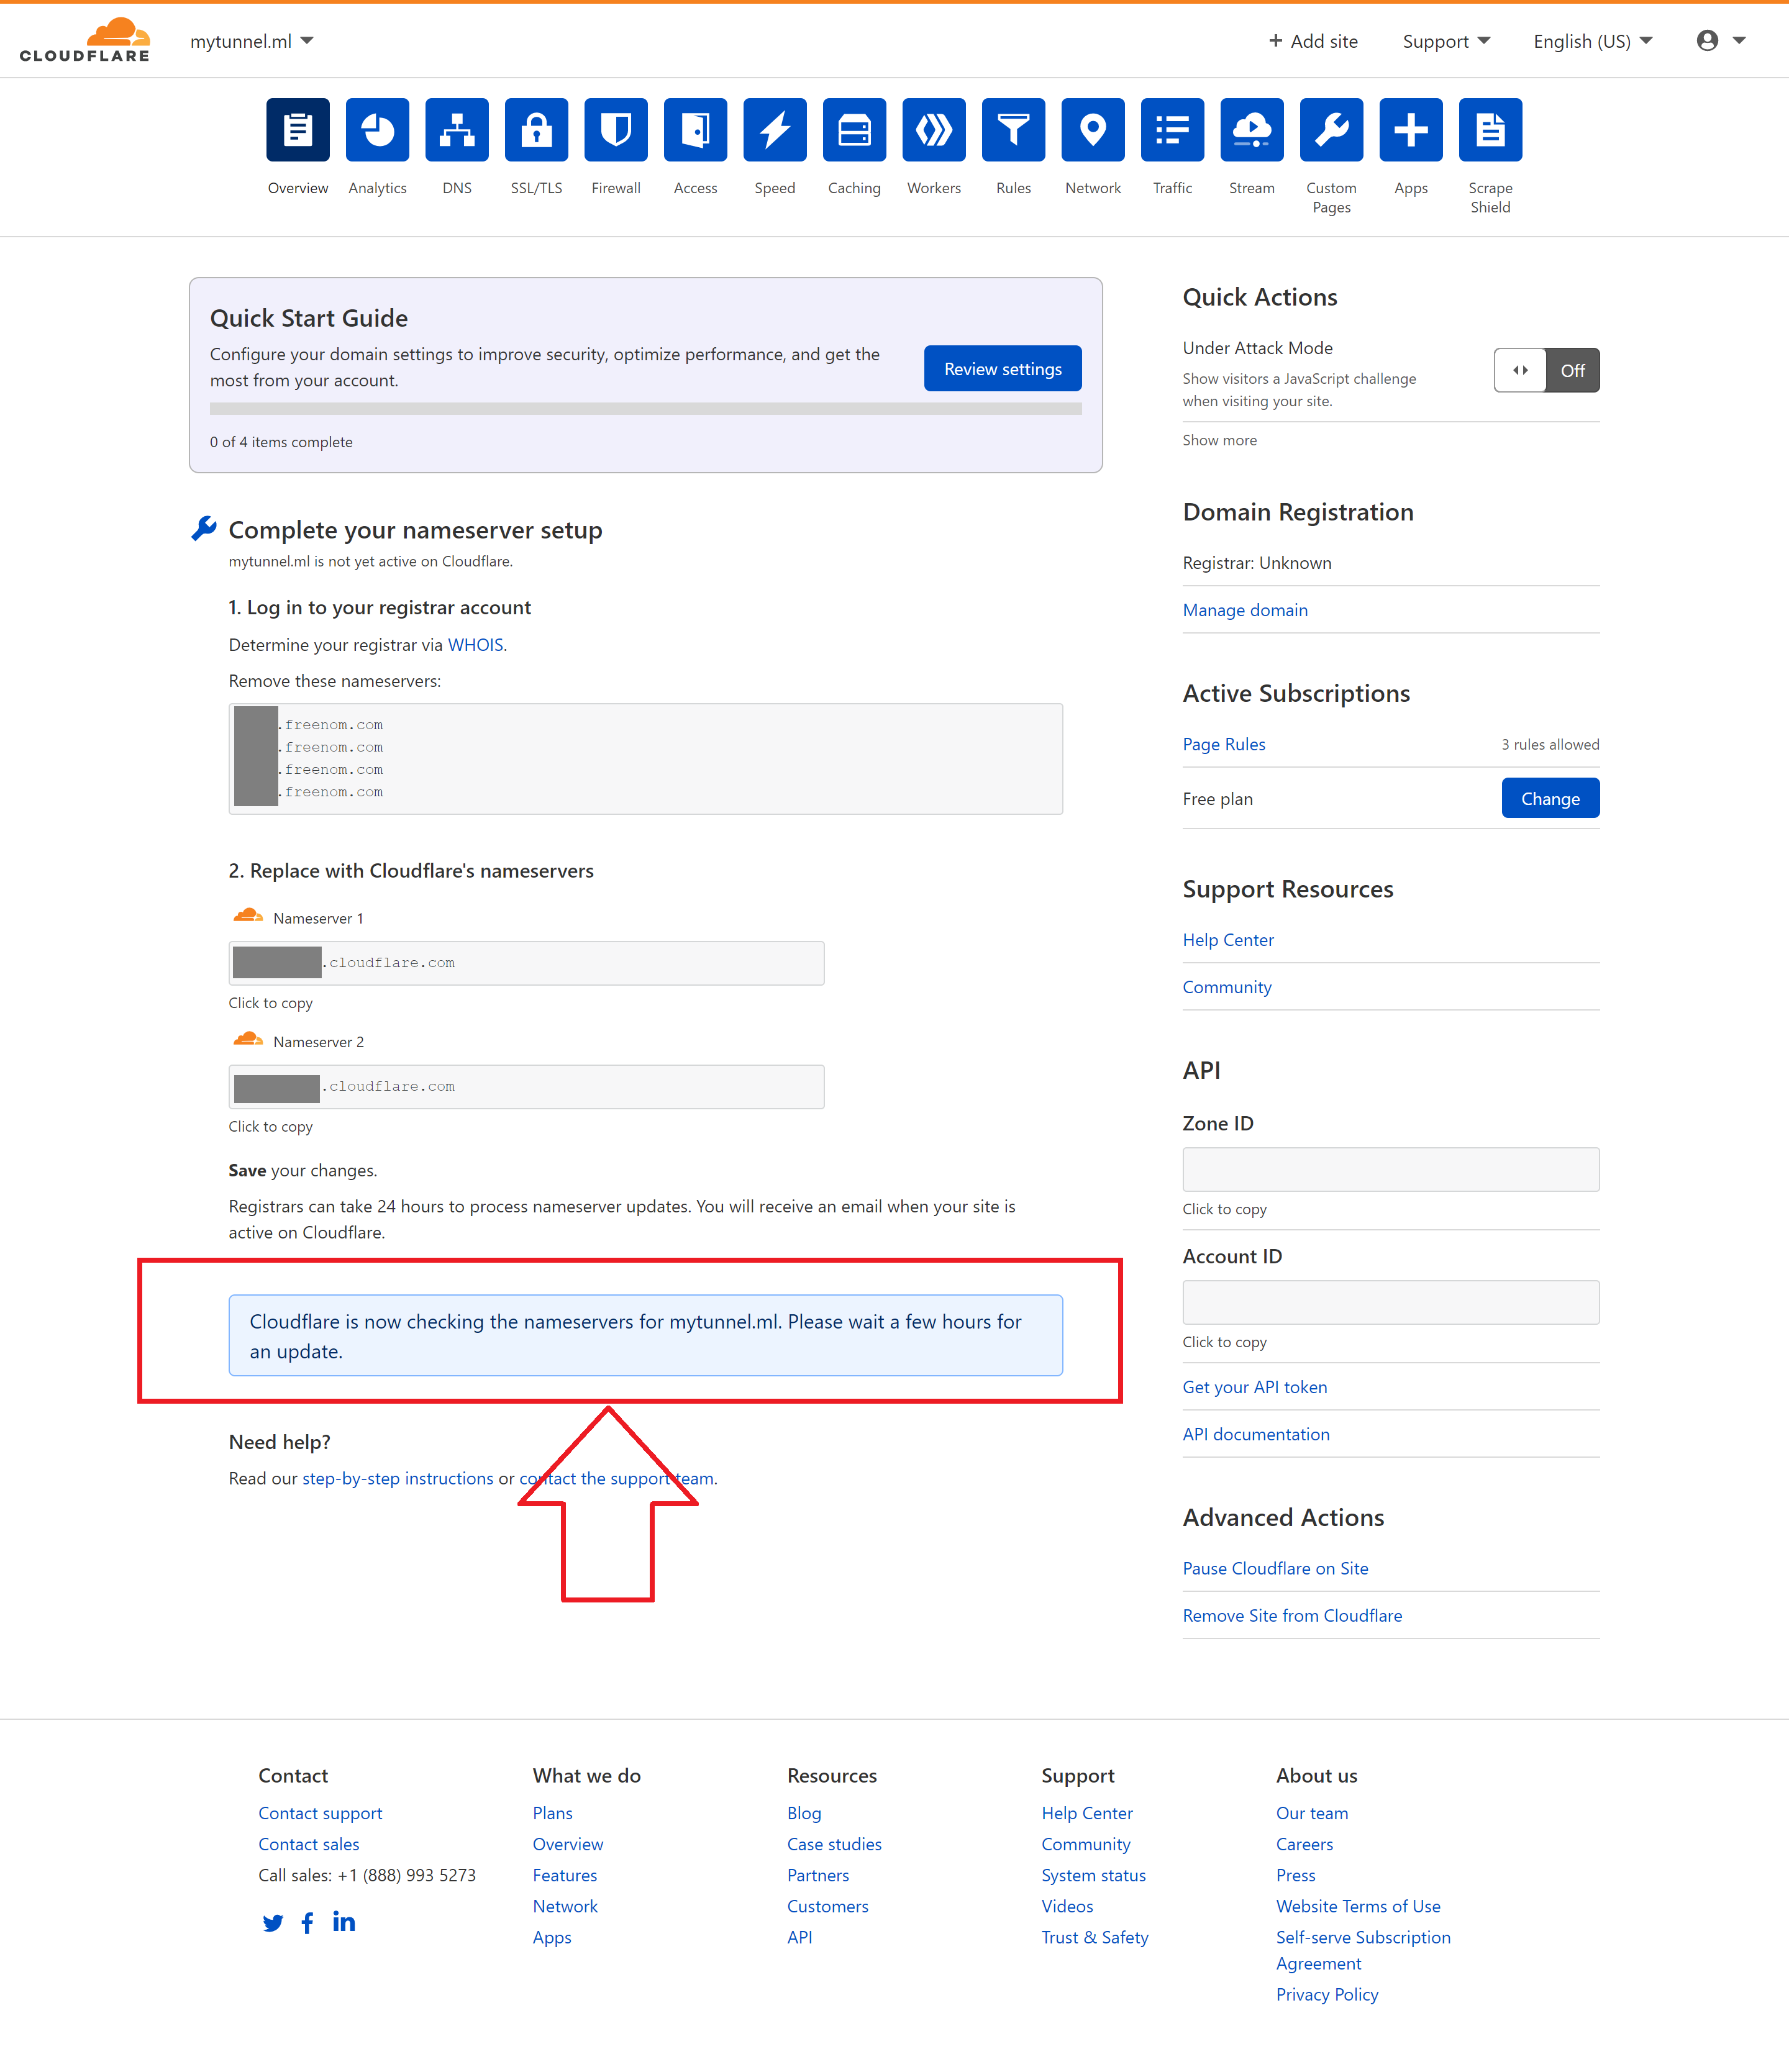
We will copy our Cloudflare’s nameservers and paste them in our nameservers at Freenom as shown below.
-
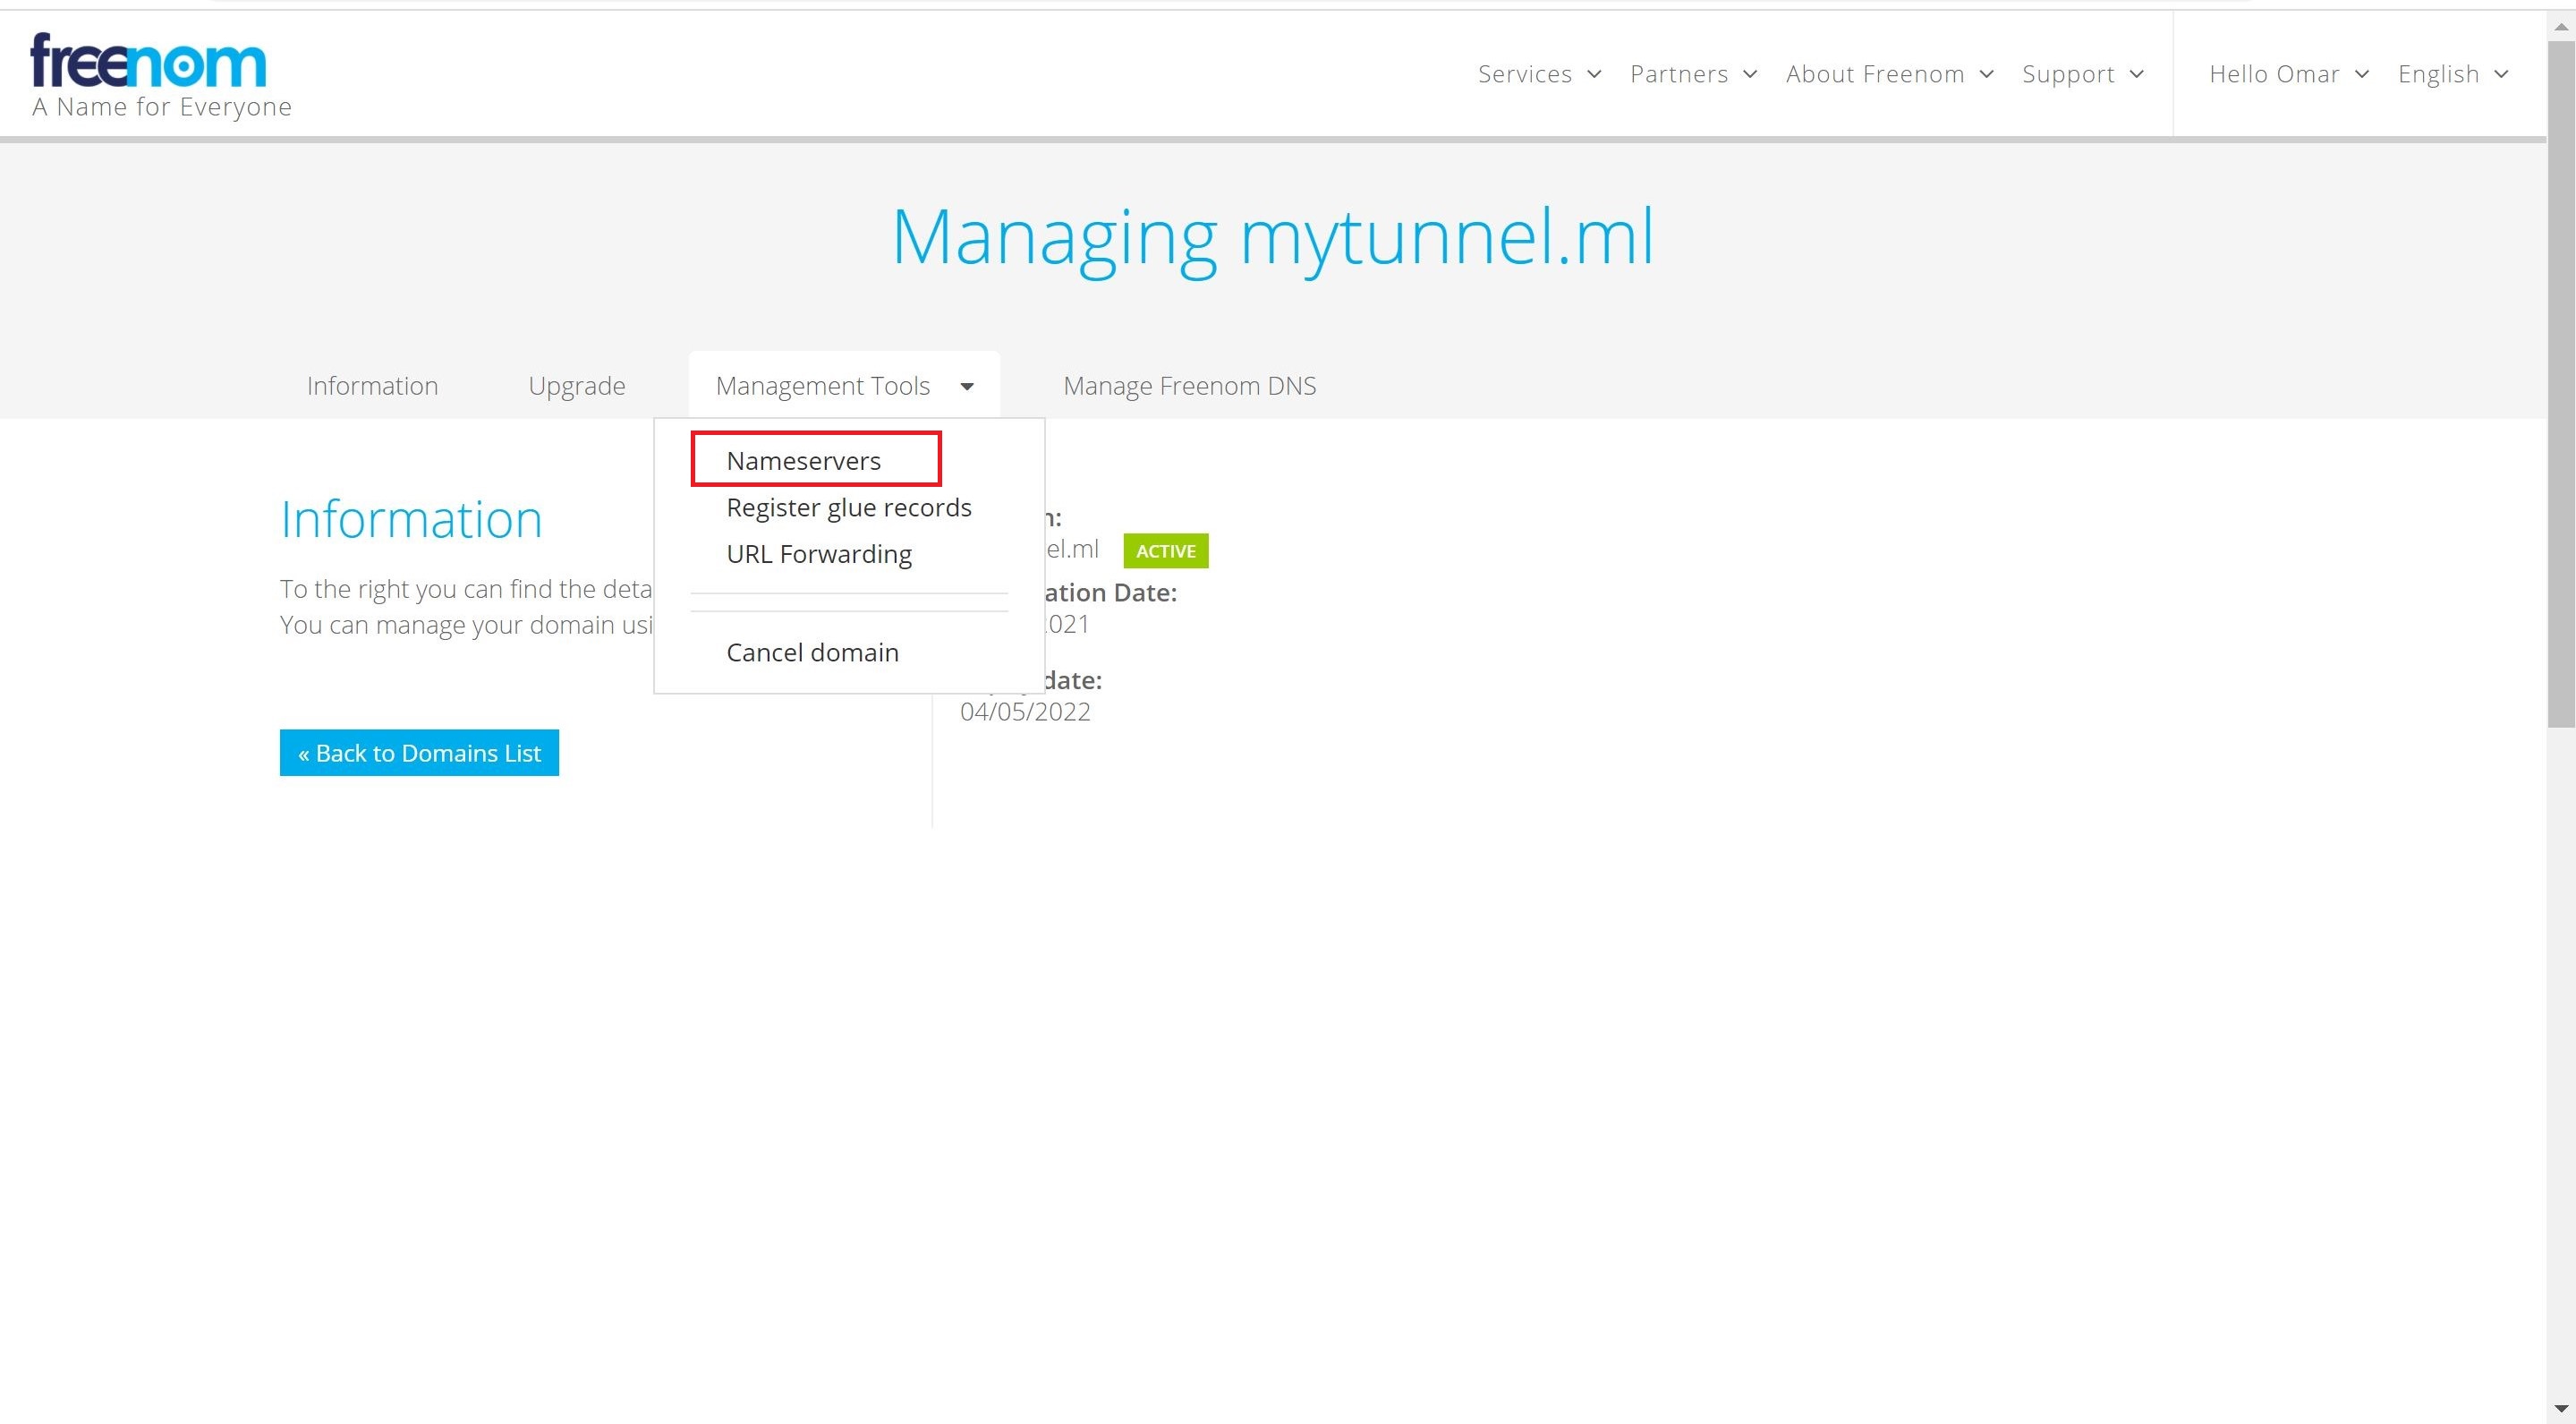
Navigate back to Freenom to replace the nameservers. Click on Change Nameservers.
- Paste the copied two Cloudflare’s nameservers and delete any other nameservers. Click Change Nameservers.

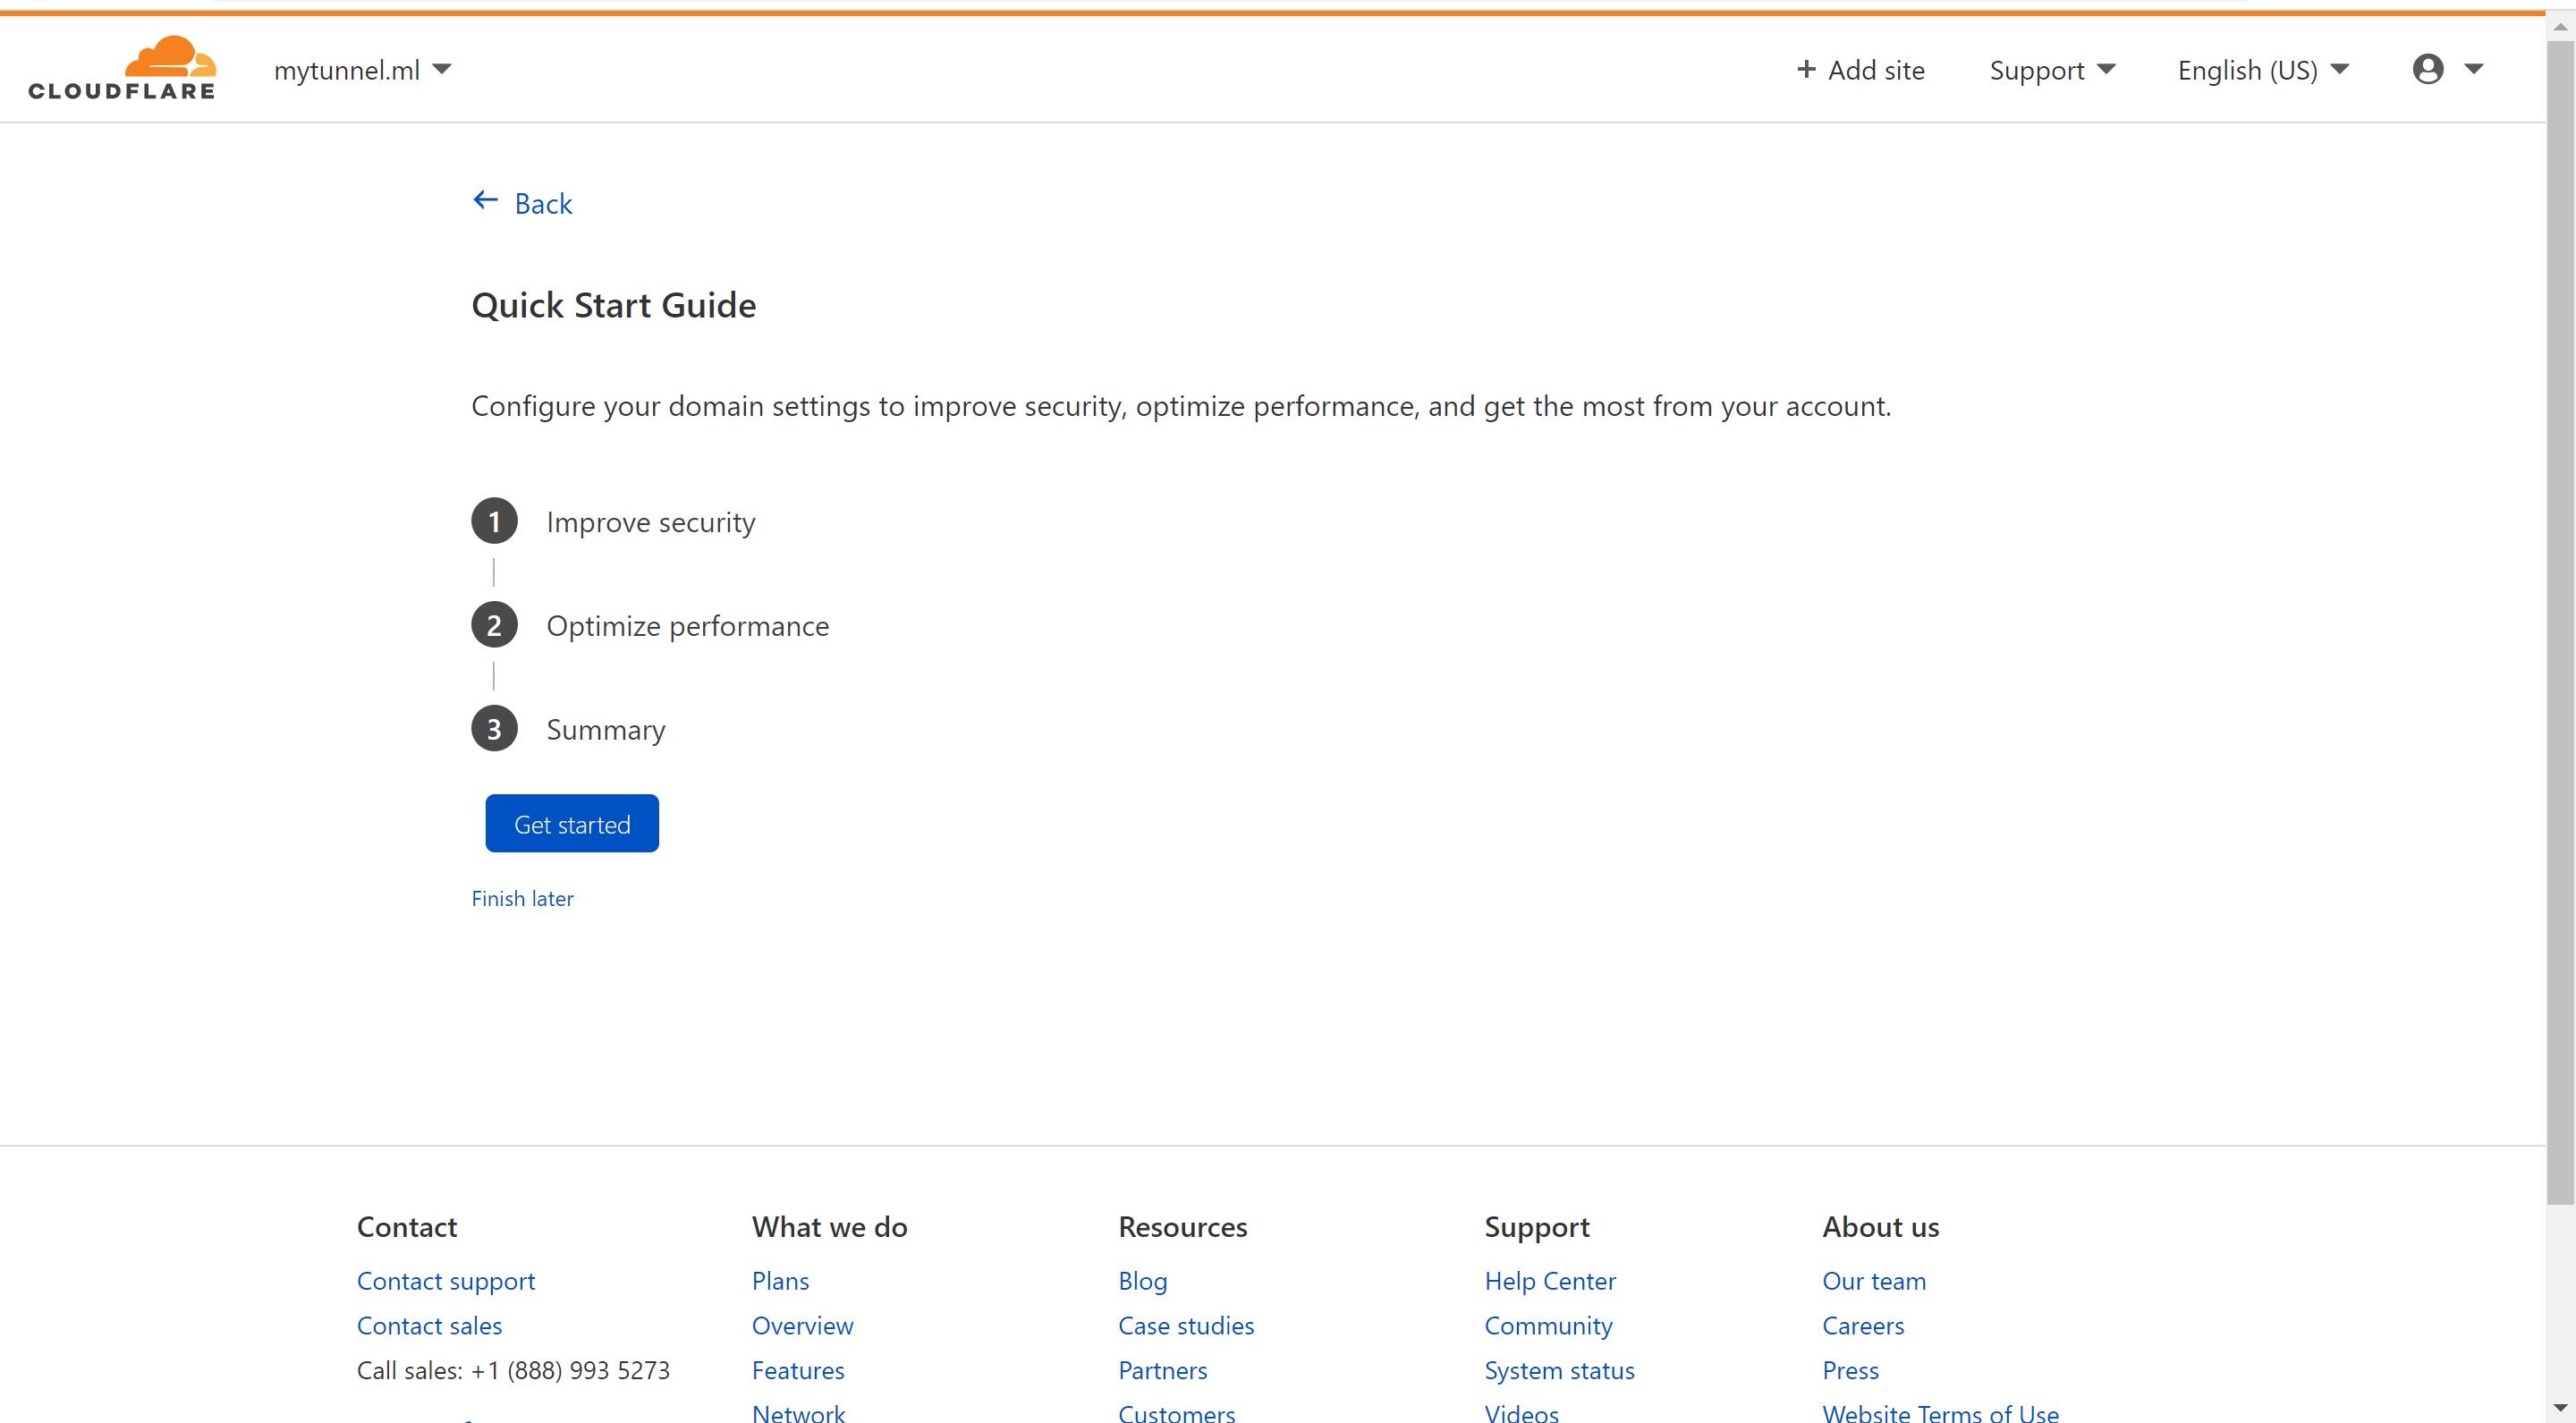
- Navigate back to Cloudflare site and click on Finish later.
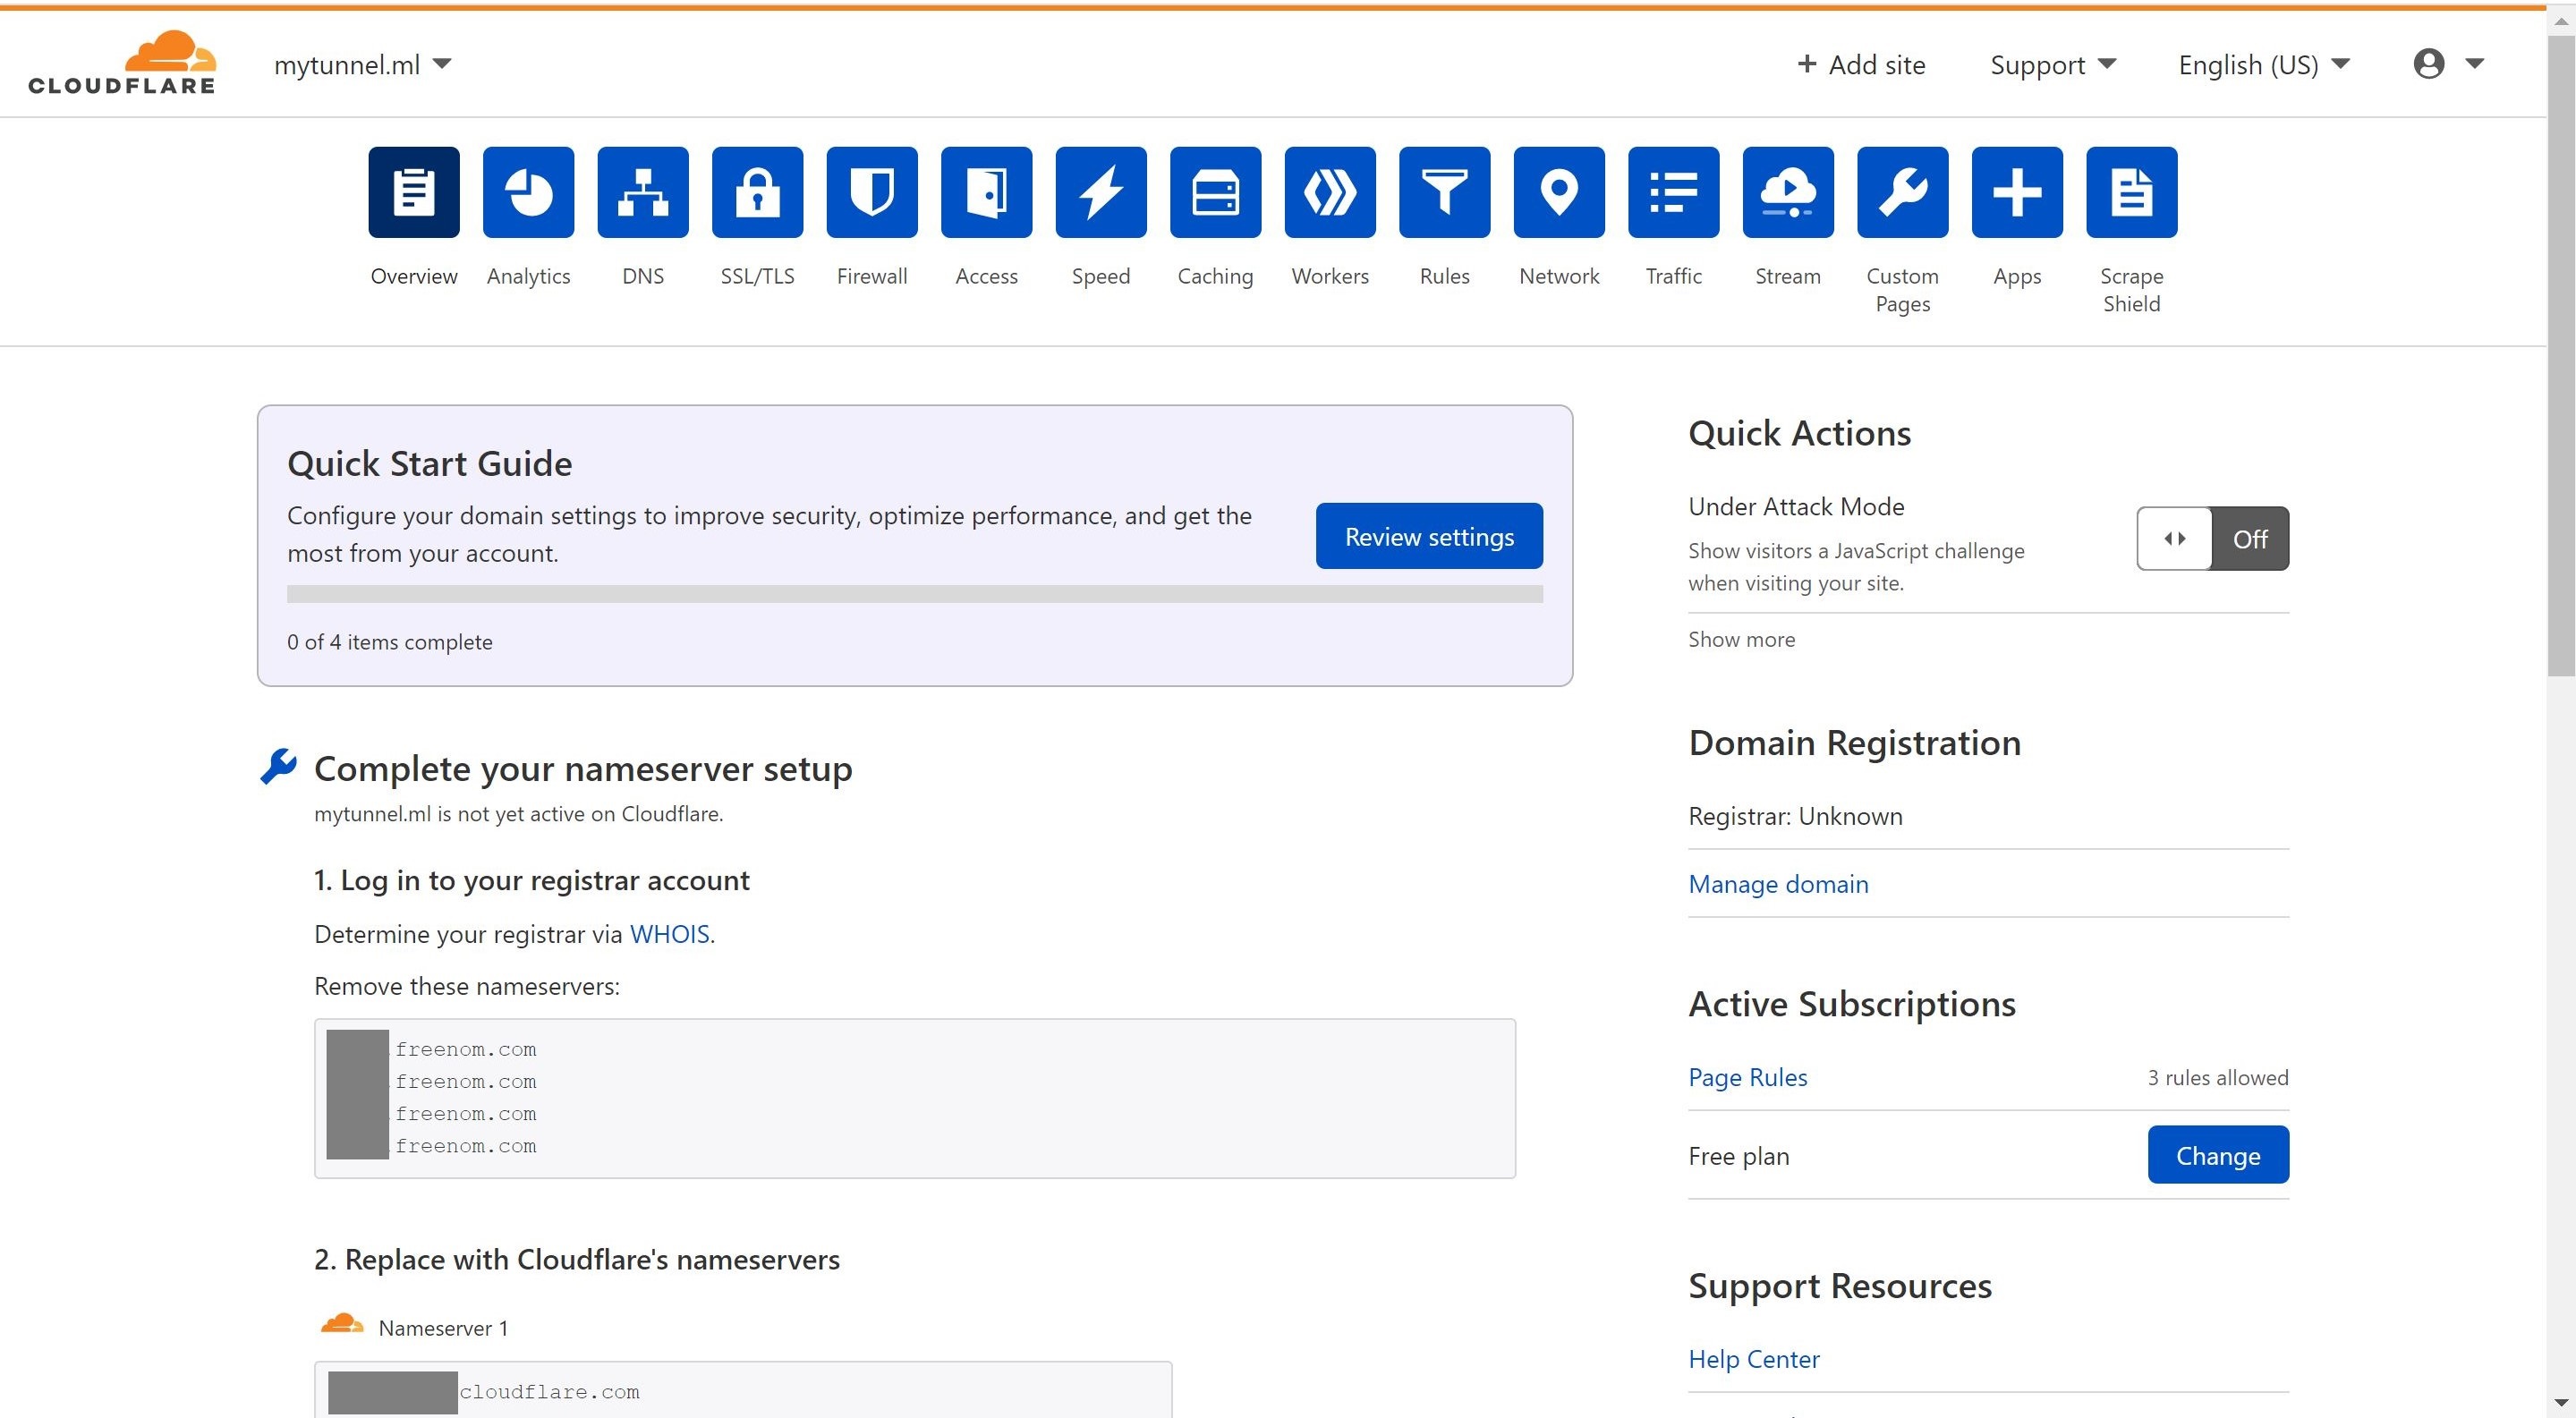
- To check the status of nameservers change, click on Check nameservers.
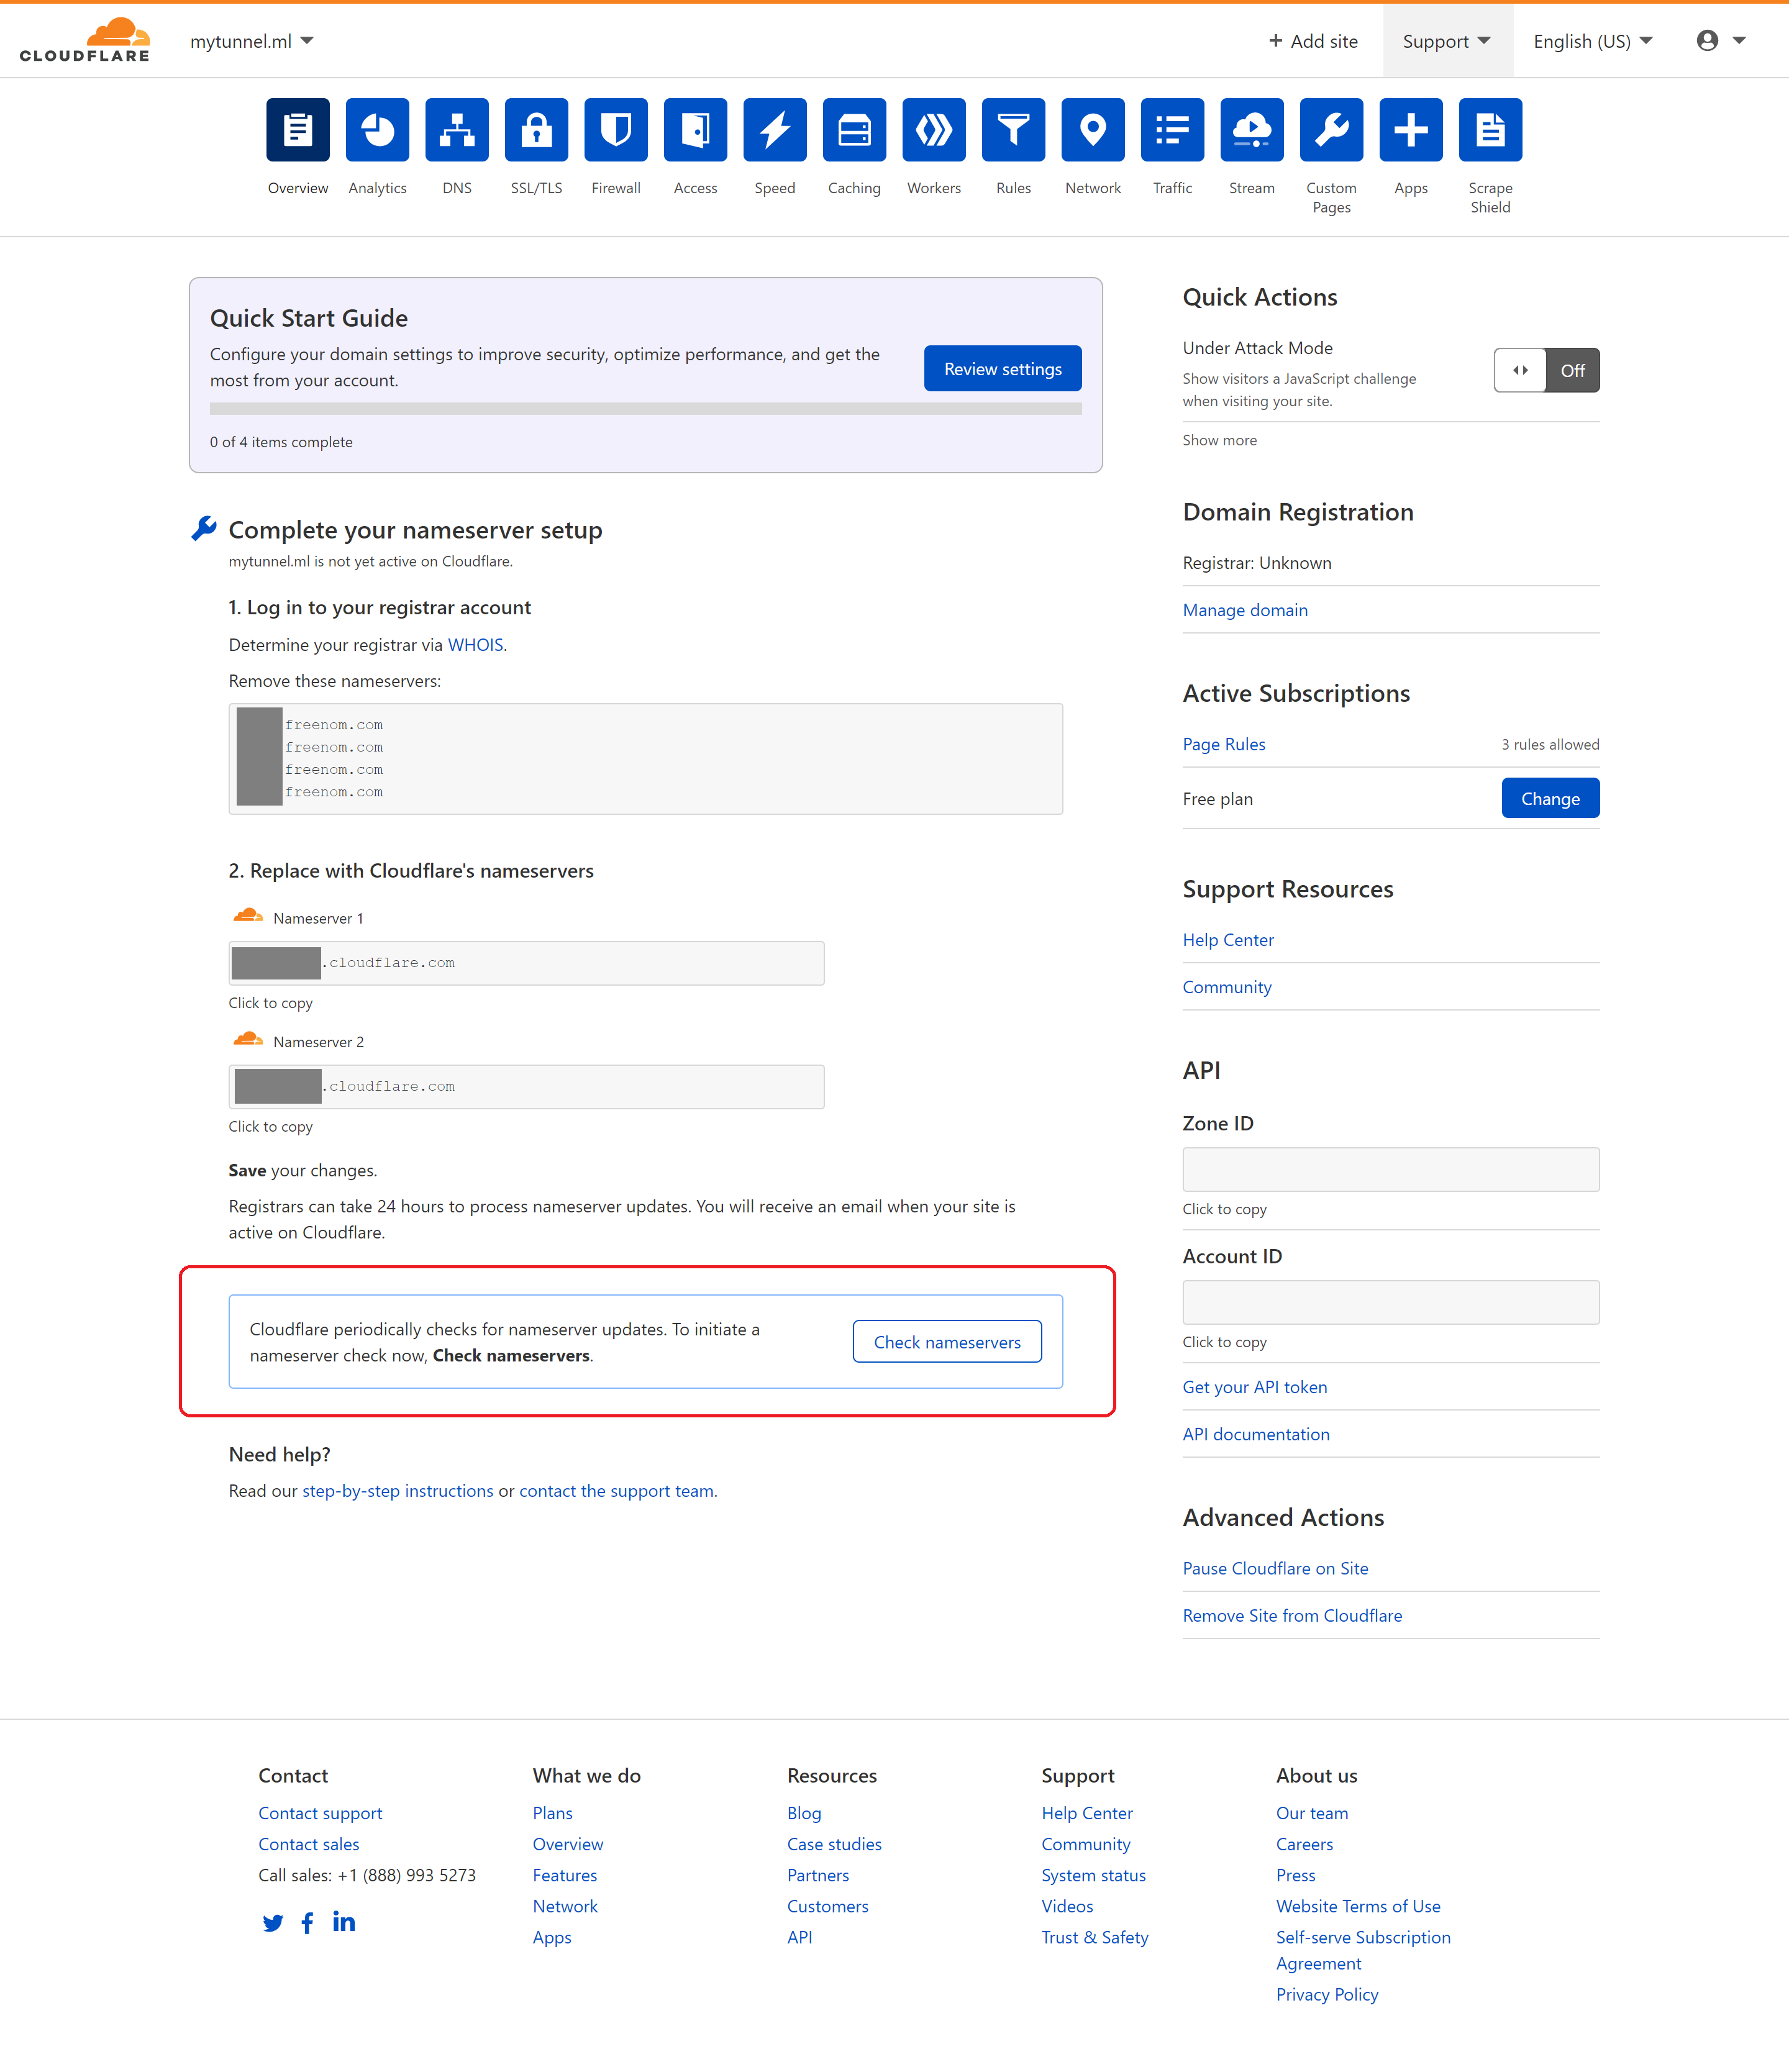
- Please wait until you receive an email stating Status Active. It will take several hours to complete the nameservers change.
Conclusion:
By the end of this tutorial, we have successfully created registered a free domain, created a Cloudflare site and replaced the Freenom’s nameservers by the new Cloudflare’s nameservers.