My First Raspberry Pi
What is Raspberry Pi (RPI)?
The Raspberry Pi is a small single-board computer capable of doing almost everything that an ordinary Linux-based computer can do. Once it connects to an HDMI display, a keyboard, and a mouse, we have have a fully functional computer for a pice of $35 (or even way less for the Raspberry Pi Zero). The Raspberry Pi is widely known and used for home lab environments, where anyone can experiment safely. To learn more about Raspberry Pi.
Note that we will need to purchase a microSD card with a capacity of at least 8GB. We will also need a power supply to power the Raspberry Pi via USB-C for Raspberry Pi 4.
Raspberry Pi 4
There are several models of RPI, and for most people Raspberry Pi 4 Model B is the one to choose. Raspberry Pi 4 Model B is the newest, fastest, and easiest to use.
Raspberry Pi 4 comes with 2GB, 4GB, or 8GB of RAM. For most educational purposes and hobbyist projects, and for use as a desktop computer, 2GB is enough.
Raspberry Zero
Raspberry Pi Zero, Raspberry Pi Zero W, and Raspberry Pi Zero WH are smaller and require less power, so they’re useful for portable projects such as robots. It’s generally easier to start a project with Raspberry Pi 4, and to move to Raspberry Pi Zero when you have a working prototype that a smaller Raspberry Pi would be useful for. I’m using one of these amazing gems as a Twitter Bot. I will definitely put a tutorial together about how to create and host a Twitter Bot on a RPI Zero soon.
Unpacking and Assembling My First Raspberry Pi 4
I purchased the latest Raspberry Pi 4 from Amazon which rocks a 1.5GHz 64-bit quad-core (ARMv8) CPU (4GB of RAM)—though you can step up to 8GB of RAM for a bit more money. Moreover, 2.4 Ghz and 5.0 GHz IEEE 802.11ac wireless, Bluetooth 5.0, BLE. It is very powerful for pretty little thing.
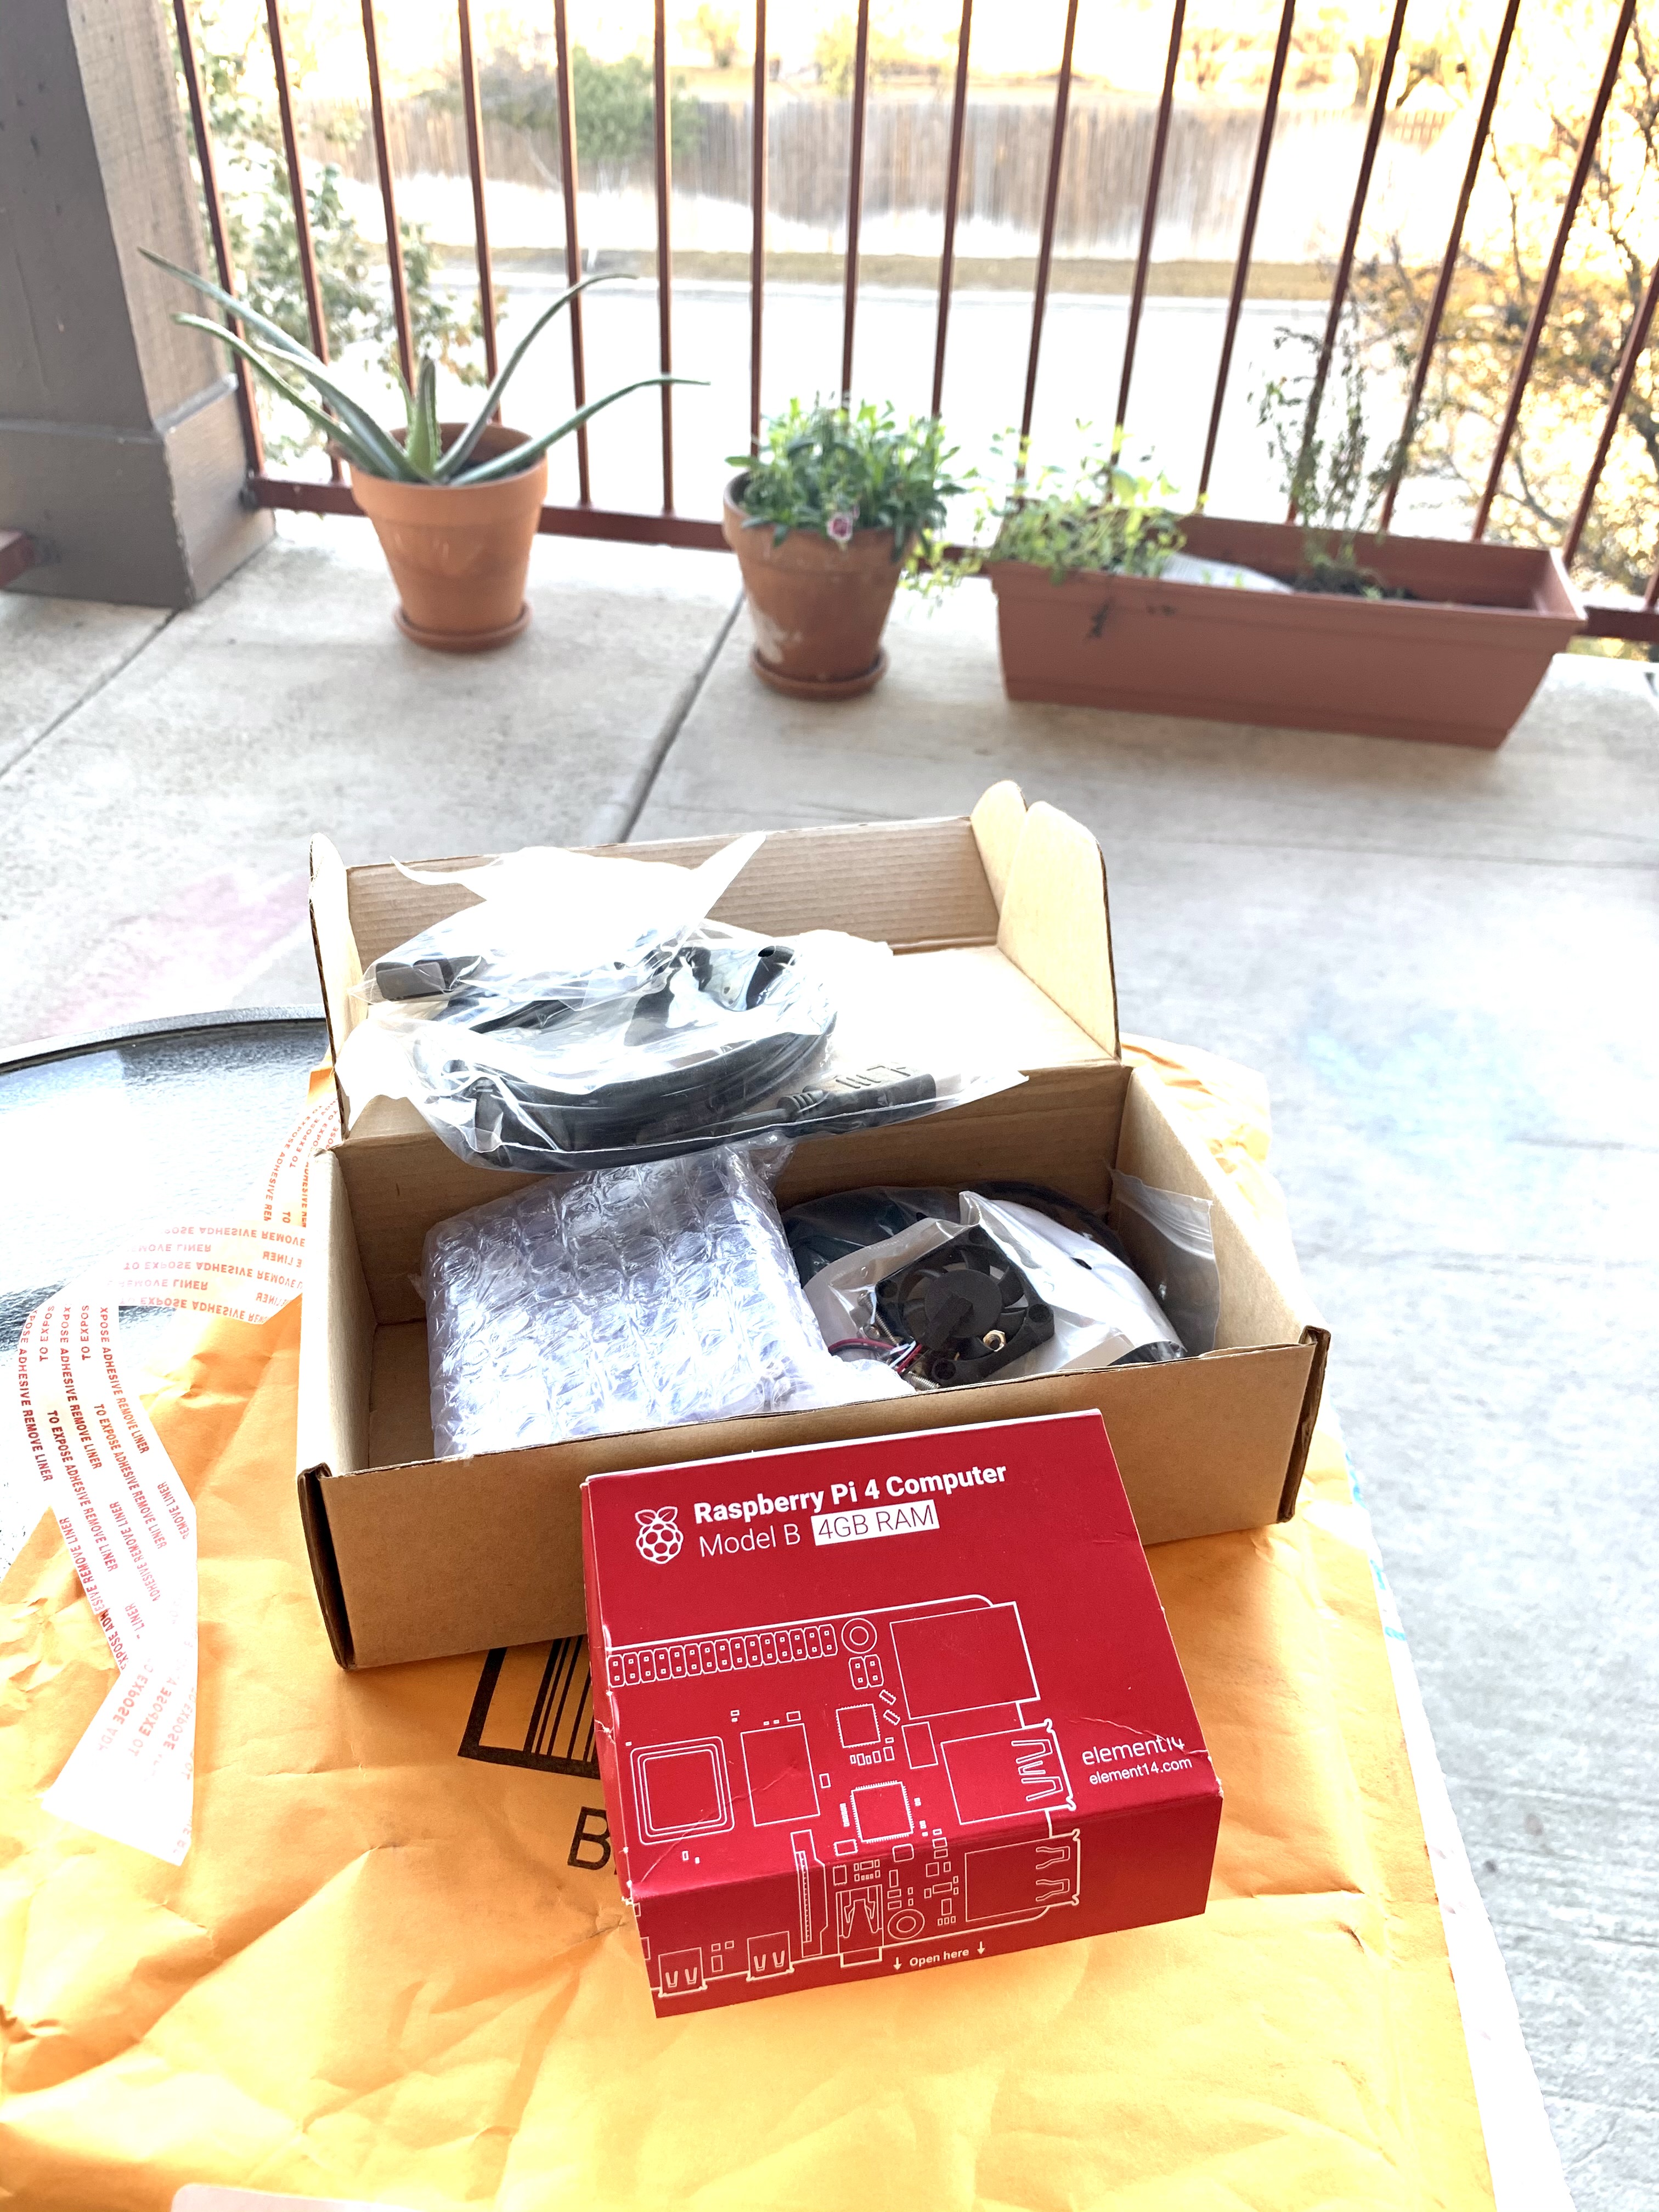
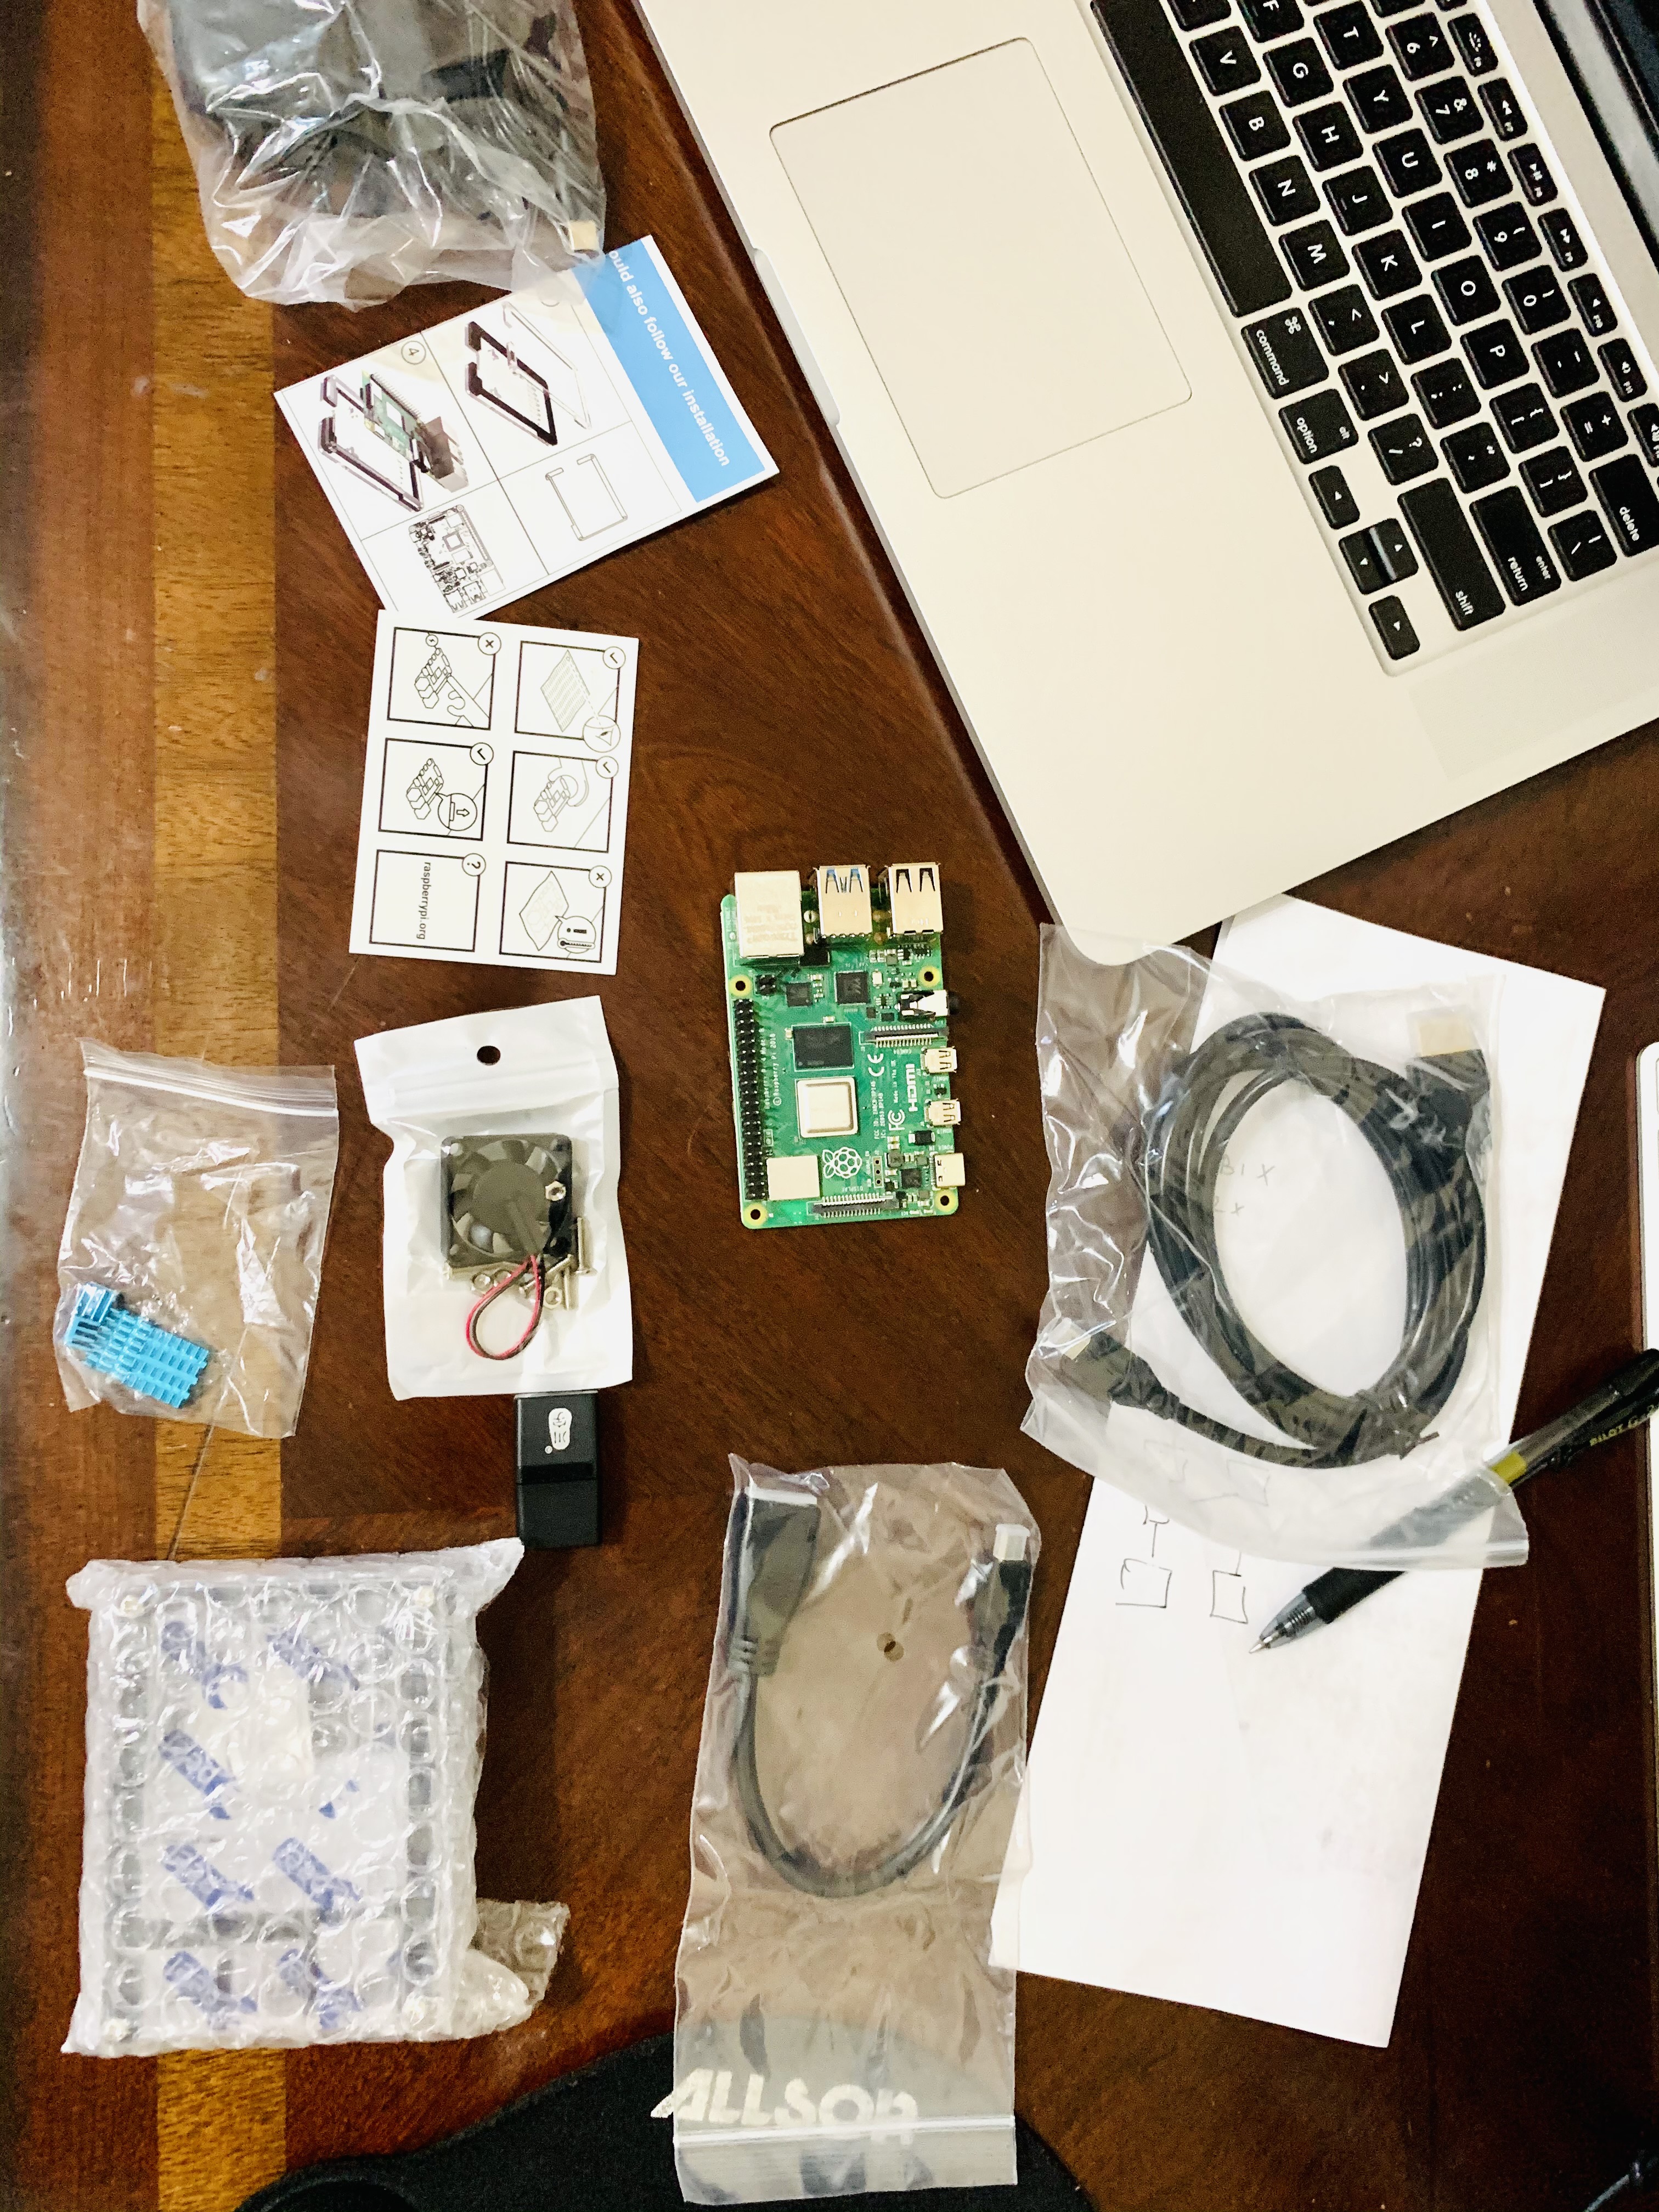
I have had the starter kit with my RPI 4 which includes a premium case with integrated fan mount, 3.5A USB-C power supply with on/off power switch, set of heat sinks, micro HDMI to HDMI cable and 32 GB microSD card.
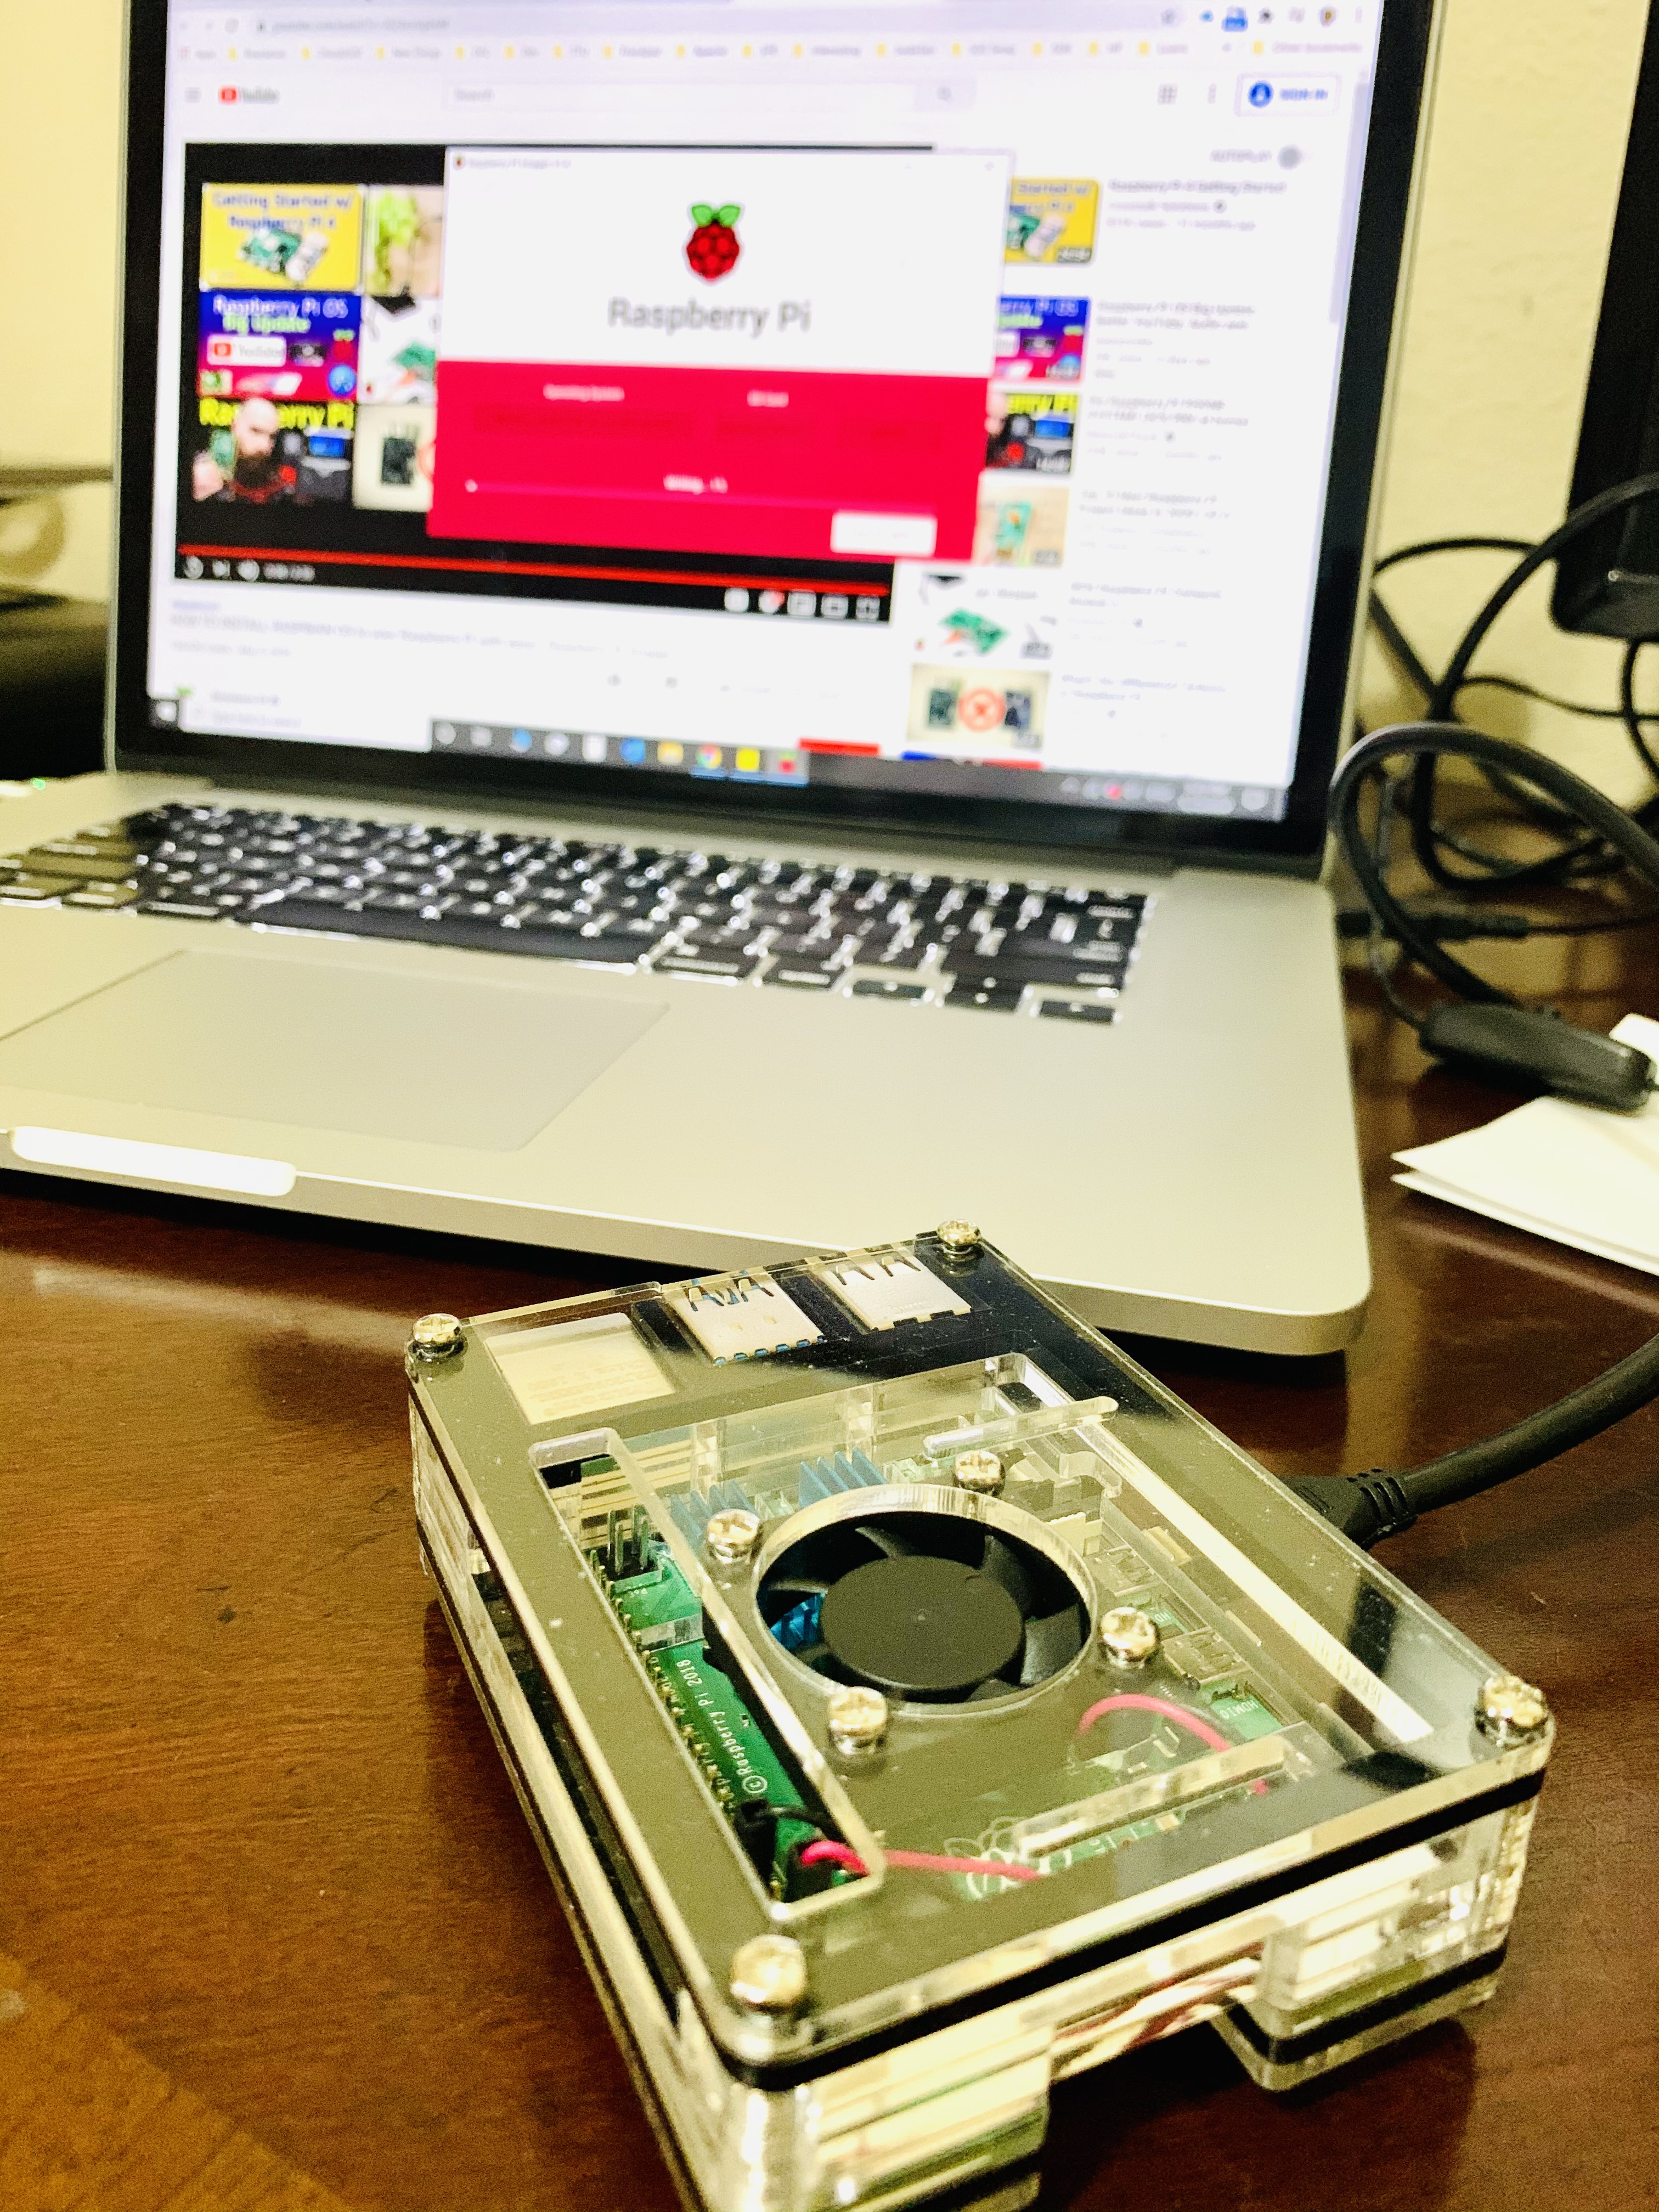
This is my RPI 4 after being fully assembled.
We will need a keyboard, a monitor and a mouse for the initial setup. However, we might not need them down the road. It depends on the project and how we are going to access the RPI 4.
Install an Operating System on the microSD Card
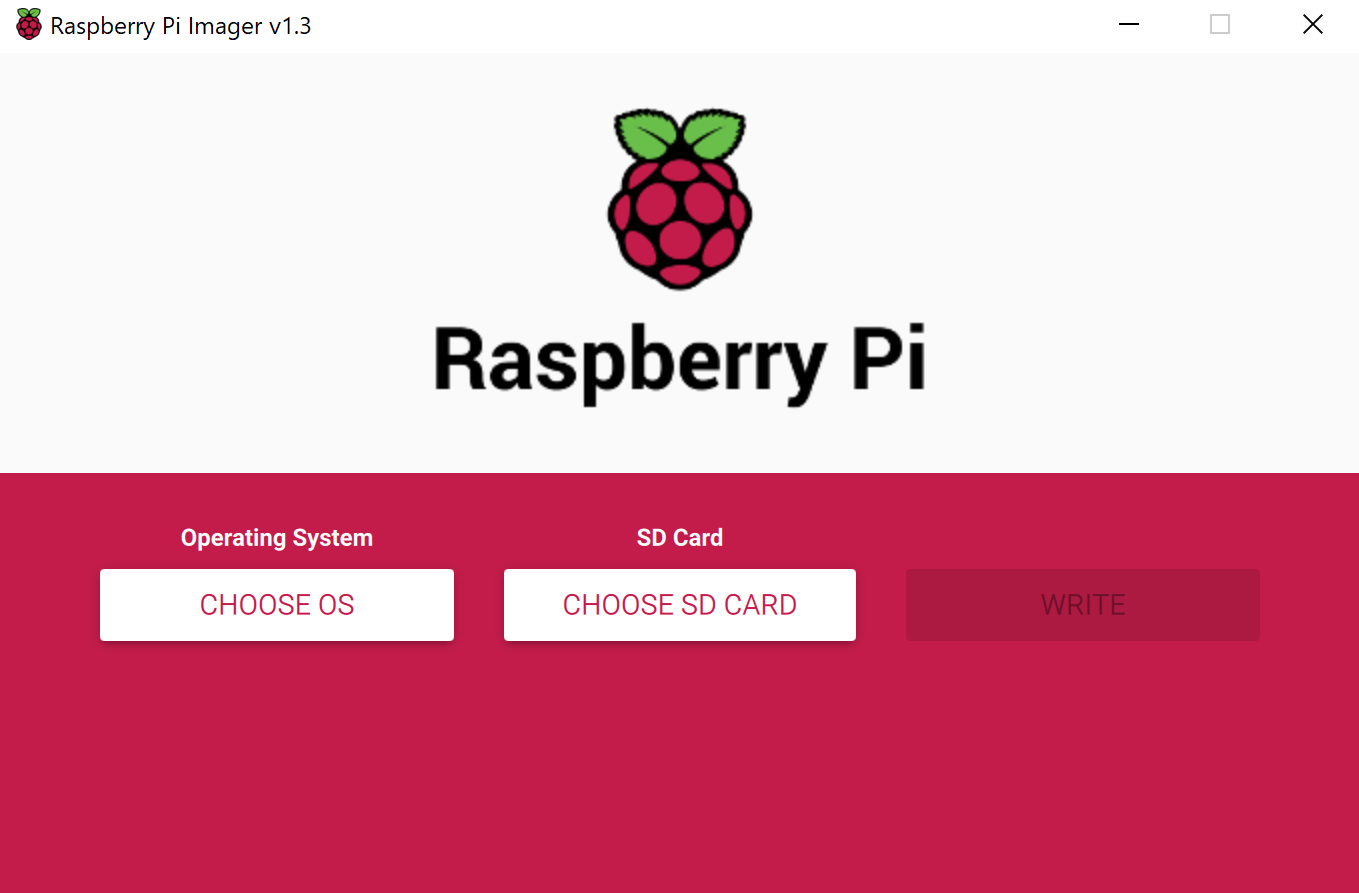
The RPI operating system (previously called Raspbian) is the Foundation’s official OS for the Pi based on Debian Linux. The Pi Foundation also offers a Raspberry Pi Imager for a quick and easy way to install Raspberry PI OS and other operating systems to our microSD card. It’s available for Windows, MacOS and Ubuntu. Let’s download the Raspberry Pi Imager.
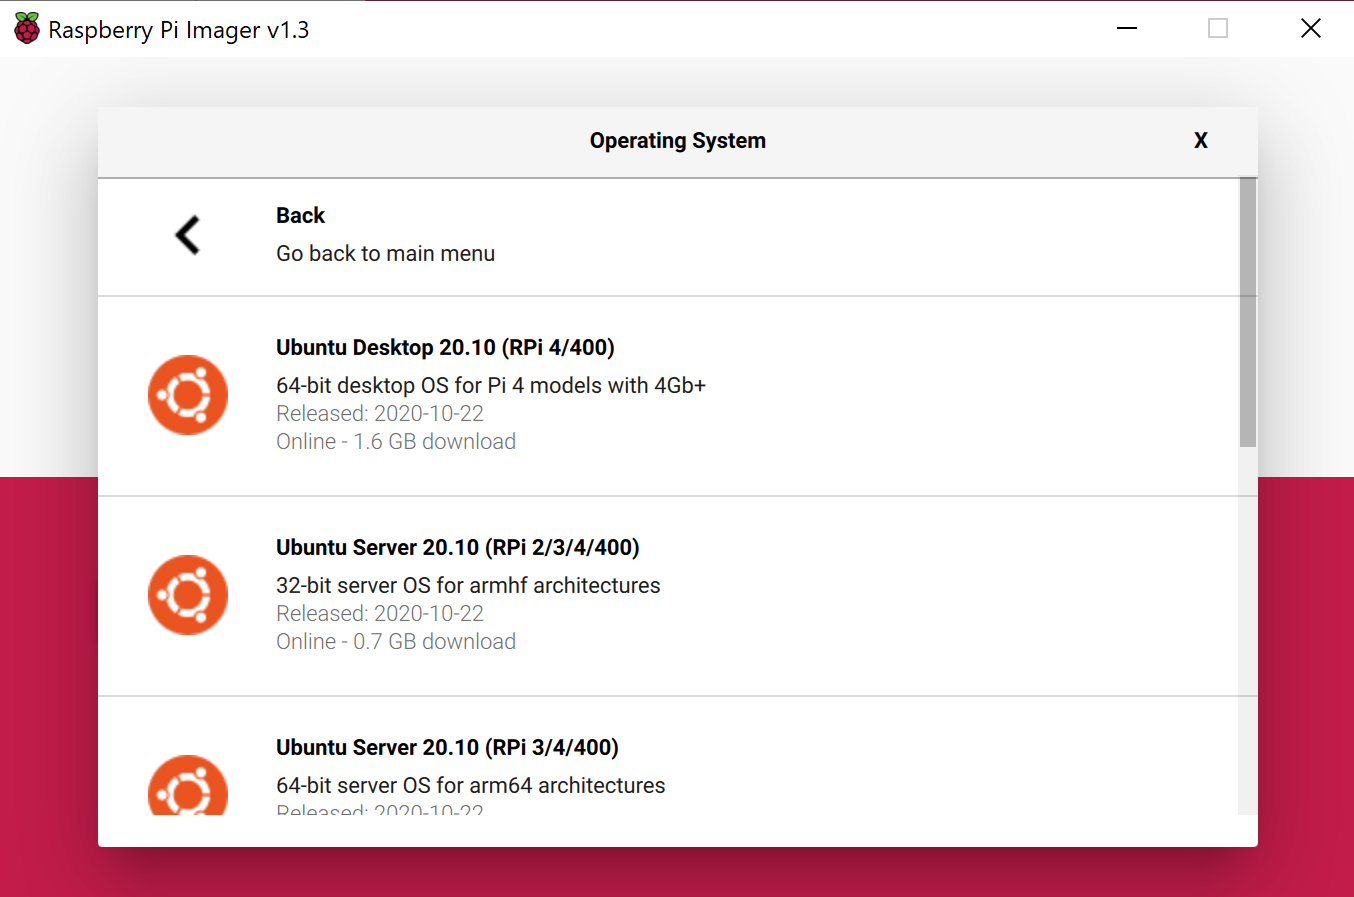
For our upcoming projects, I would suggest to install 64-bit Ubuntu Desktop 20.10 on the RPI instead of the 32-bit Raspbian operating system.
After downloading the Raspberry Pi Imager, we will click on “CHOOSE OS” to select the Ubuntu Desktop 20.10 on our microSD card.
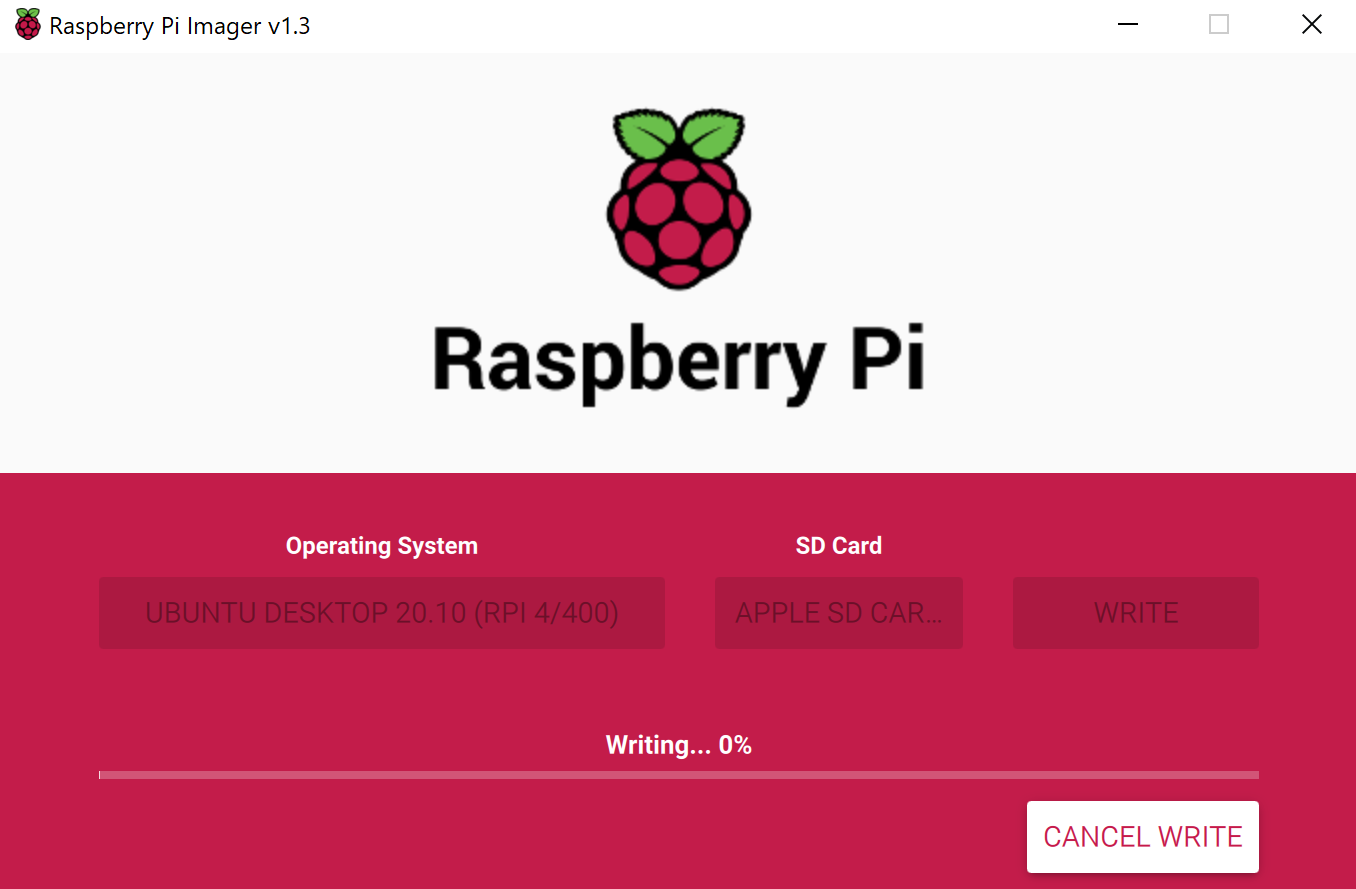
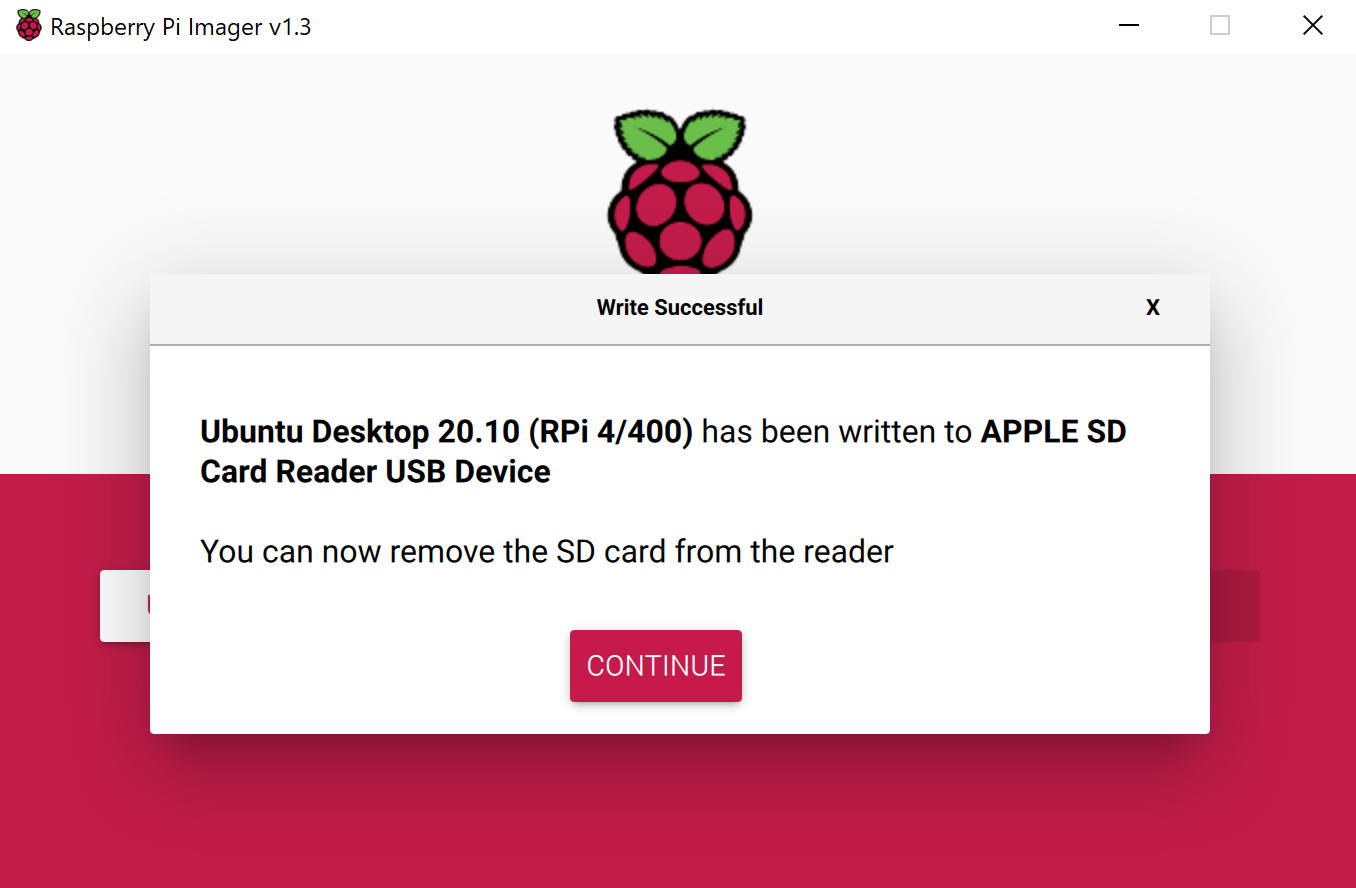
If the downloading process to the microSD is completed successfully, we shall see the below message.
Conclusion:
Now, we have successfully created an image of Ubuntu Desktop 20.10. Let’s insert this MicroSD card into our RPI 4.