AWS Lambda Custom Layers and a Lambda Function in Python
What is AWS Lambda?
AWS Lambda is a serverless compute service, which allow the user to run codes without provisioning or managing servers. With Lambda, the user does not manage runtimes nor admin the server. Utilizing Lambda is as simple as uploading a code in a ZIP file or a container image, and Lambda automatically allocates compute execution power and runs the code based on the incoming request or event. Lambda functions can be written in many flavors such as, Node.js, Python, Go, Java, and more. For more information about Lambda.
In this tutorial, we will explore two important aspects of AWS Lambda, which are Custom Layers and Lambda Function in Python using layers.
Tutorial Scenario:
- A user uploads a PDF to S3 bucket.
- The bucket PUT event triggers a lambda function.
- The lambda function inspects the JSON and extract the bucket and the file names from it.
- The file is read using boto3 - AWS Python library.
- Apache Tika library is to parse the PDF and to extract metadata and content.
- The outcome text is saved in a different/destination S3 bucket.
Then,
- We shall create a common layer containing the 3rd part library dependency of Apache Tika.
- Finally, code a lambda function in python.
Step 1: Spin a Ubuntu 18.04 LTS instance and Configure App File:
- Spin a Ubuntu 18.04 LTS instance. Ensure port 22 is open to SSH.
- SSh into the instance and run the following commands:
As a best practice, let’s update our Ubuntu operating system.
sudo apt update
Let’s install the zip utility.
sudo apt install zip -y
pip is the package installer for Python. Let’s install pip.
sudo apt install python3-pip
The chown command allows us to change the user and/or group ownership of a given file or directory.
sudo chown ubuntu:ubuntu -R /opt
We will cd into opt directory. cd is the command used to move between directories/folders.
cd /opt
mkdir is the command to create directories.
mkdir -p appzip/python
Let’s cd into app directory.
cd appzip/
Now, we will use the zip utility to zip the appzip.
zip -r appzip.zip python
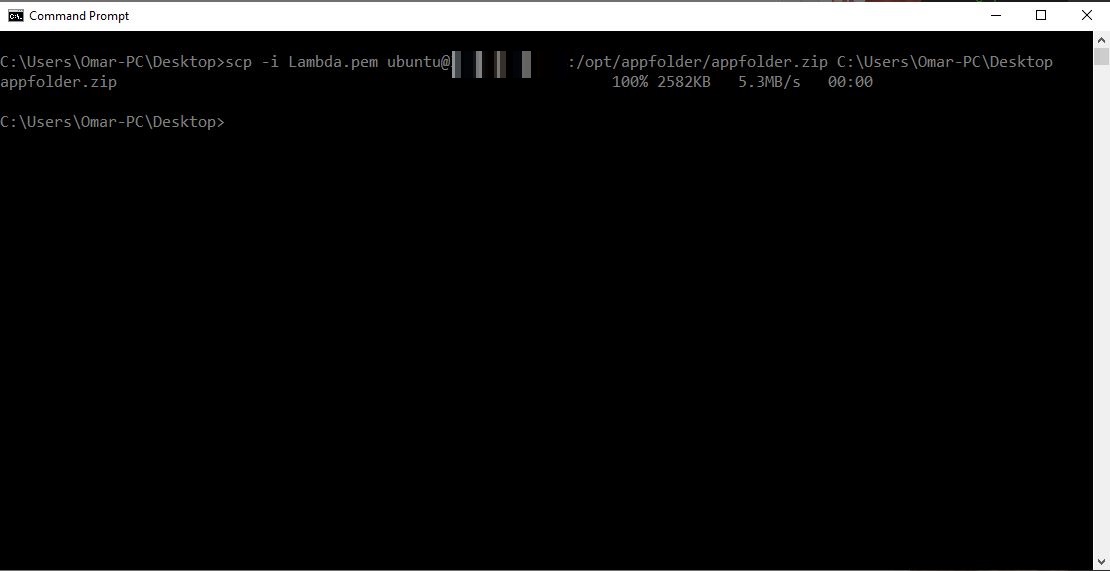
We will download the zip file to our device. We will use Secure Copy scp, which is command line utility to allow us to securely copy files and directories between devices.
From your device’s terminal, use the following command to download the zip file to your local device. For more information, visit AWS.
scp -i <Name>.pem ubuntu@<EC2-Public-IP OR DNS>:/opt/appfolder/appfolder.zip ./appfolder.zip
I’m using AWS CLIv2 via my Windows Command Line:
C:\Users\Omar-PC\Desktop>scp -i Lambda.pem ubuntu@XX.XXX.XX.XXX:/opt/appfolder/appfolder.zip C:\Users\Omar-PC\Desktop
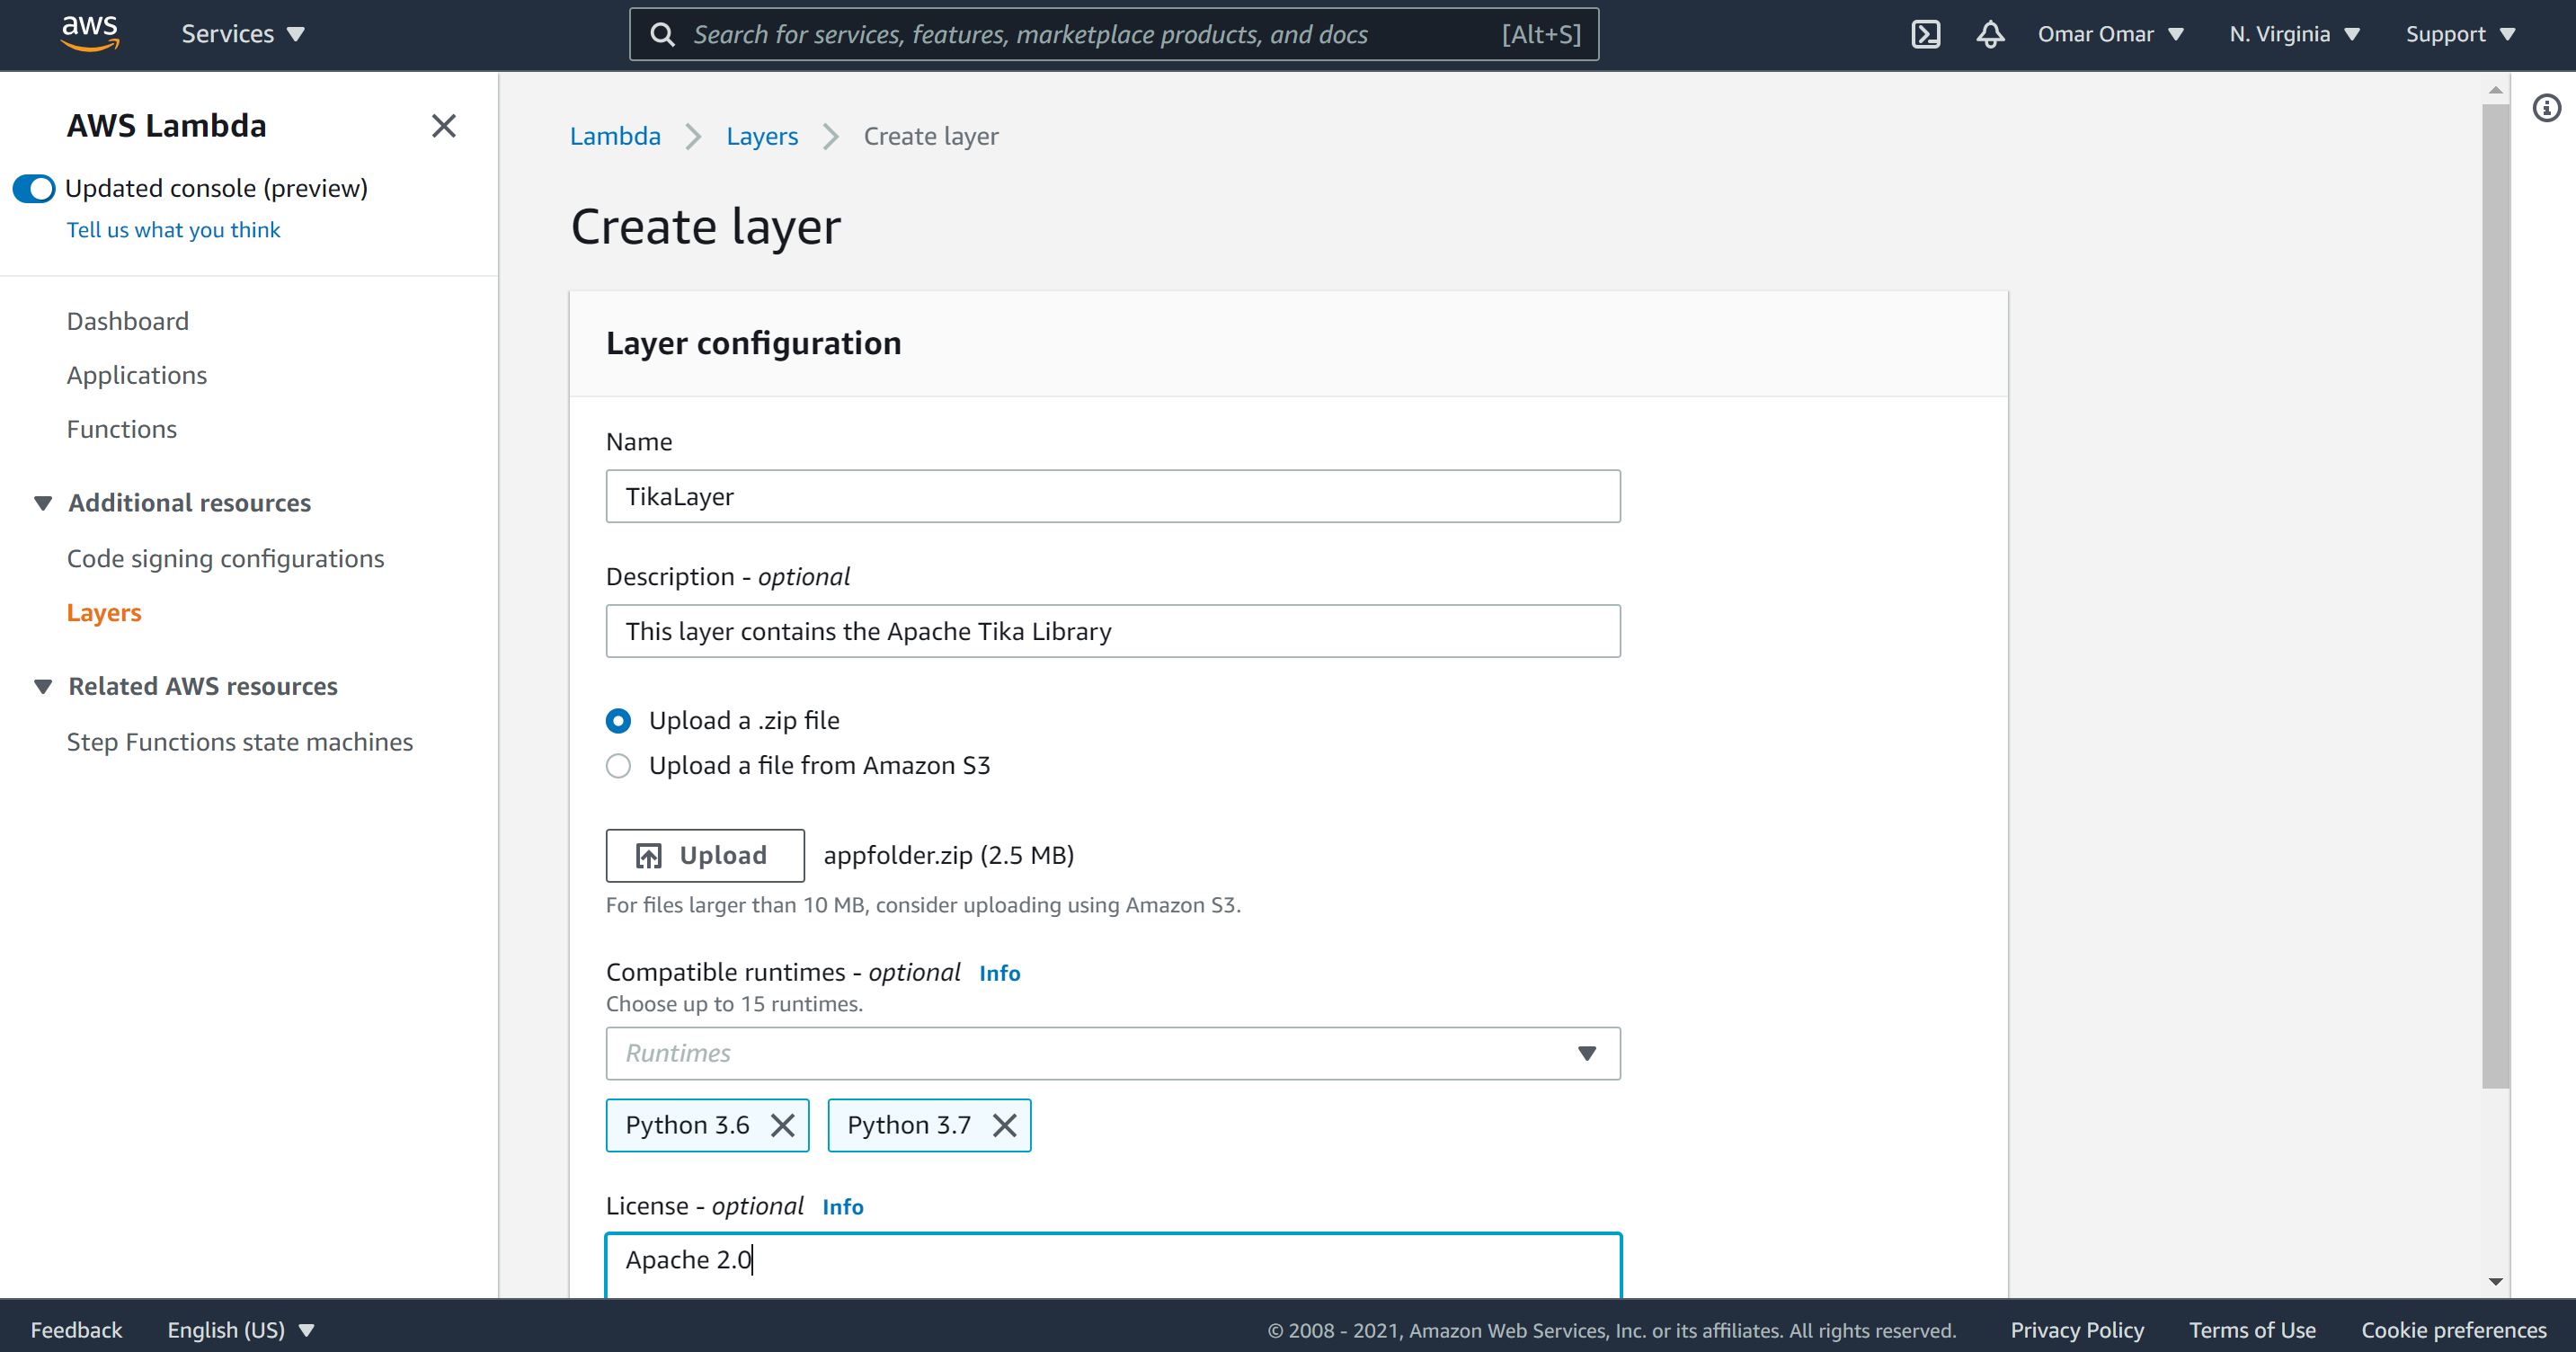
Step 2: AWS Lambda Layer Configuration
On AWS lambda, click on “Layers”, give it a name, description and upload the zip file (appzip). So far, we created a lambda layer as simple as that.
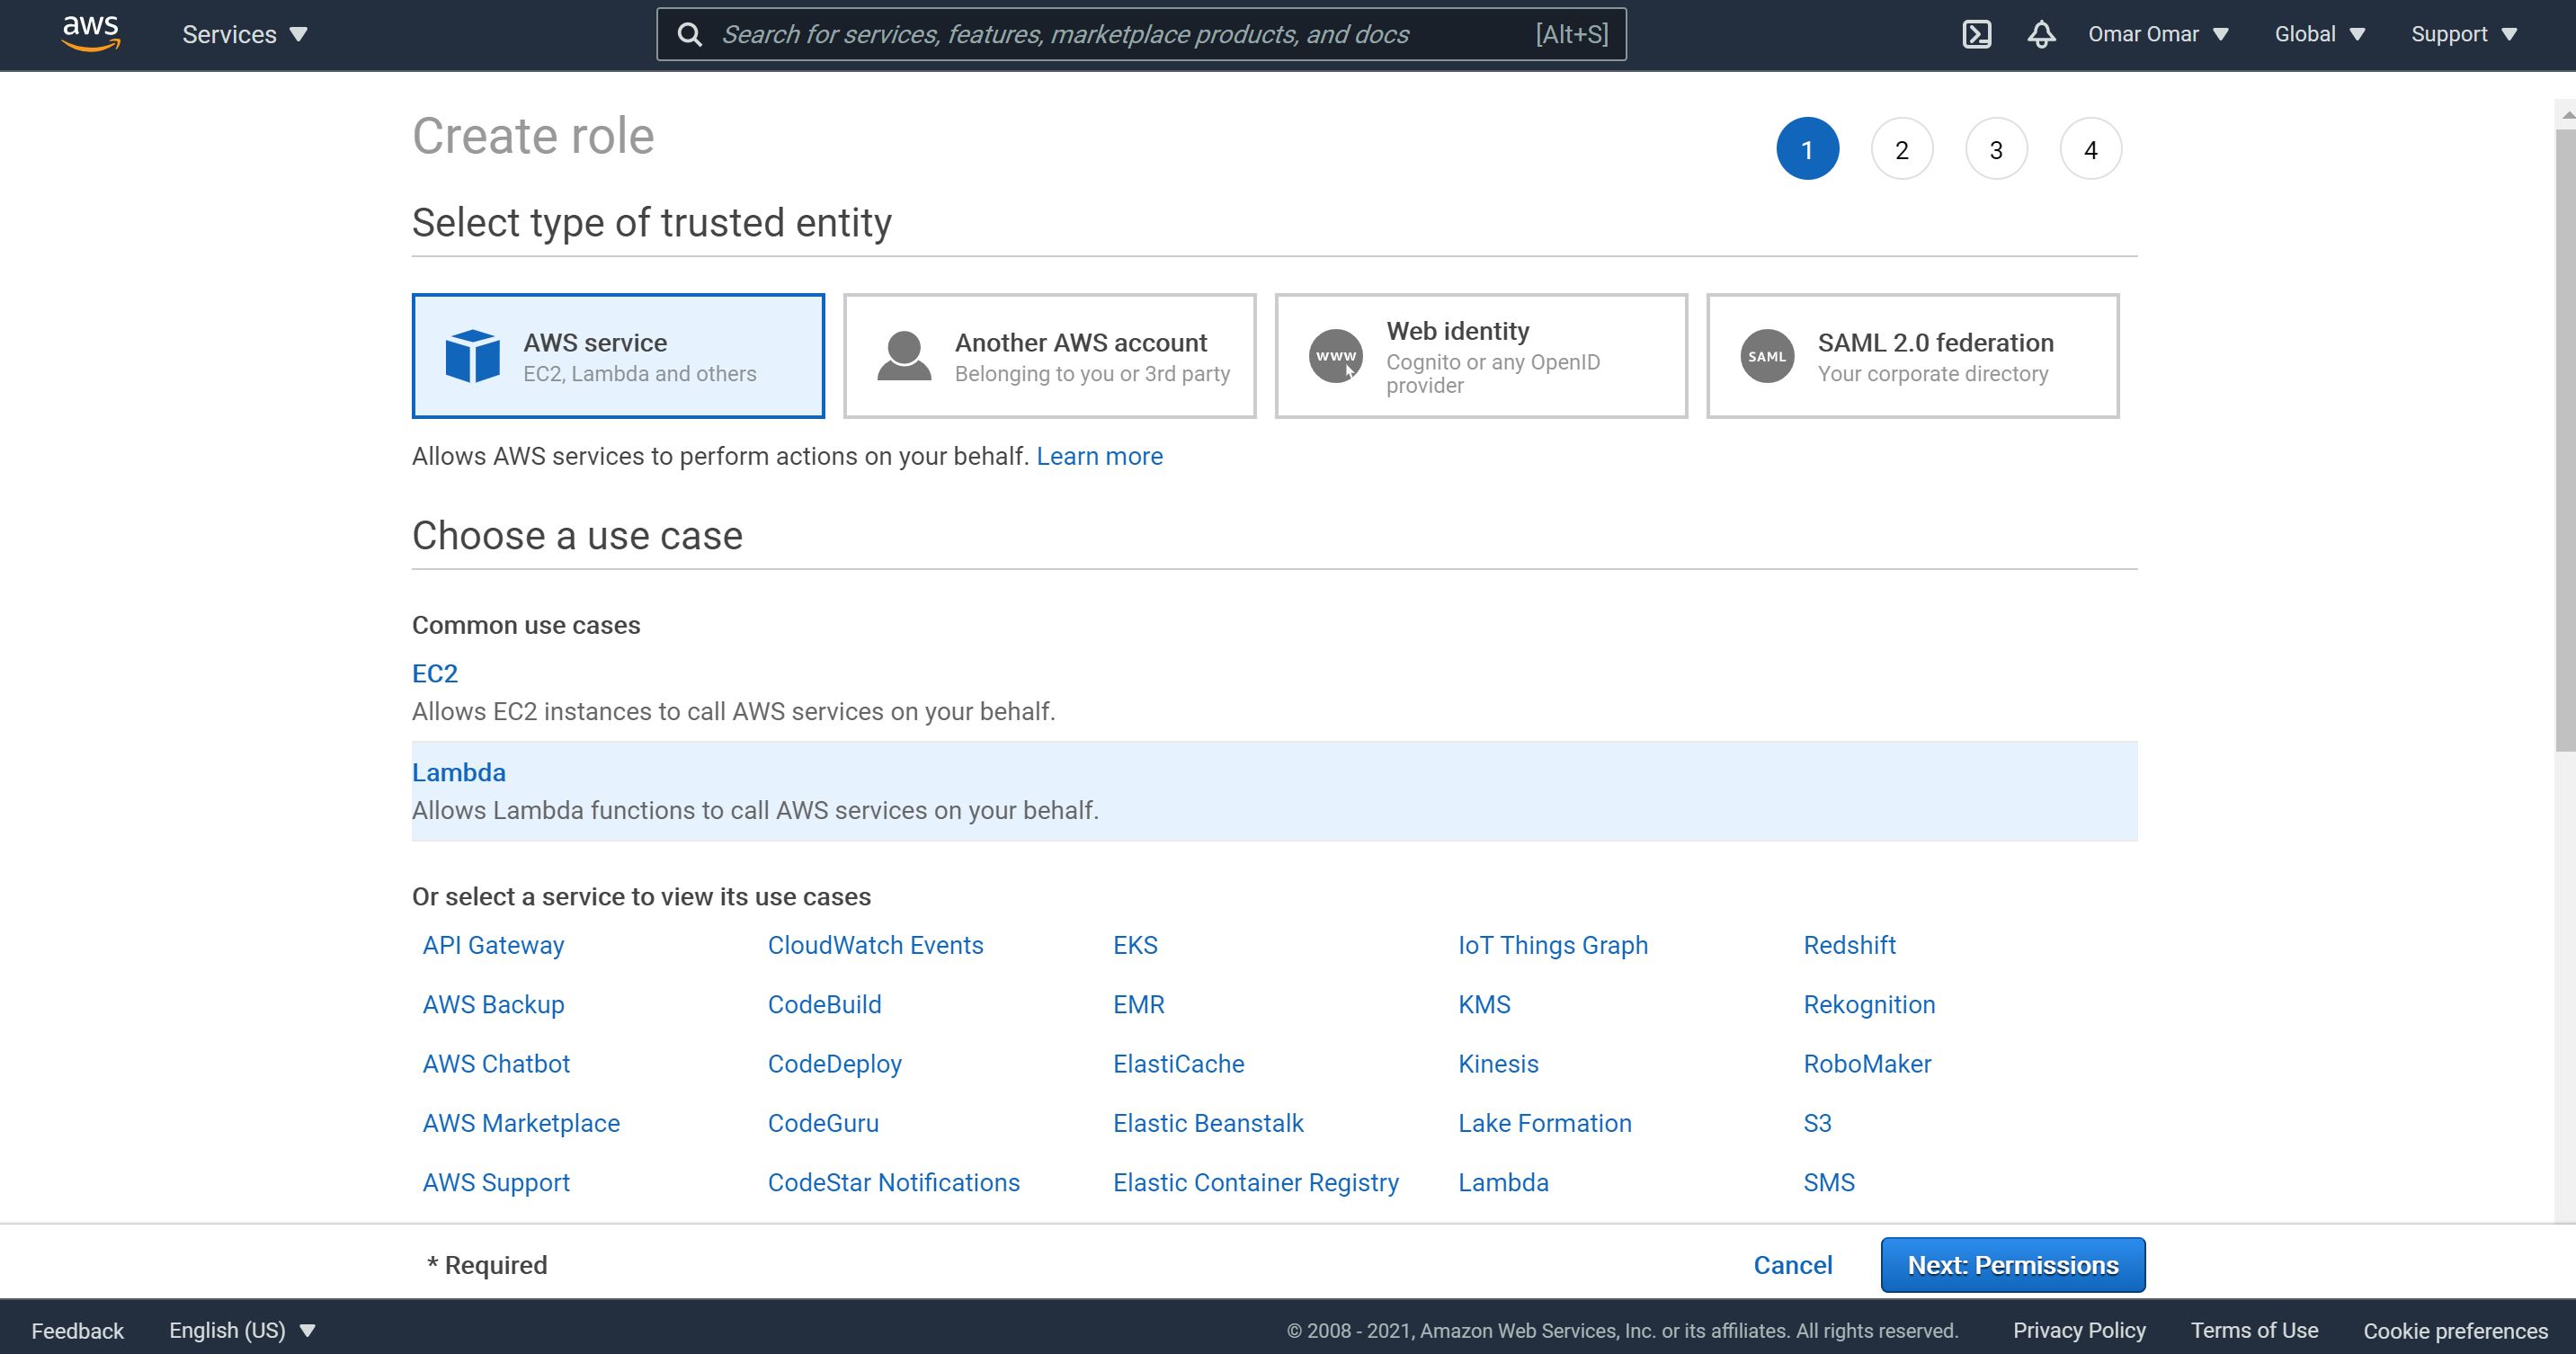
Step 3: Lambda Role and S3 configuration
- Create an IAM role which allows the lambda function to access other needed resources.
-
Add the following policies to the role, “AmazonS3Full Access and CloudWatchFull Access.
-
Name the role, lambda-pdf-extractor.

-
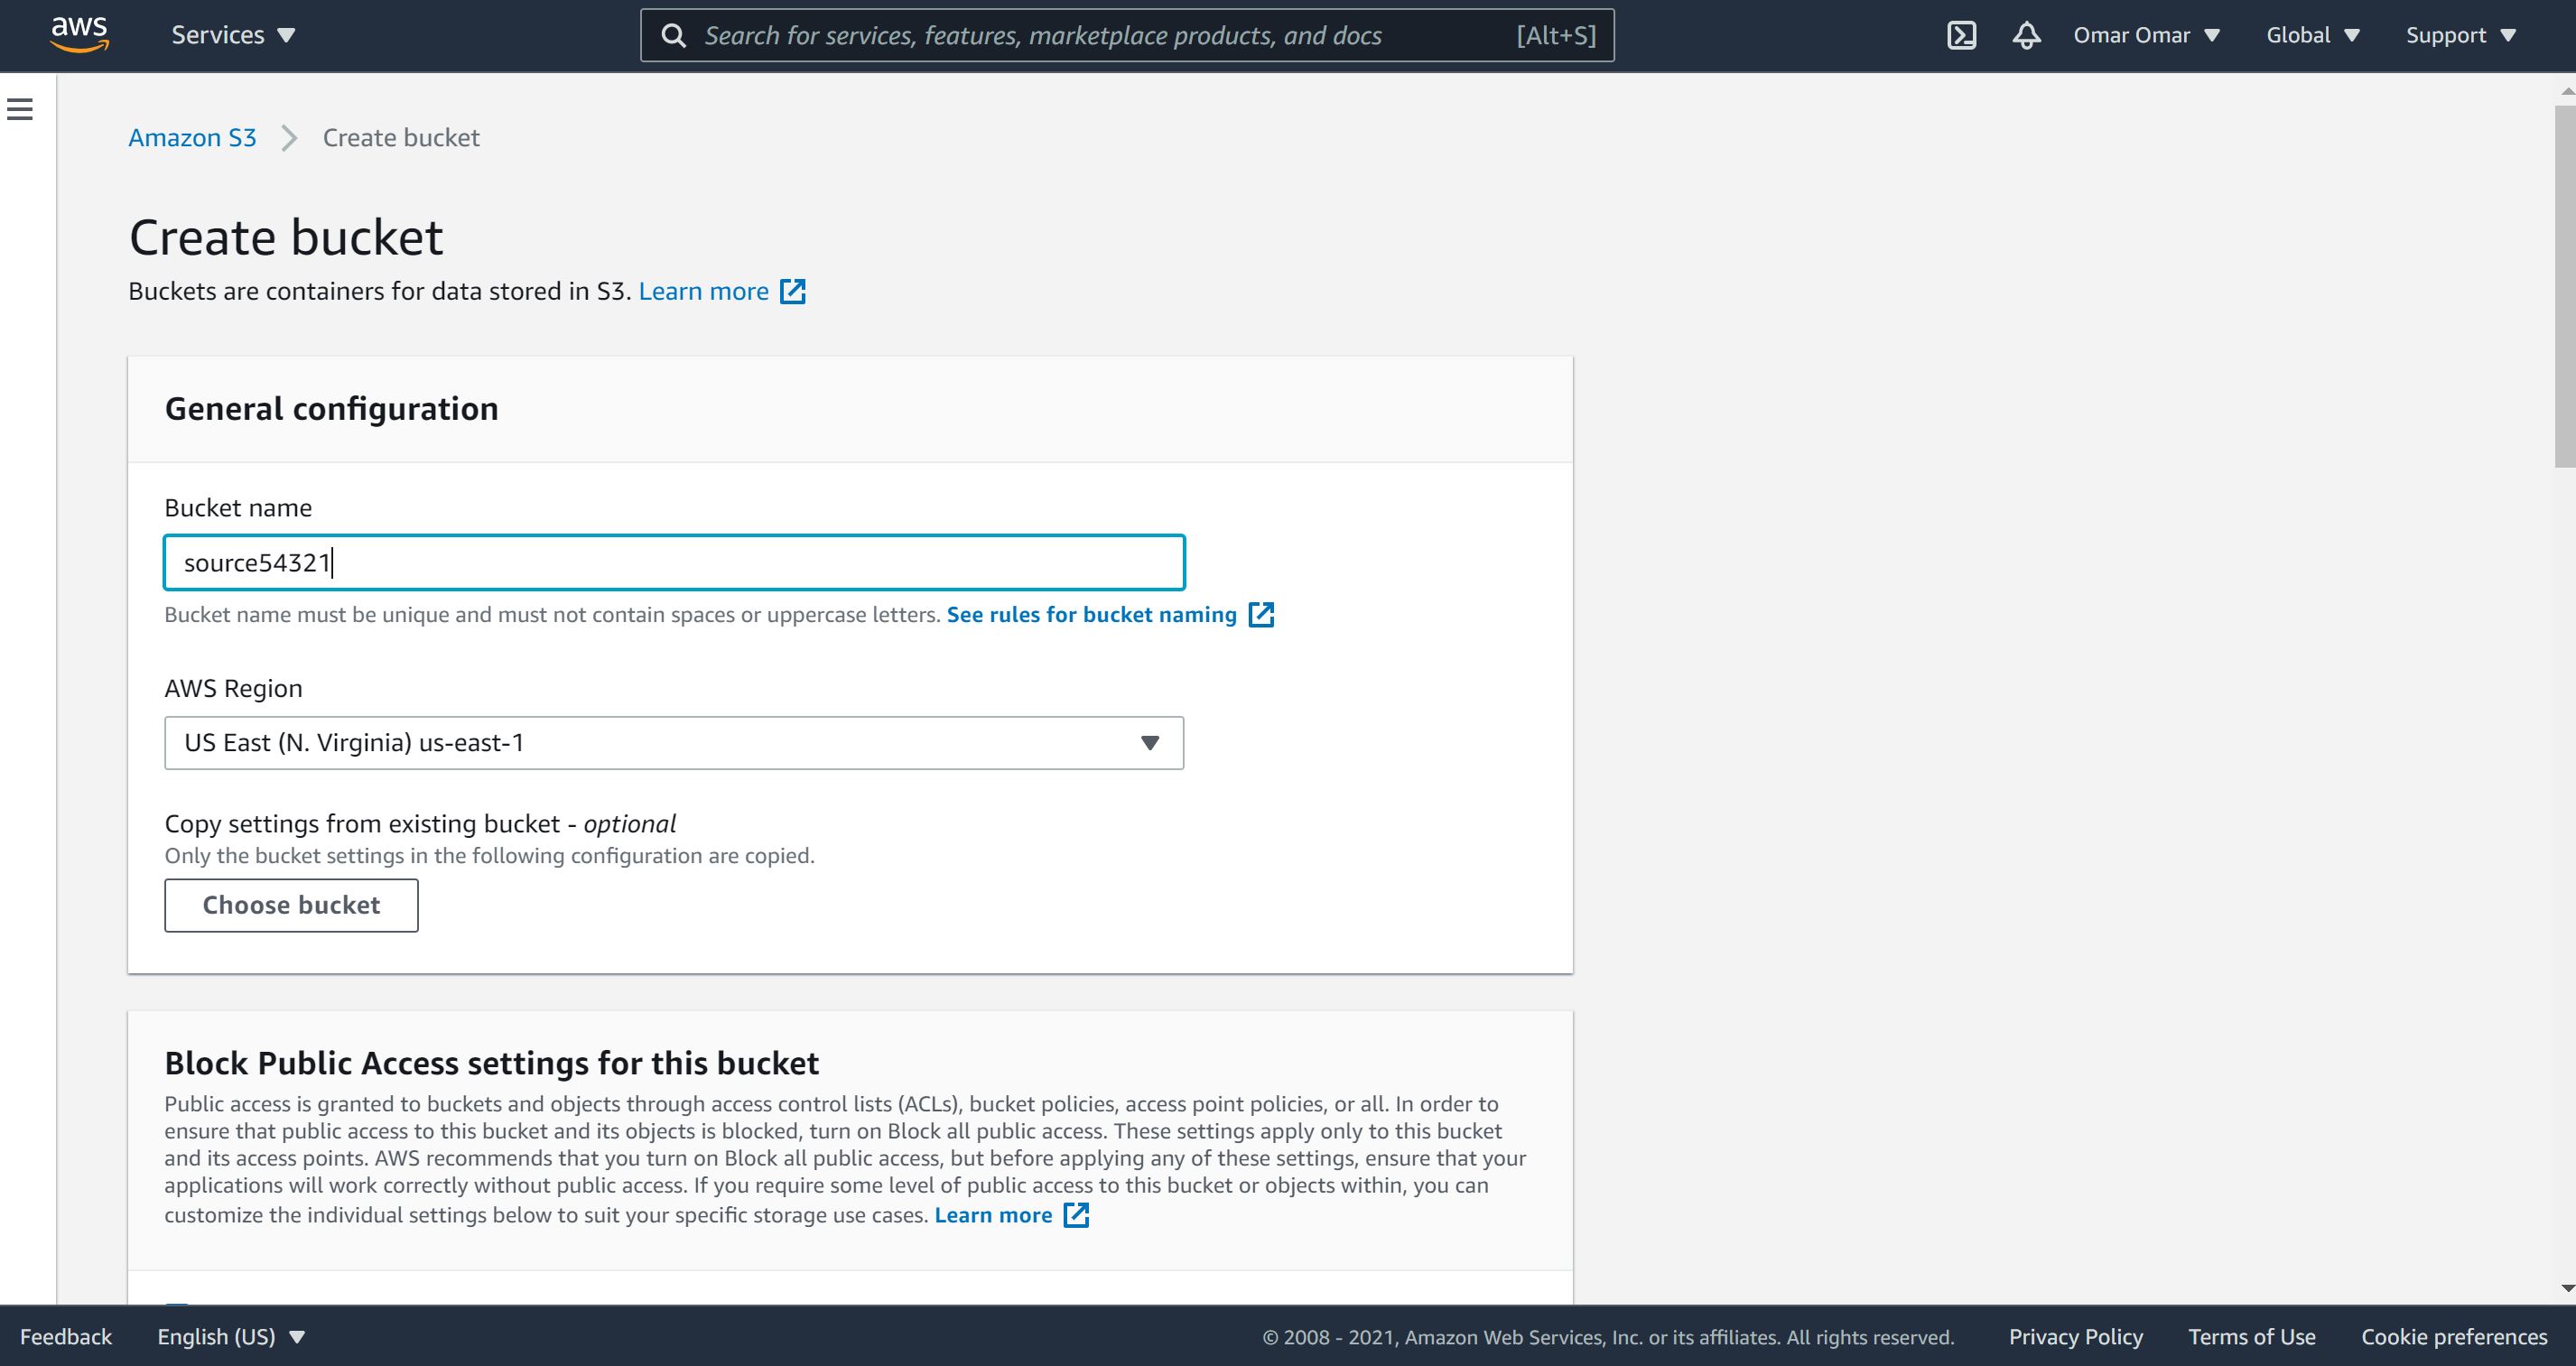
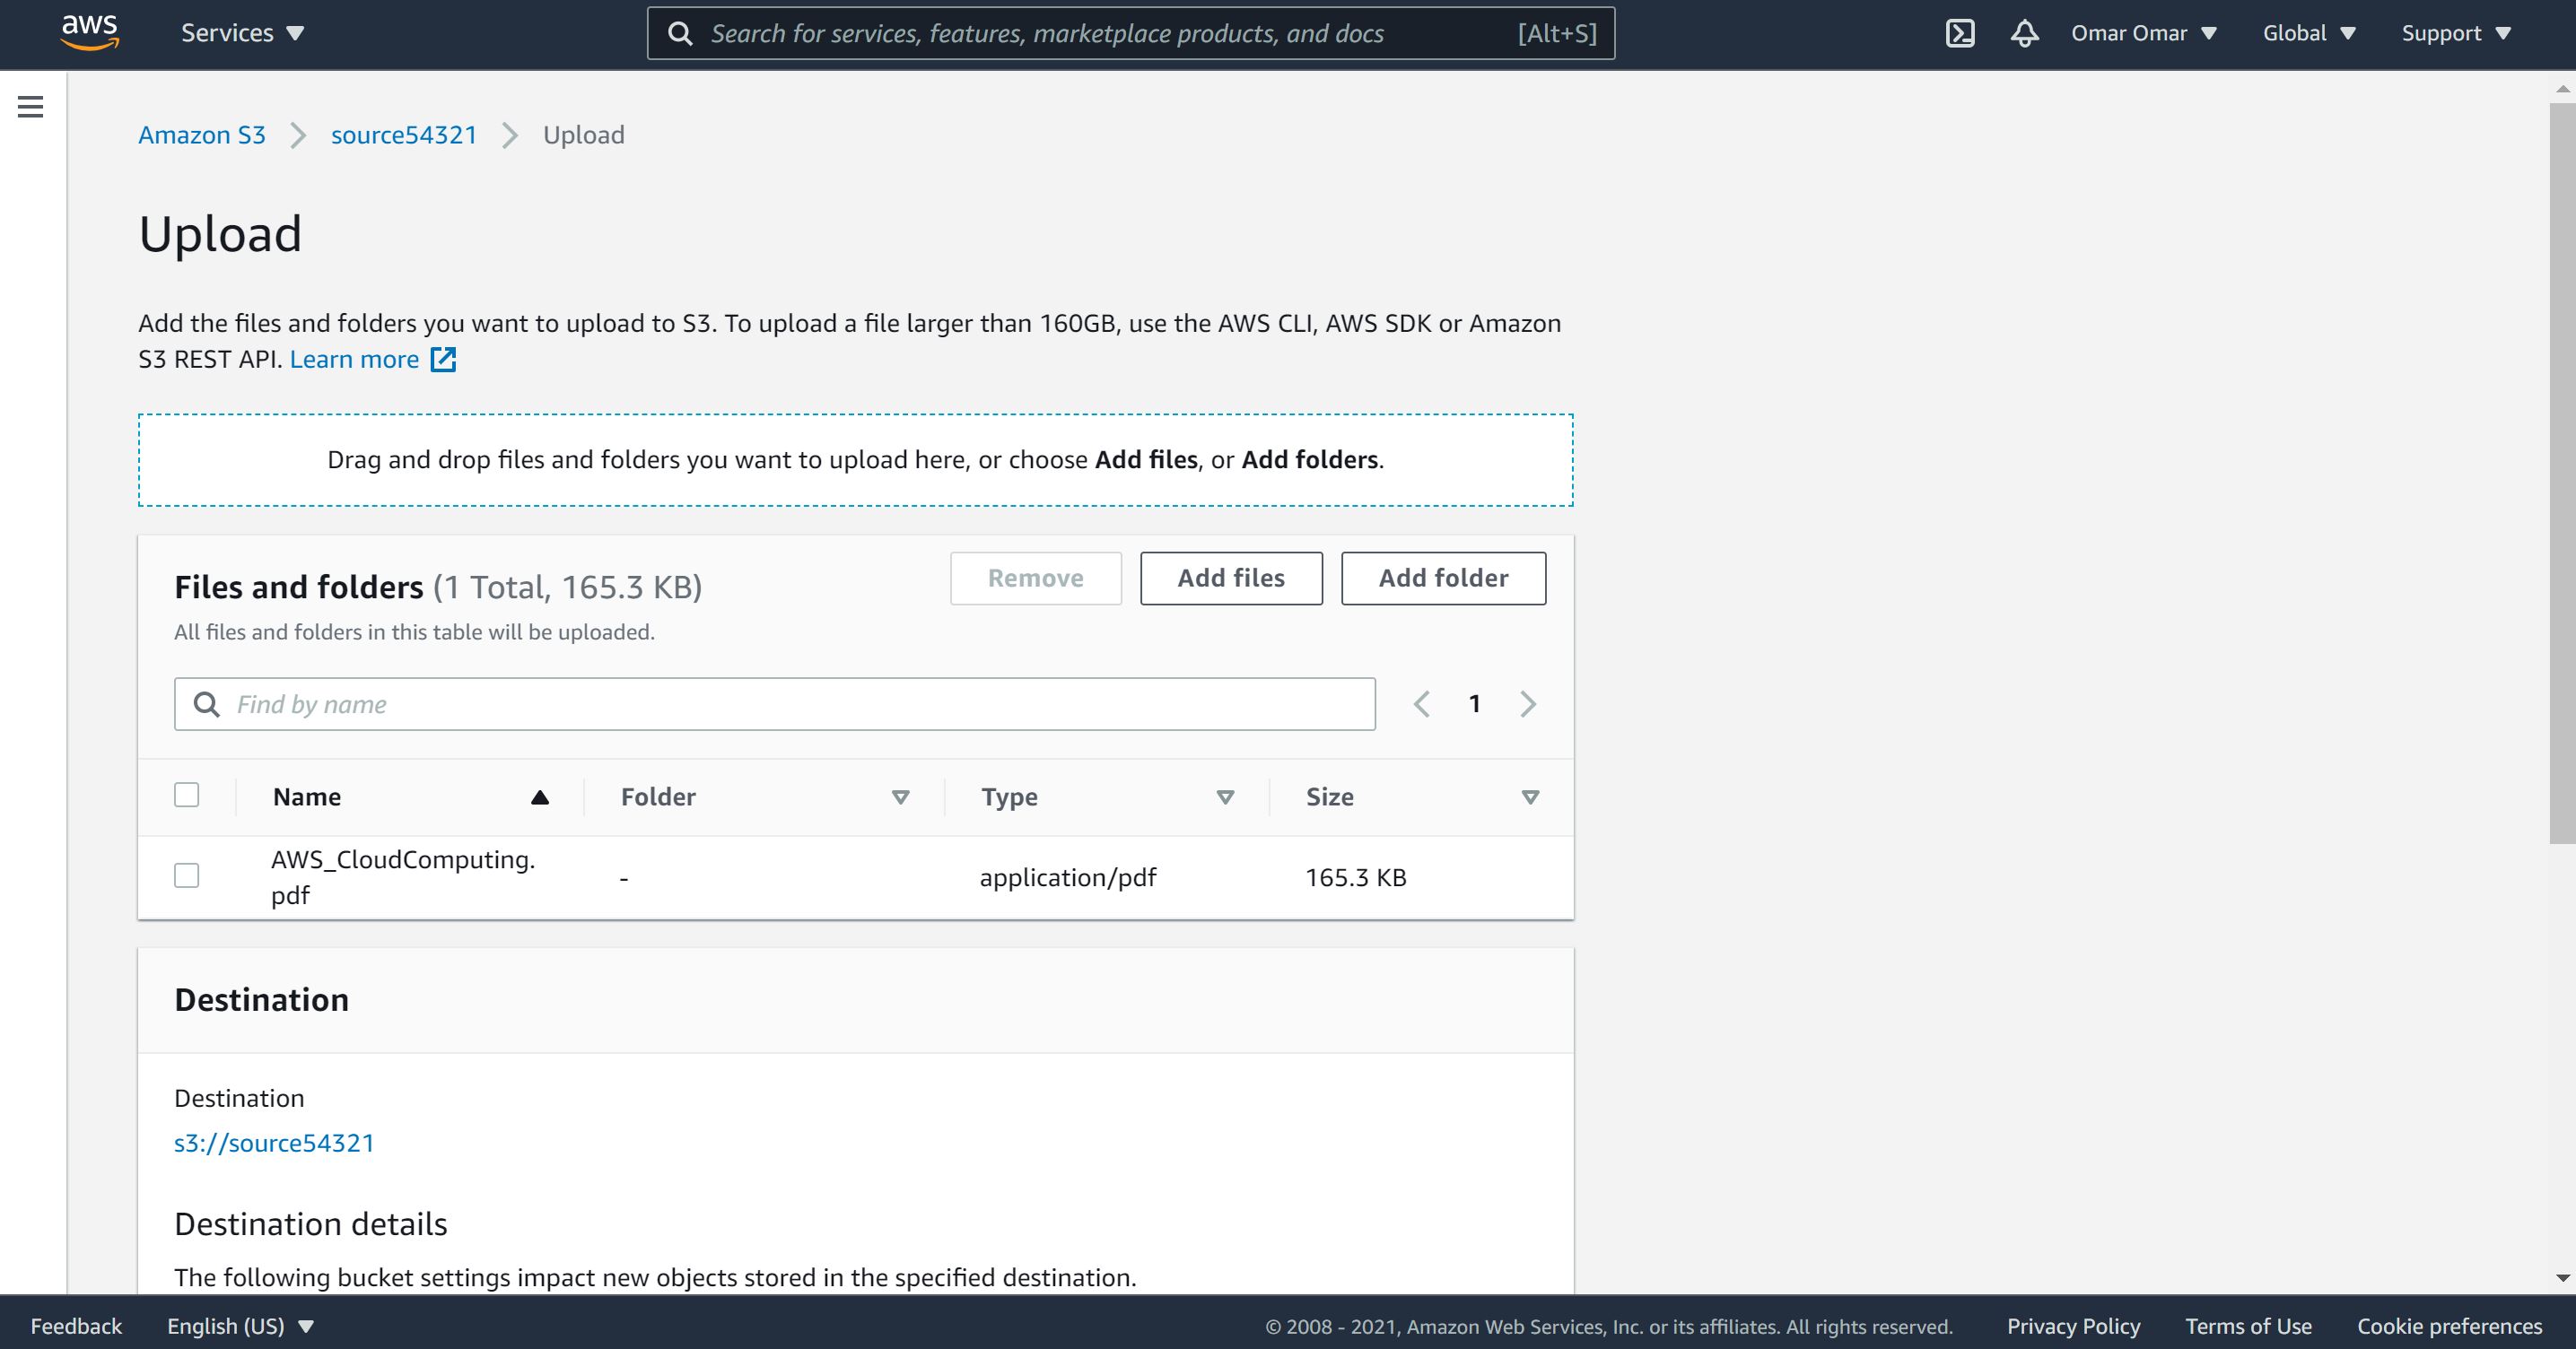
On S3, create two buckets:
A. First bucket name: source[5 random numbers]
B. Second bucket name: destination[5 random numbers]
Note: S3 bucket names are global names, which means they are unique. Two identical bucket names don’t exist.

- Upload a random PDF to the sourcexxxxxx bucket (under 200kb of size). Save the name of the PDF, we will need it down the road.
Step 4: Python Lambda Function
Now, it’s time to create the lambda function using the layer and the role we have previously created.
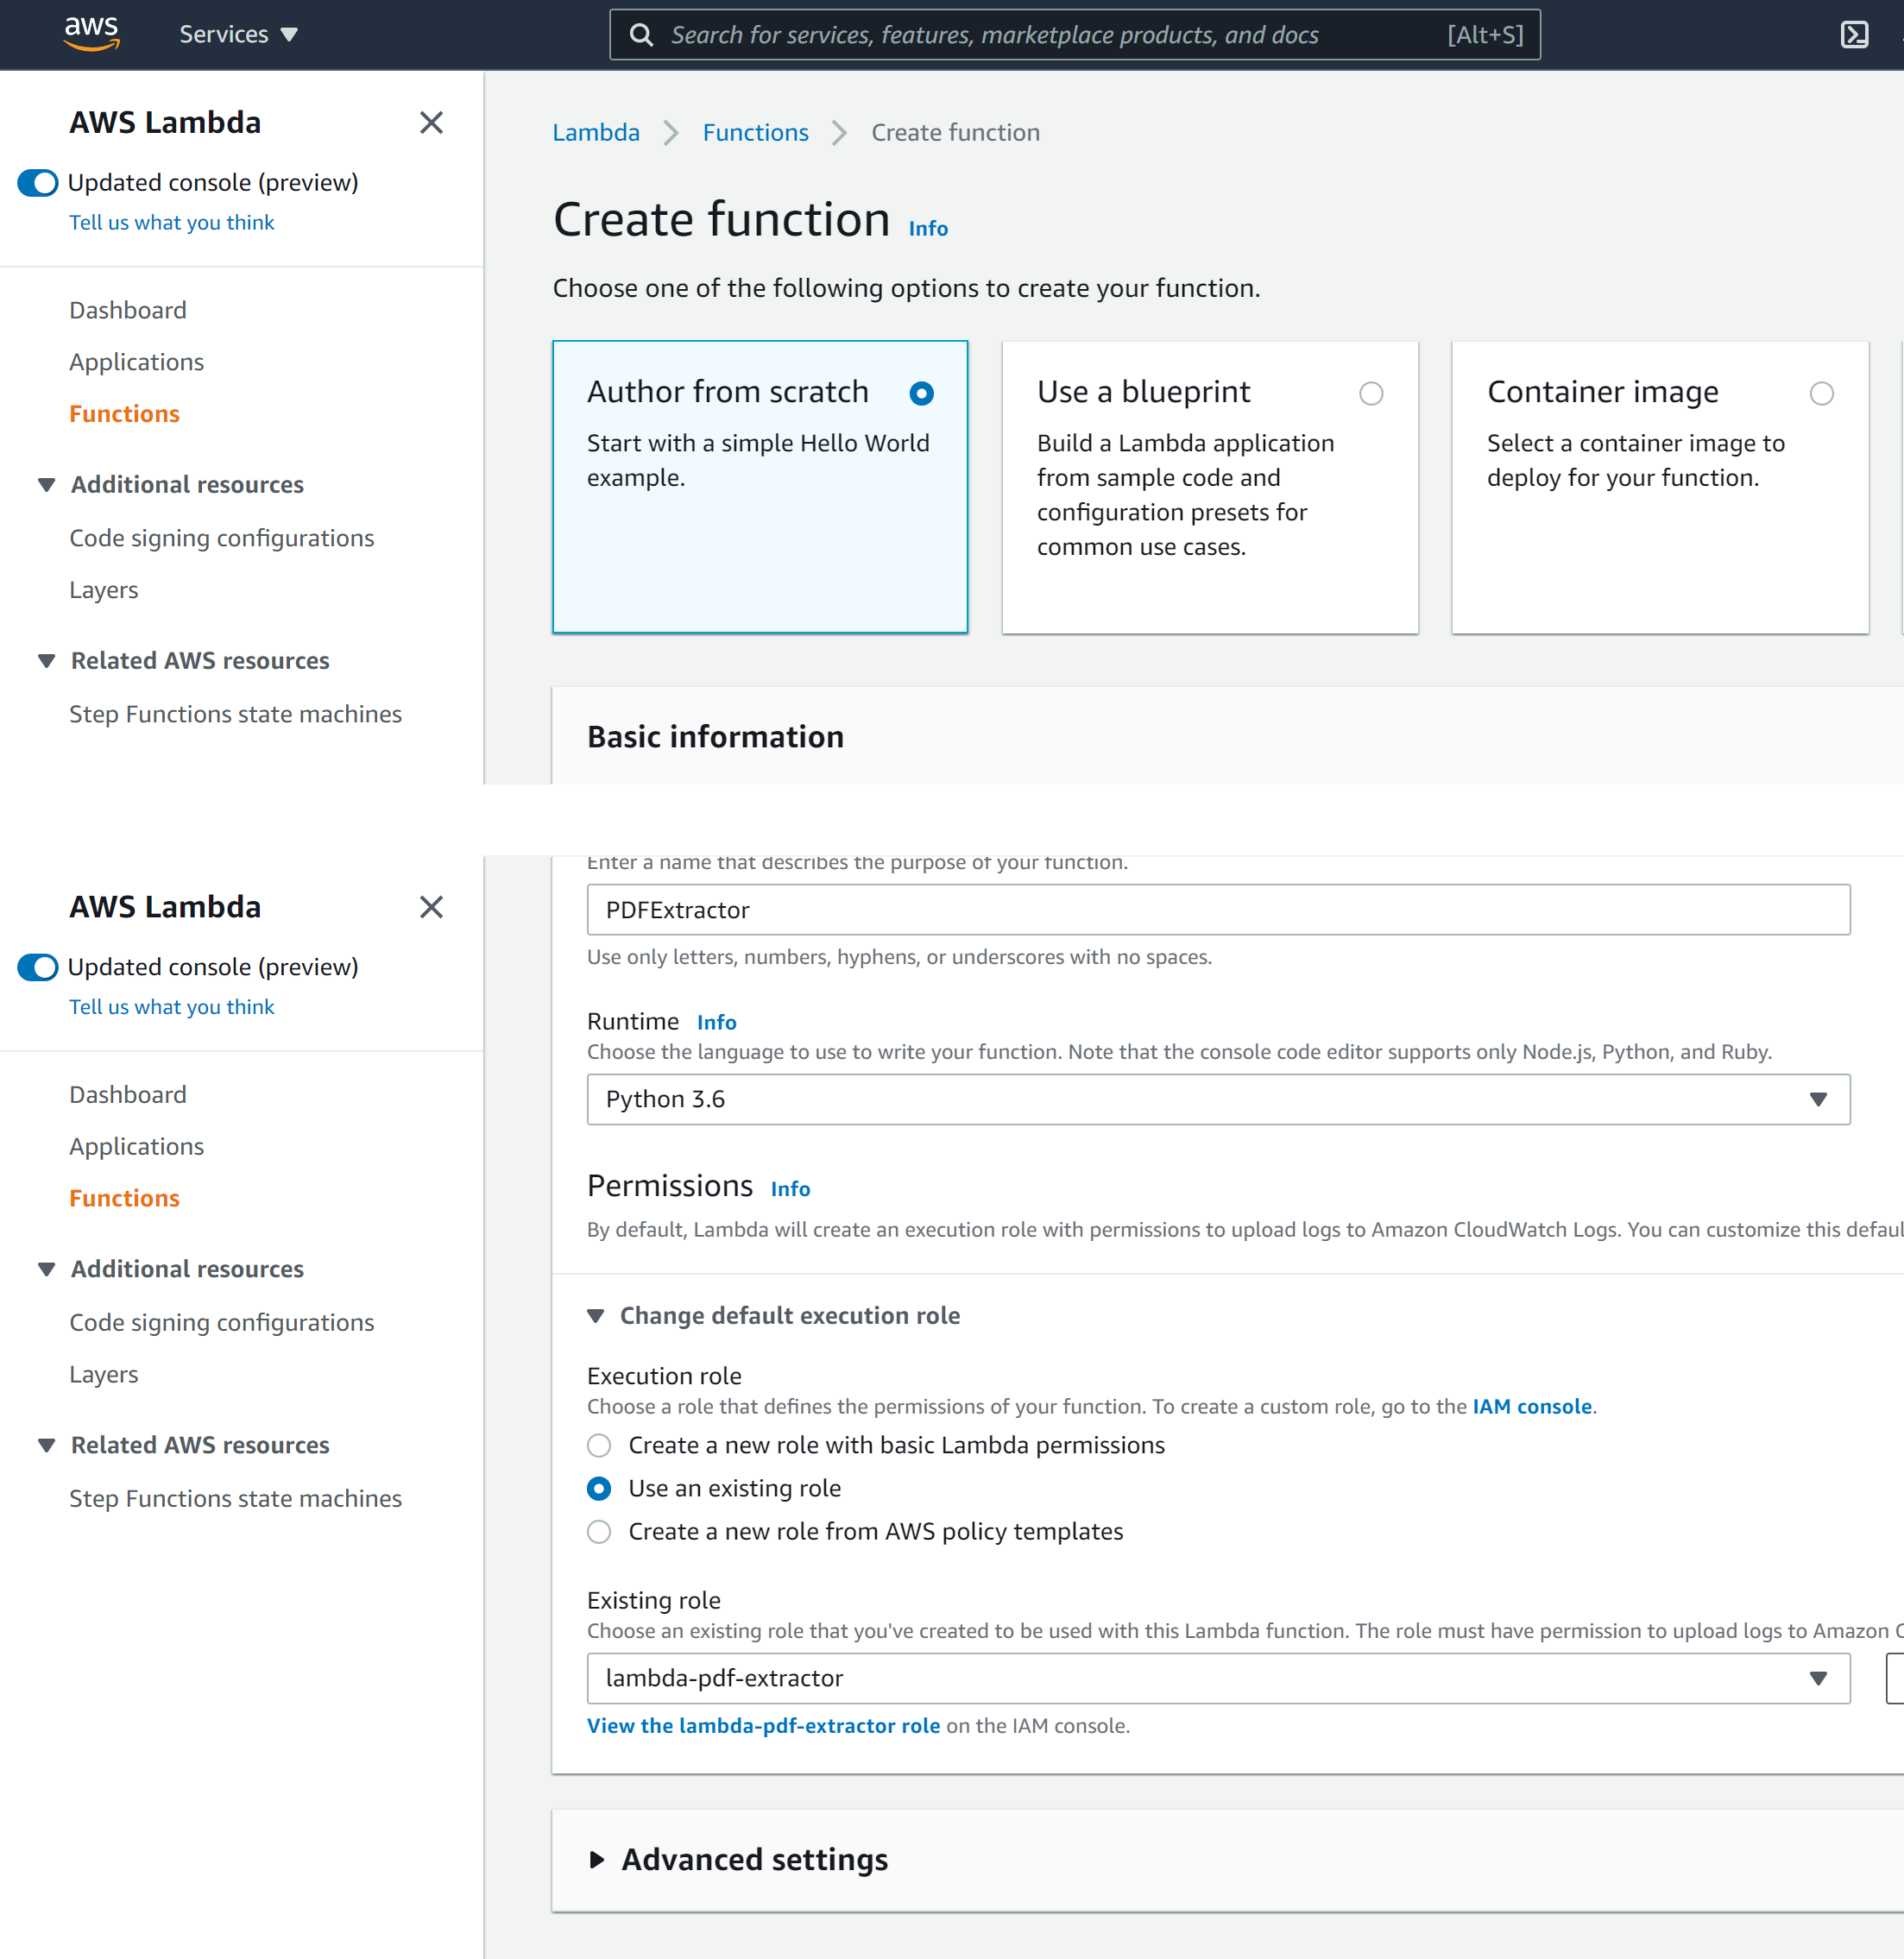
- On the Lambda console, click on “Create function.”
- Function name: PDFExtractor
- Select “Author from scratch.”
- Runtime: Python 3.6.
- Permissions: “Use an existing role” and select the role we have previously created, lambda-pdf-extractor.
- Click on “Create function.”
-
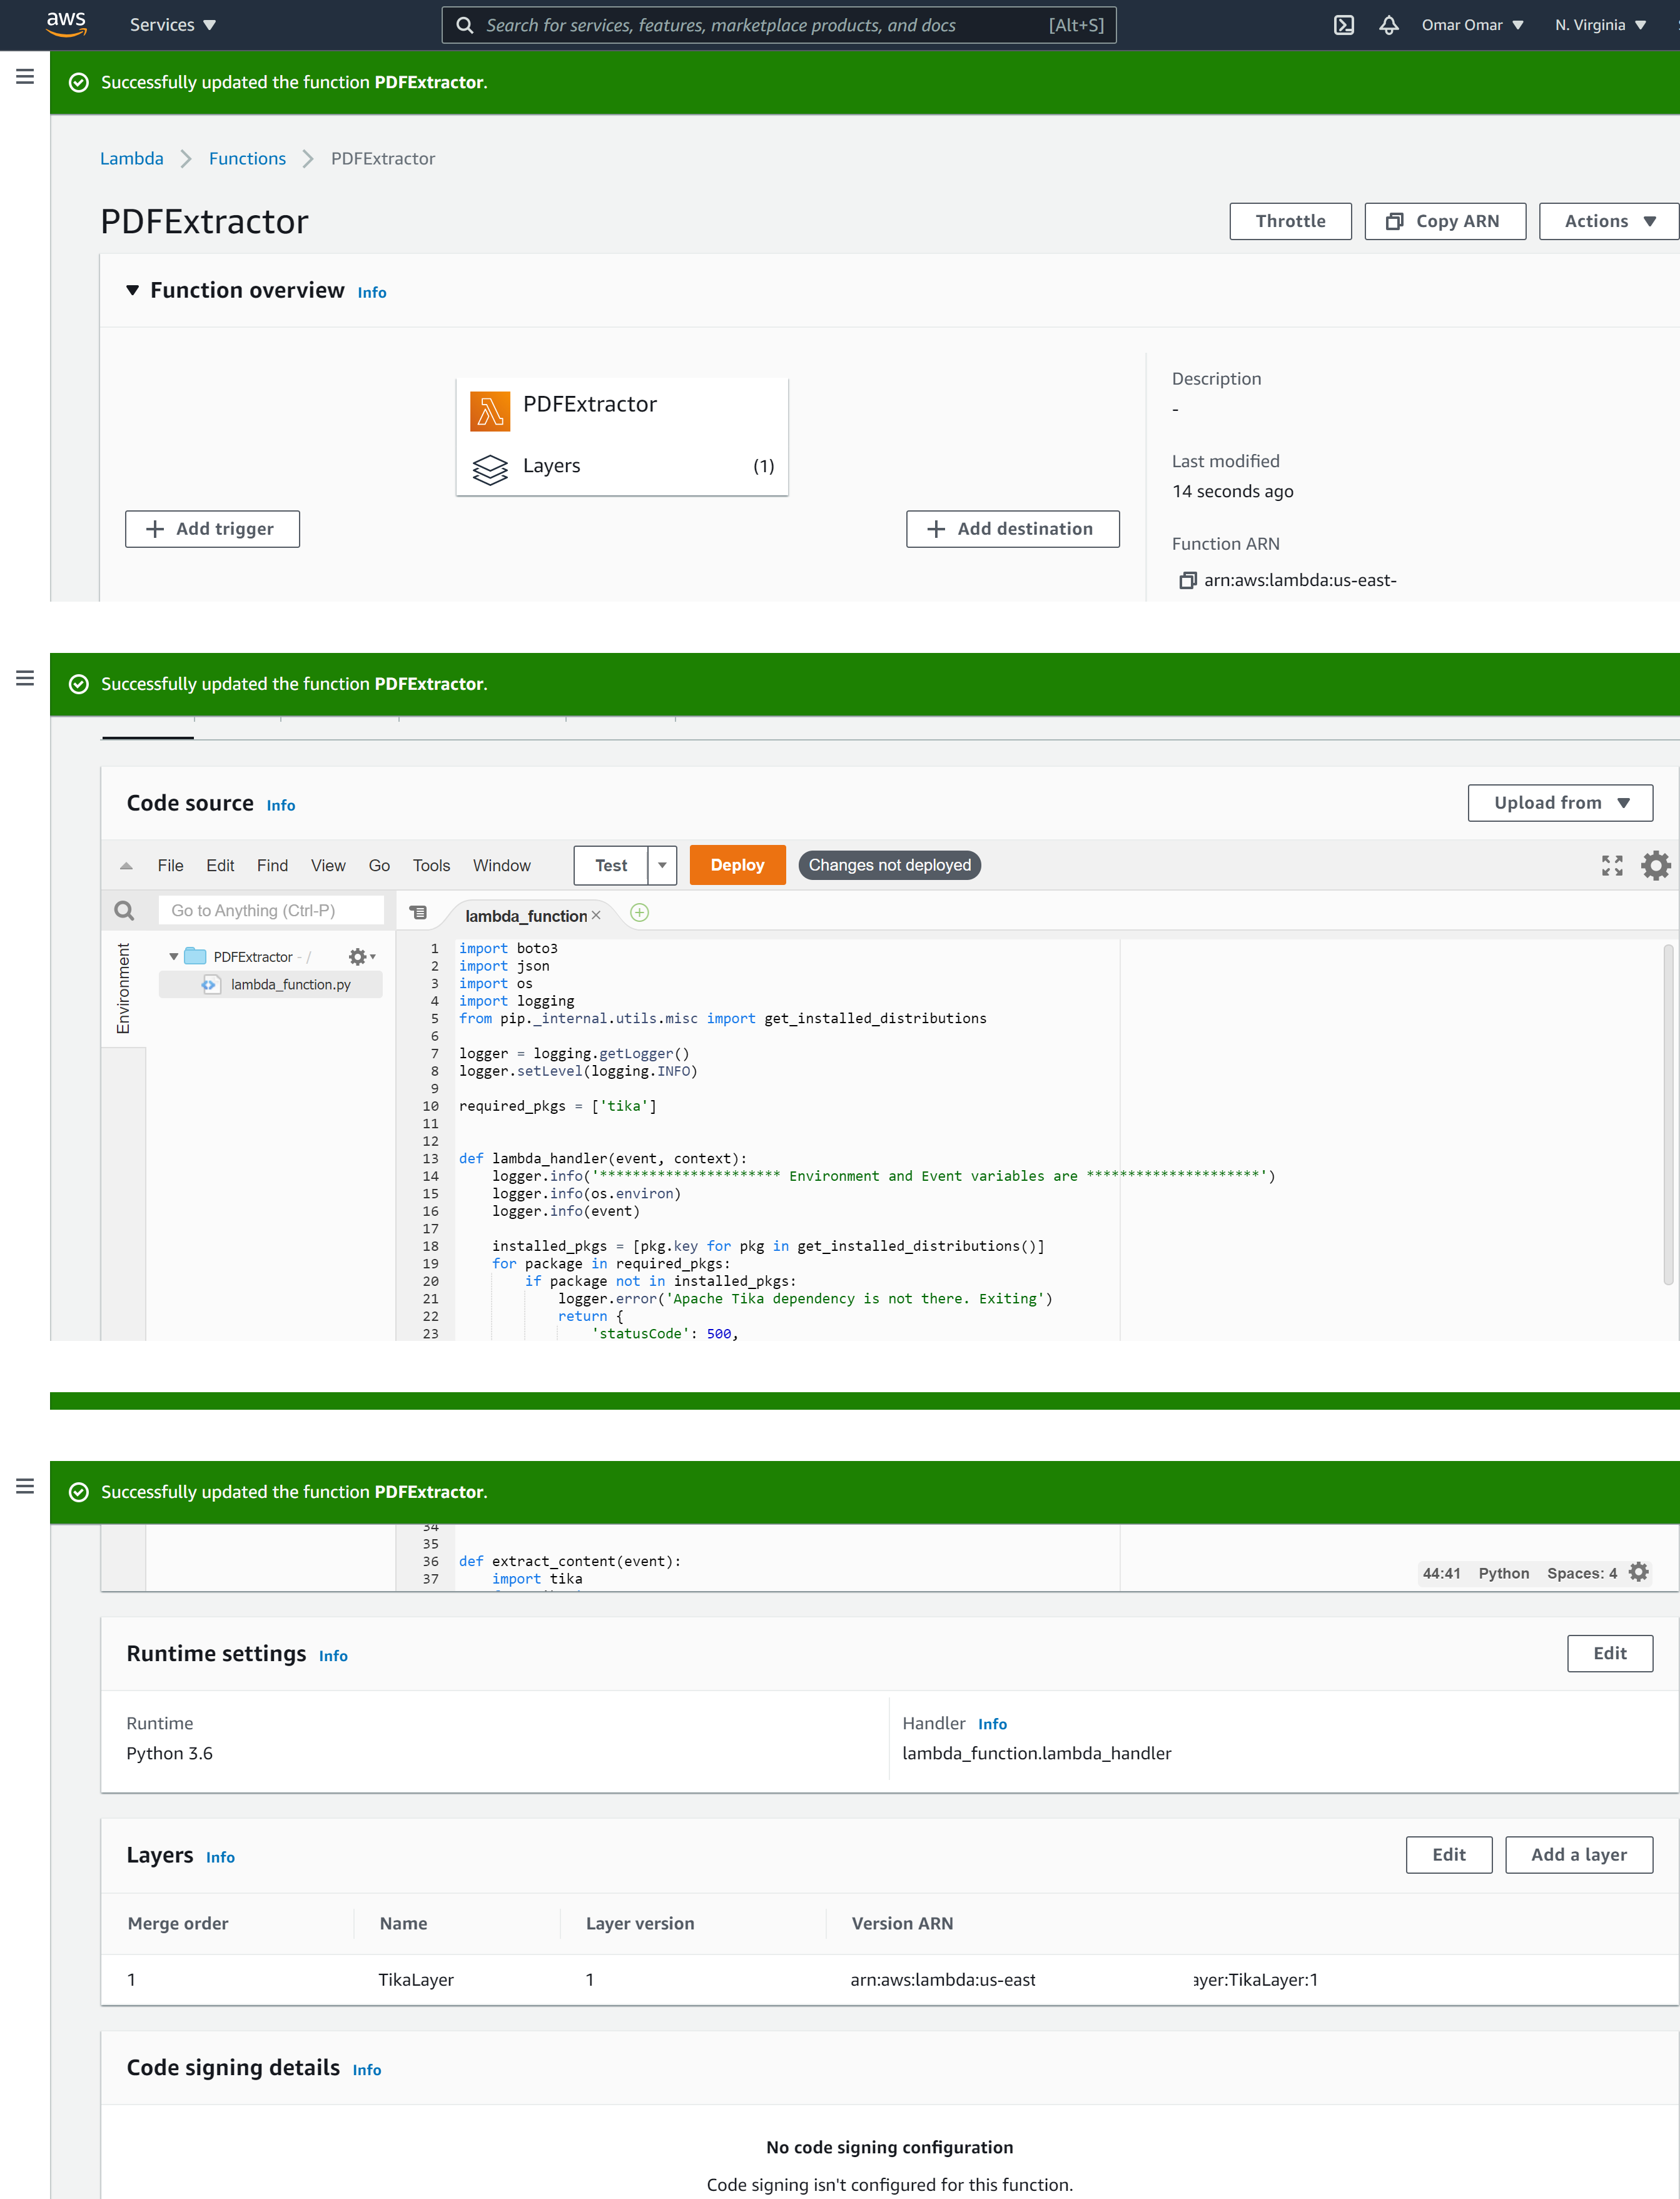
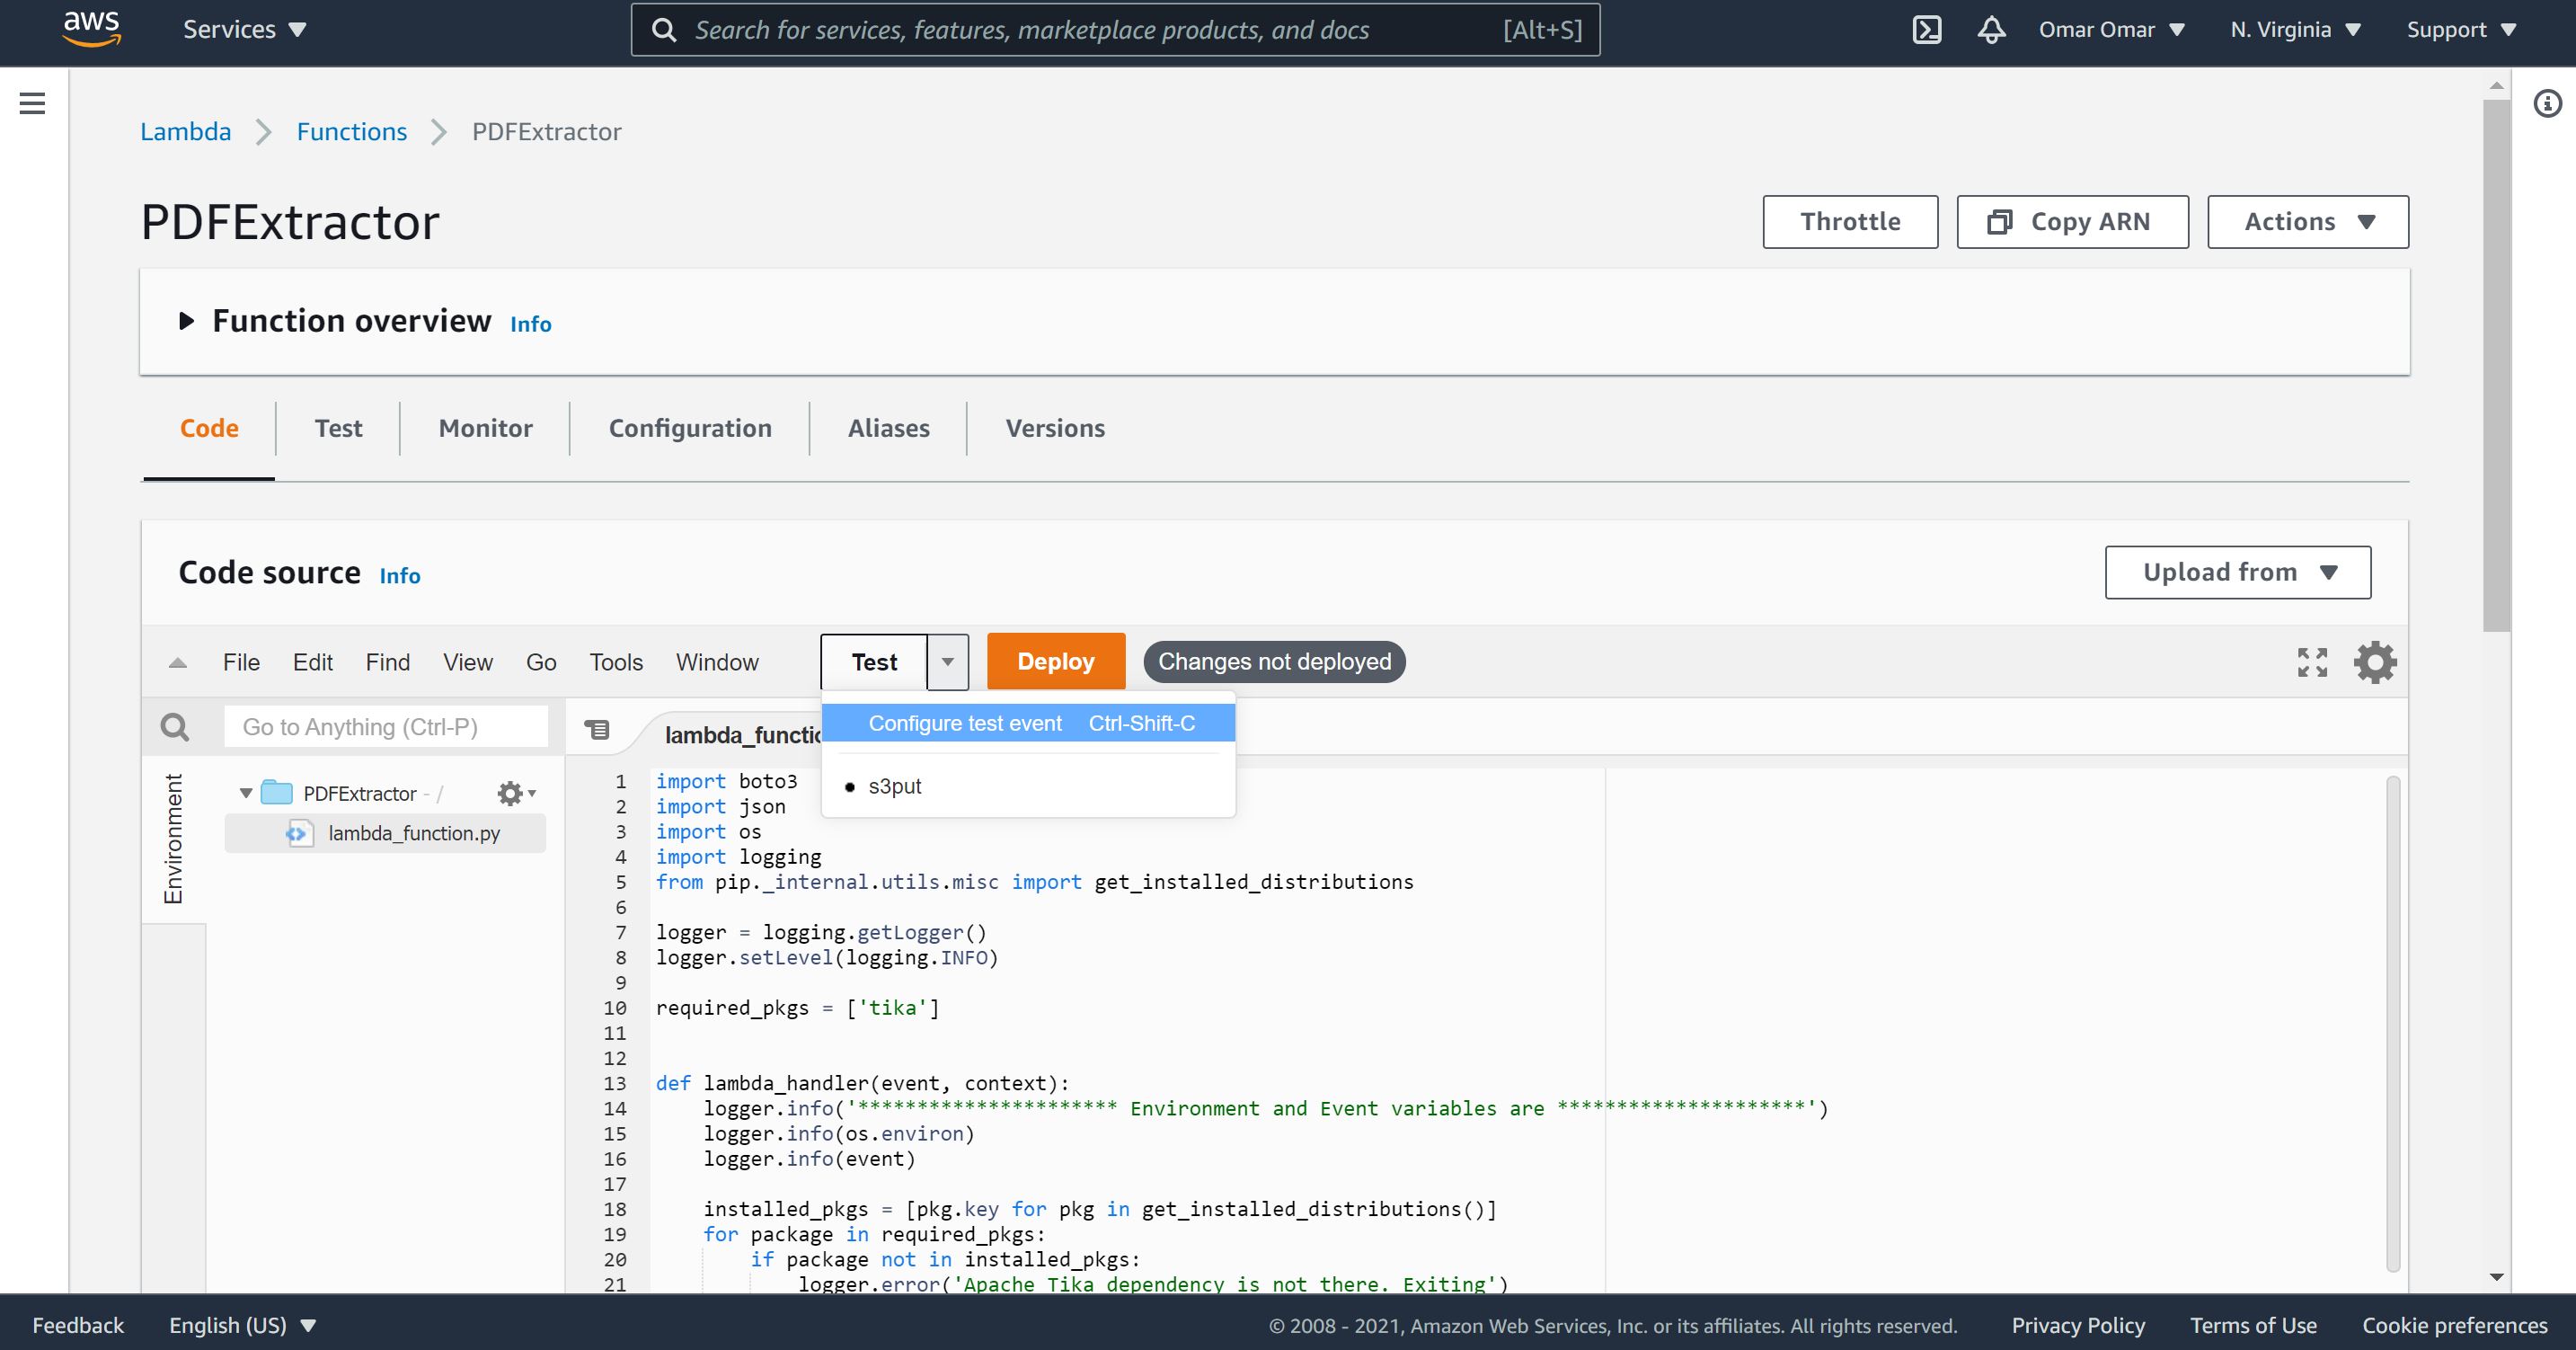
On the lambda function code editor, remove the existing code and replace it with the code form my GitHub repo.
-
On Layers section, add a Custom layers by selecting our previously created Layer (TikaLayer) version 1.
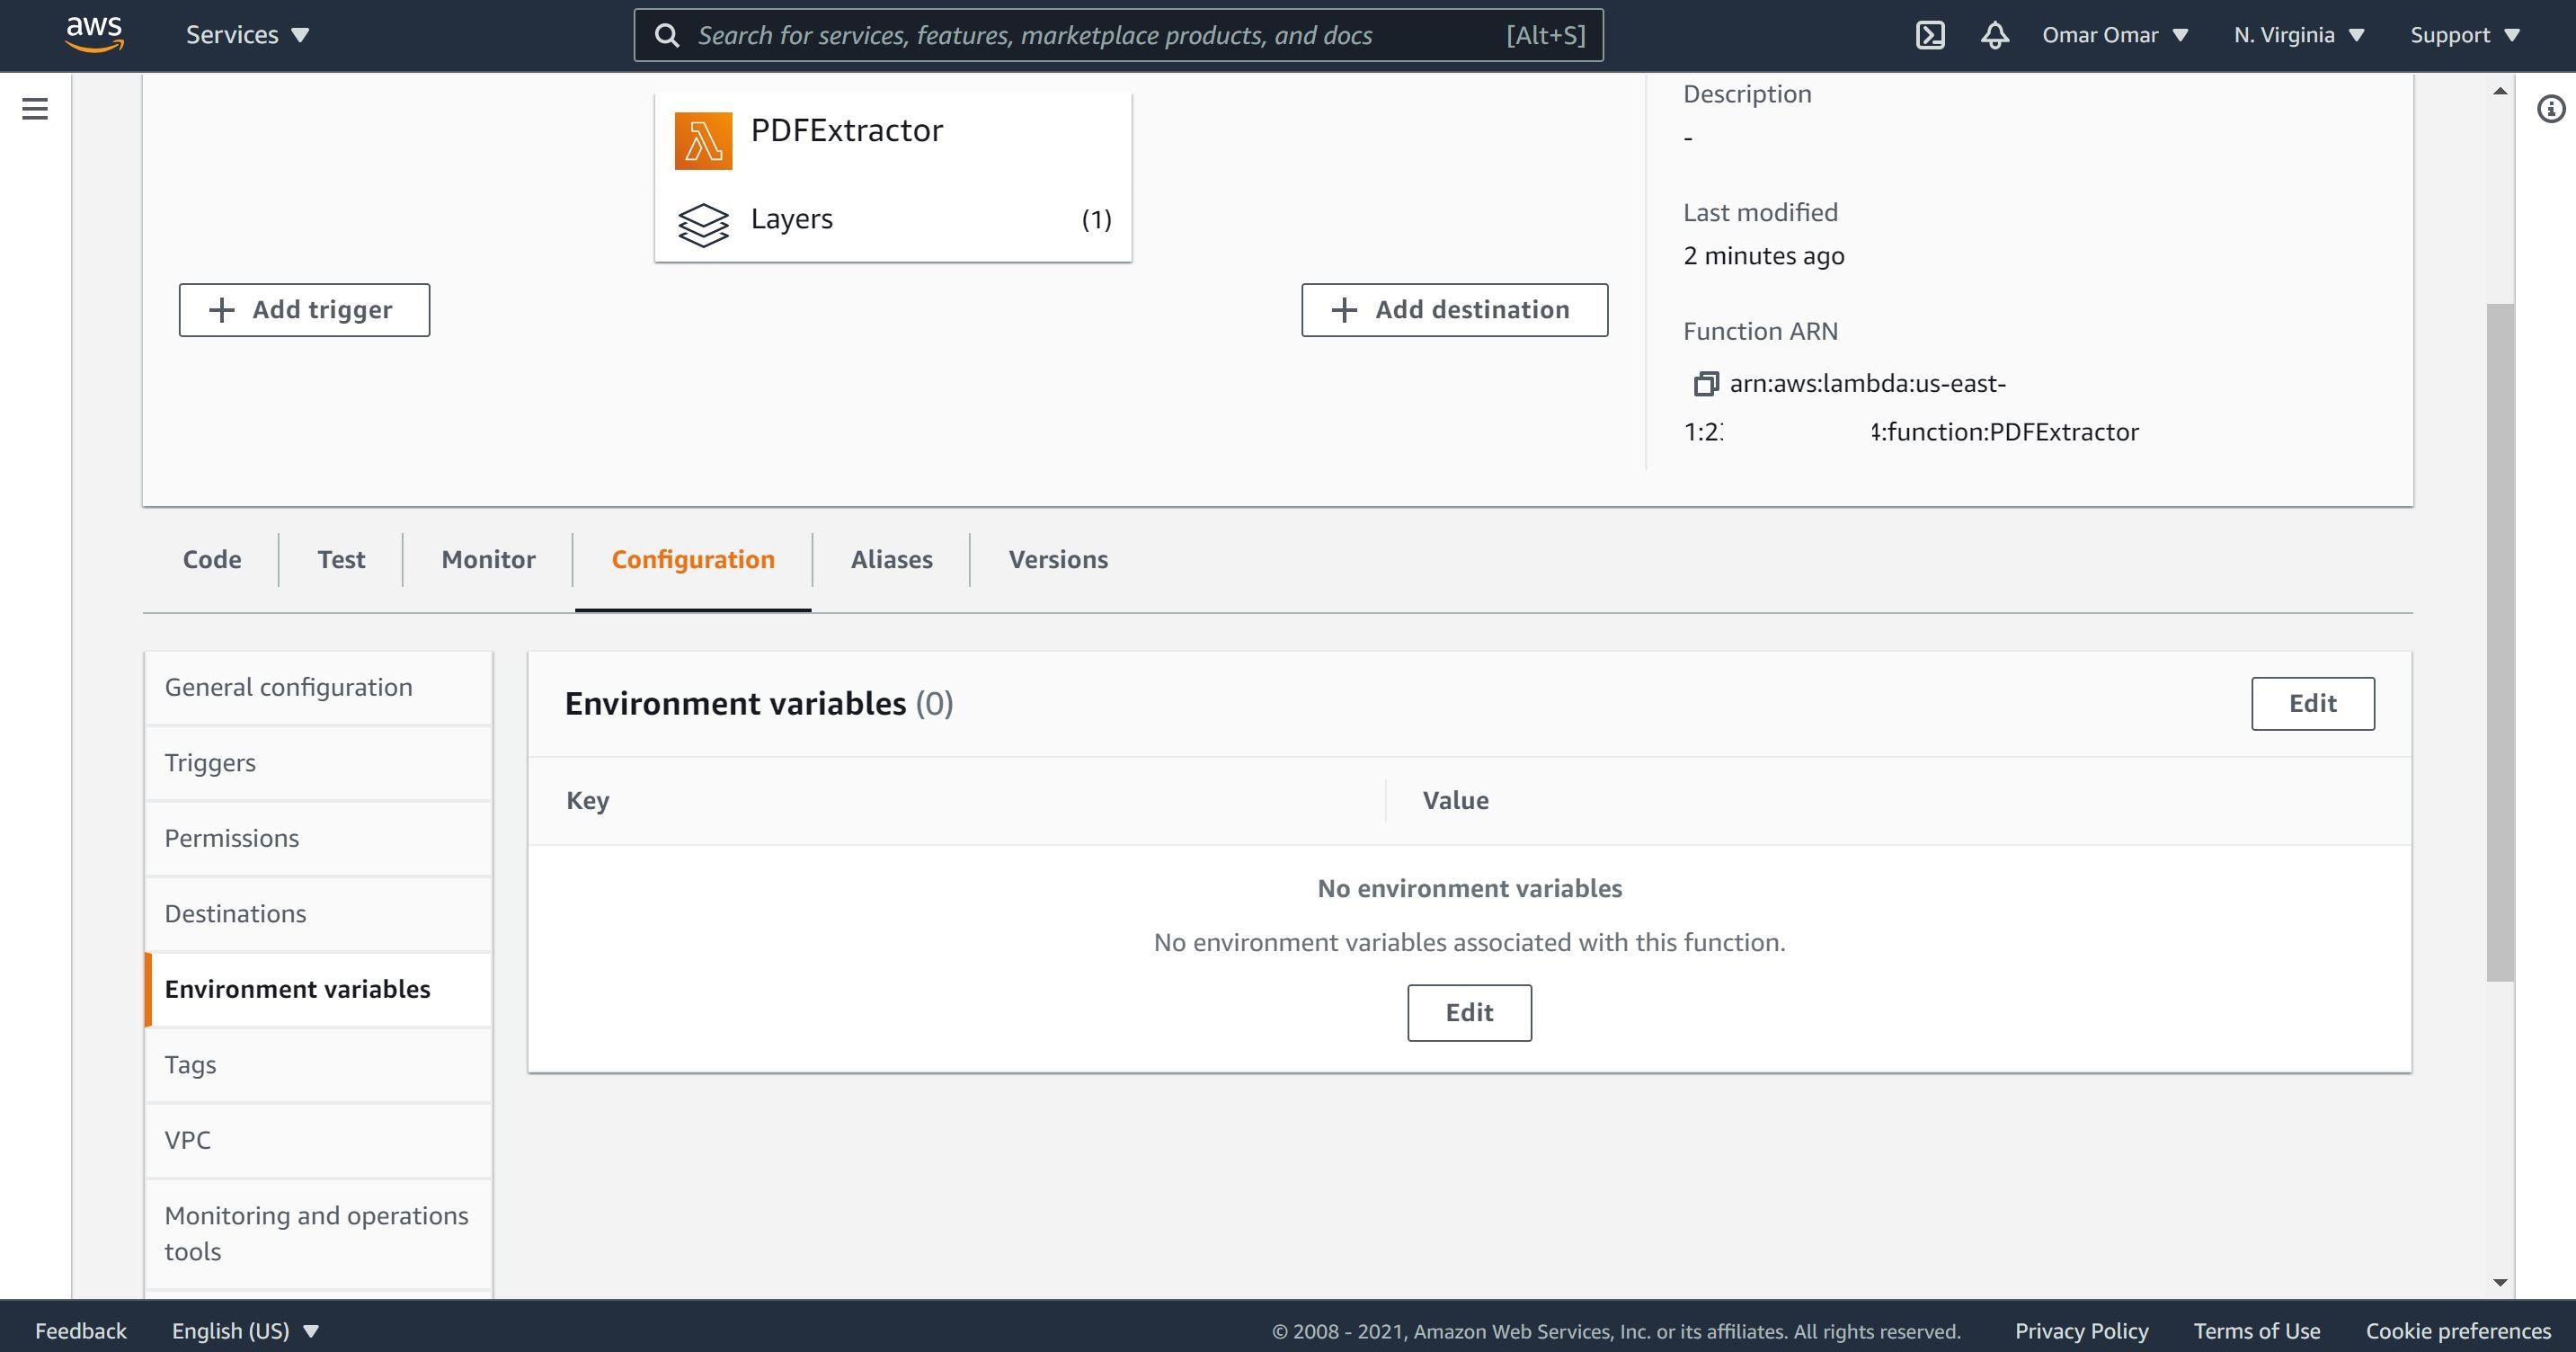
- On Configuration, Environment variables, add the following:
| key | value |
|---|---|
| TARGET_BUCKET | destinationxxxxx |
Note: replace destinationxxxxx with the name of your destination S3 bucket.

-
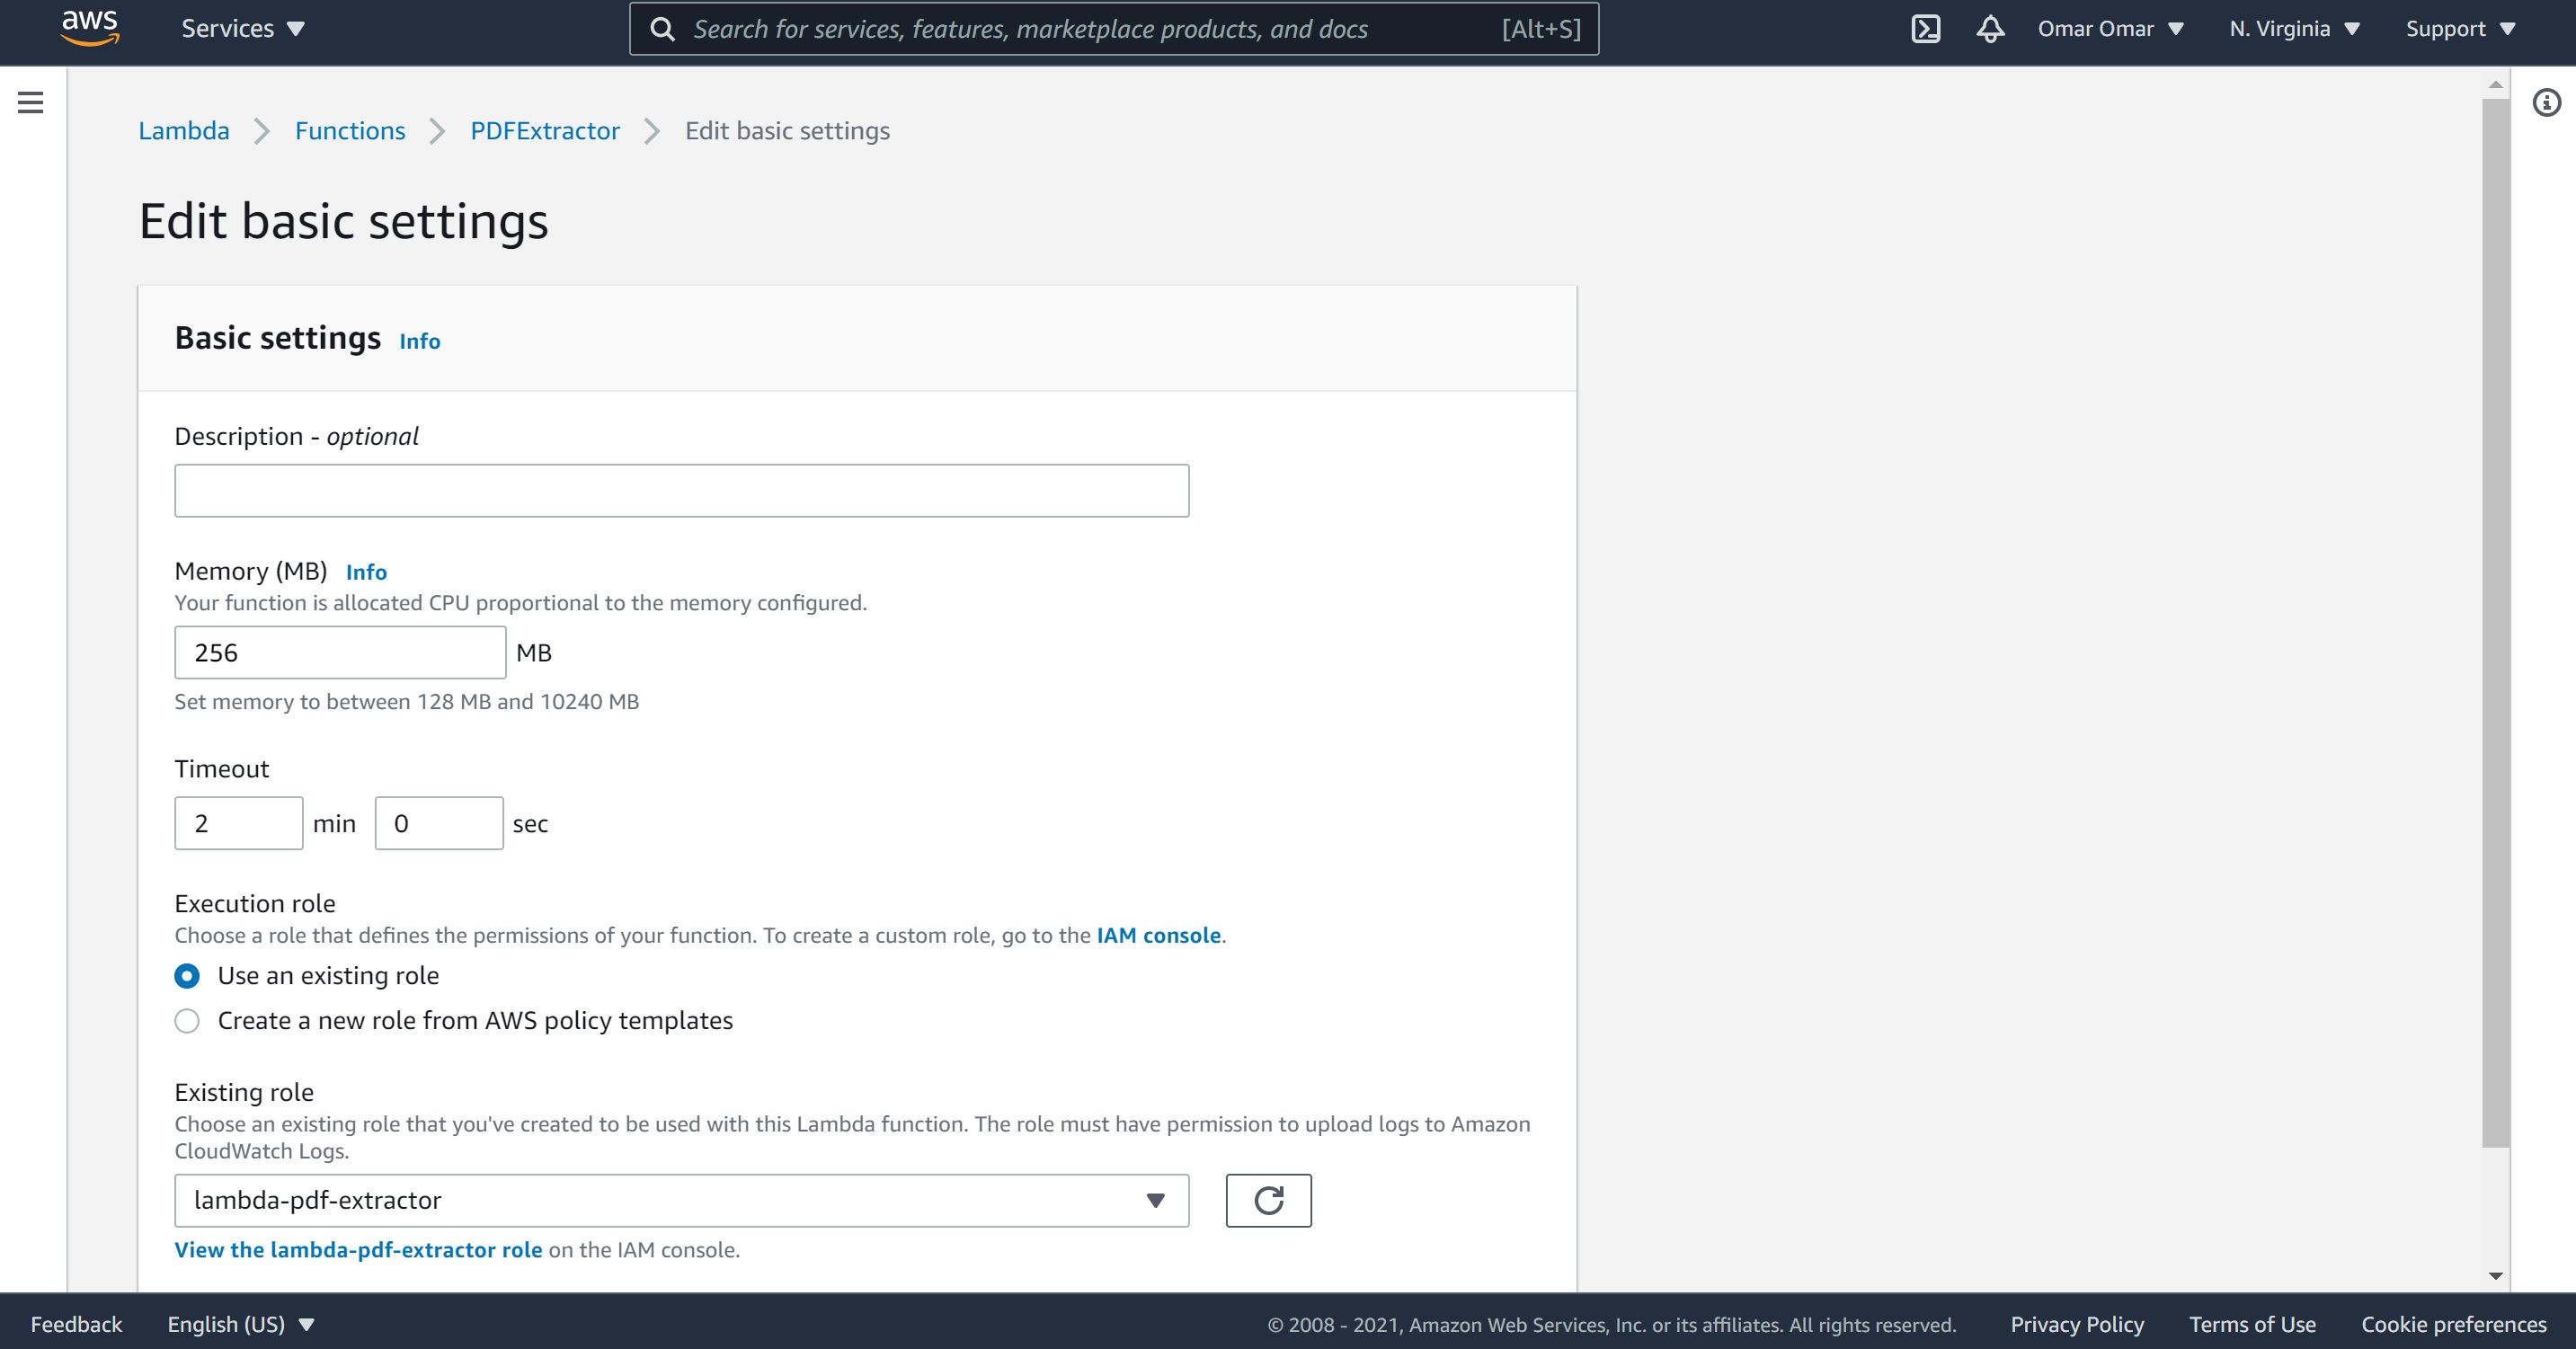
On Configuration, General configuration, edit to the following:
A. Memory: 256 MB
B. Timeout: 2 min
C. On the Existing role, select our previously created role, lambda=pdf-extractor
-
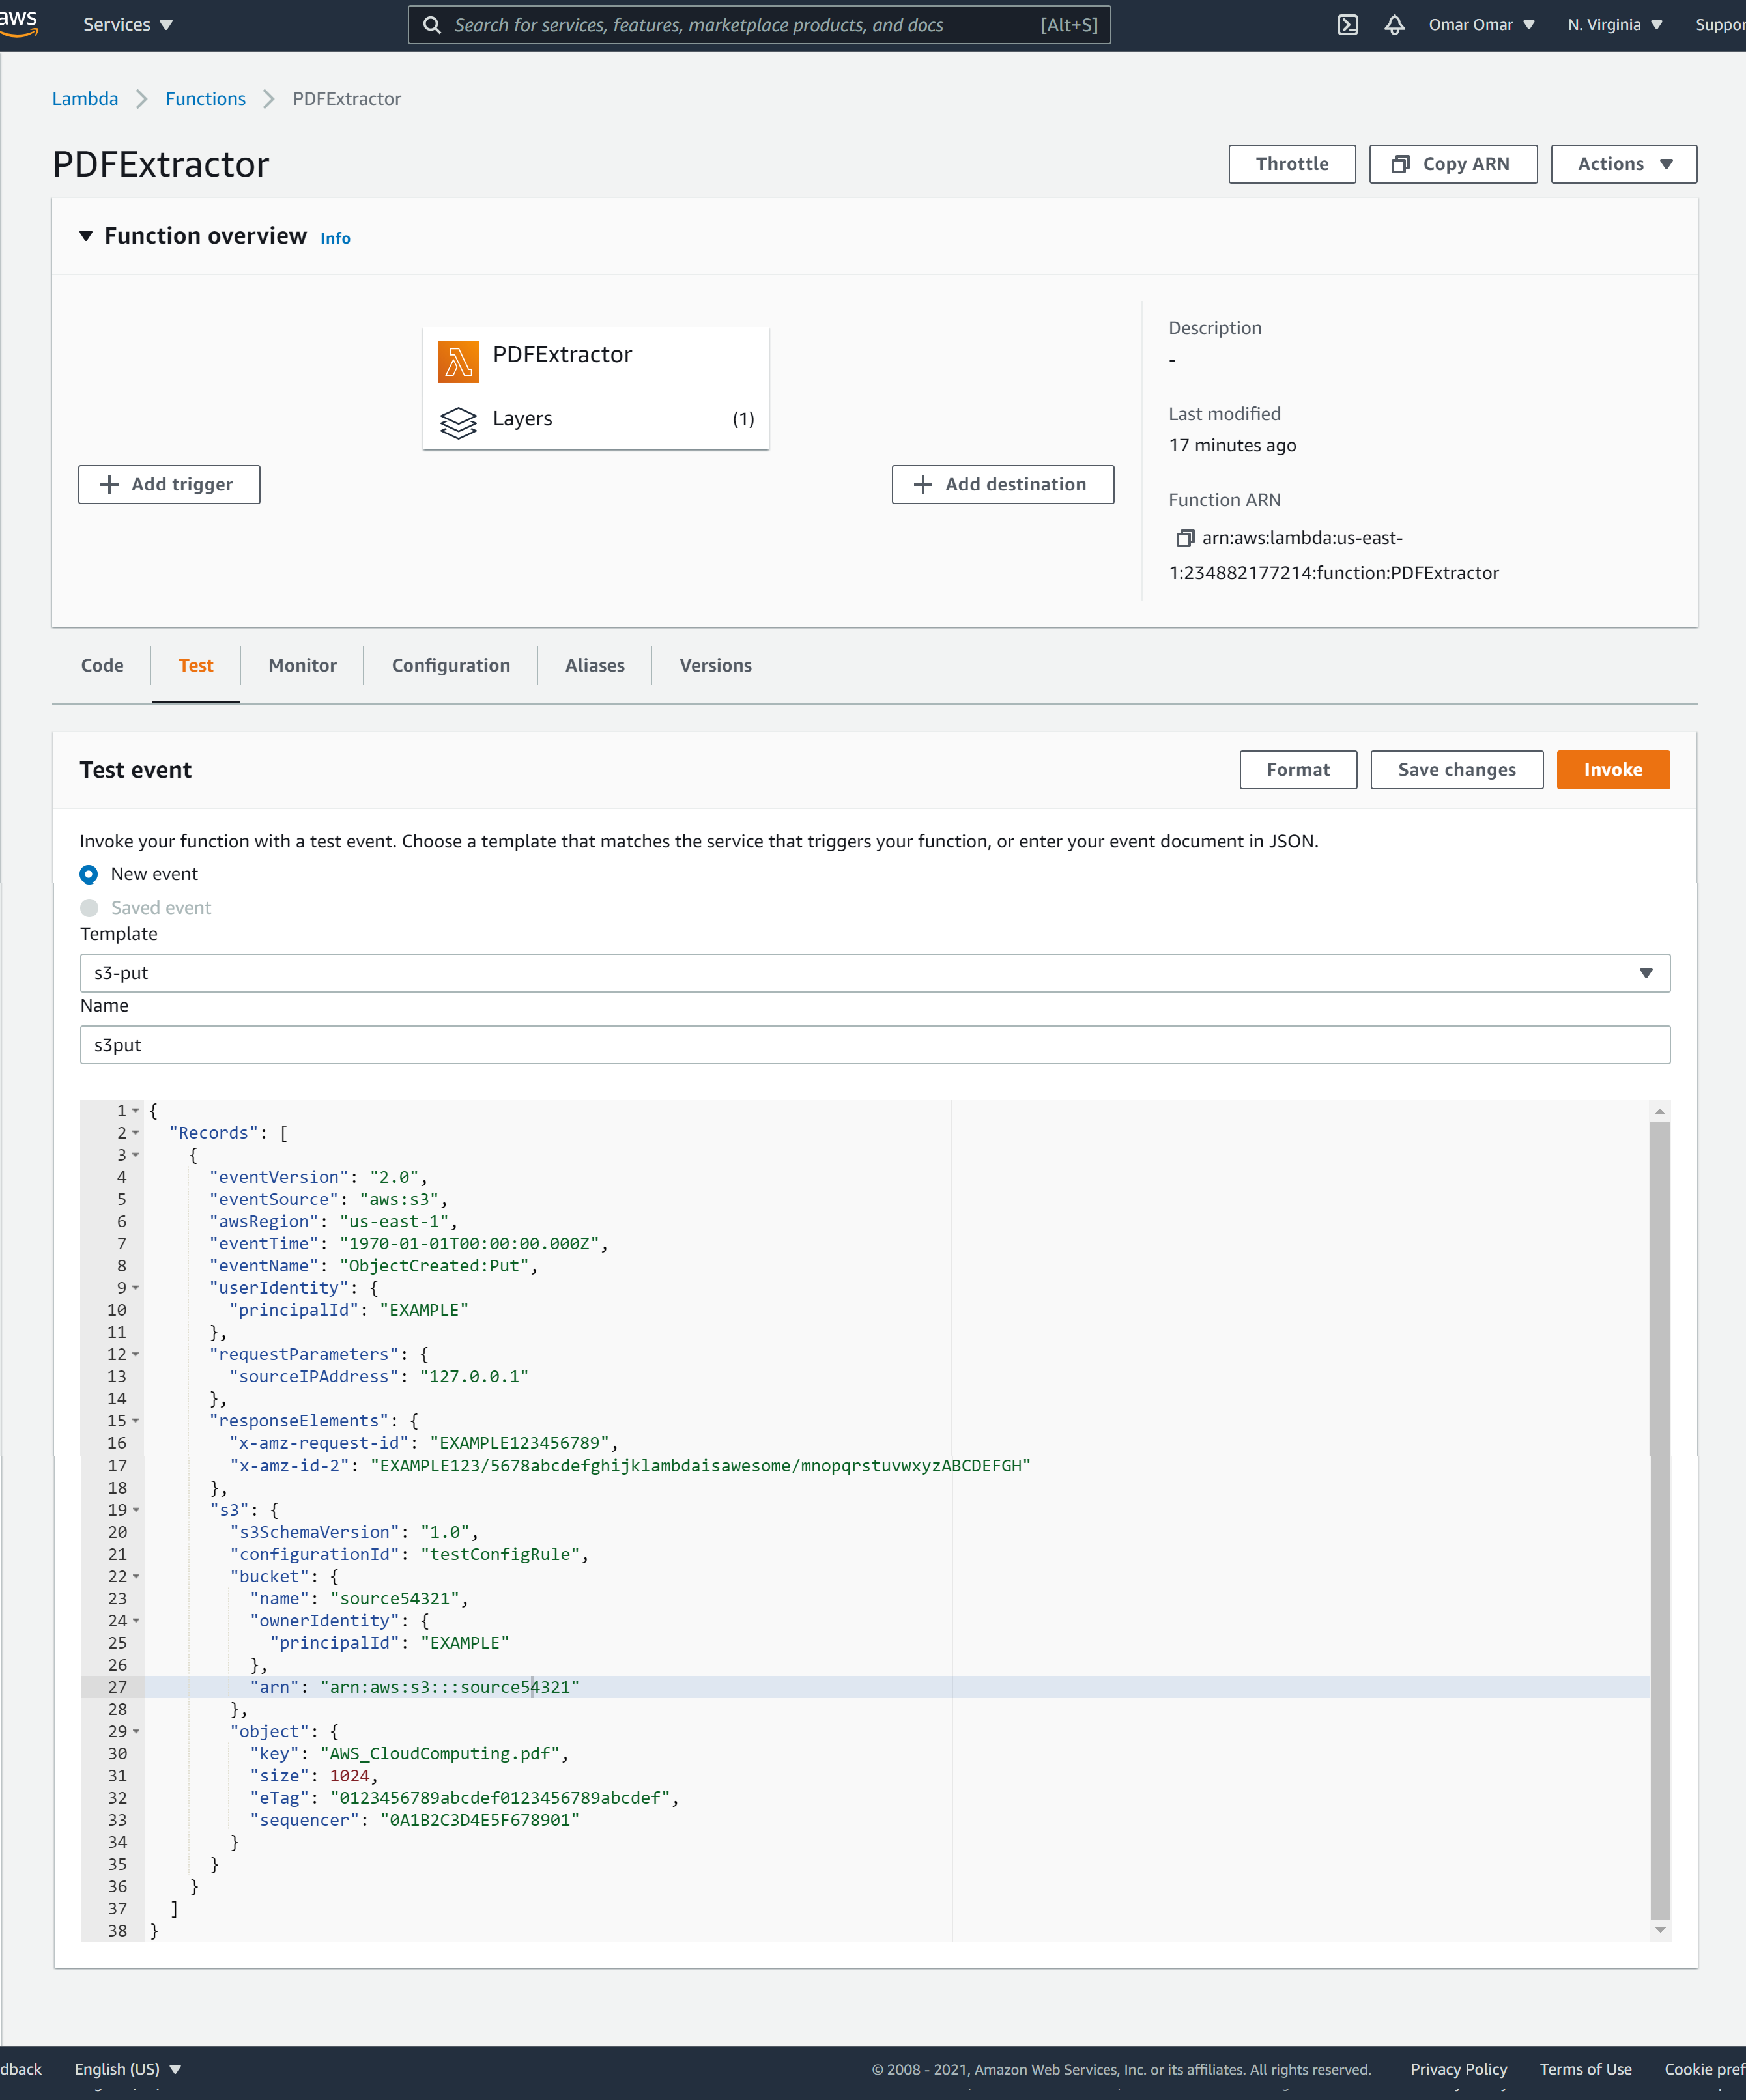
Next, select Test, and on the Template dropdown menu, select “Amazon S3 Put”
-
Name the event: s3put
-
On the JSON section, replace the JSON with this one from my Github. Let’s ensure that you update the following:
A. The AWS region. In my case, it is us-east-1
B. The bucket name. This should match the name of your S3 source bucket.
C. The object key. The object name should match the name of your PDF.
-
Click on Save changes.
Step 5: Testing the Python Lambda Function
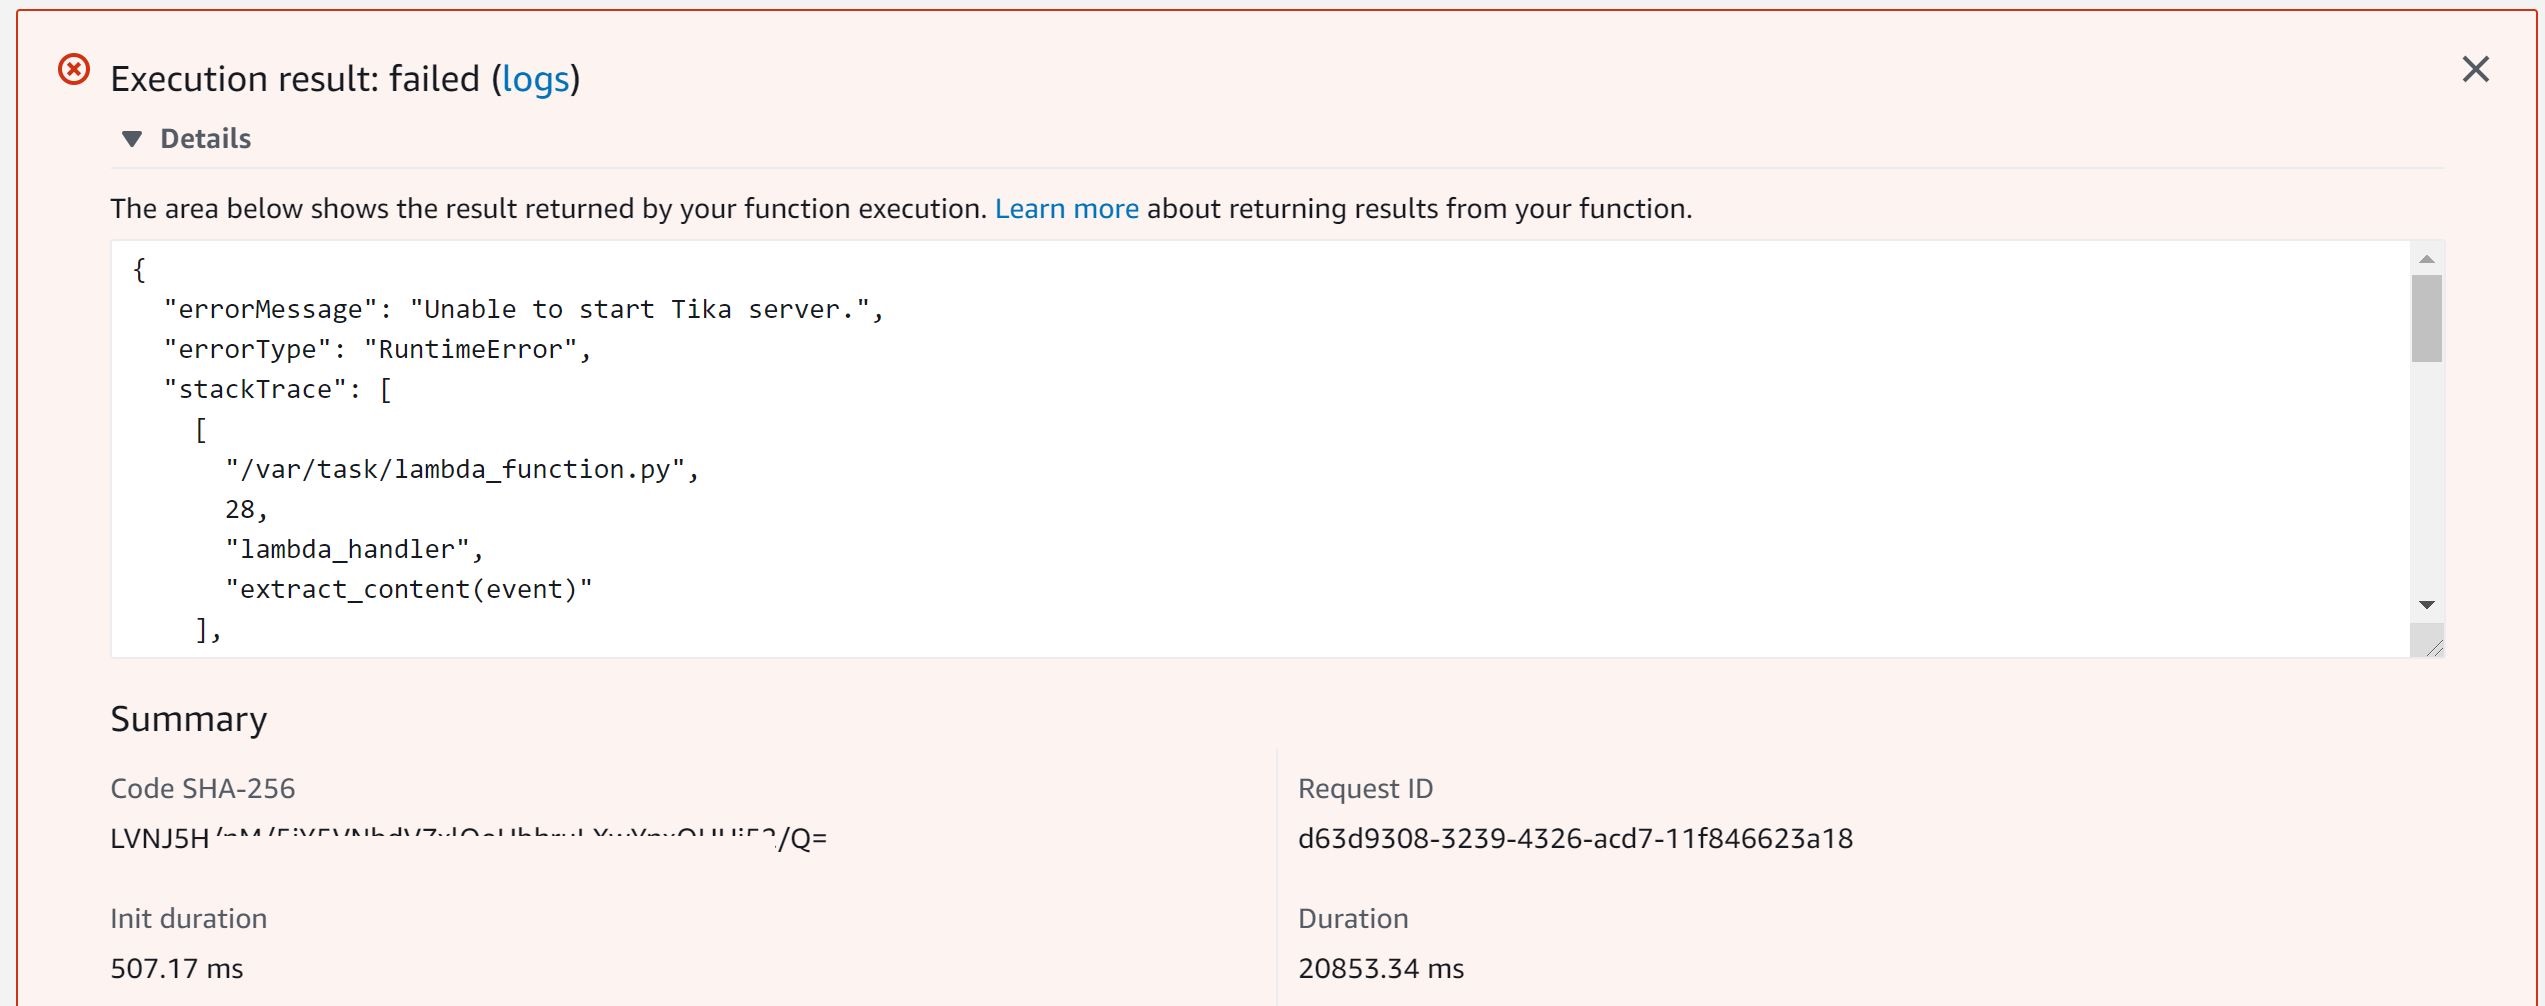
Now, we are ready to test our function by selecting “Code, our “s3put” and click “test” button. If you have received status code 200, it means our code executed successfully.
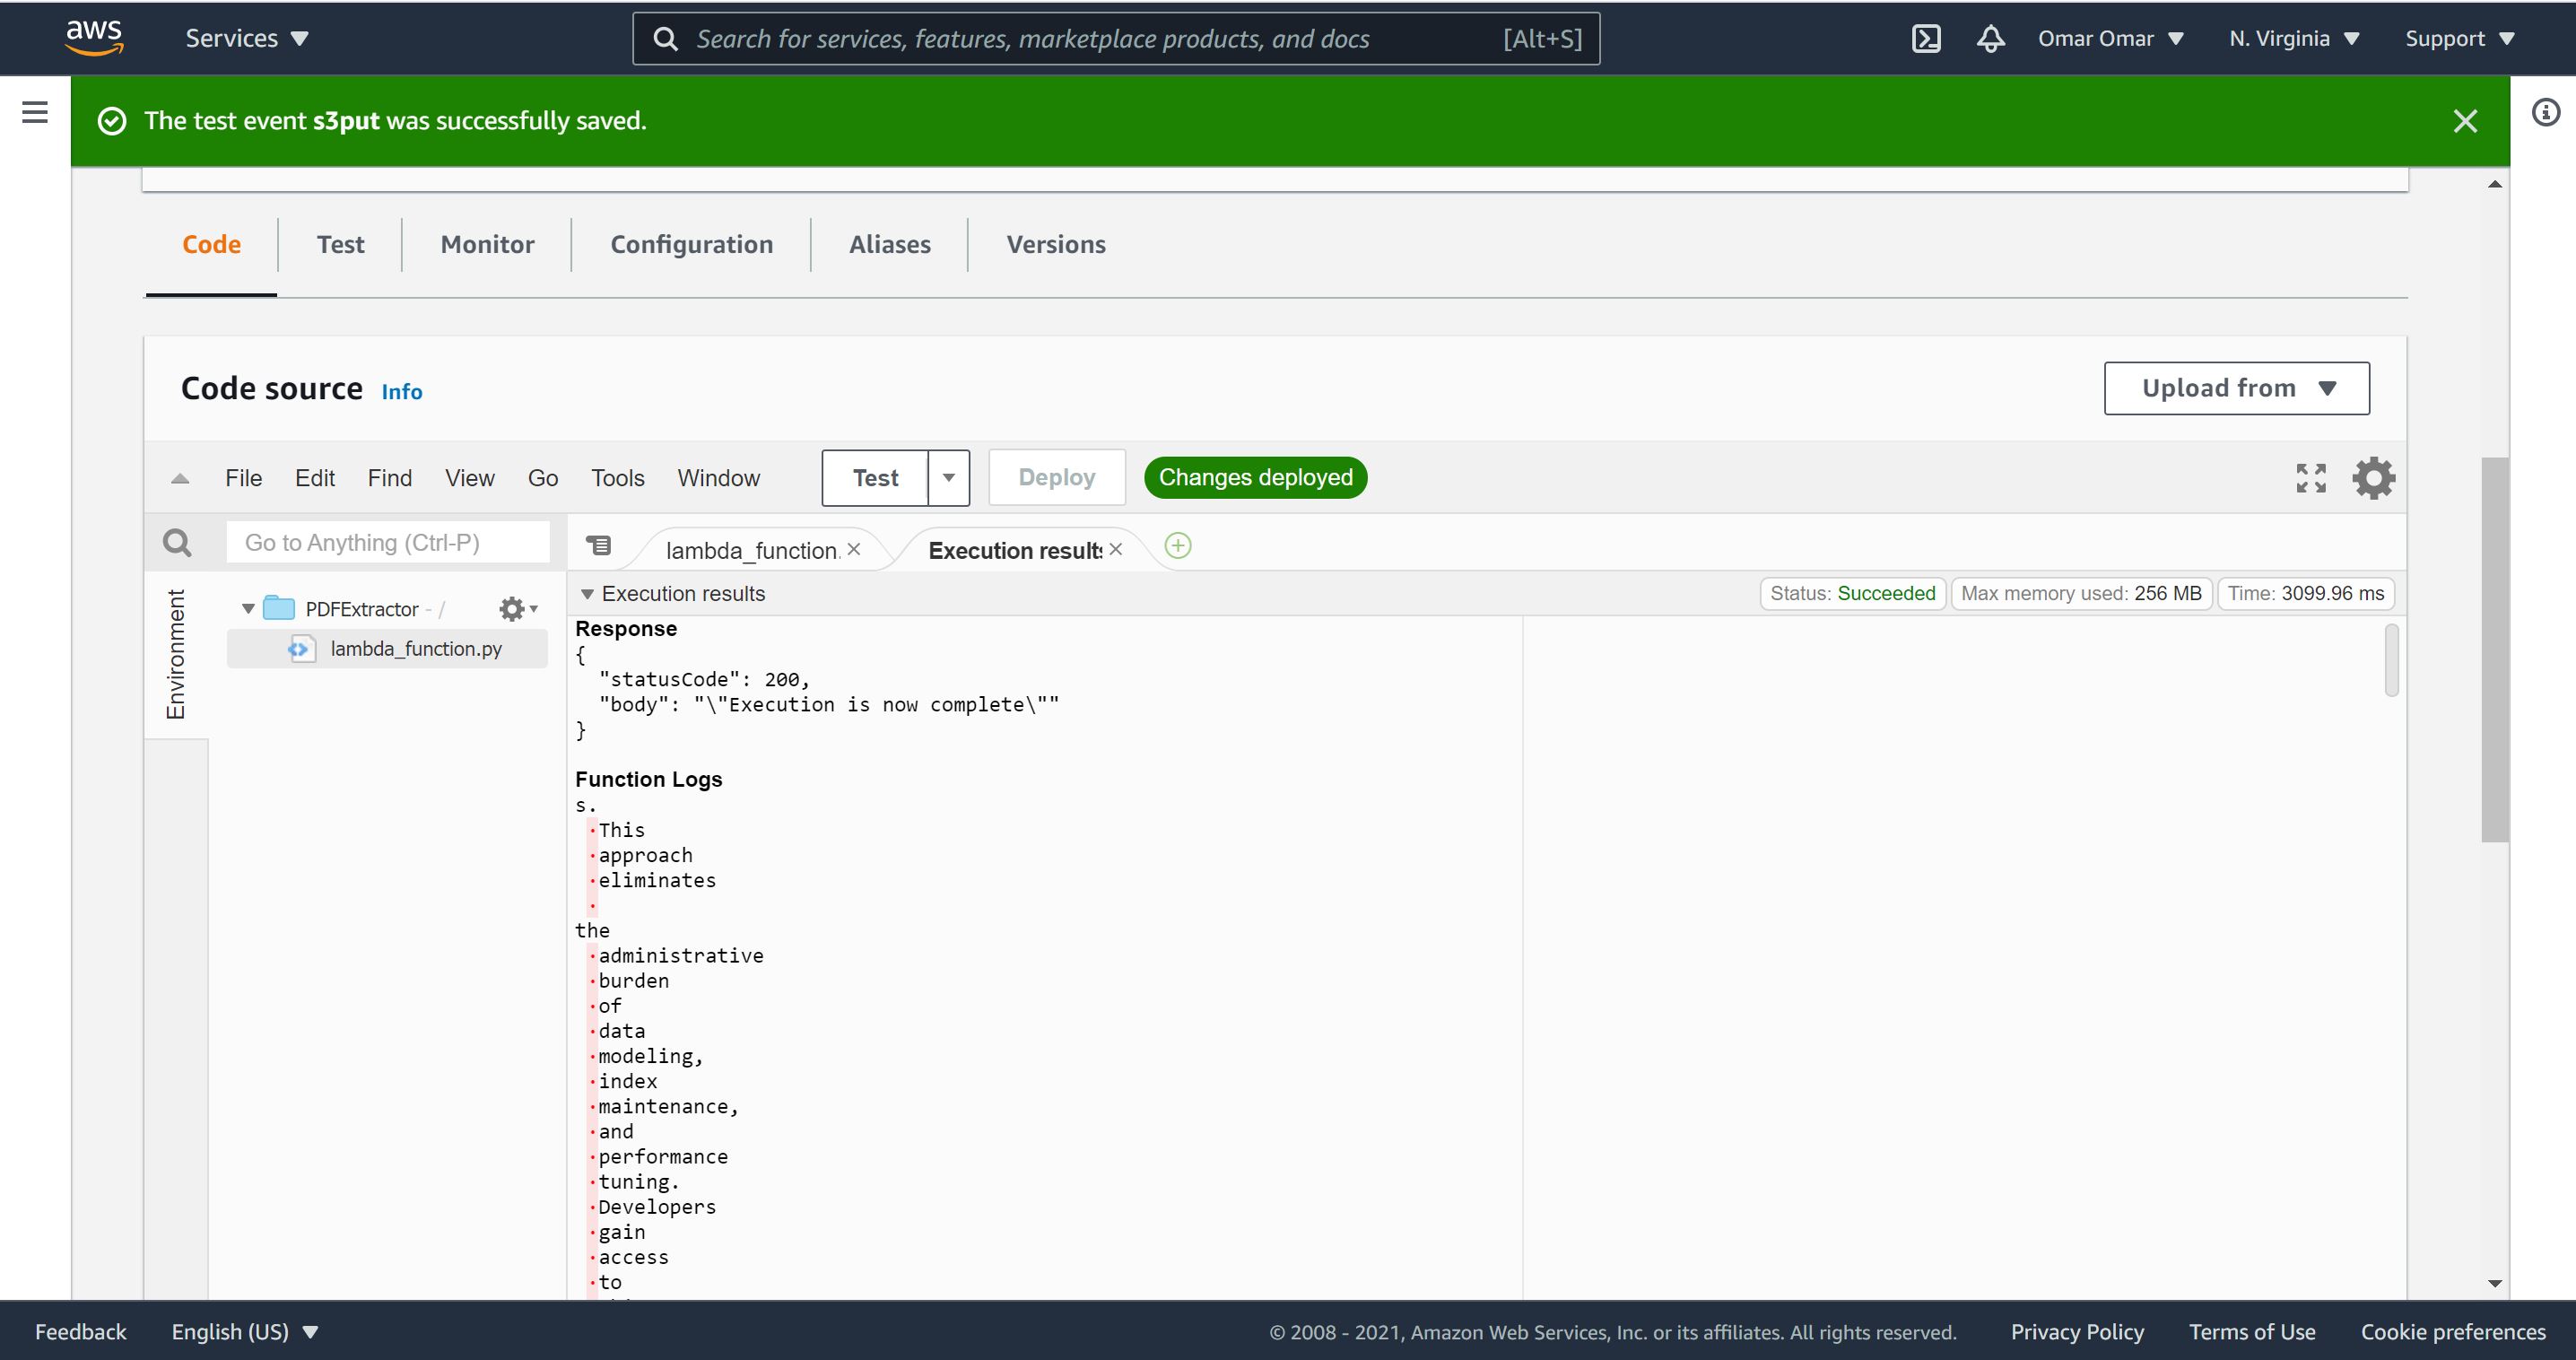
If the function fails, it will state error “Unable to start the Tika server.” If this occurs, run the test one more time.
When the lambda function executed successfully, the extracted PDF is saved in our S3 destination bucket. It includes the result of the PDF text extraction, as shown below.
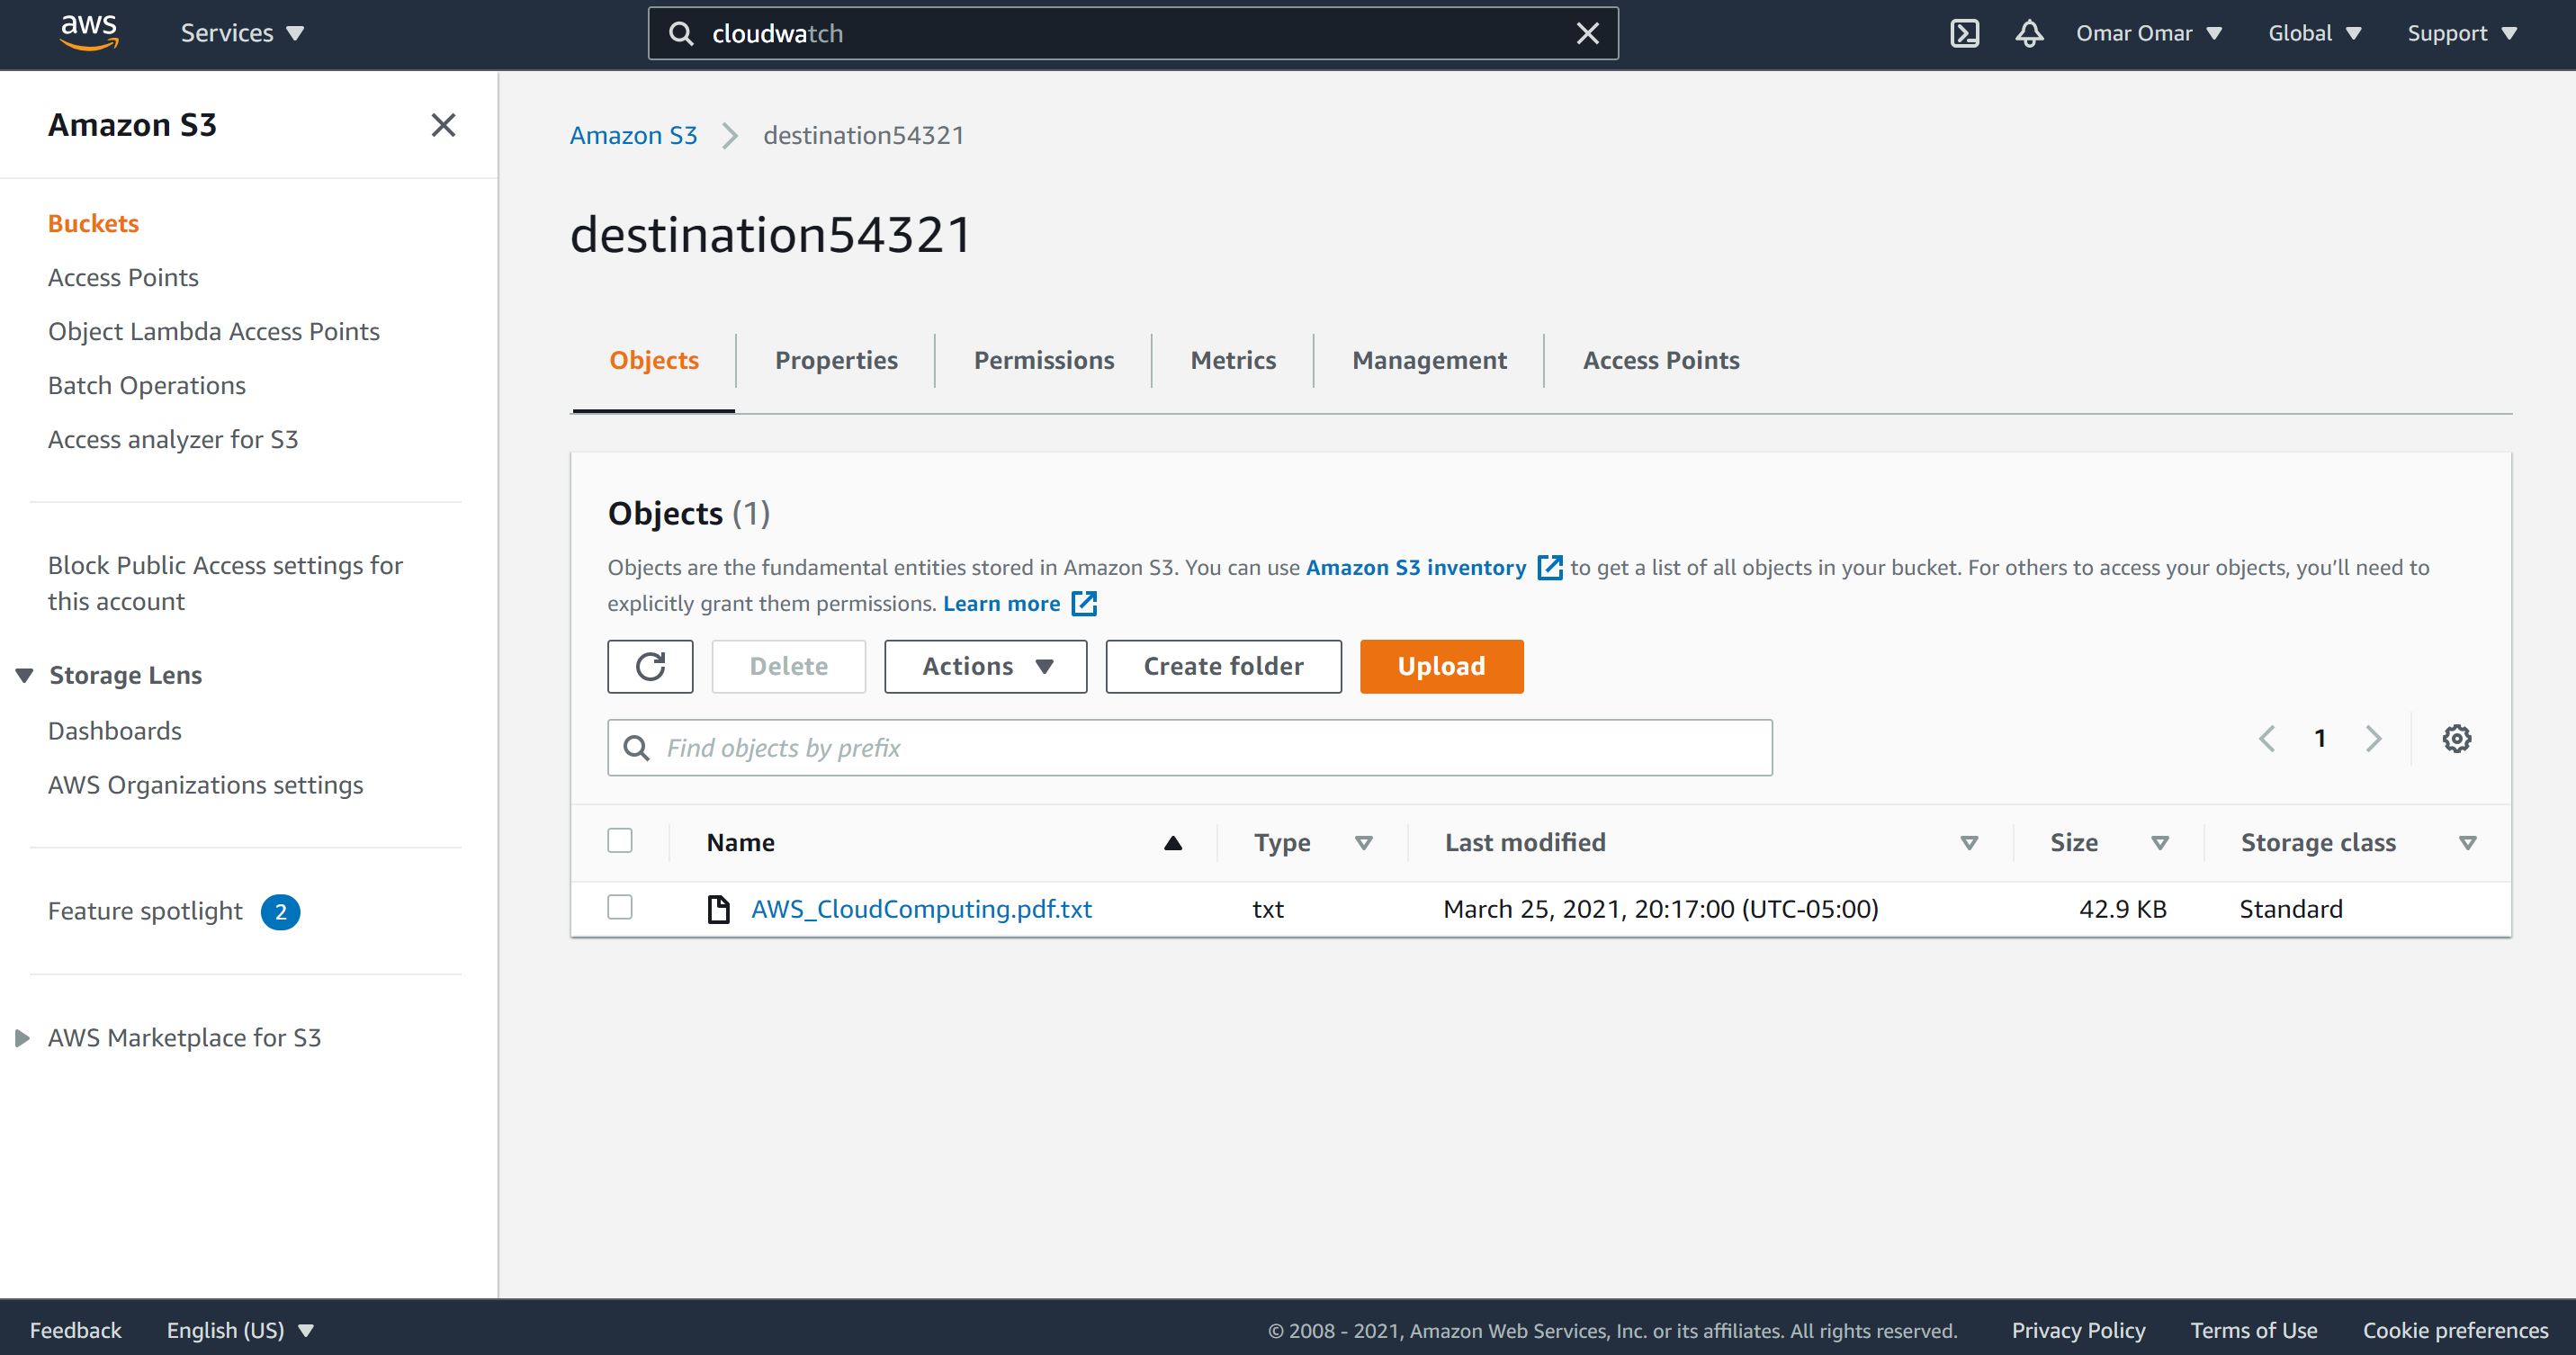
Conclusion:
By the end of this tutorial, we have successfully created our AWS Lambda Function which extracts texts from uploaded PDFs in a S3 source bucket. The extracted texts are saved in a designated S3 destination bucket. We have achieved this task by utilizing a Custom Layer and a Lambda Function in Python using layers.