install Mattermost and MySQL on EC2
Mattermost
Mattermost is an open-source, self-hostable online chat service with file sharing, search, and integrations. It is designed as an internal chat for organizations and companies, and mostly markets itself as an open-source alternative to Slack and Microsoft Teams. For information about Mattermost.
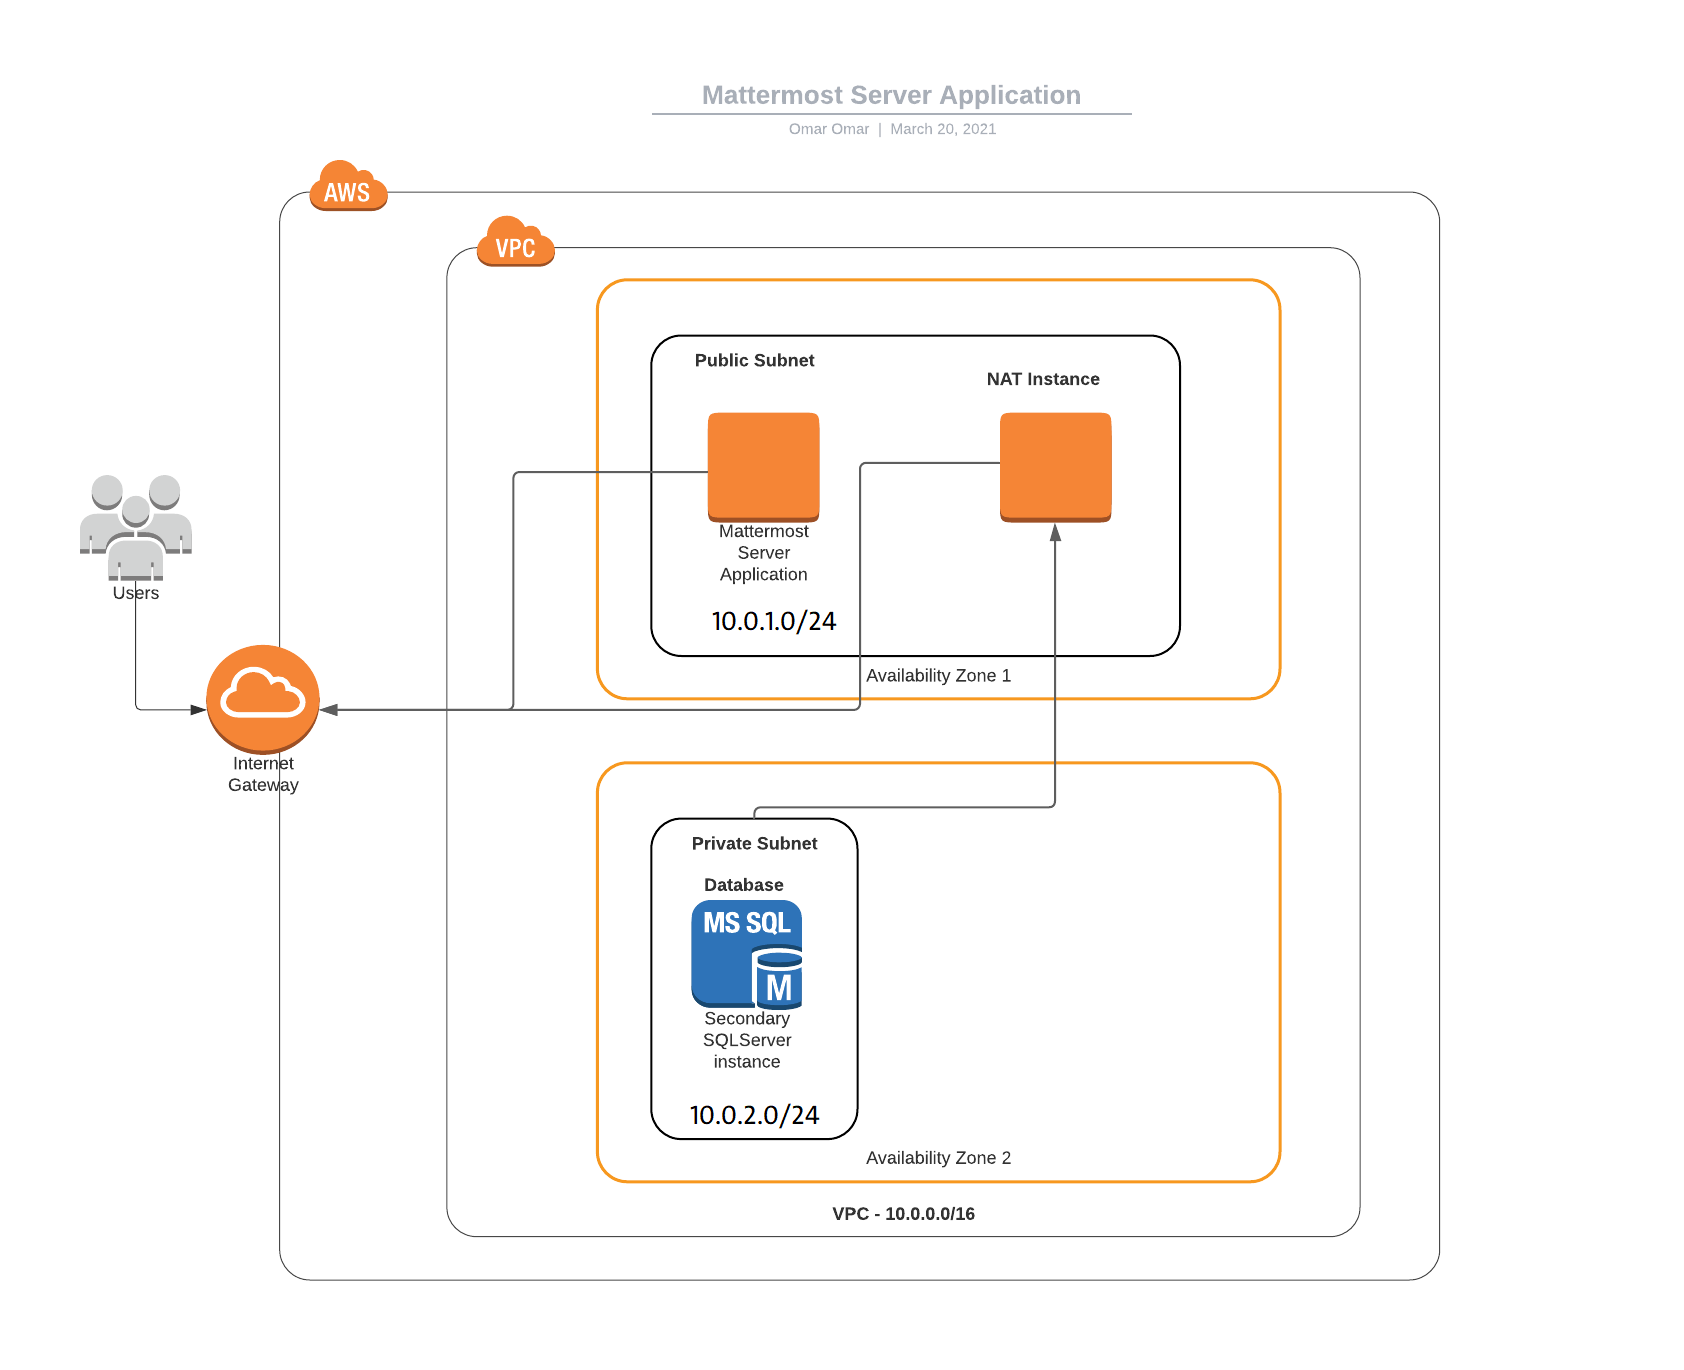
As part of this tutorial, we will install and configure MySQL on Ubuntu 20.04 LTS EC2 instance. The intension is implement two different subnets, Public and Private subnets. The public subnet will host the Mattermost web application, and the private subnet will host the MySQL database for the Mattermost web application. Since MySQL database will be isolated in a private subnet, we will need to associated it with a NAT instance, which will be hosted on the public subnet to allow the MySQL database in the private subnet to send traffic to the internet gateway. For more information about the functionality of NAT instance.
The below diagram is our design architecture for this tutorial.
Step 1: VPC
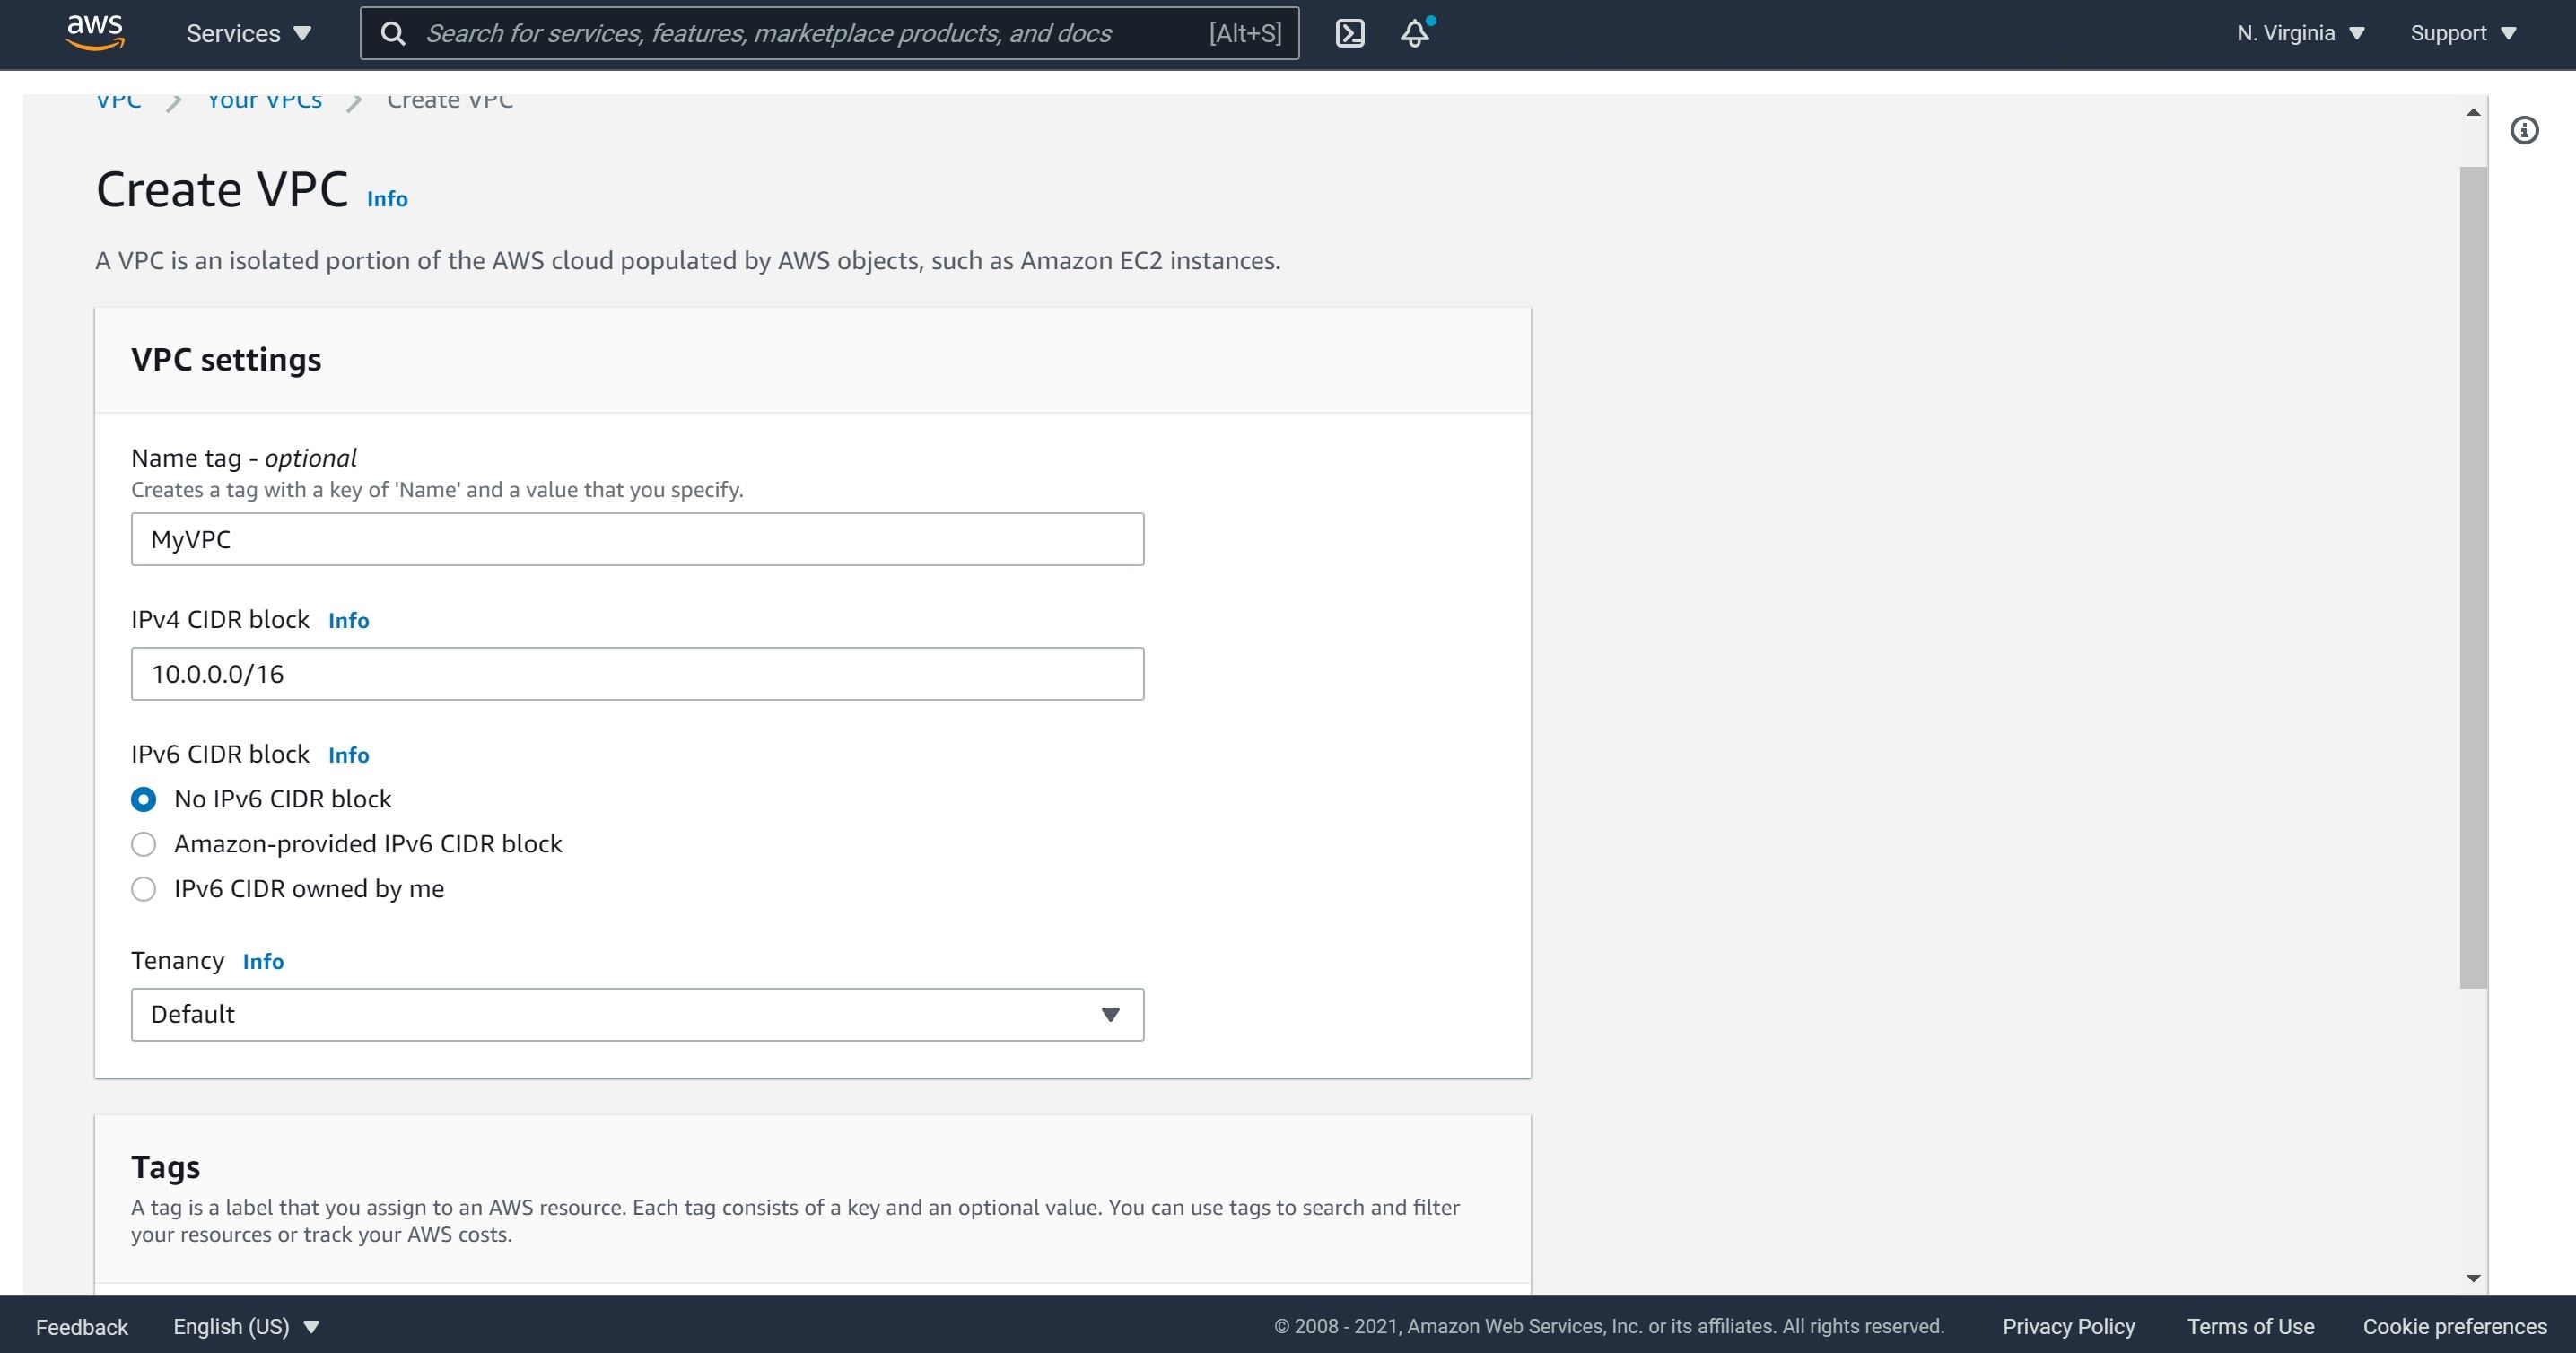
1- Create a VPC.
2- Name the VPC and choose the CIDR block for the VPC as 10.0.0.0/16
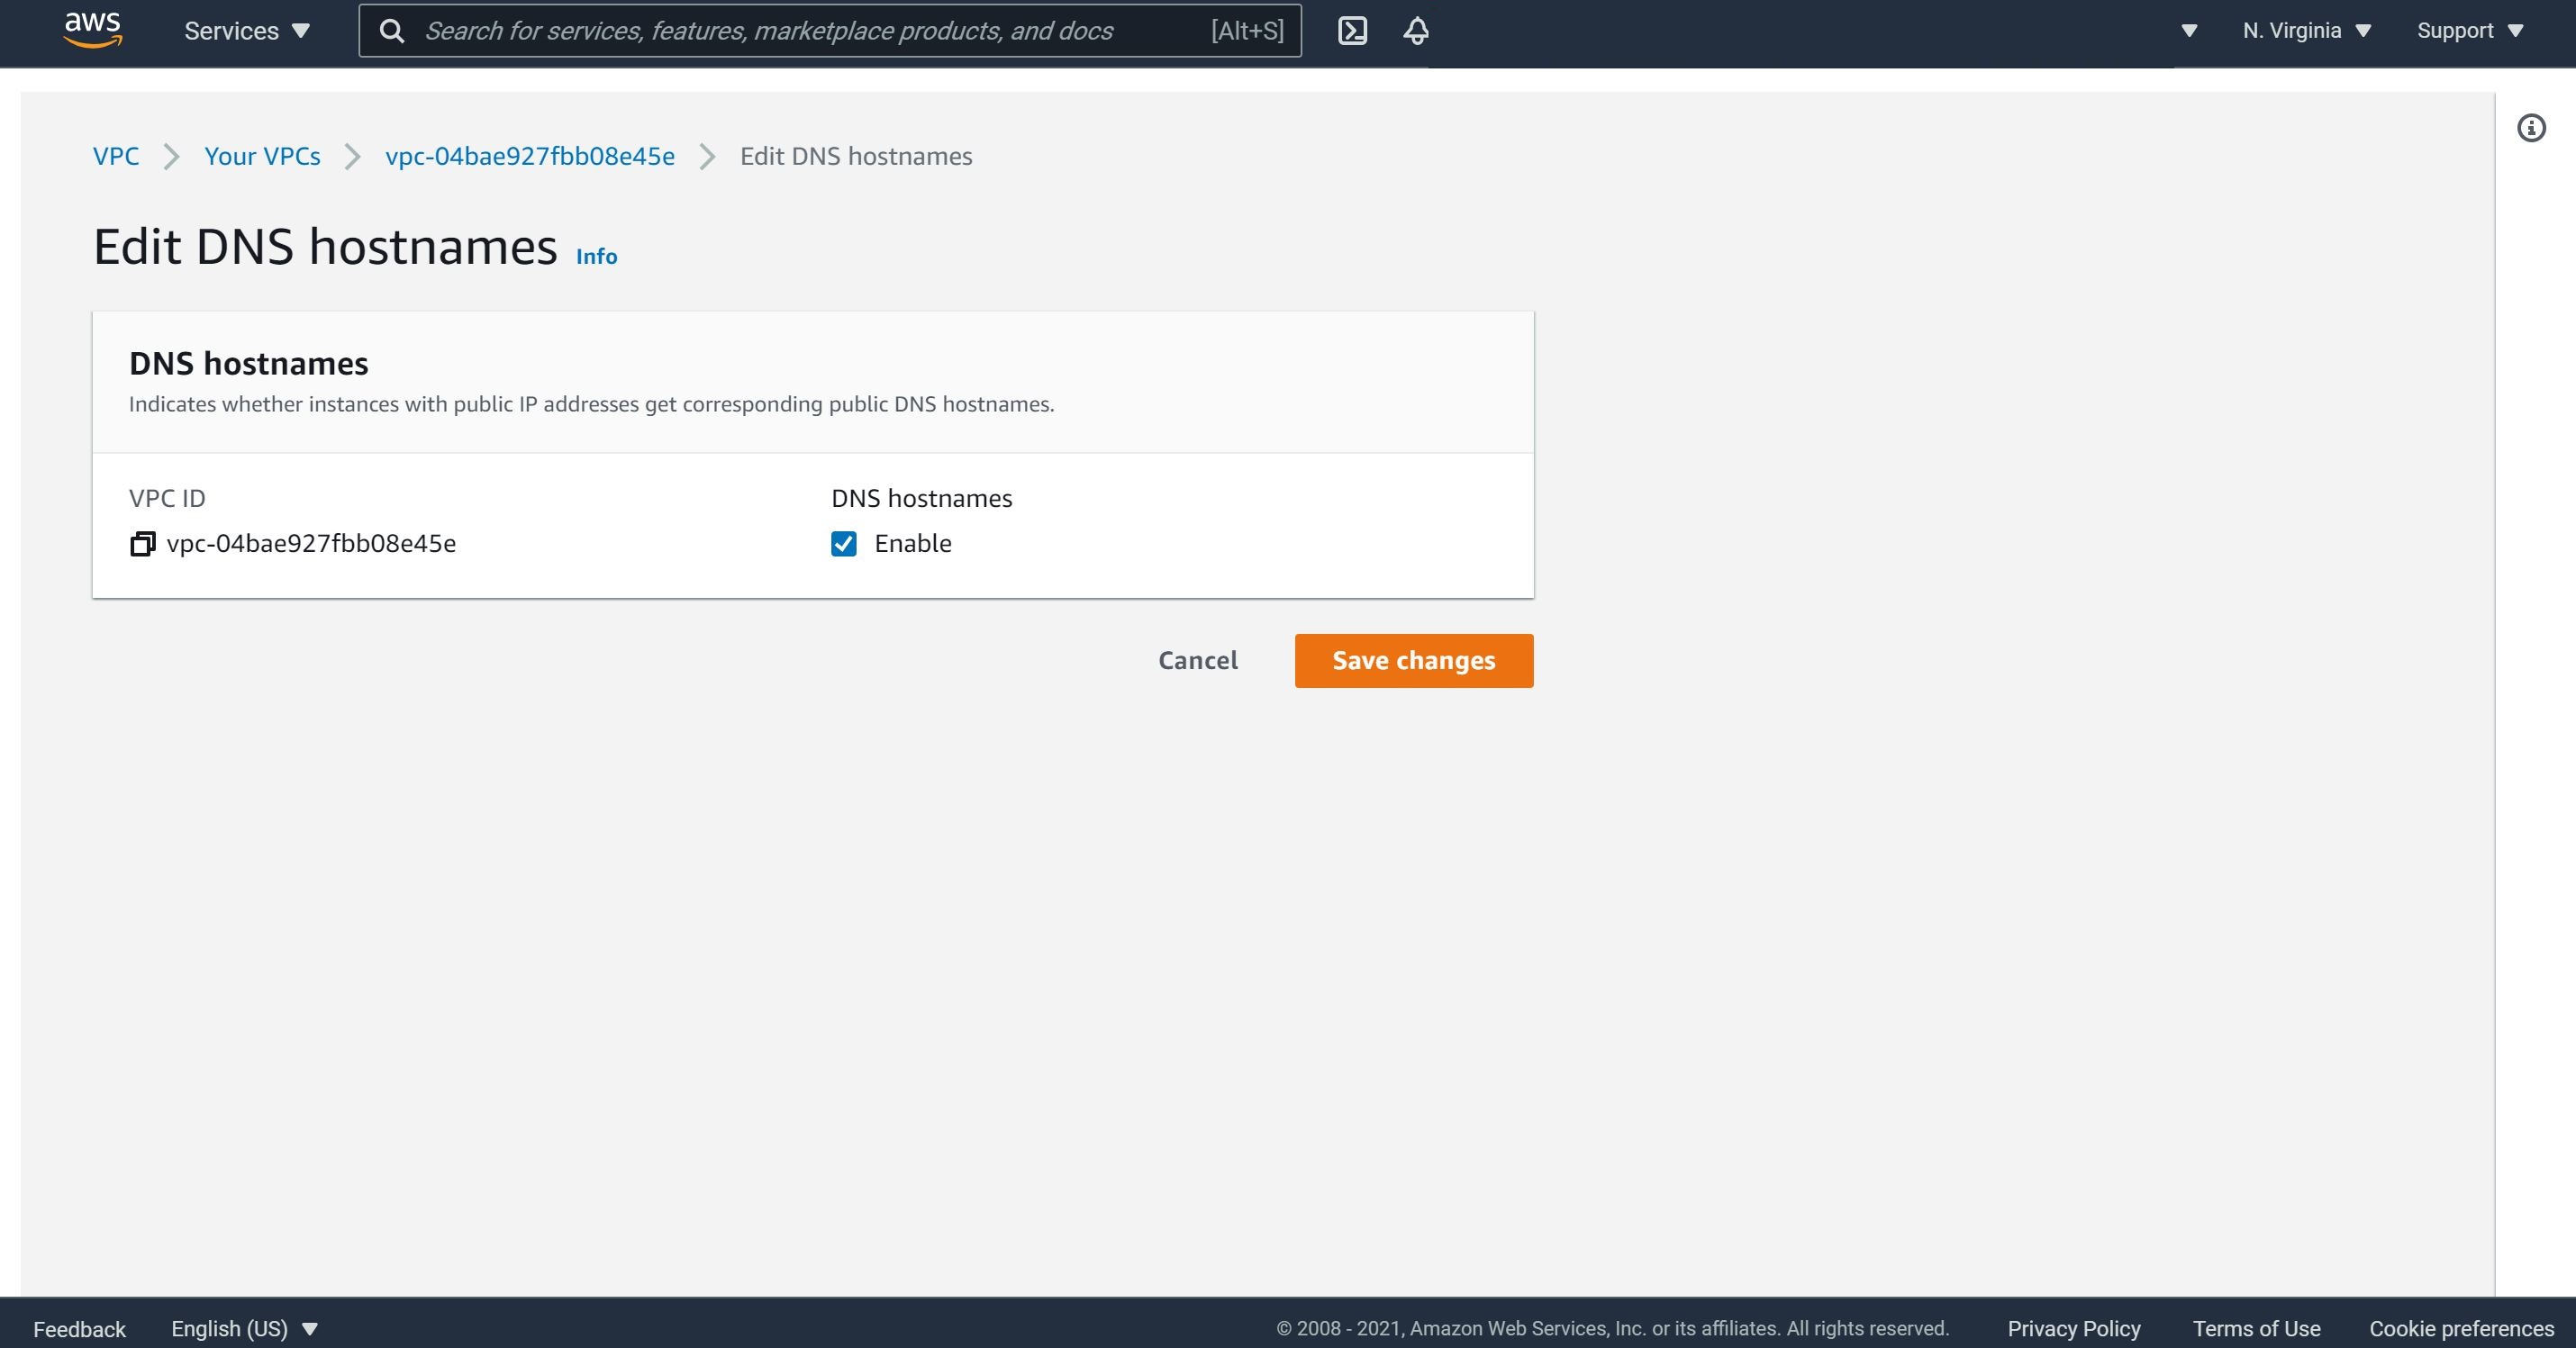
3- Select the VPC, edit DNS hostnames and enable DNS hostnames.
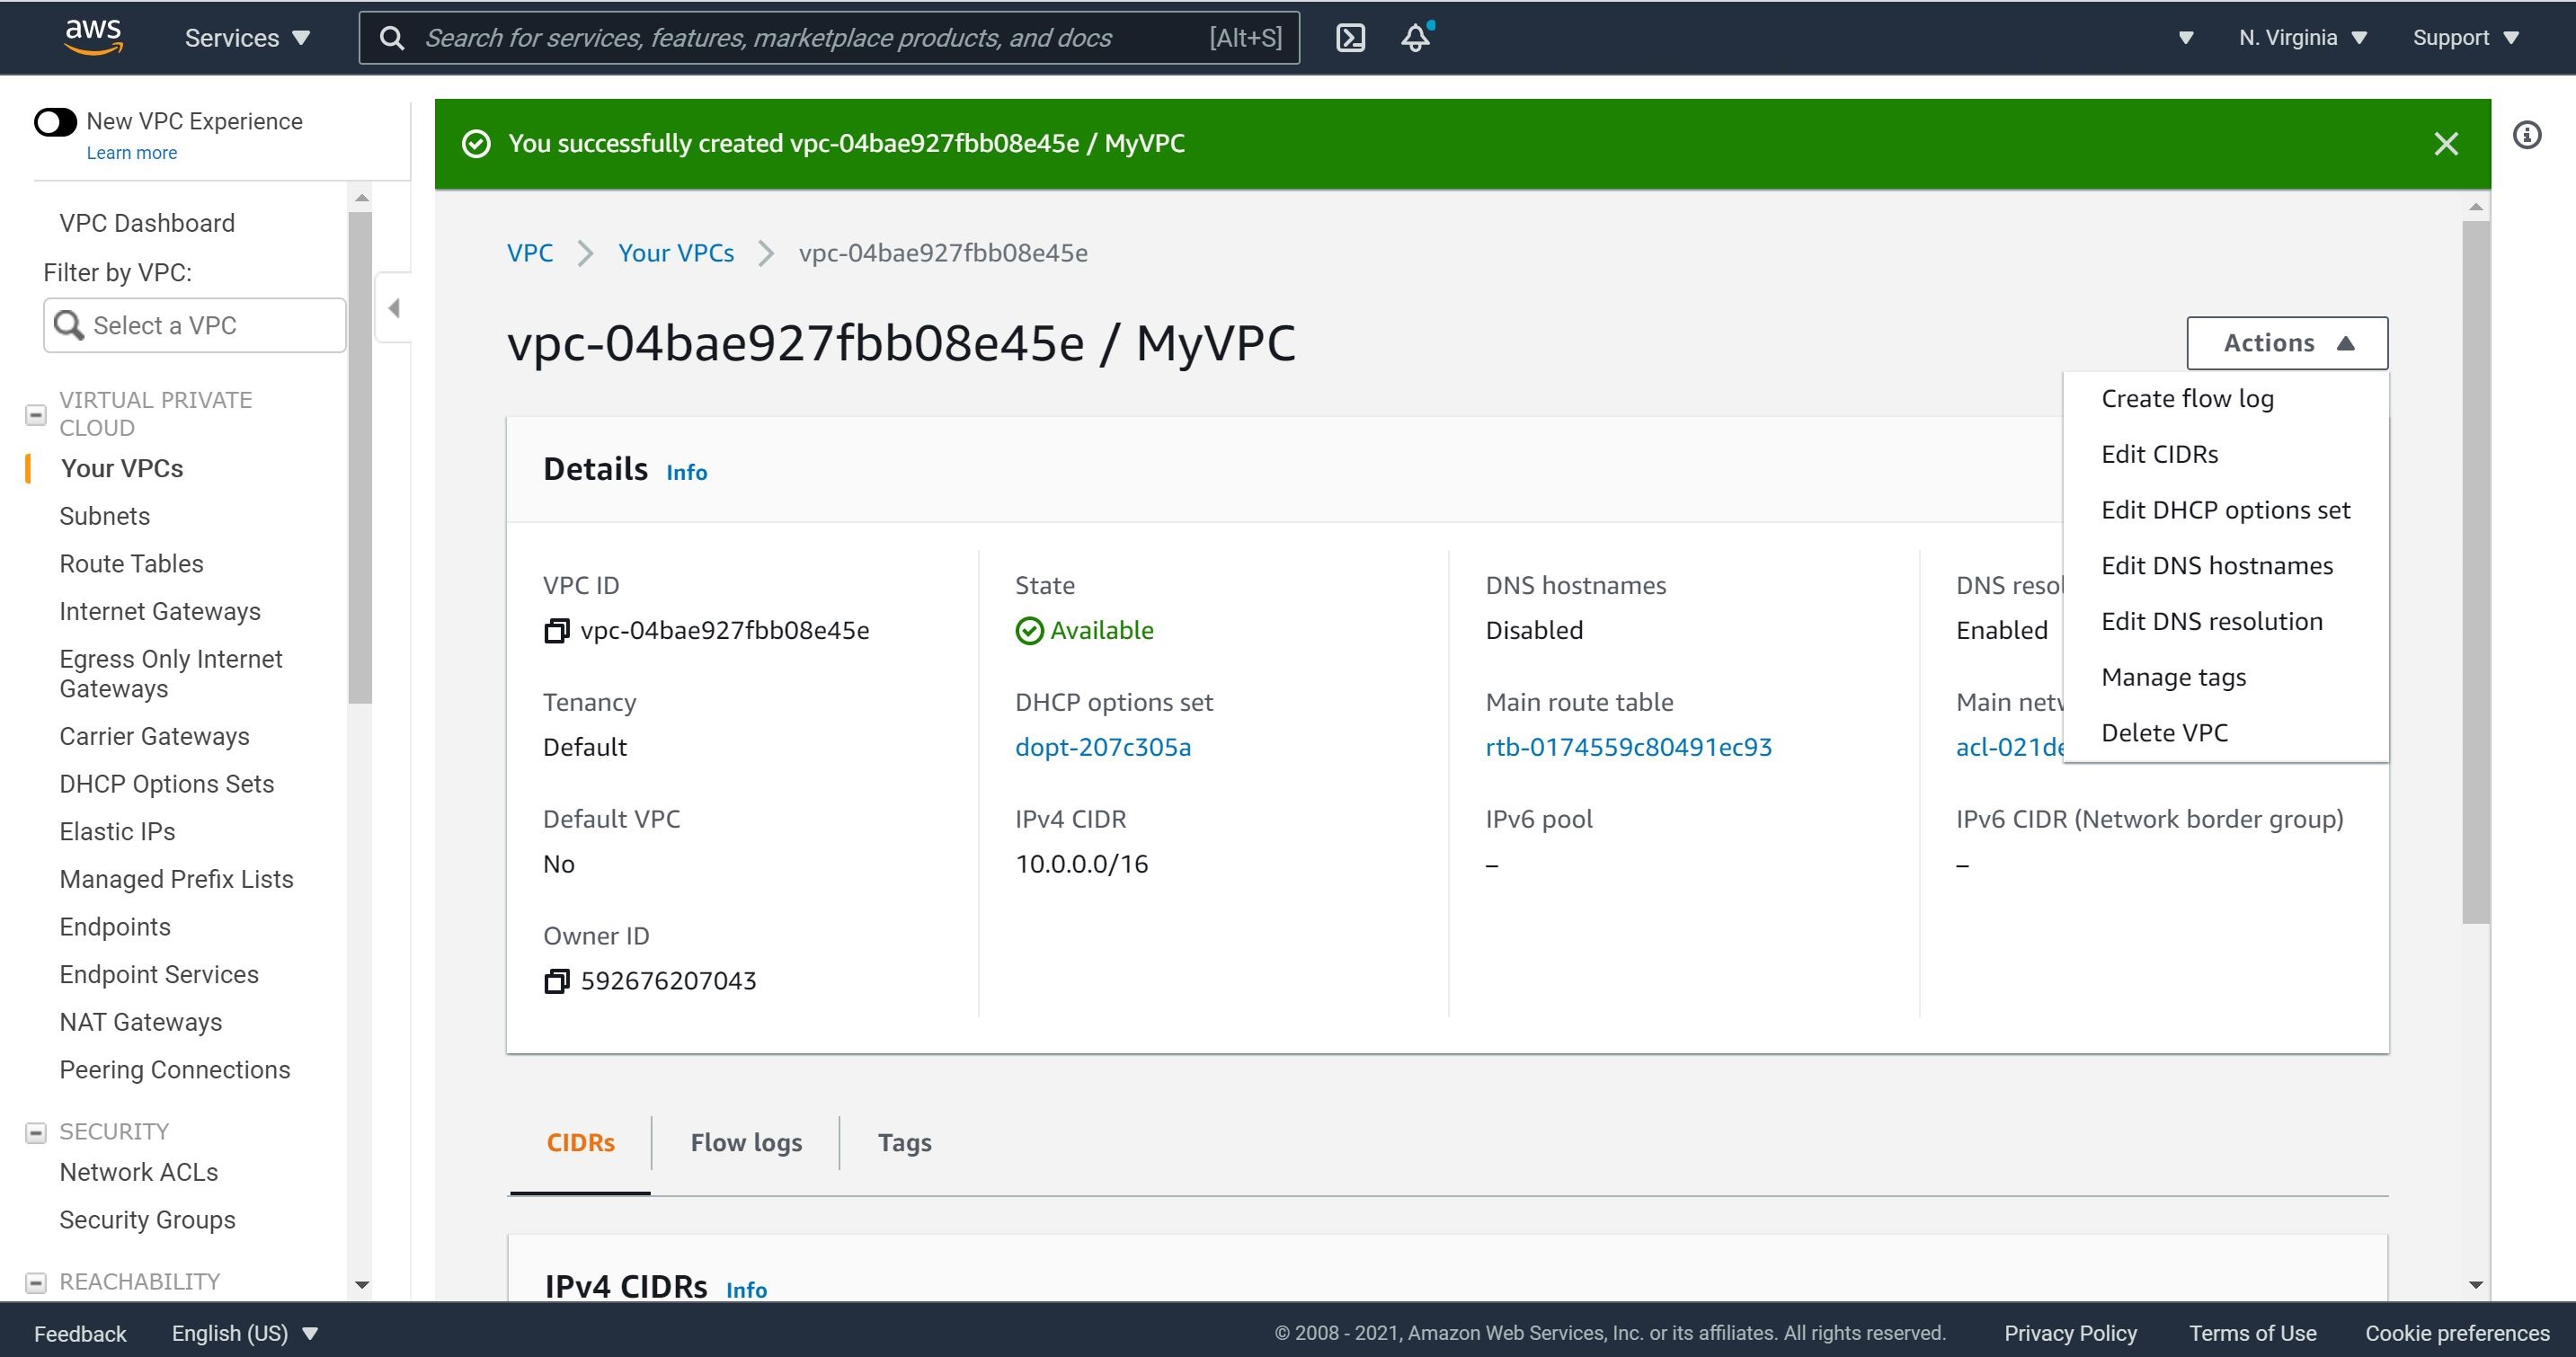
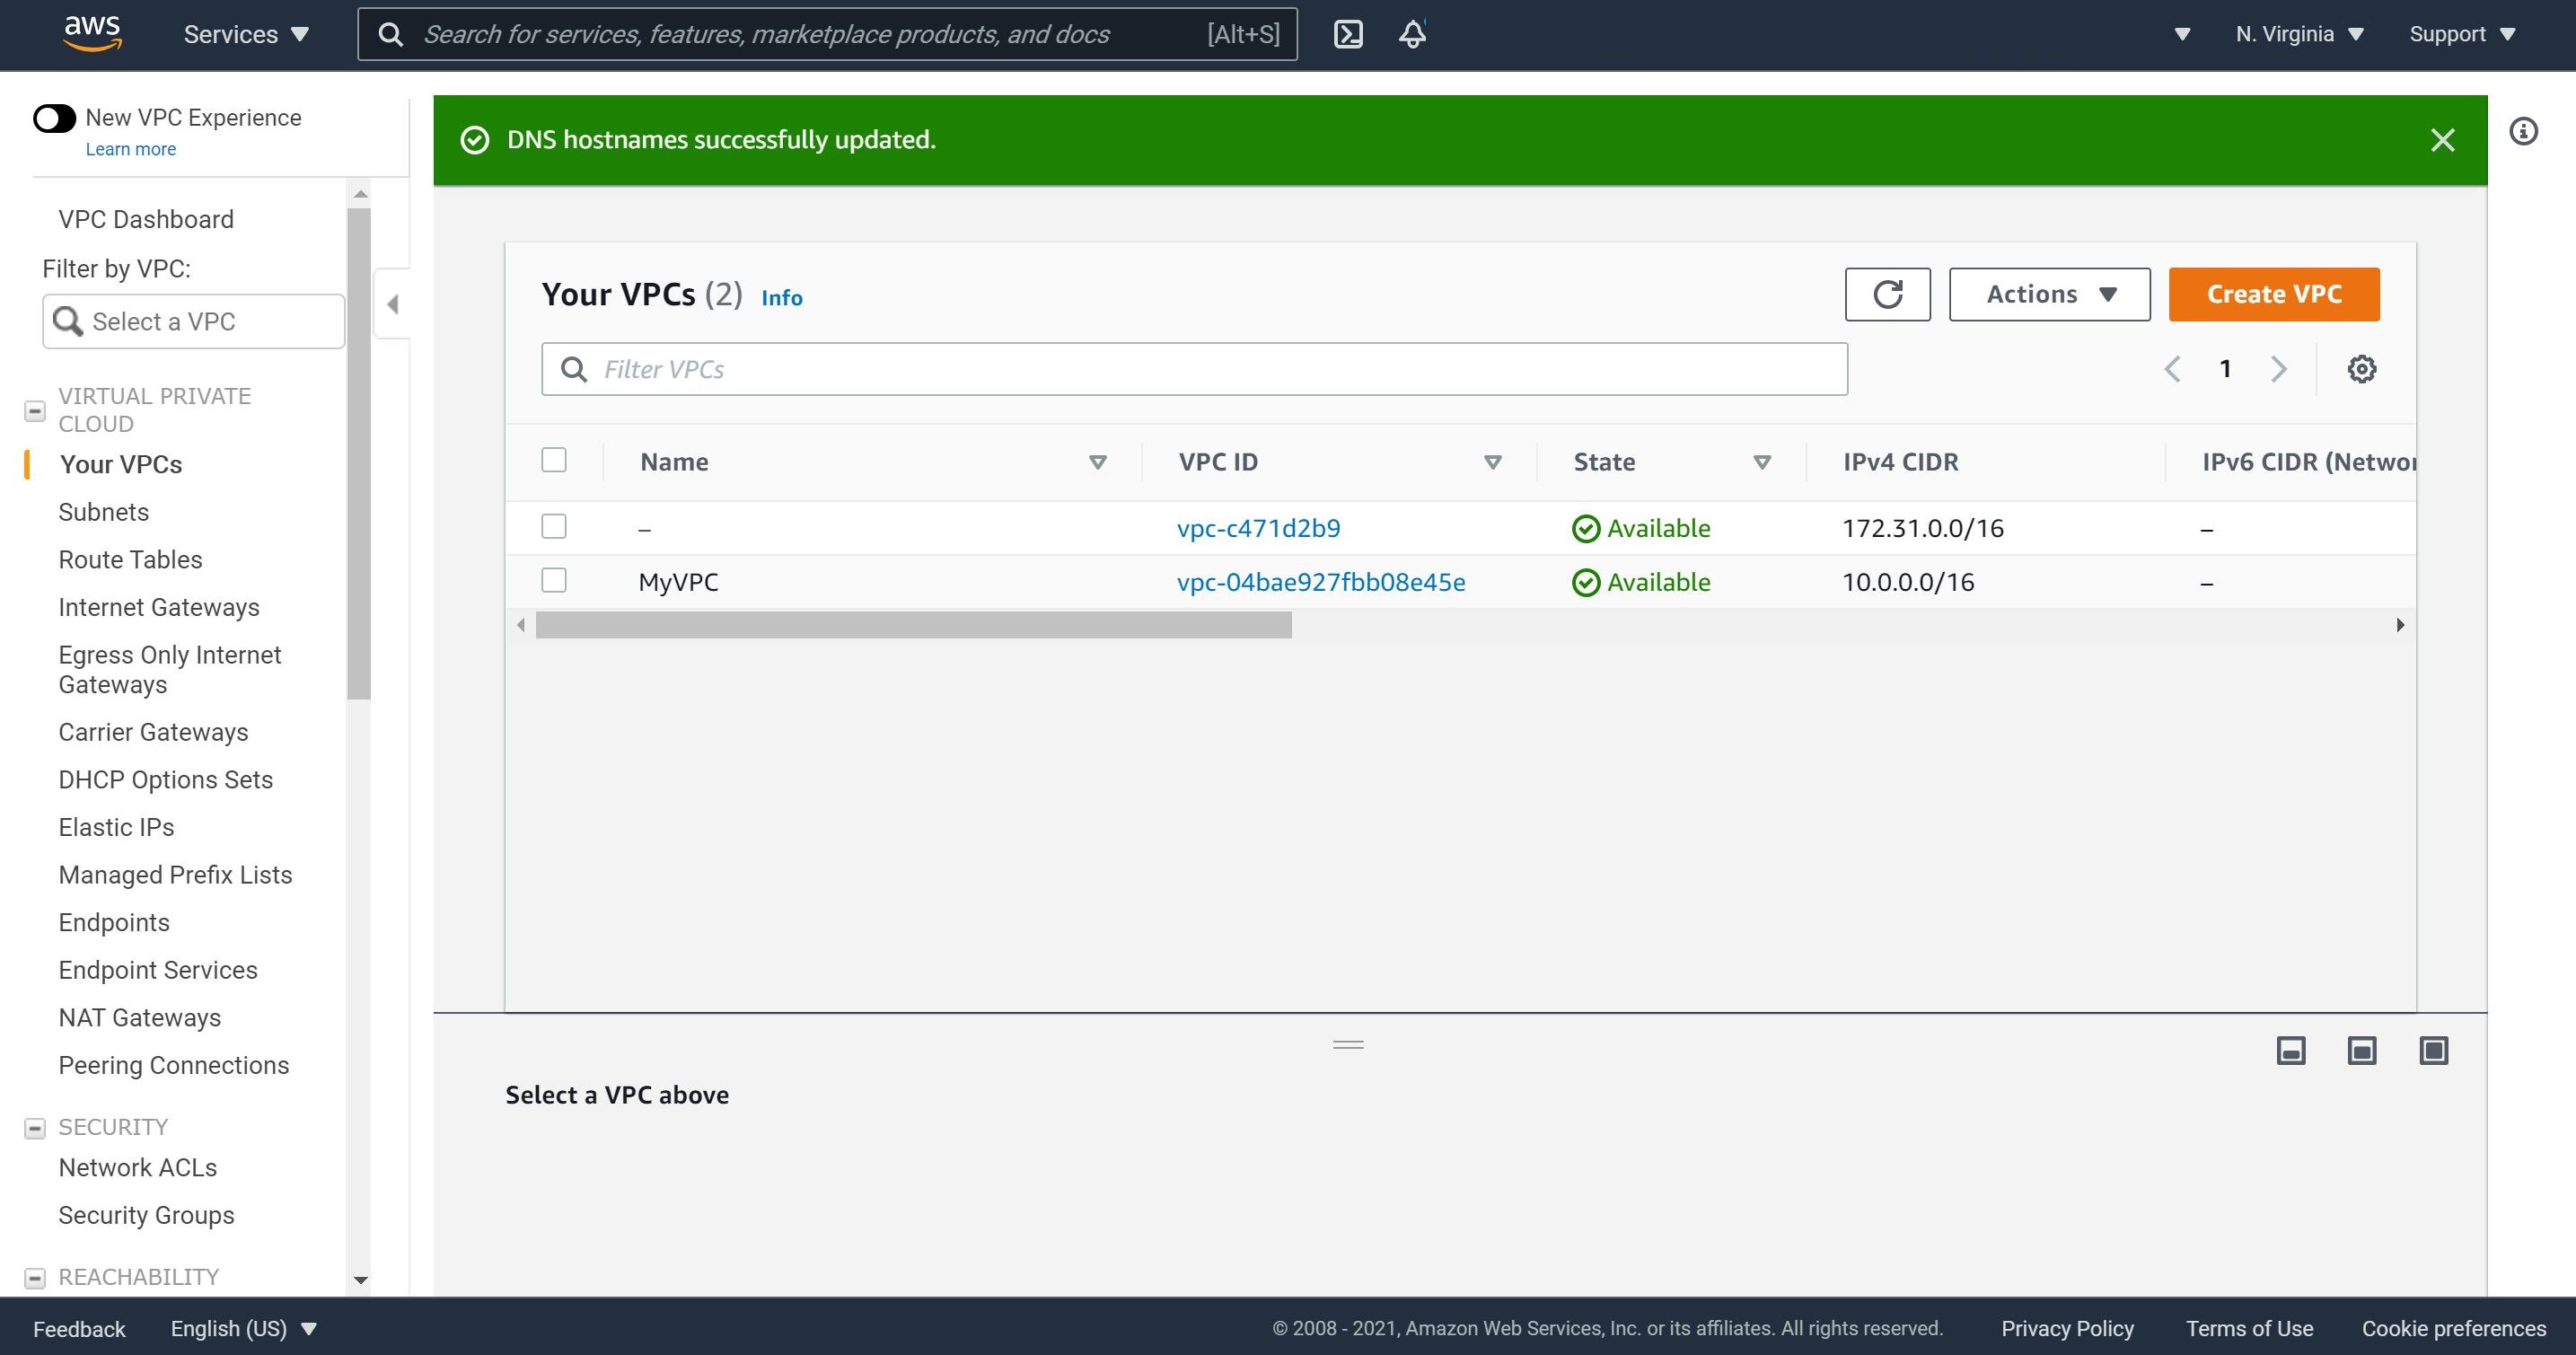
We have successfully created our VPC.
Step: Create Public and Private Subnets
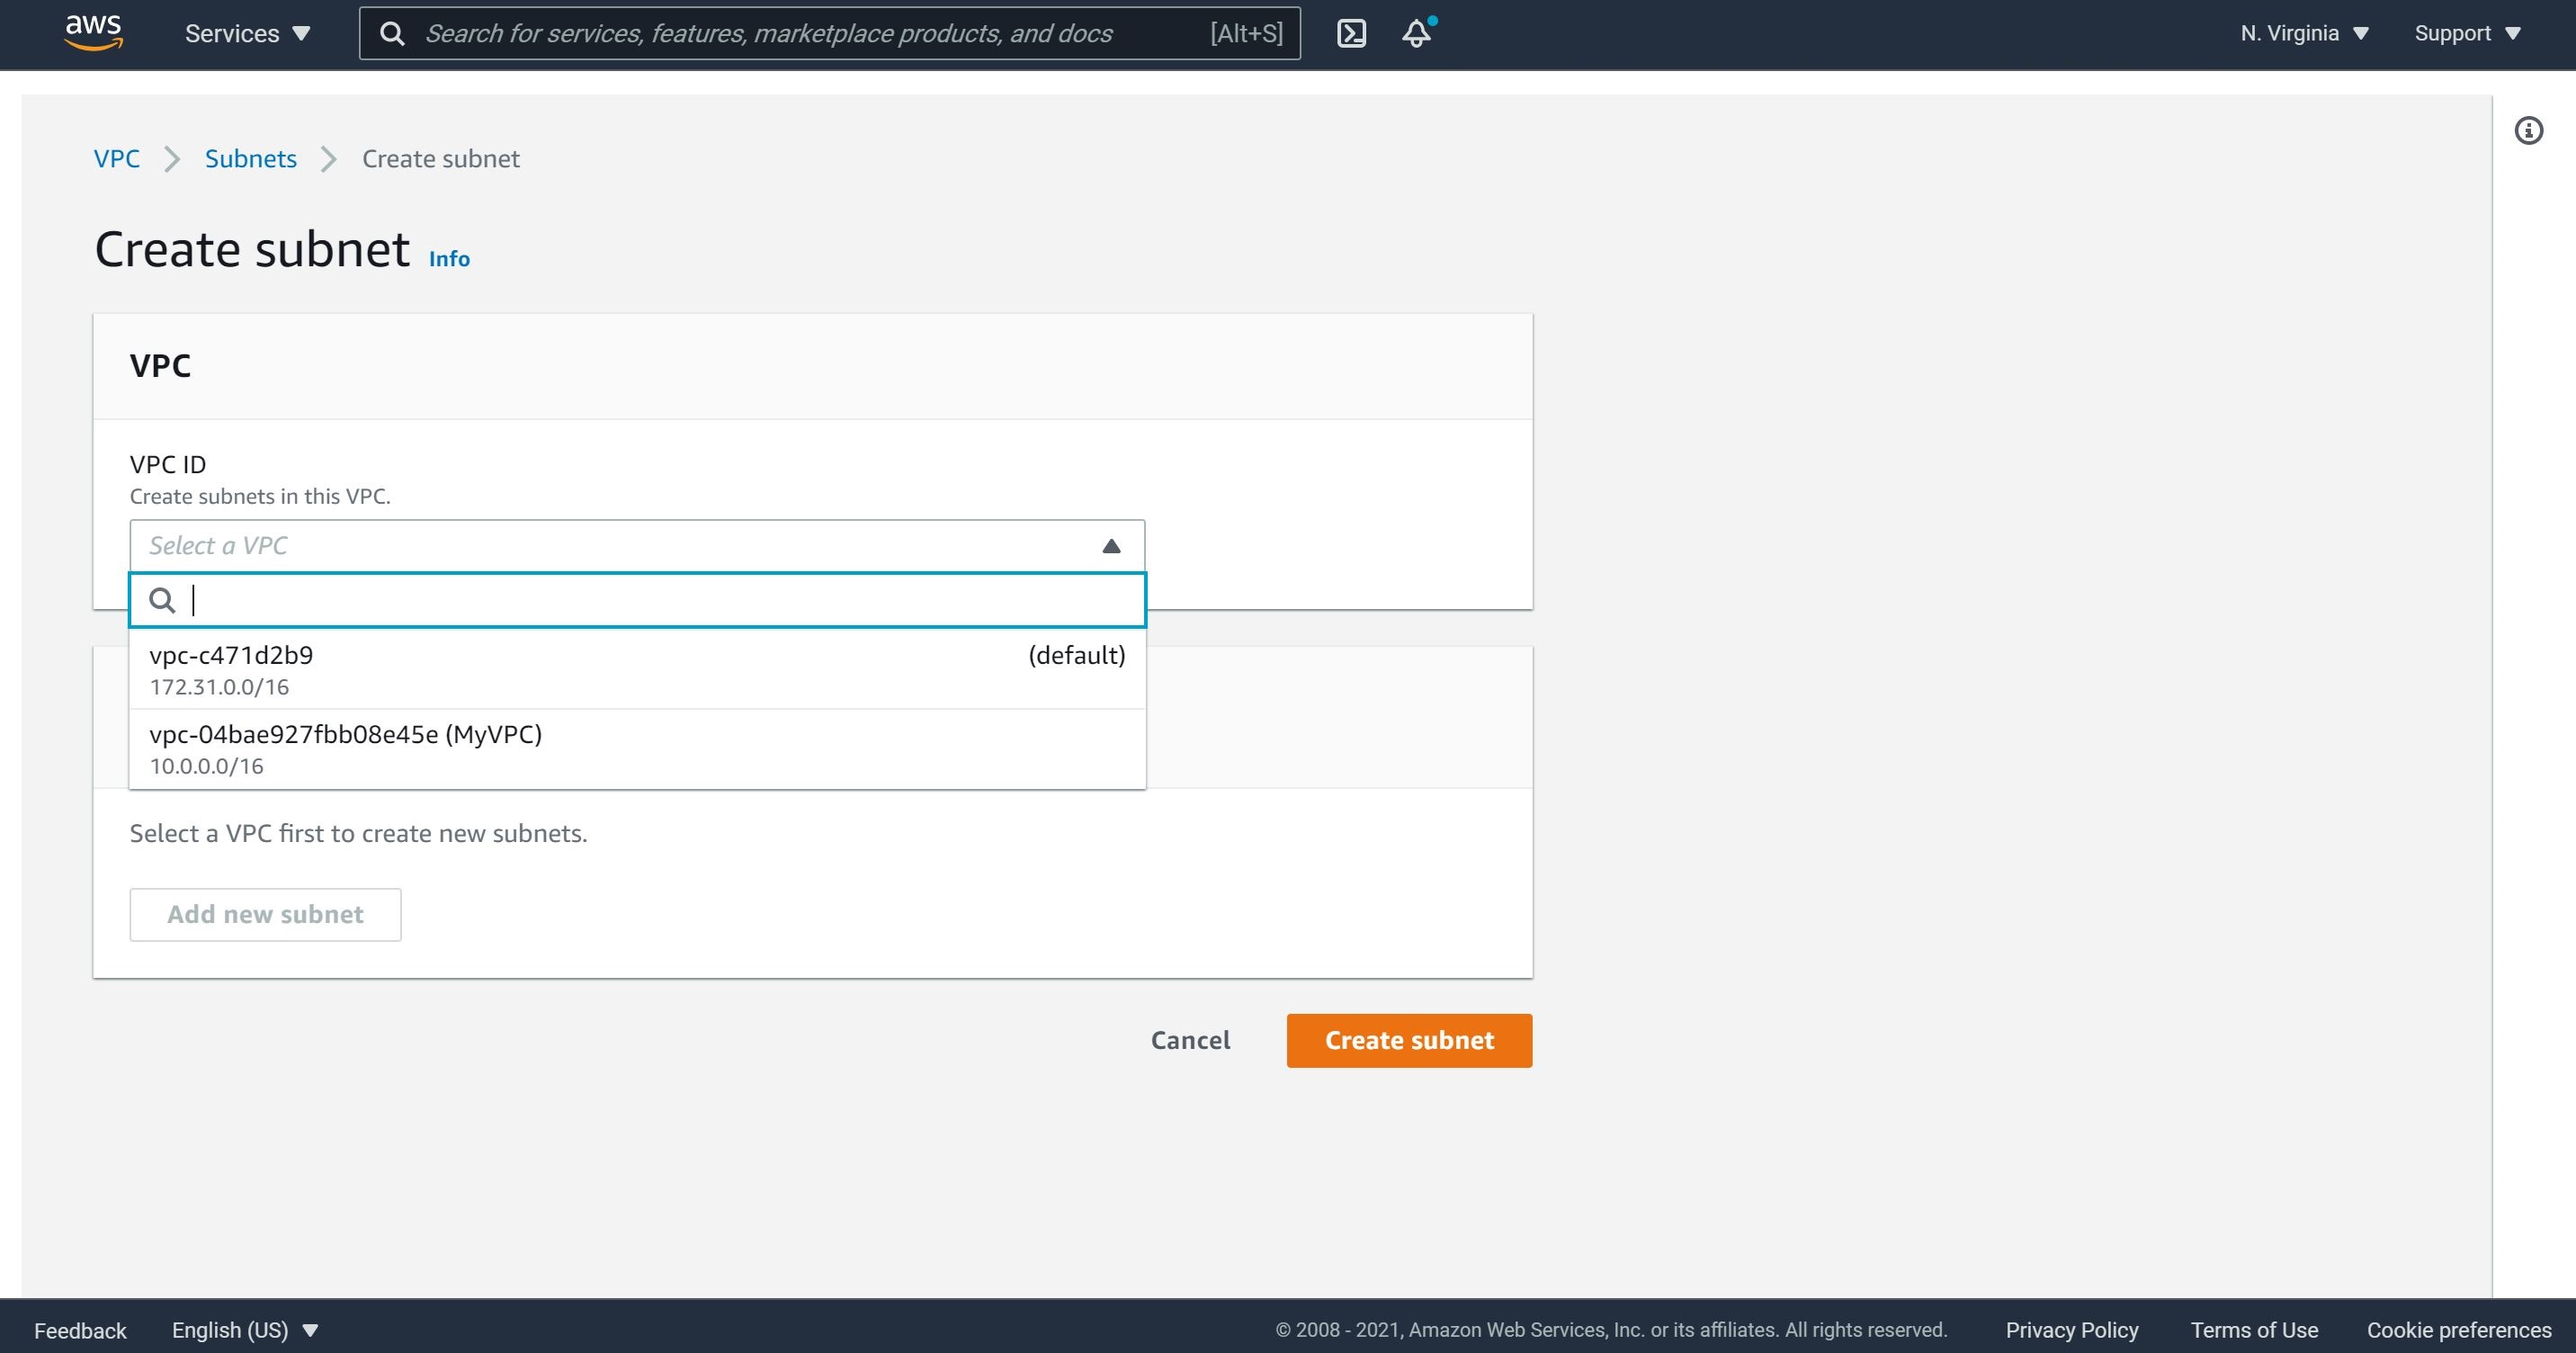
1- Navigate to Subnets and then click on “Create Subnet”.

2- Make sure you select the newly created VNC and not the default VPC.
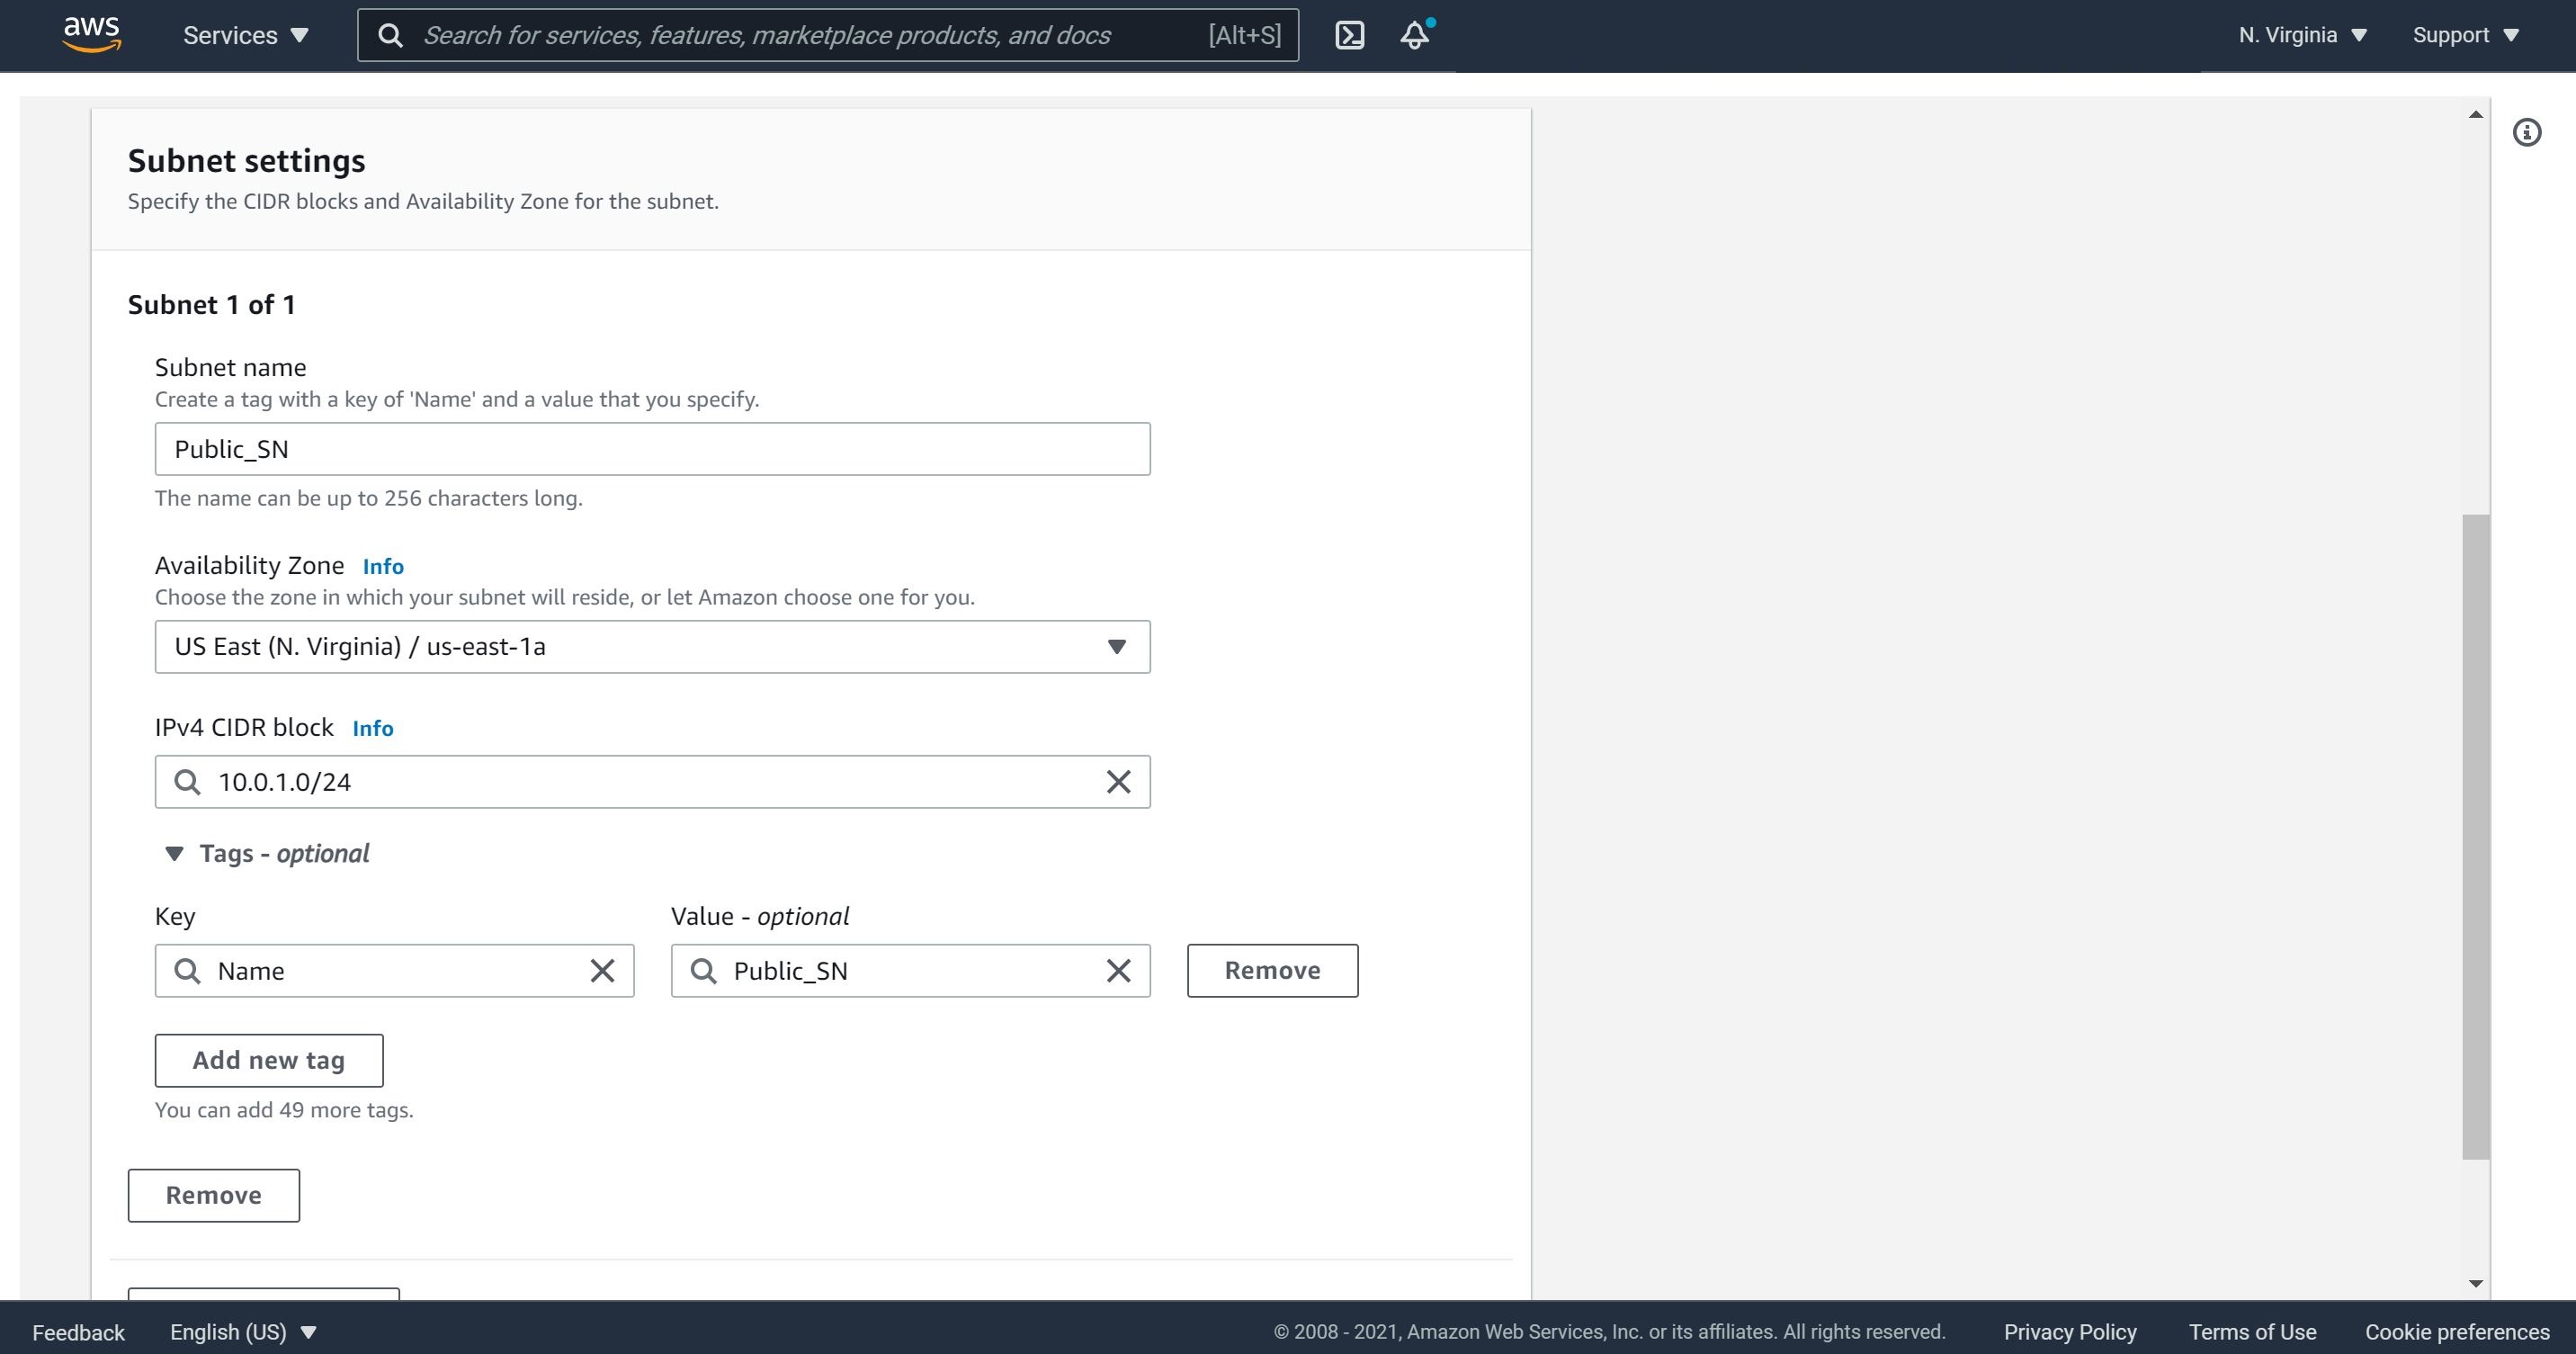
3- Name this subnet as a Public_SN as in my case. It’s optional of you would like to select a specific Availability Zone. The CIDR block that does not conflict with any in the same VPC. Let choose 10.0.1.0/24 as our CIDR block for the public subnet and then click on create subnet.
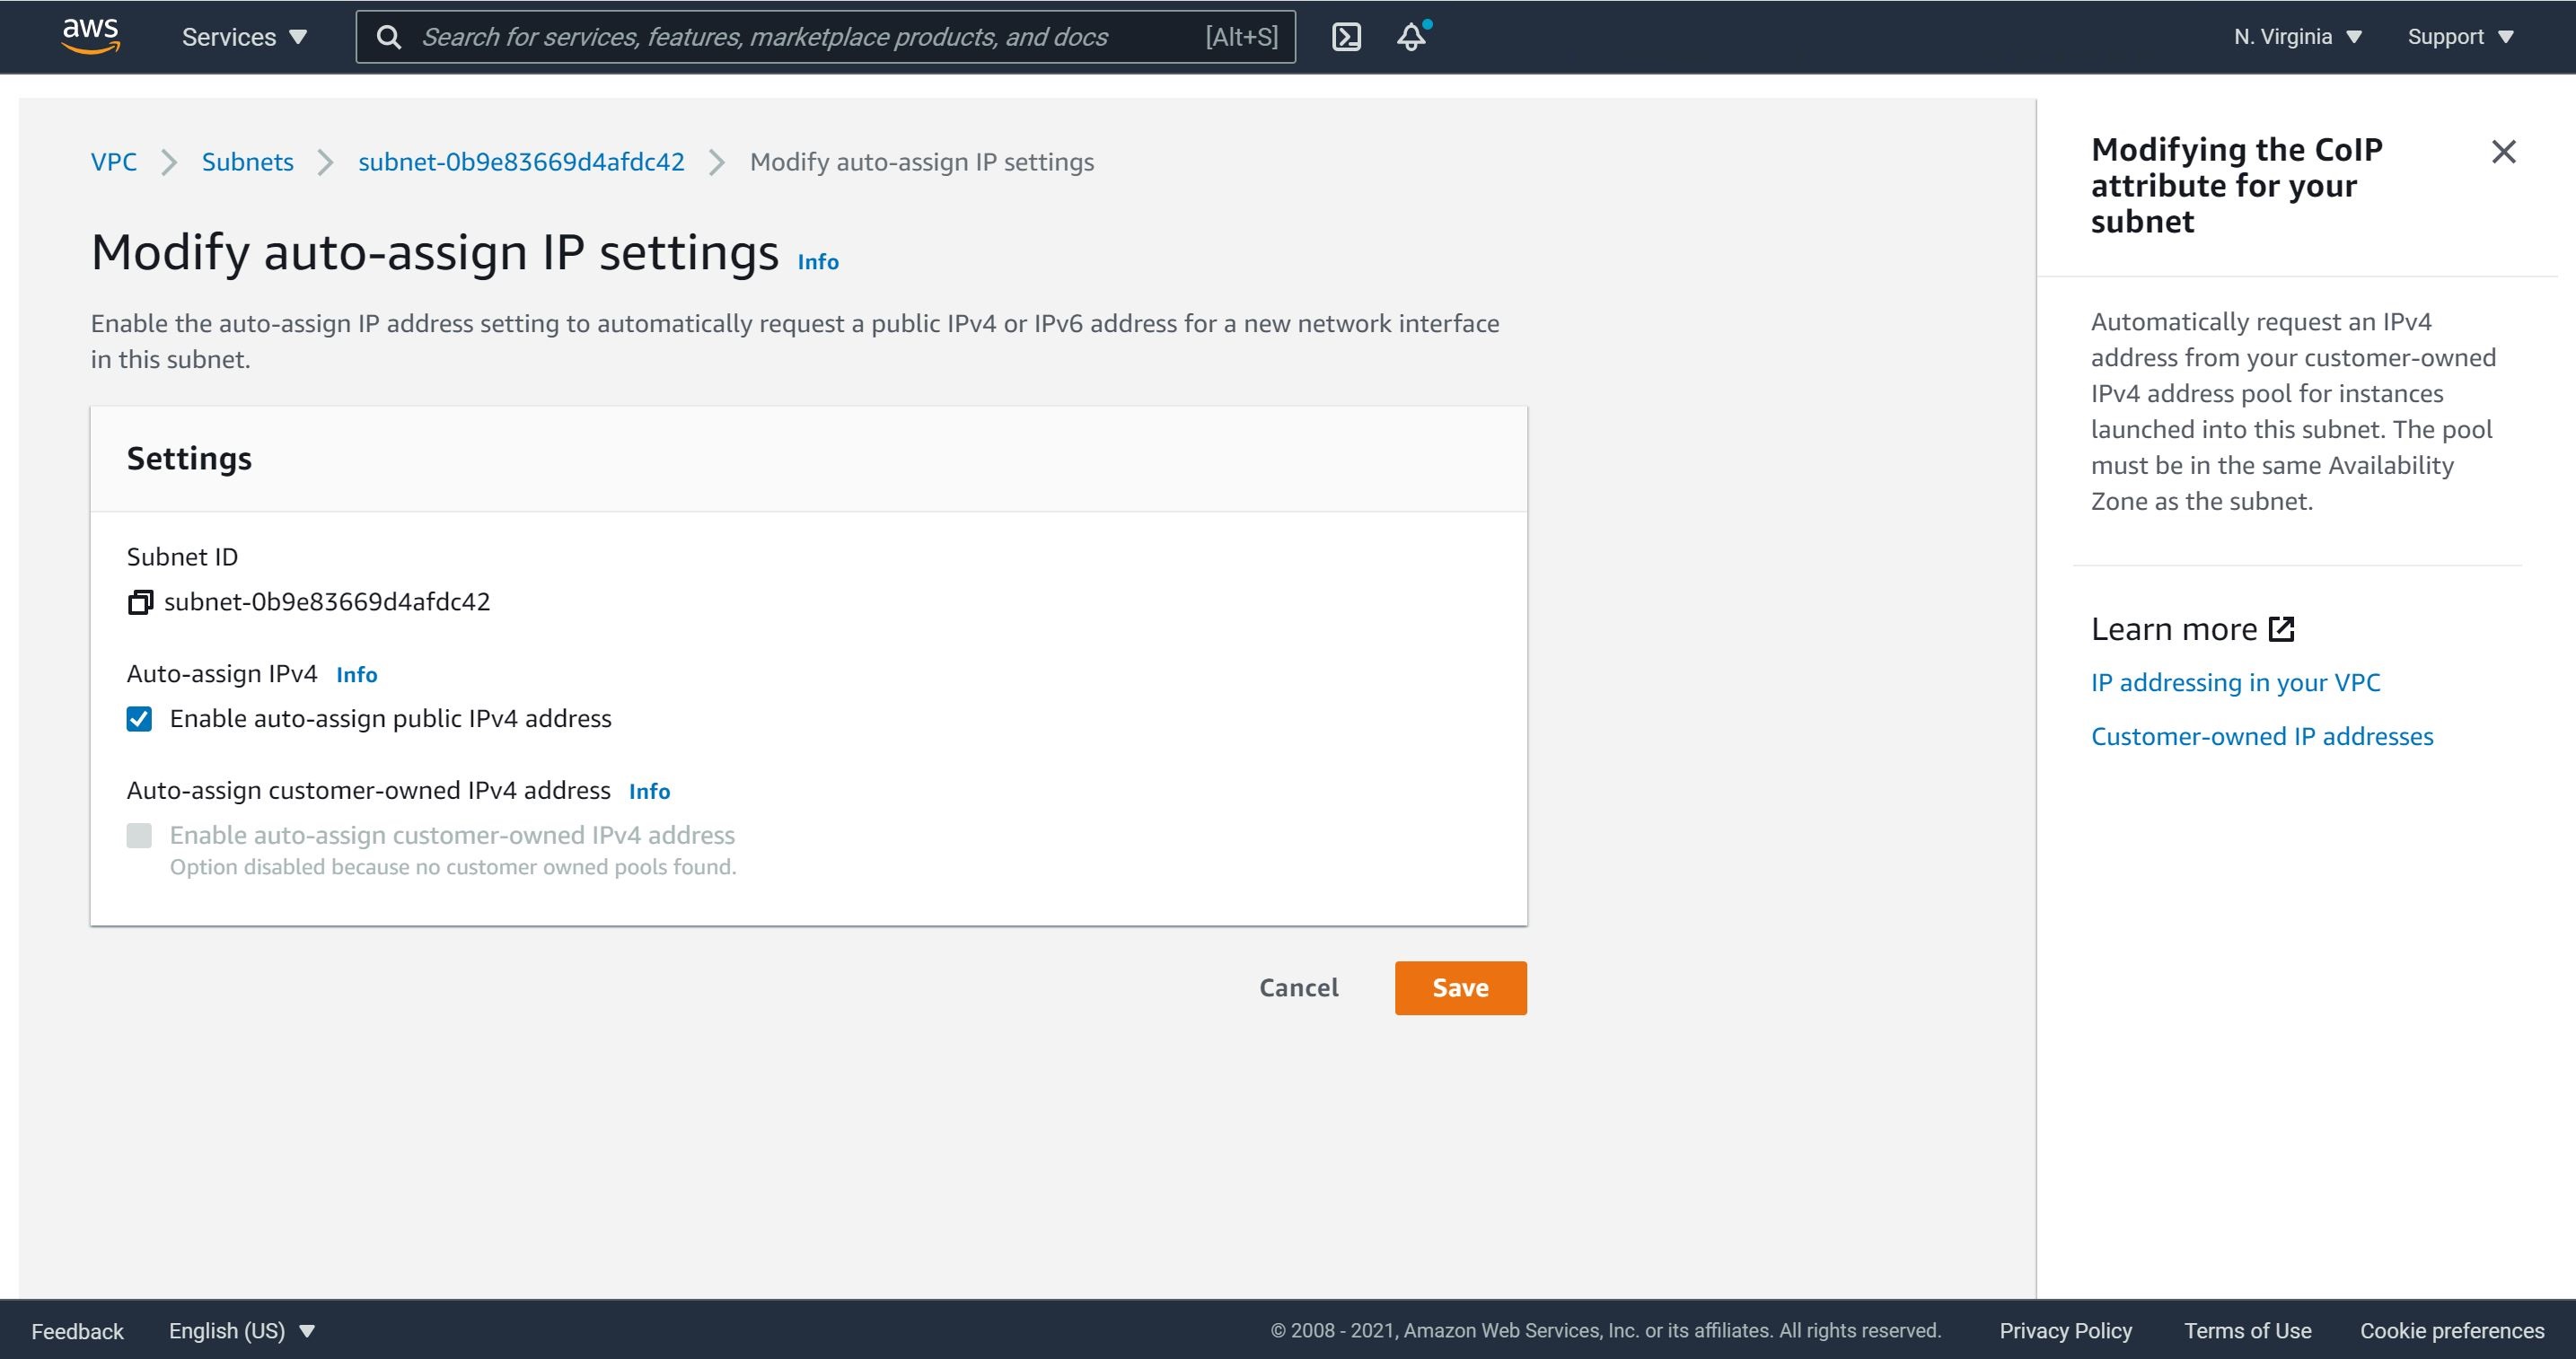
4- Since this is our designated Public Subnet, we will need to click on “Actions”, “Modify auto-assign IP setting” and enable it.
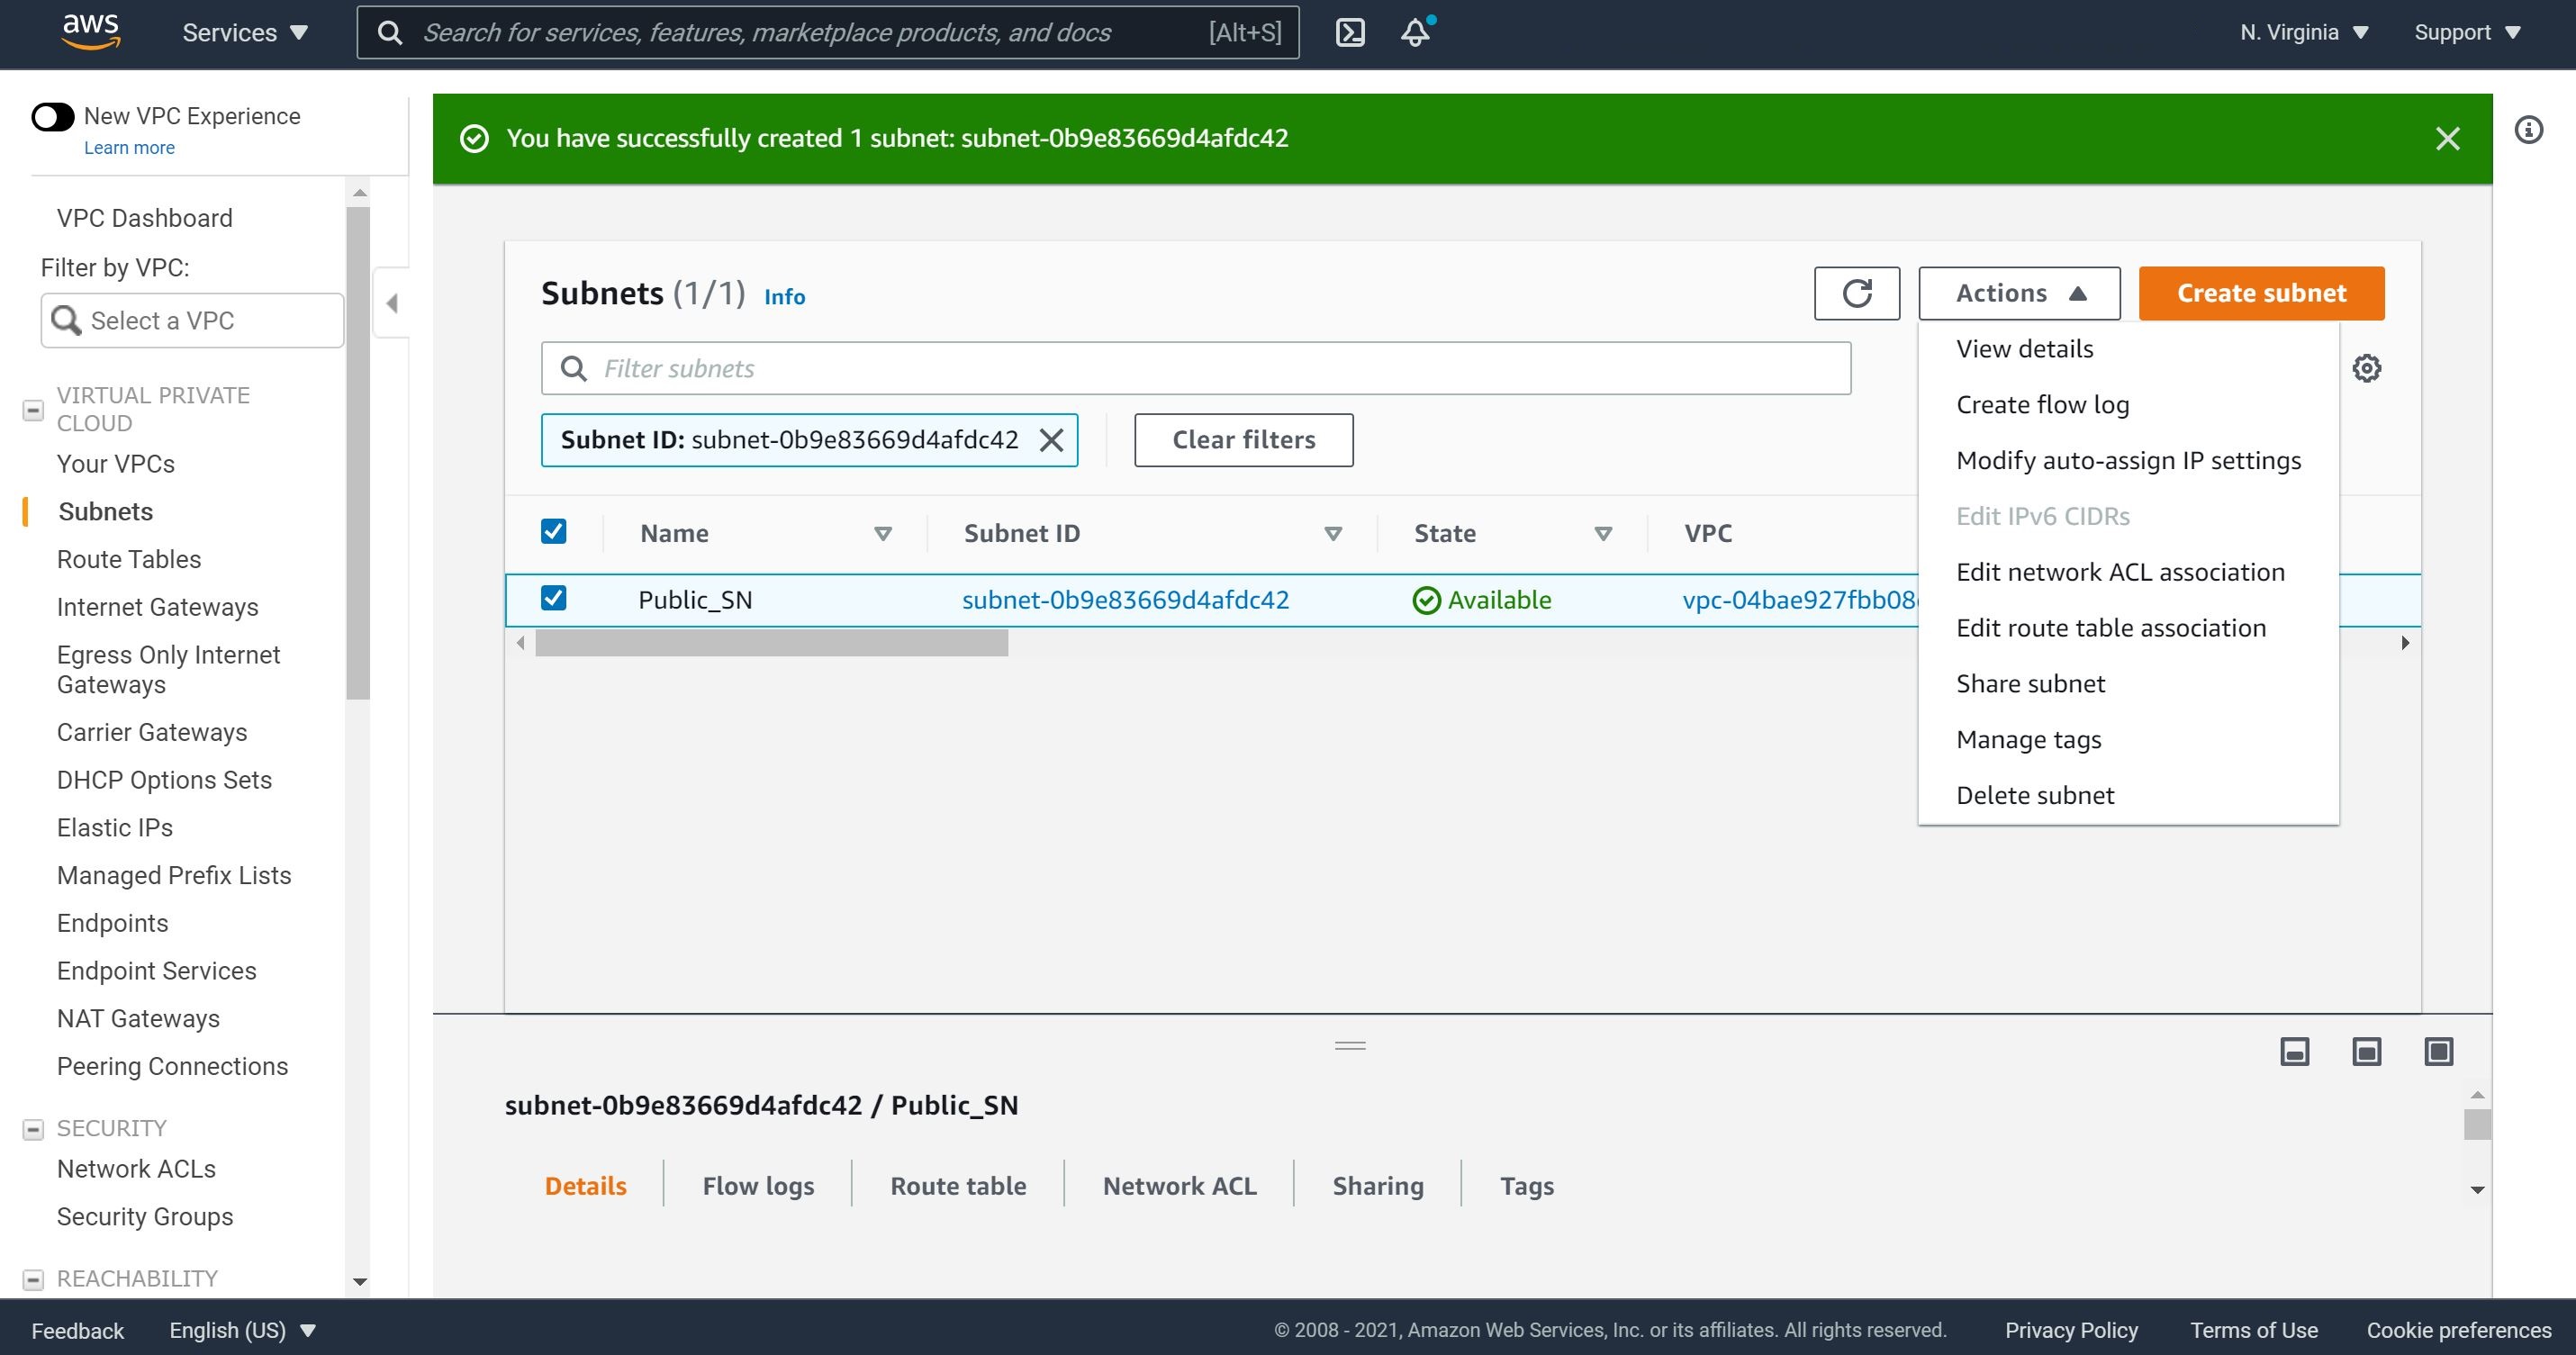
If we don’t enable auto-assign public IPv4 address, our subnet will not be abe to allocate public IP addresses to instances within the subnet. To read more about IP Addressing in VPC.
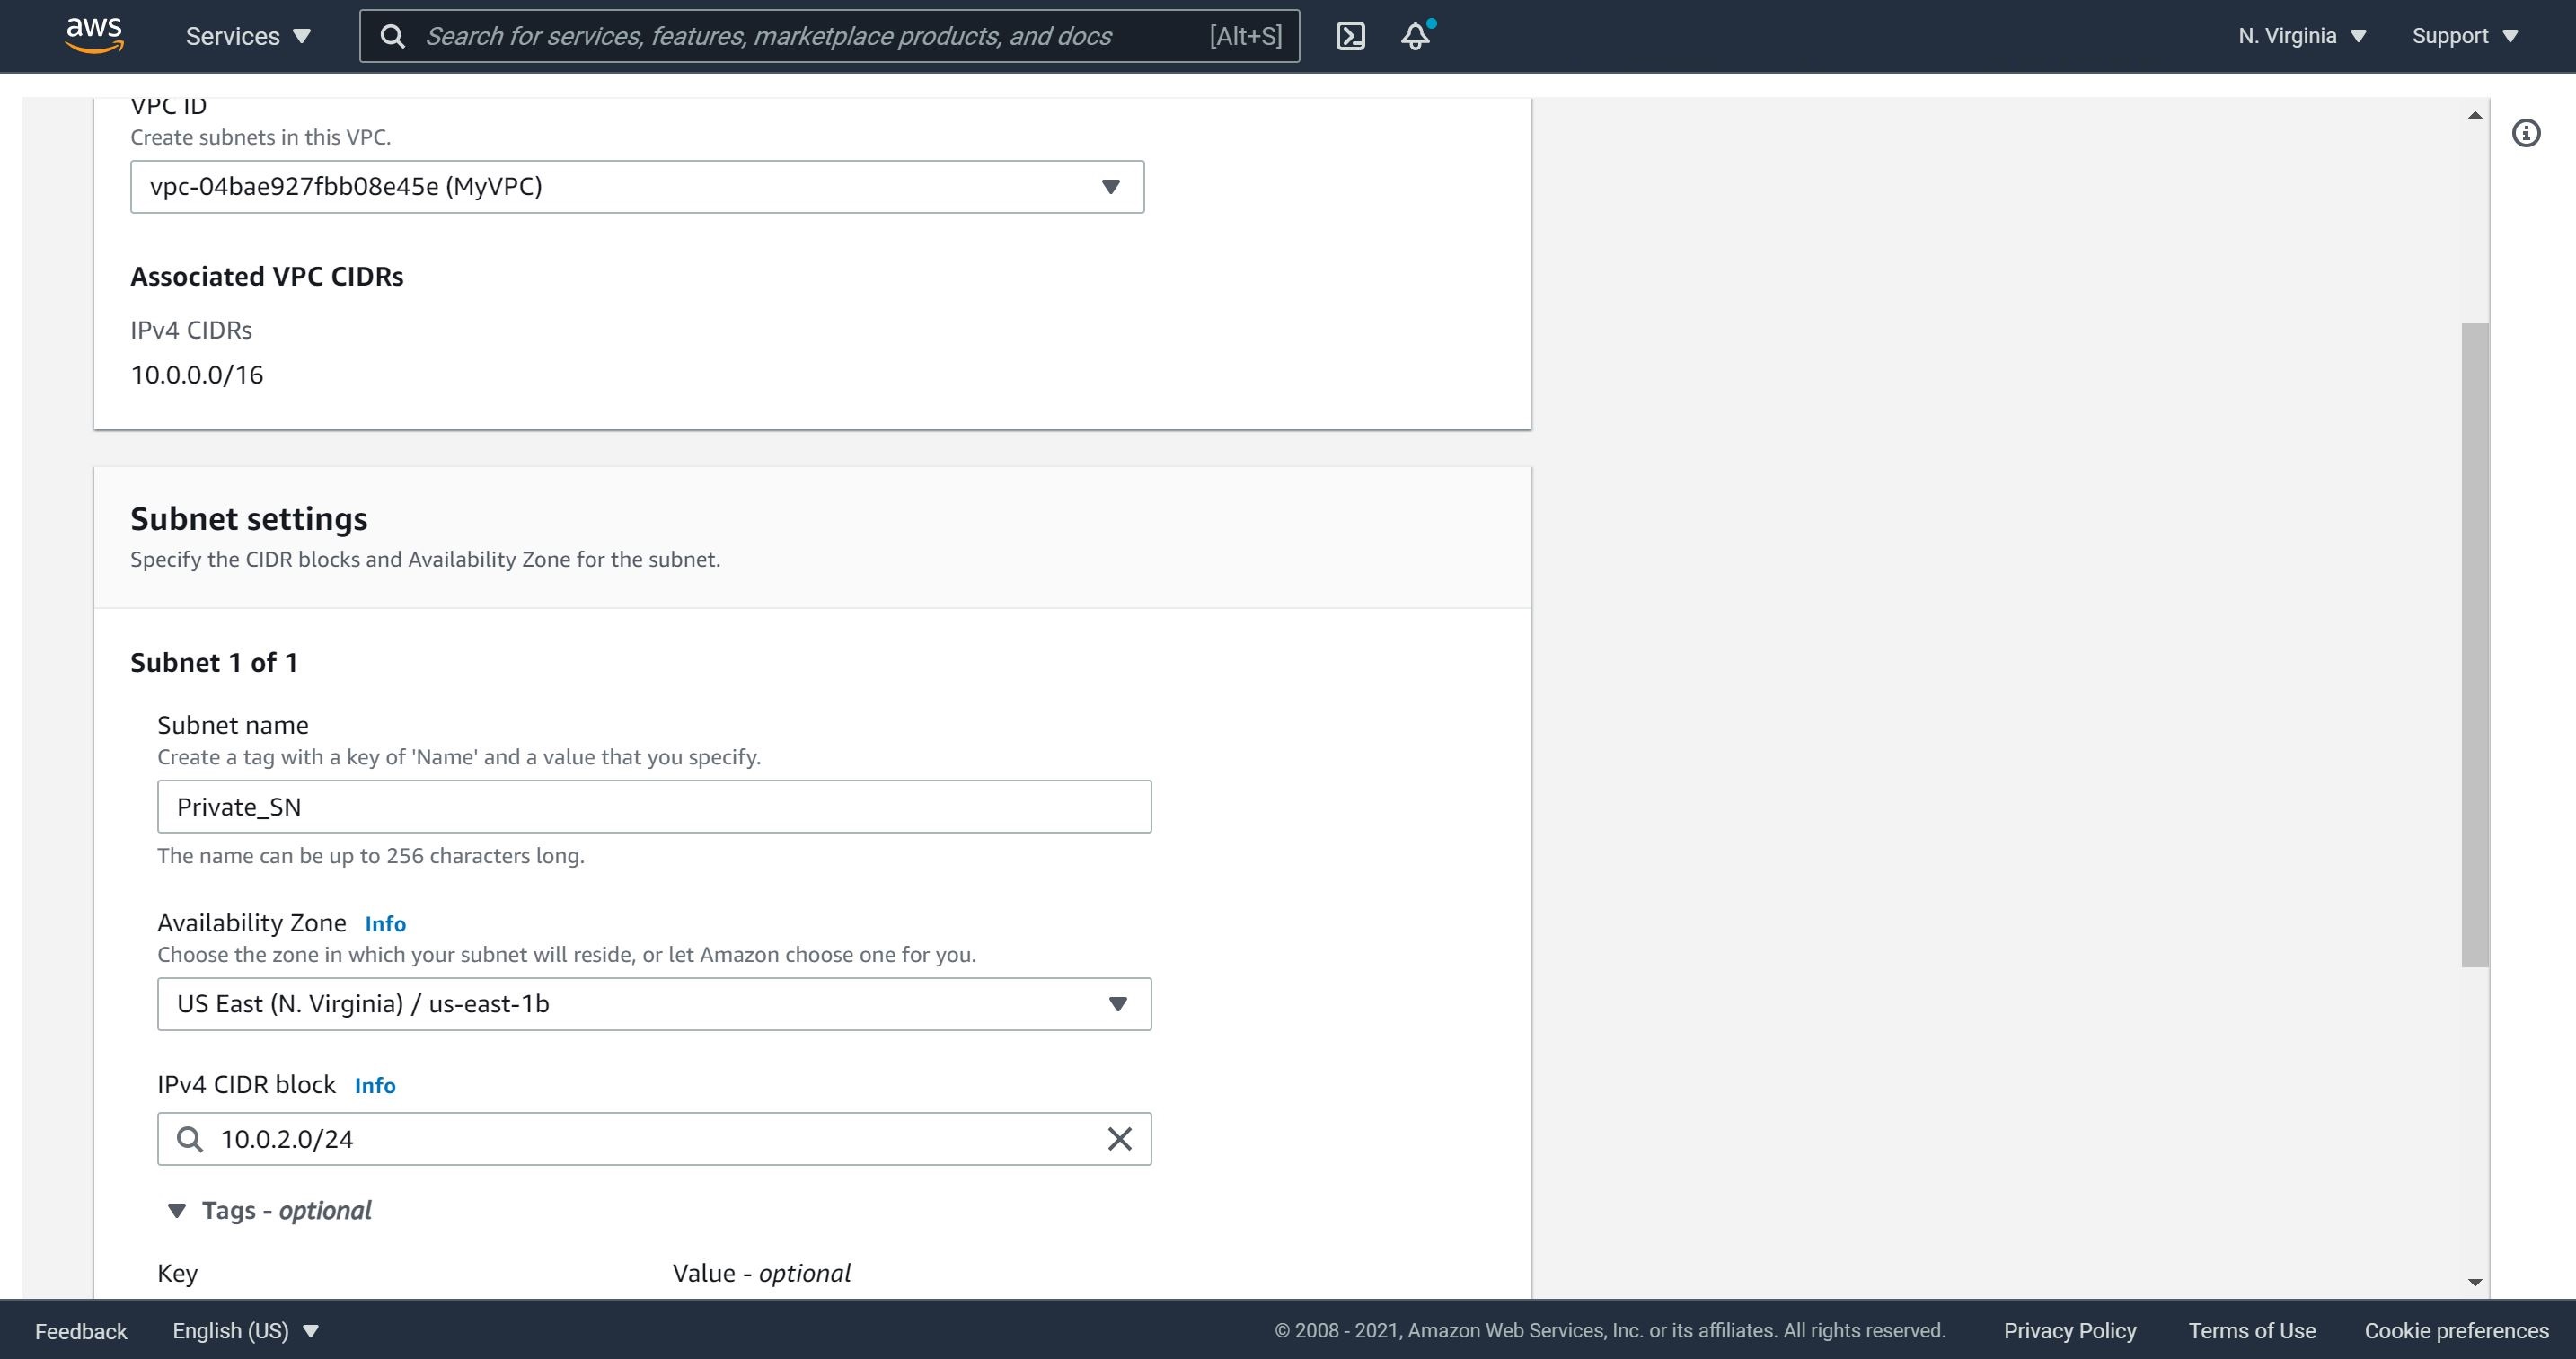
5- Now, we will create a Private_SN. It’s optional of you would like to select a specific Availability Zone. I will select a different AZ than the one I have my public subnet. Let choose a CIDR block that does not conflict or overlap with any other CIDR block in our VPC. I chose 10.0.2.0/24 as our CIDR block for the private subnet and then click on create subnet.
Note: don’t enable auto-assign public IPv4 address for the private subnet
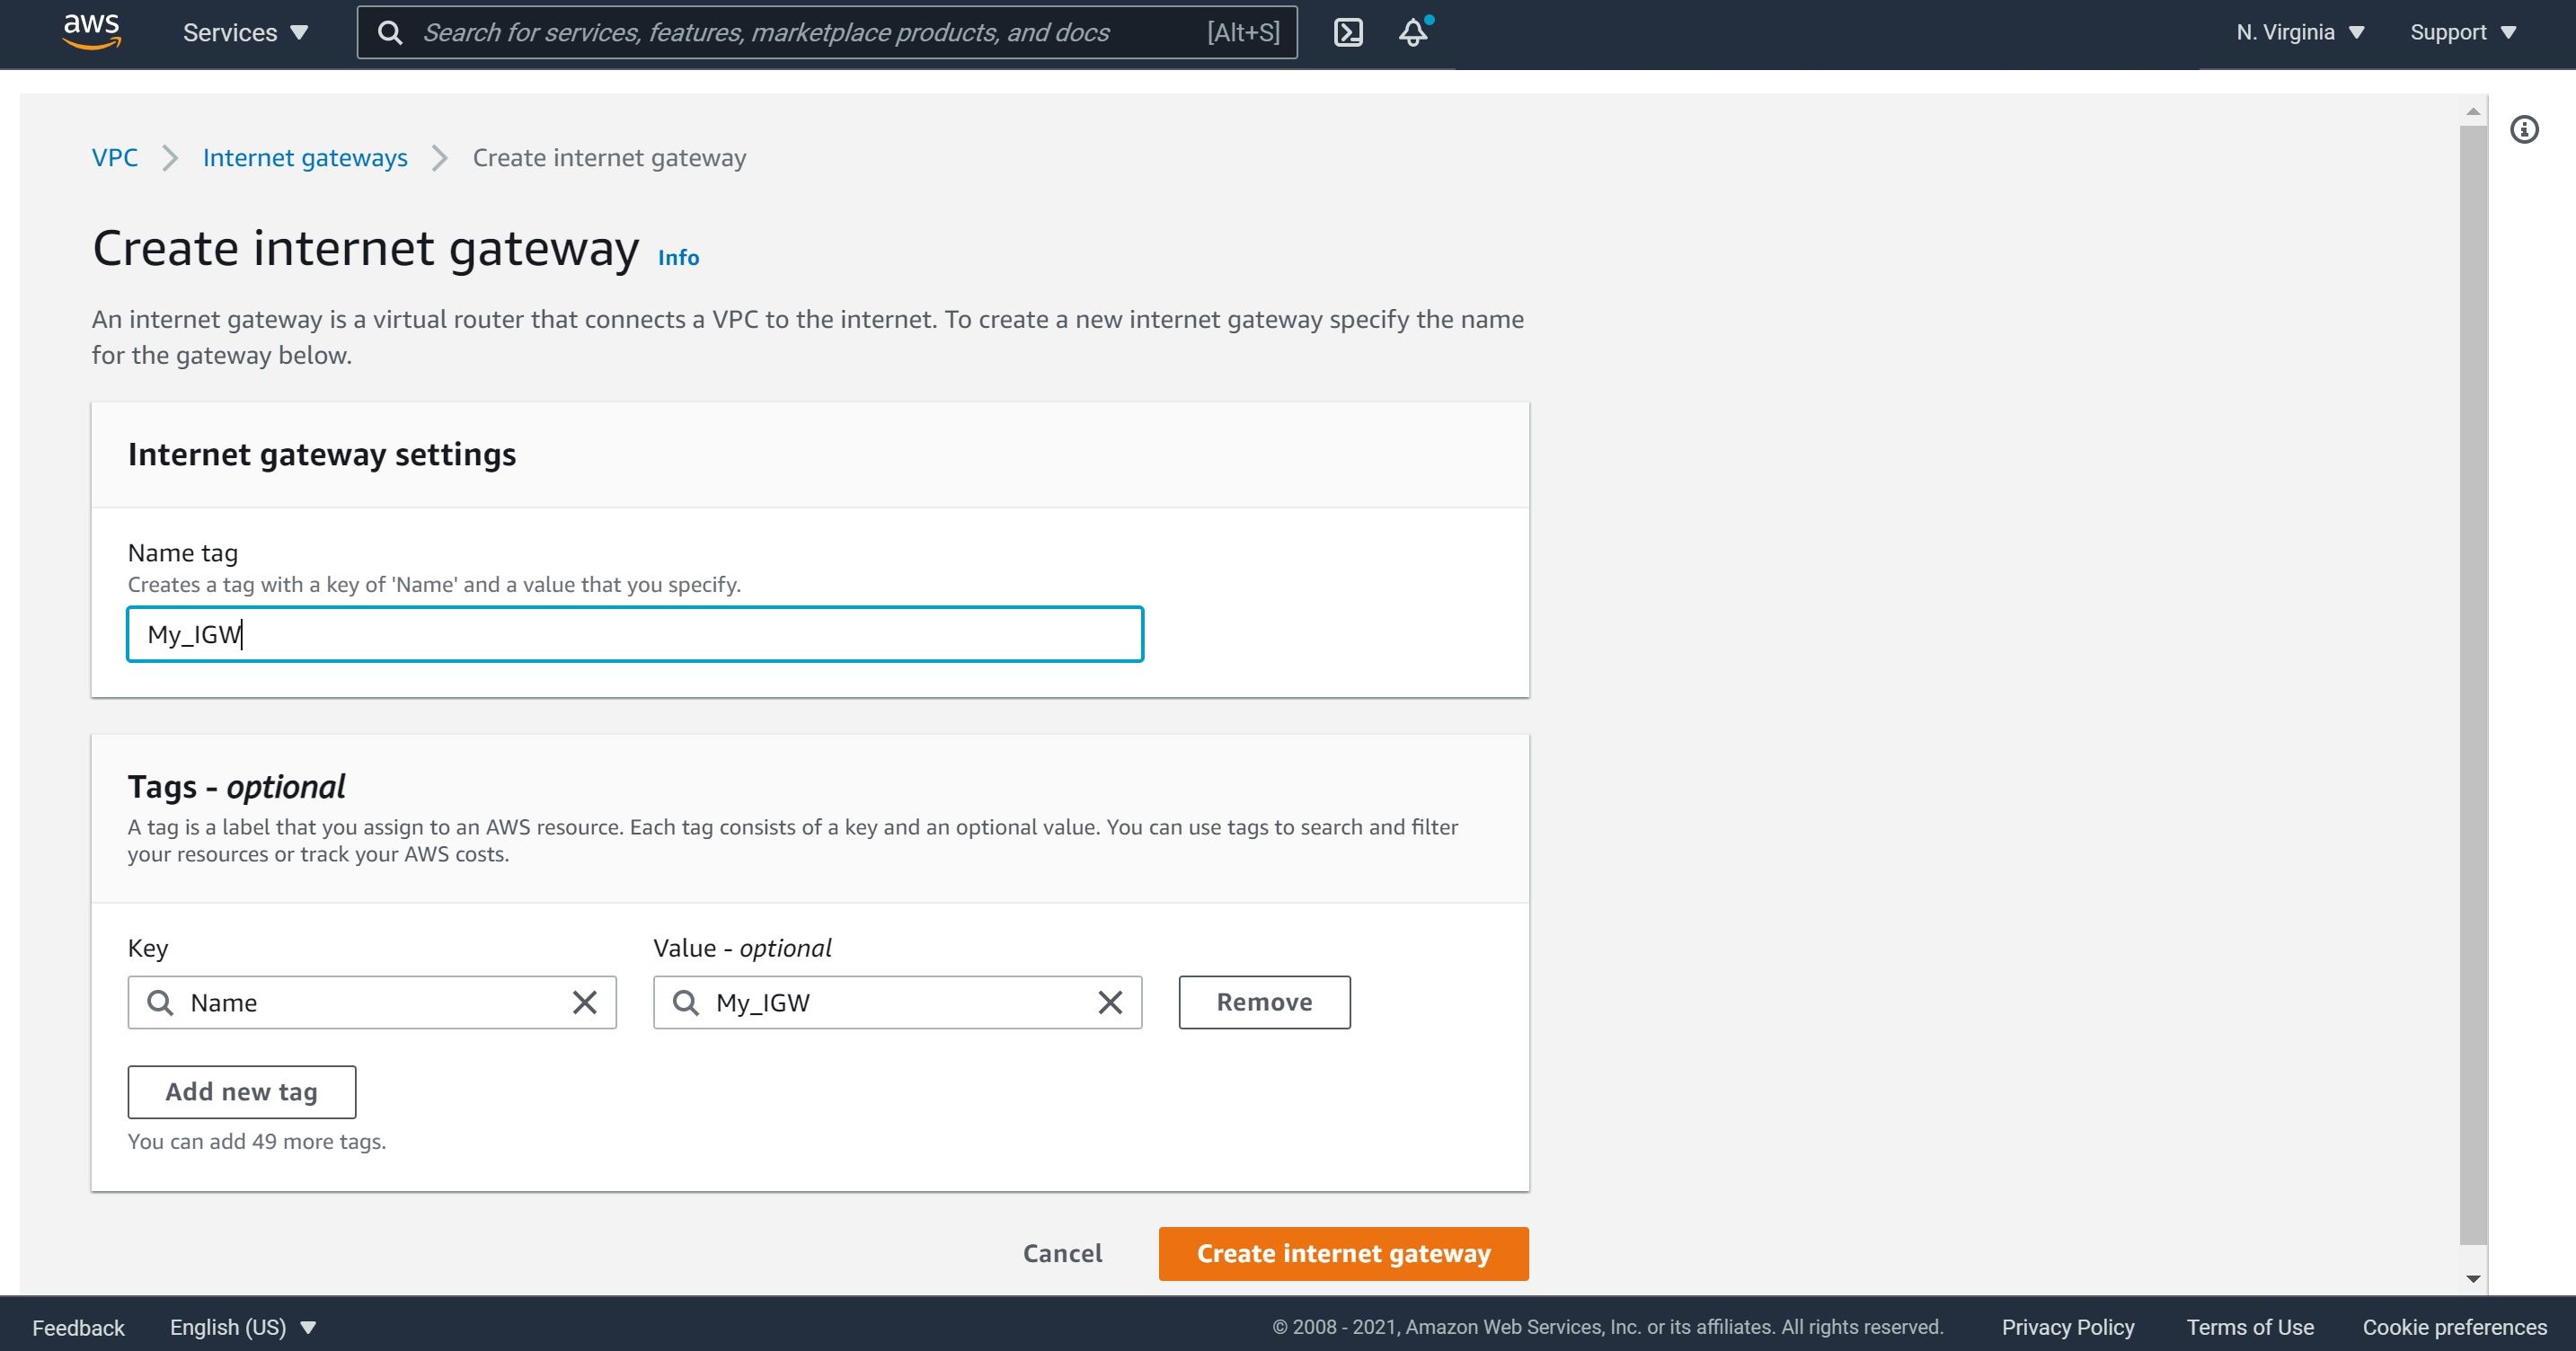
Step 2: Internet Gateway
In order for the VPC to communicate with the internet, we will need to create and attach an **Internet Gateway"" to our architecture.
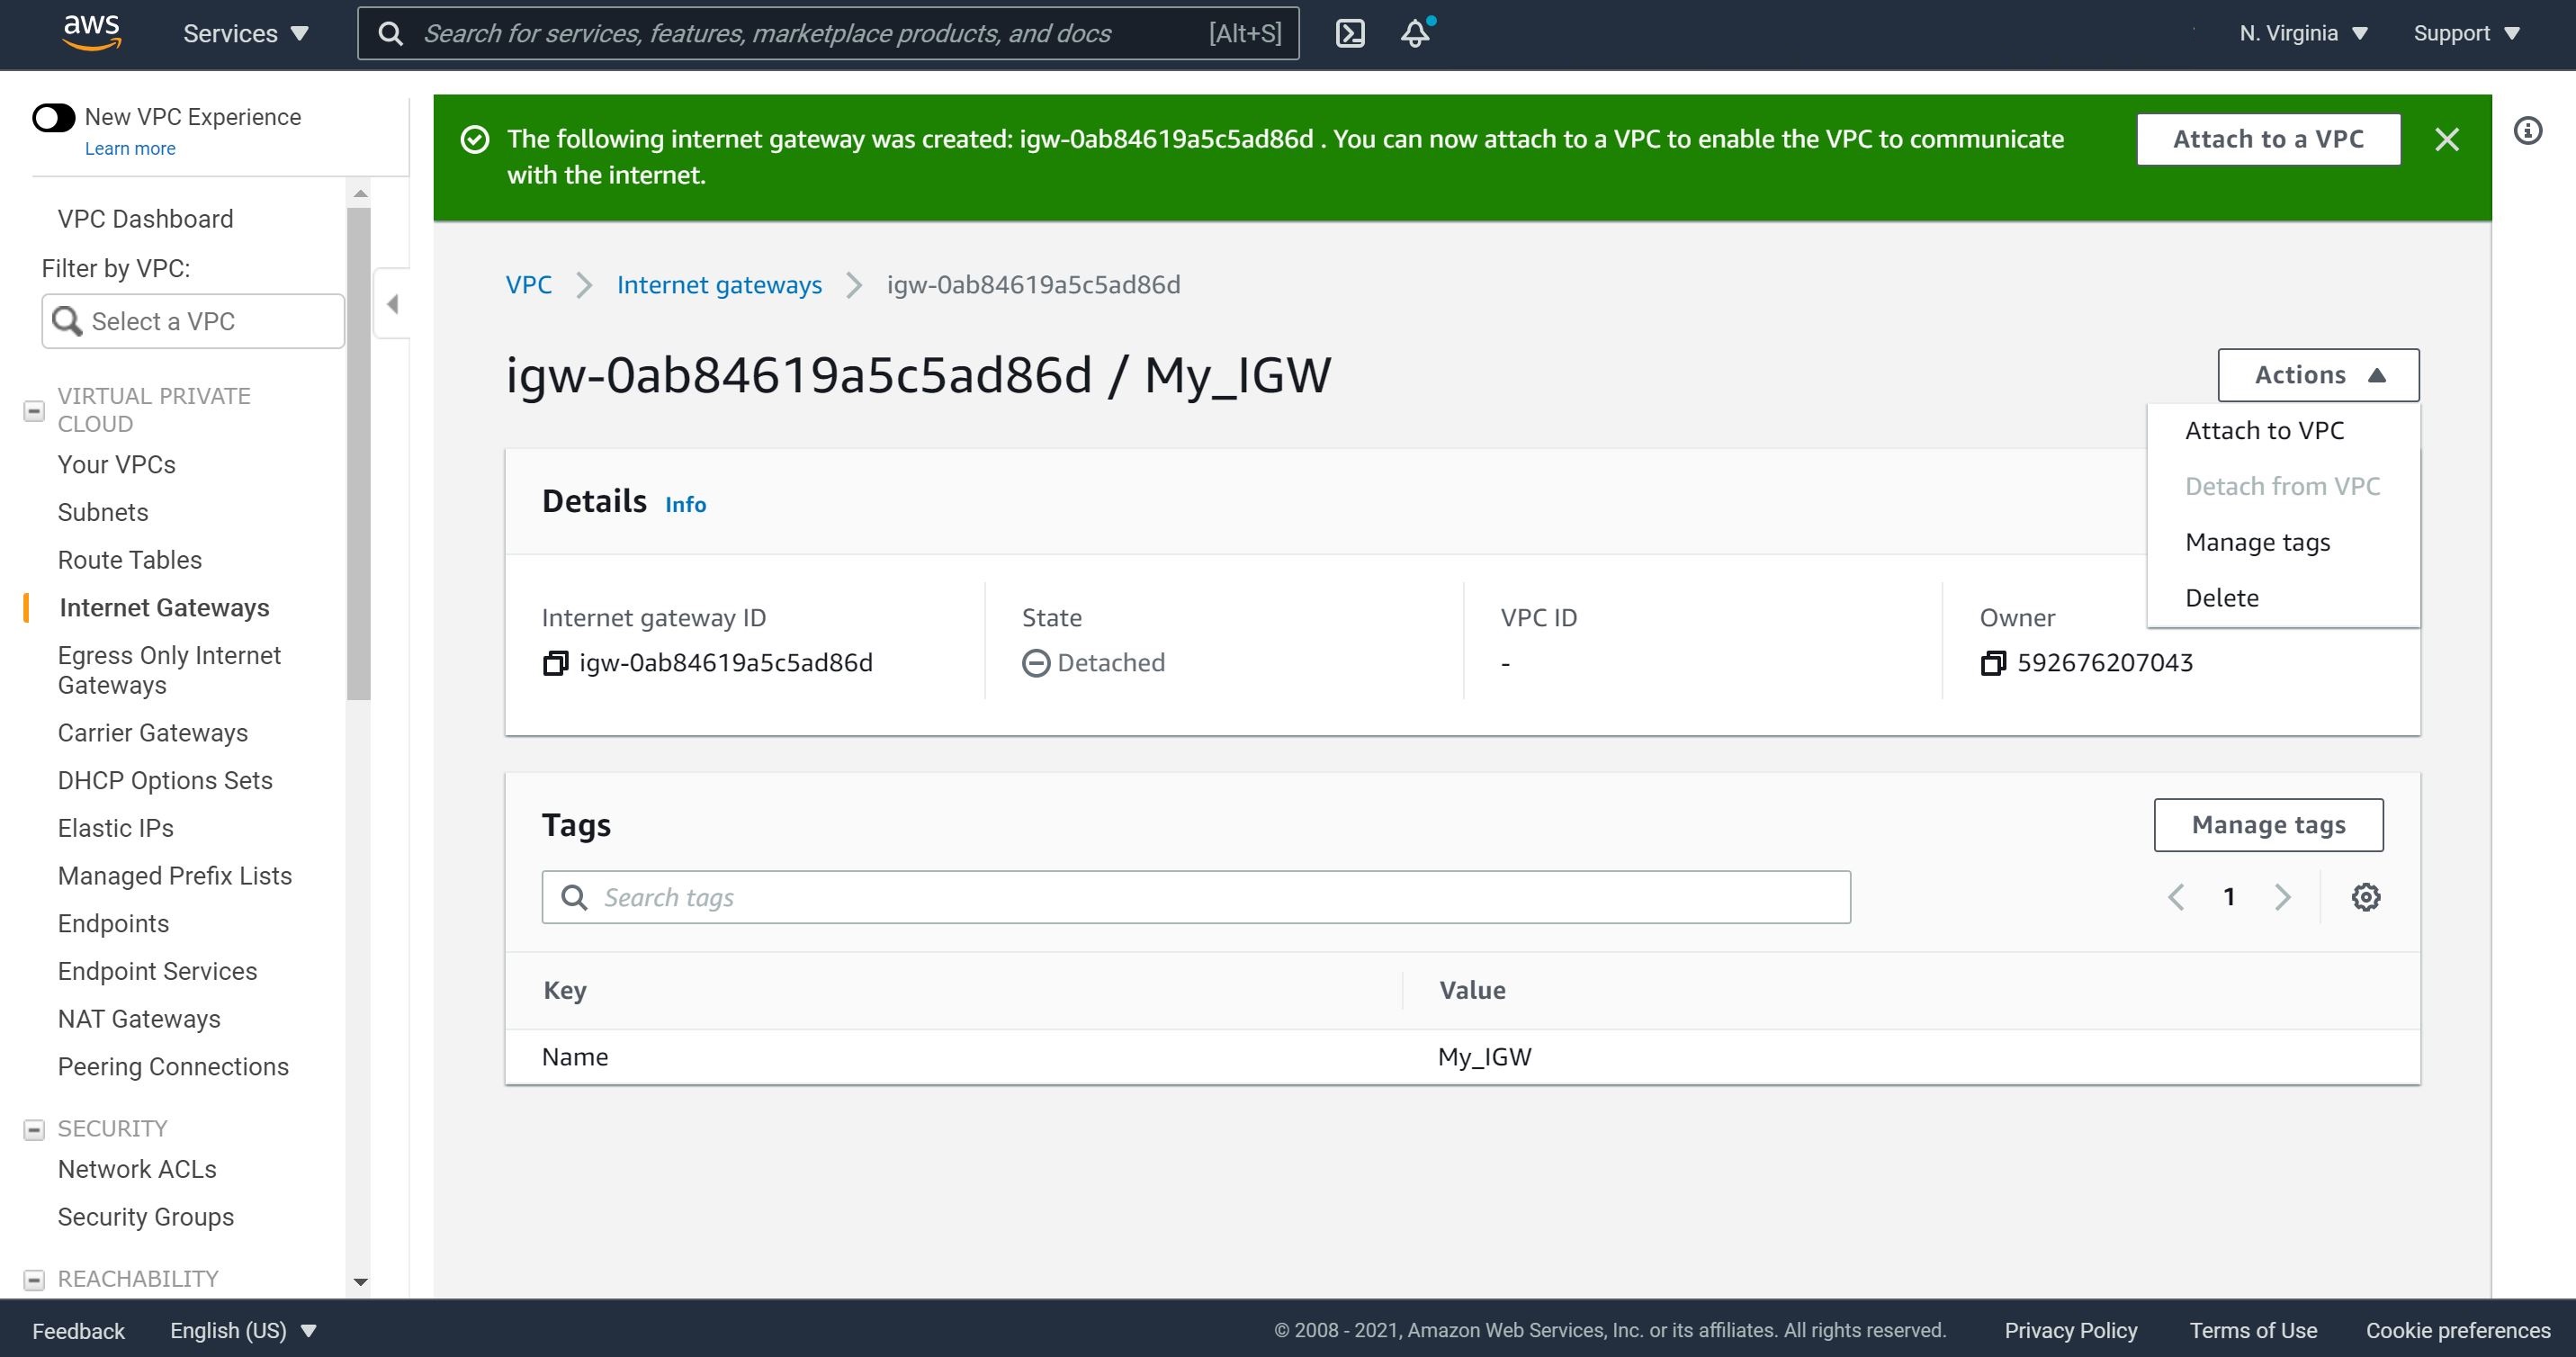
1- Let’s navigate to VPC, Internet Gateway, name it and then click on “Create Internet Gateway.”
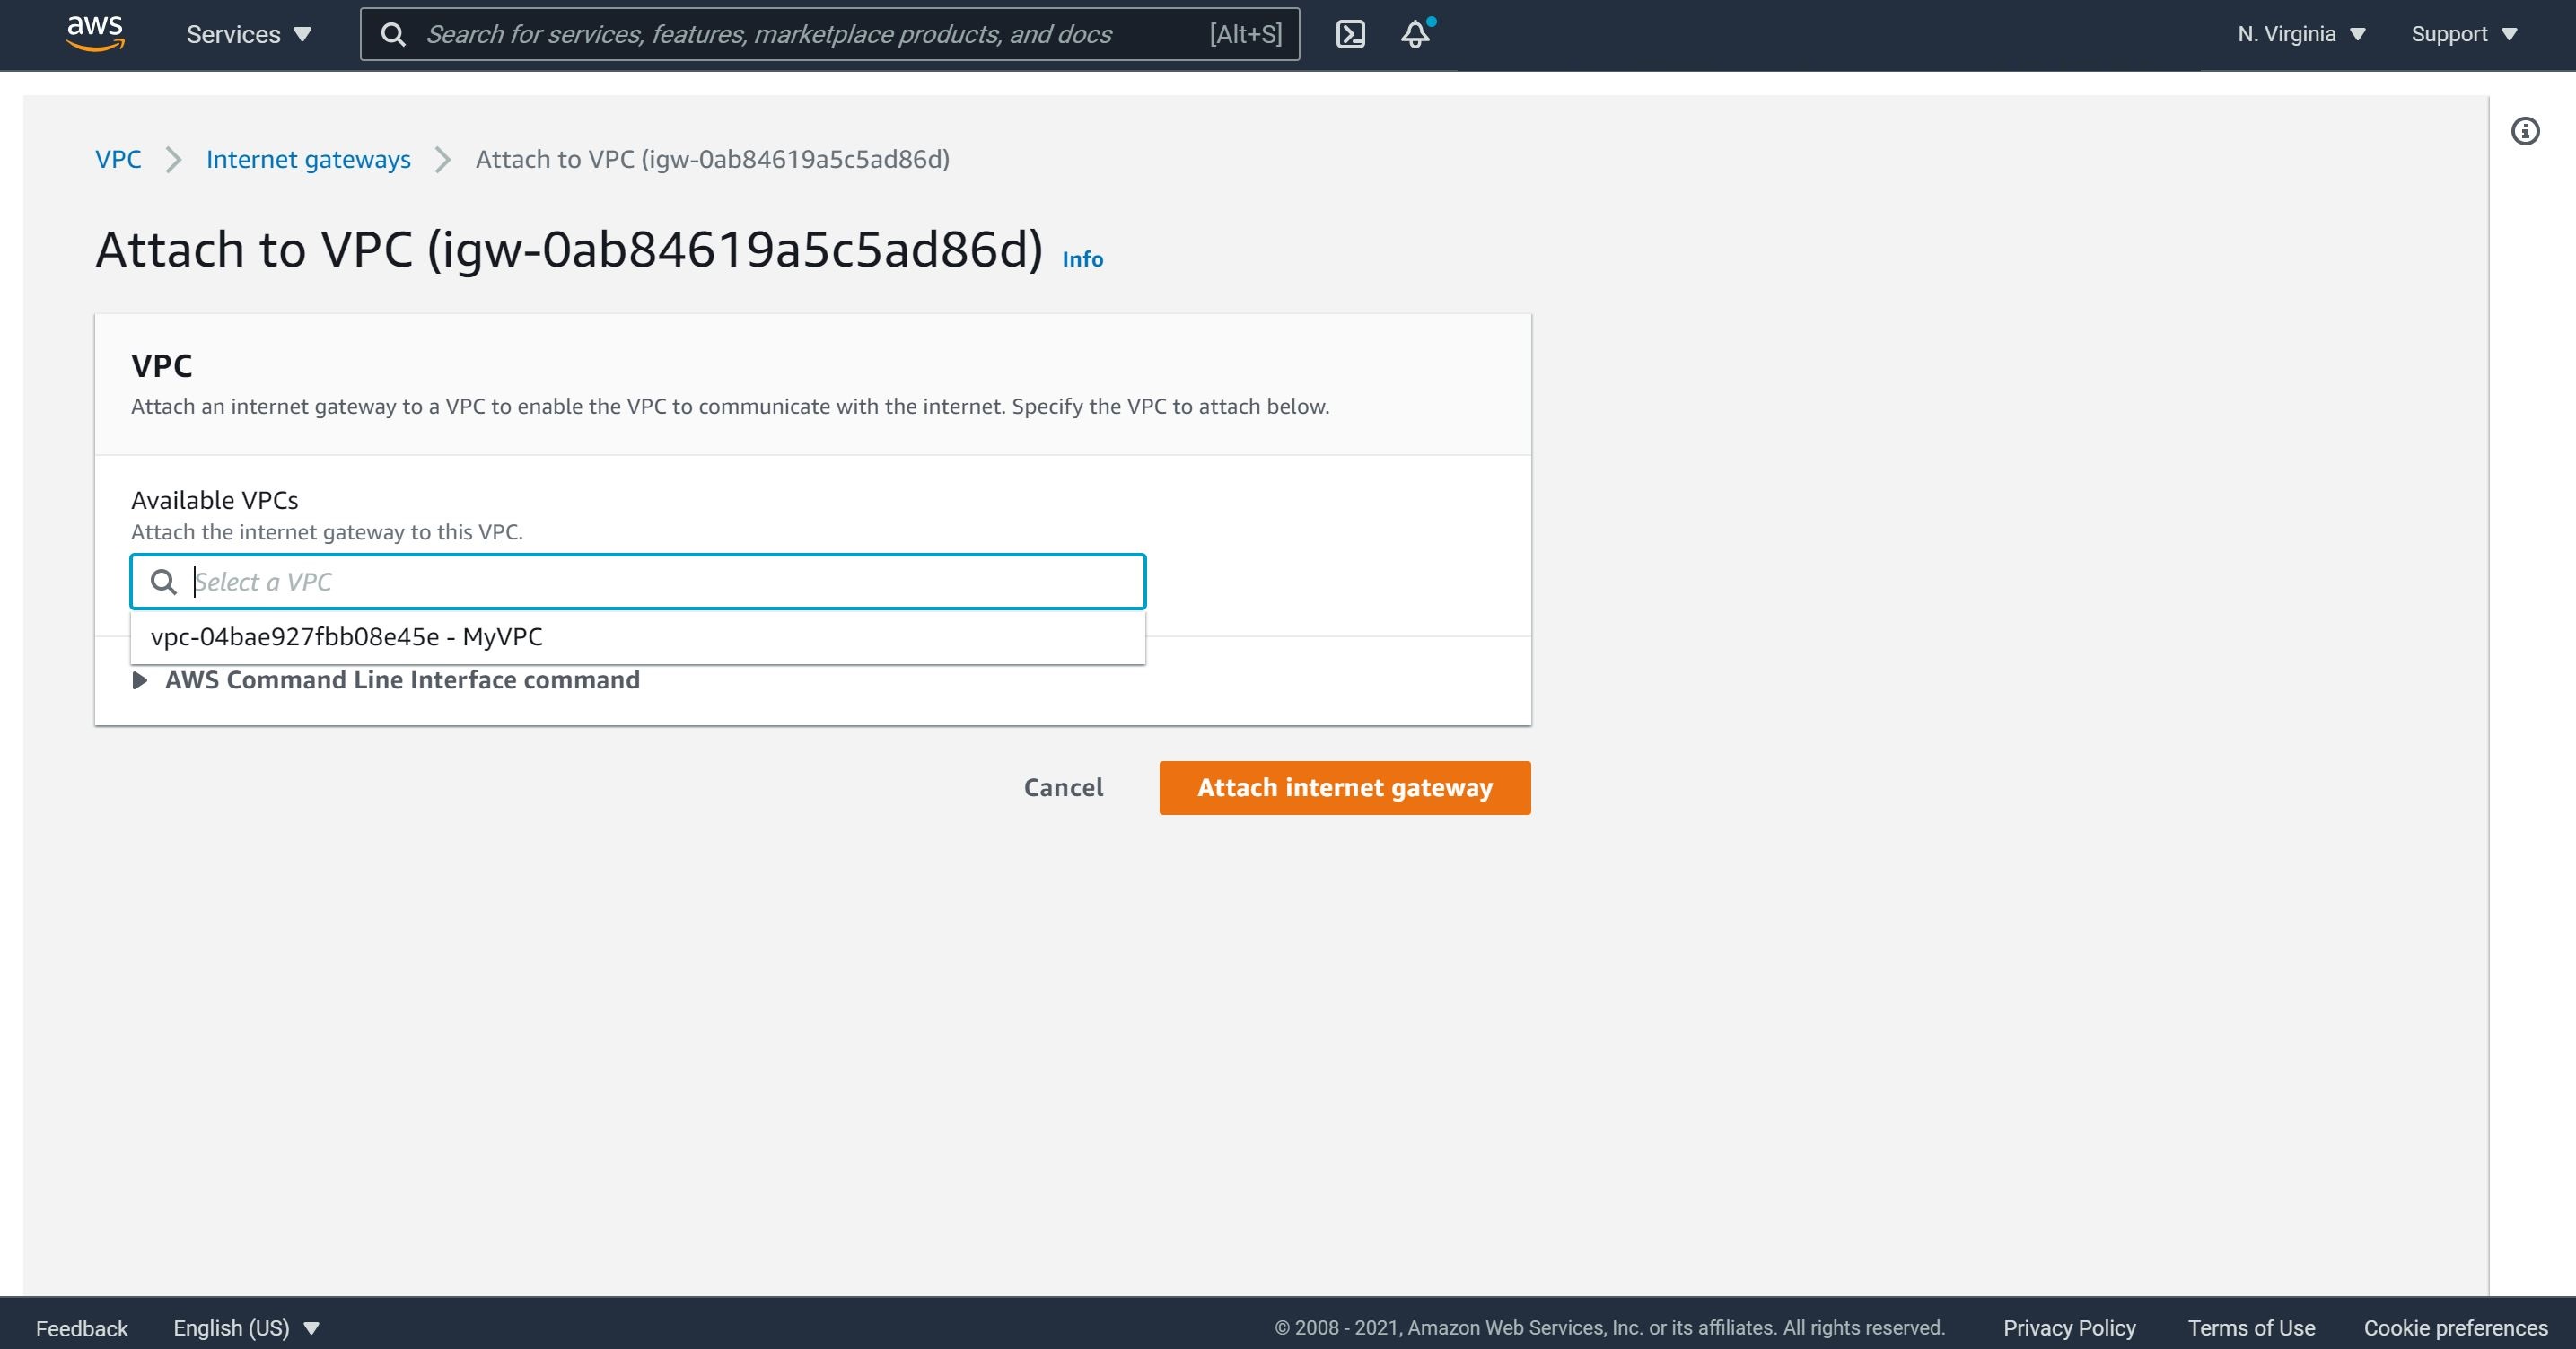
2- The Internet Gateway should be attached to our VPC by clicking on “Actions"and “Attach to VPC.”
3- We will select our newly created VPC and click on “Attach internet Gateway.”
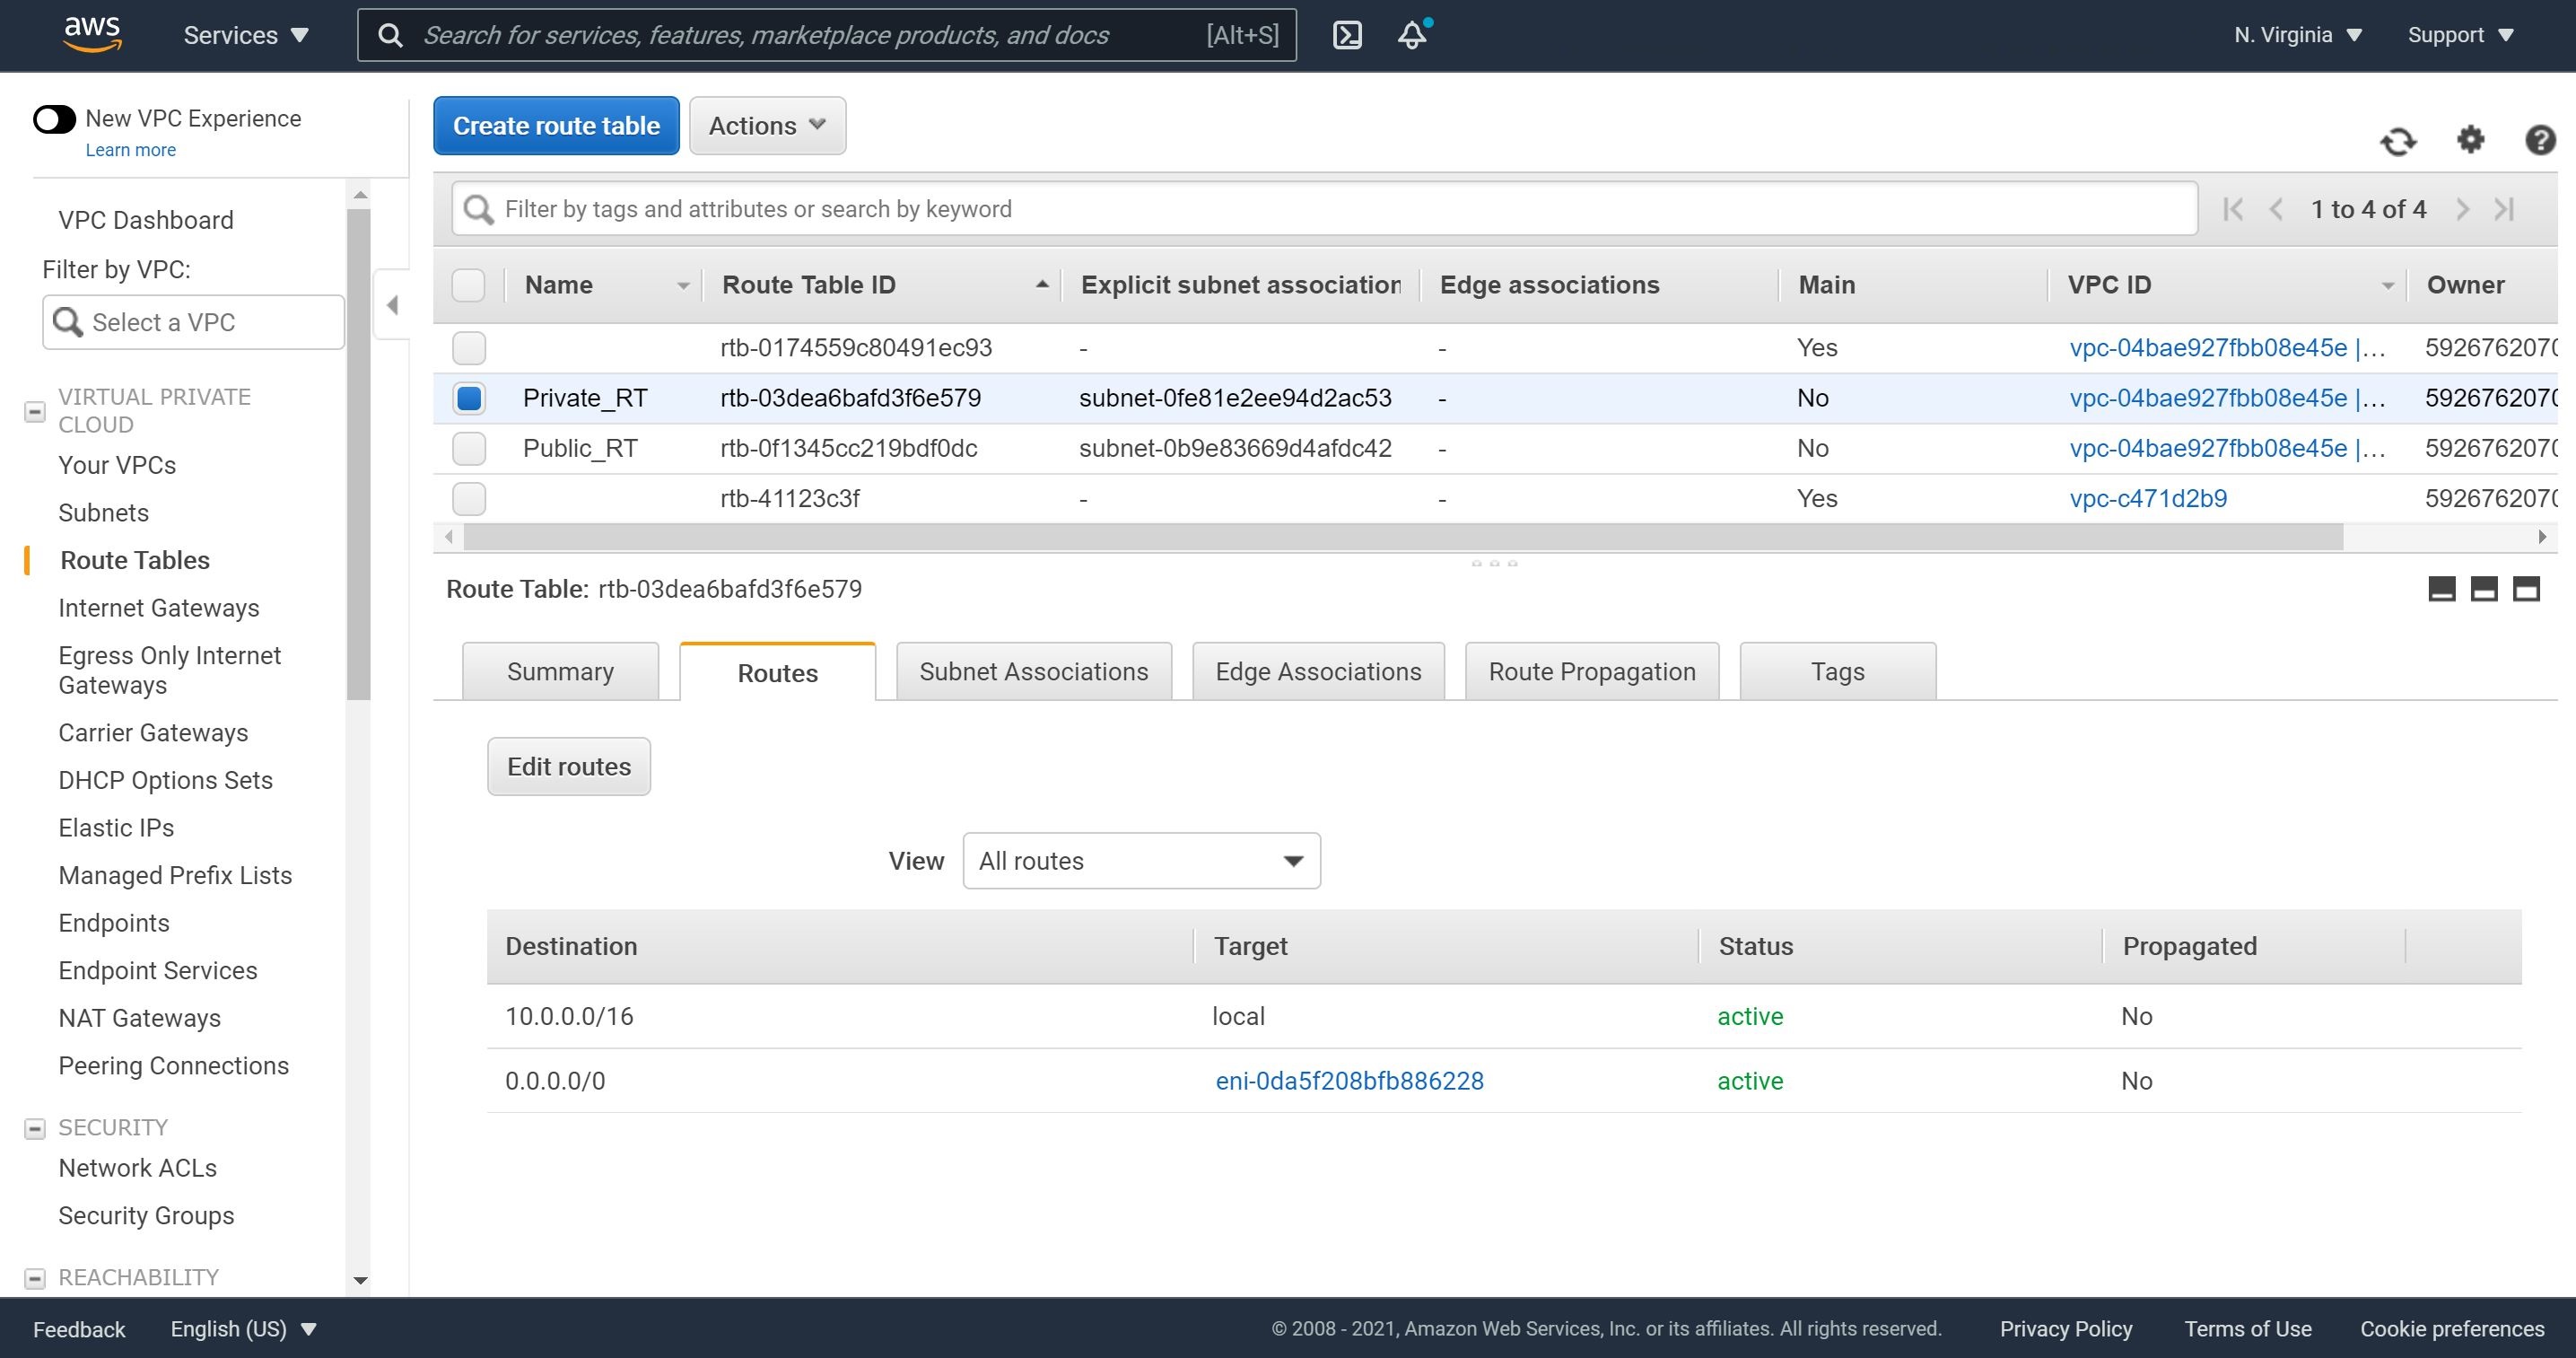
Step 3: Route tables
The Route Tables contain a set of rules, called routes, that are used to determine where network traffic from your subnet or gateway is directed. Each subnet in our VPC must be associated with a route table, which controls the routing for the subnet. We can explicitly associate a subnet with a particular route table. Otherwise, the subnet is implicitly associated with the main route table. A subnet can only be associated with one route table at a time, but you can associate multiple subnets with the same subnet route table.
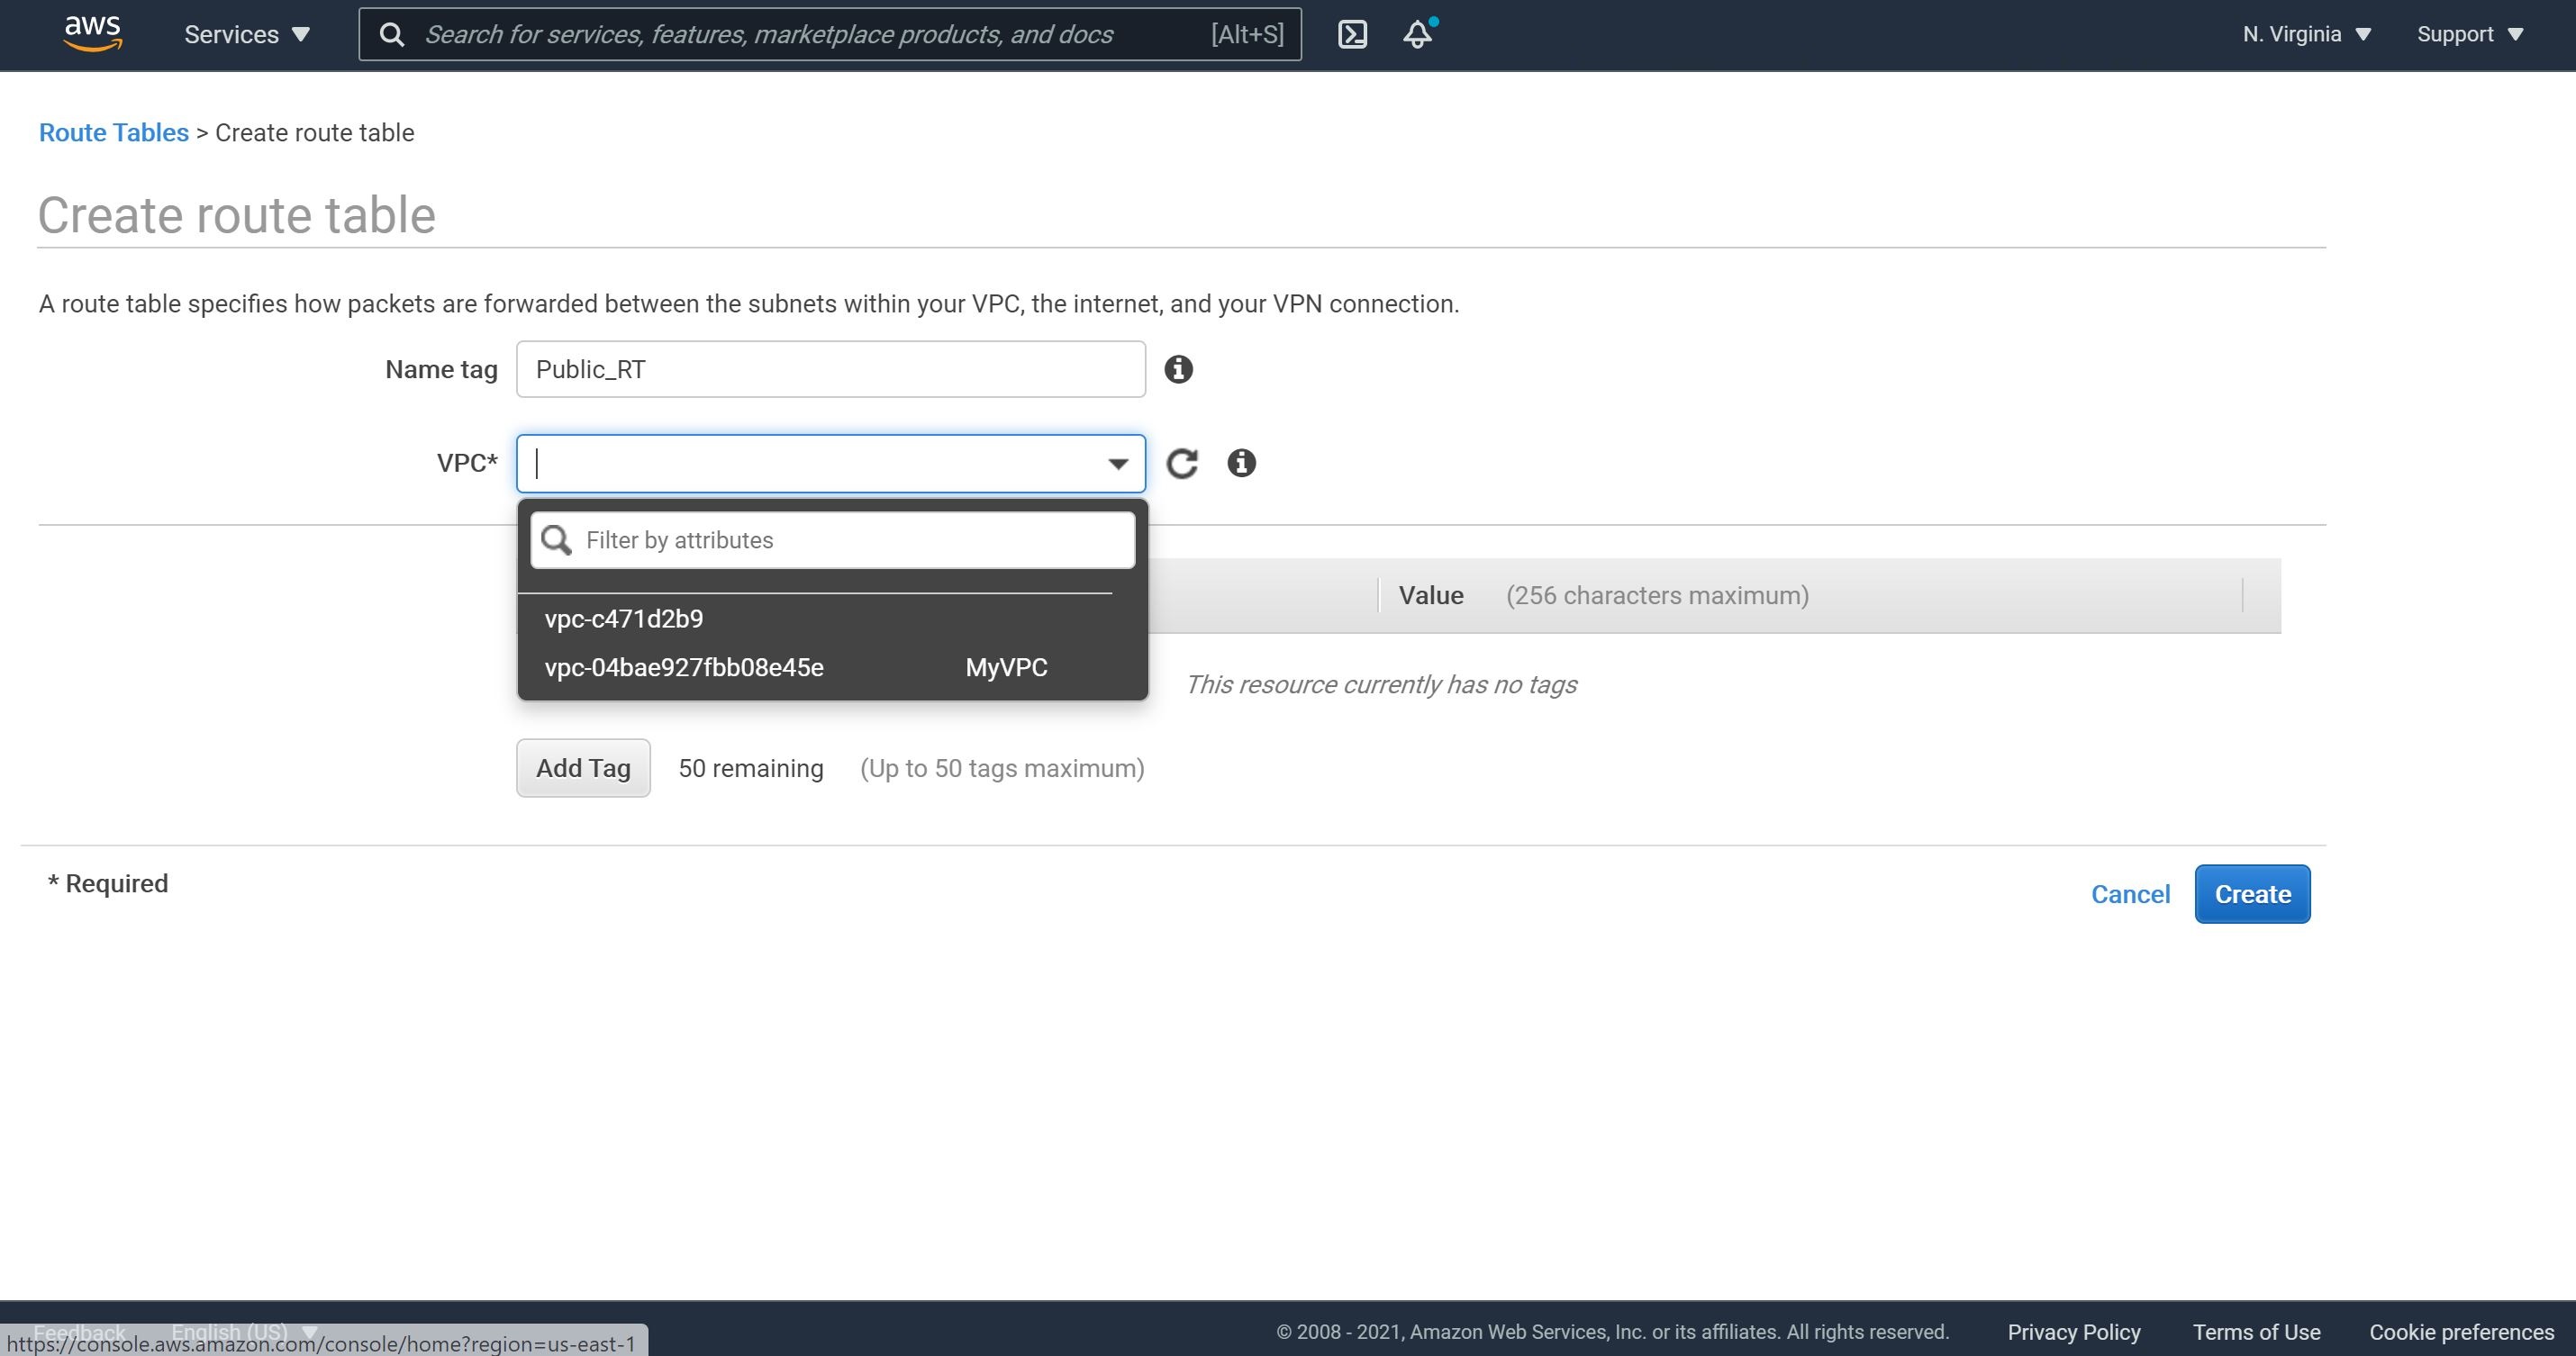
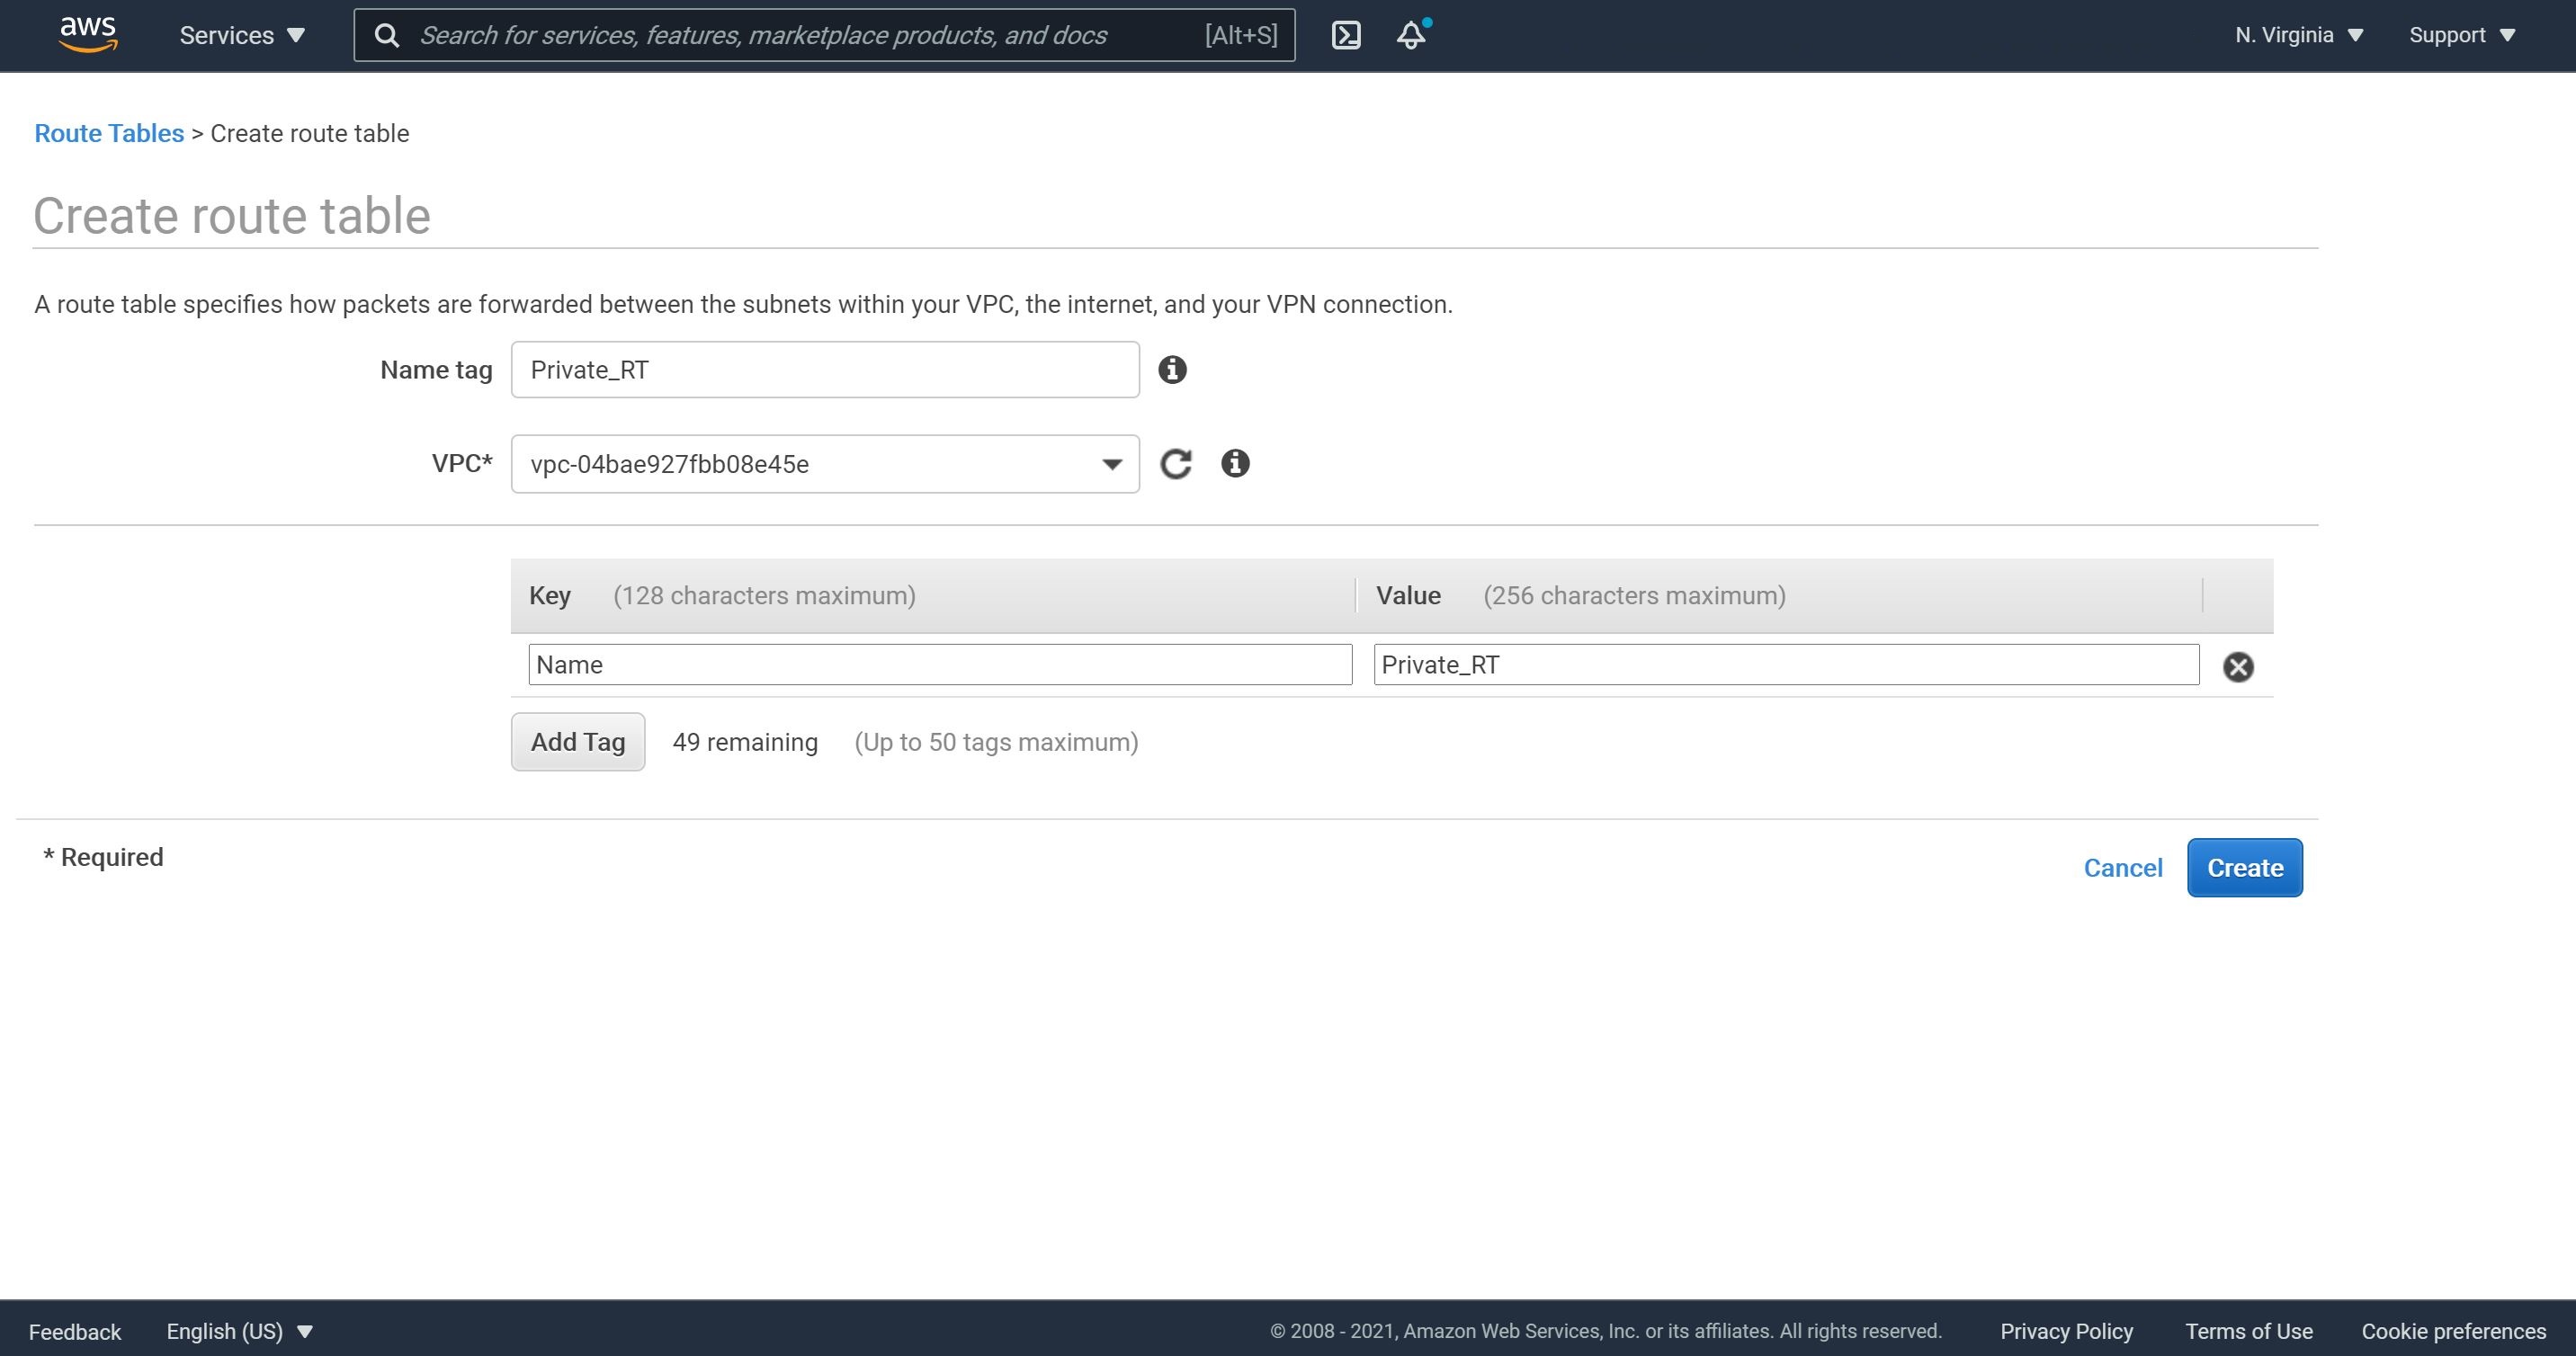
1- Let’s create a public route table by navigating to “Route Tables” and then clicking on “Create route table.”
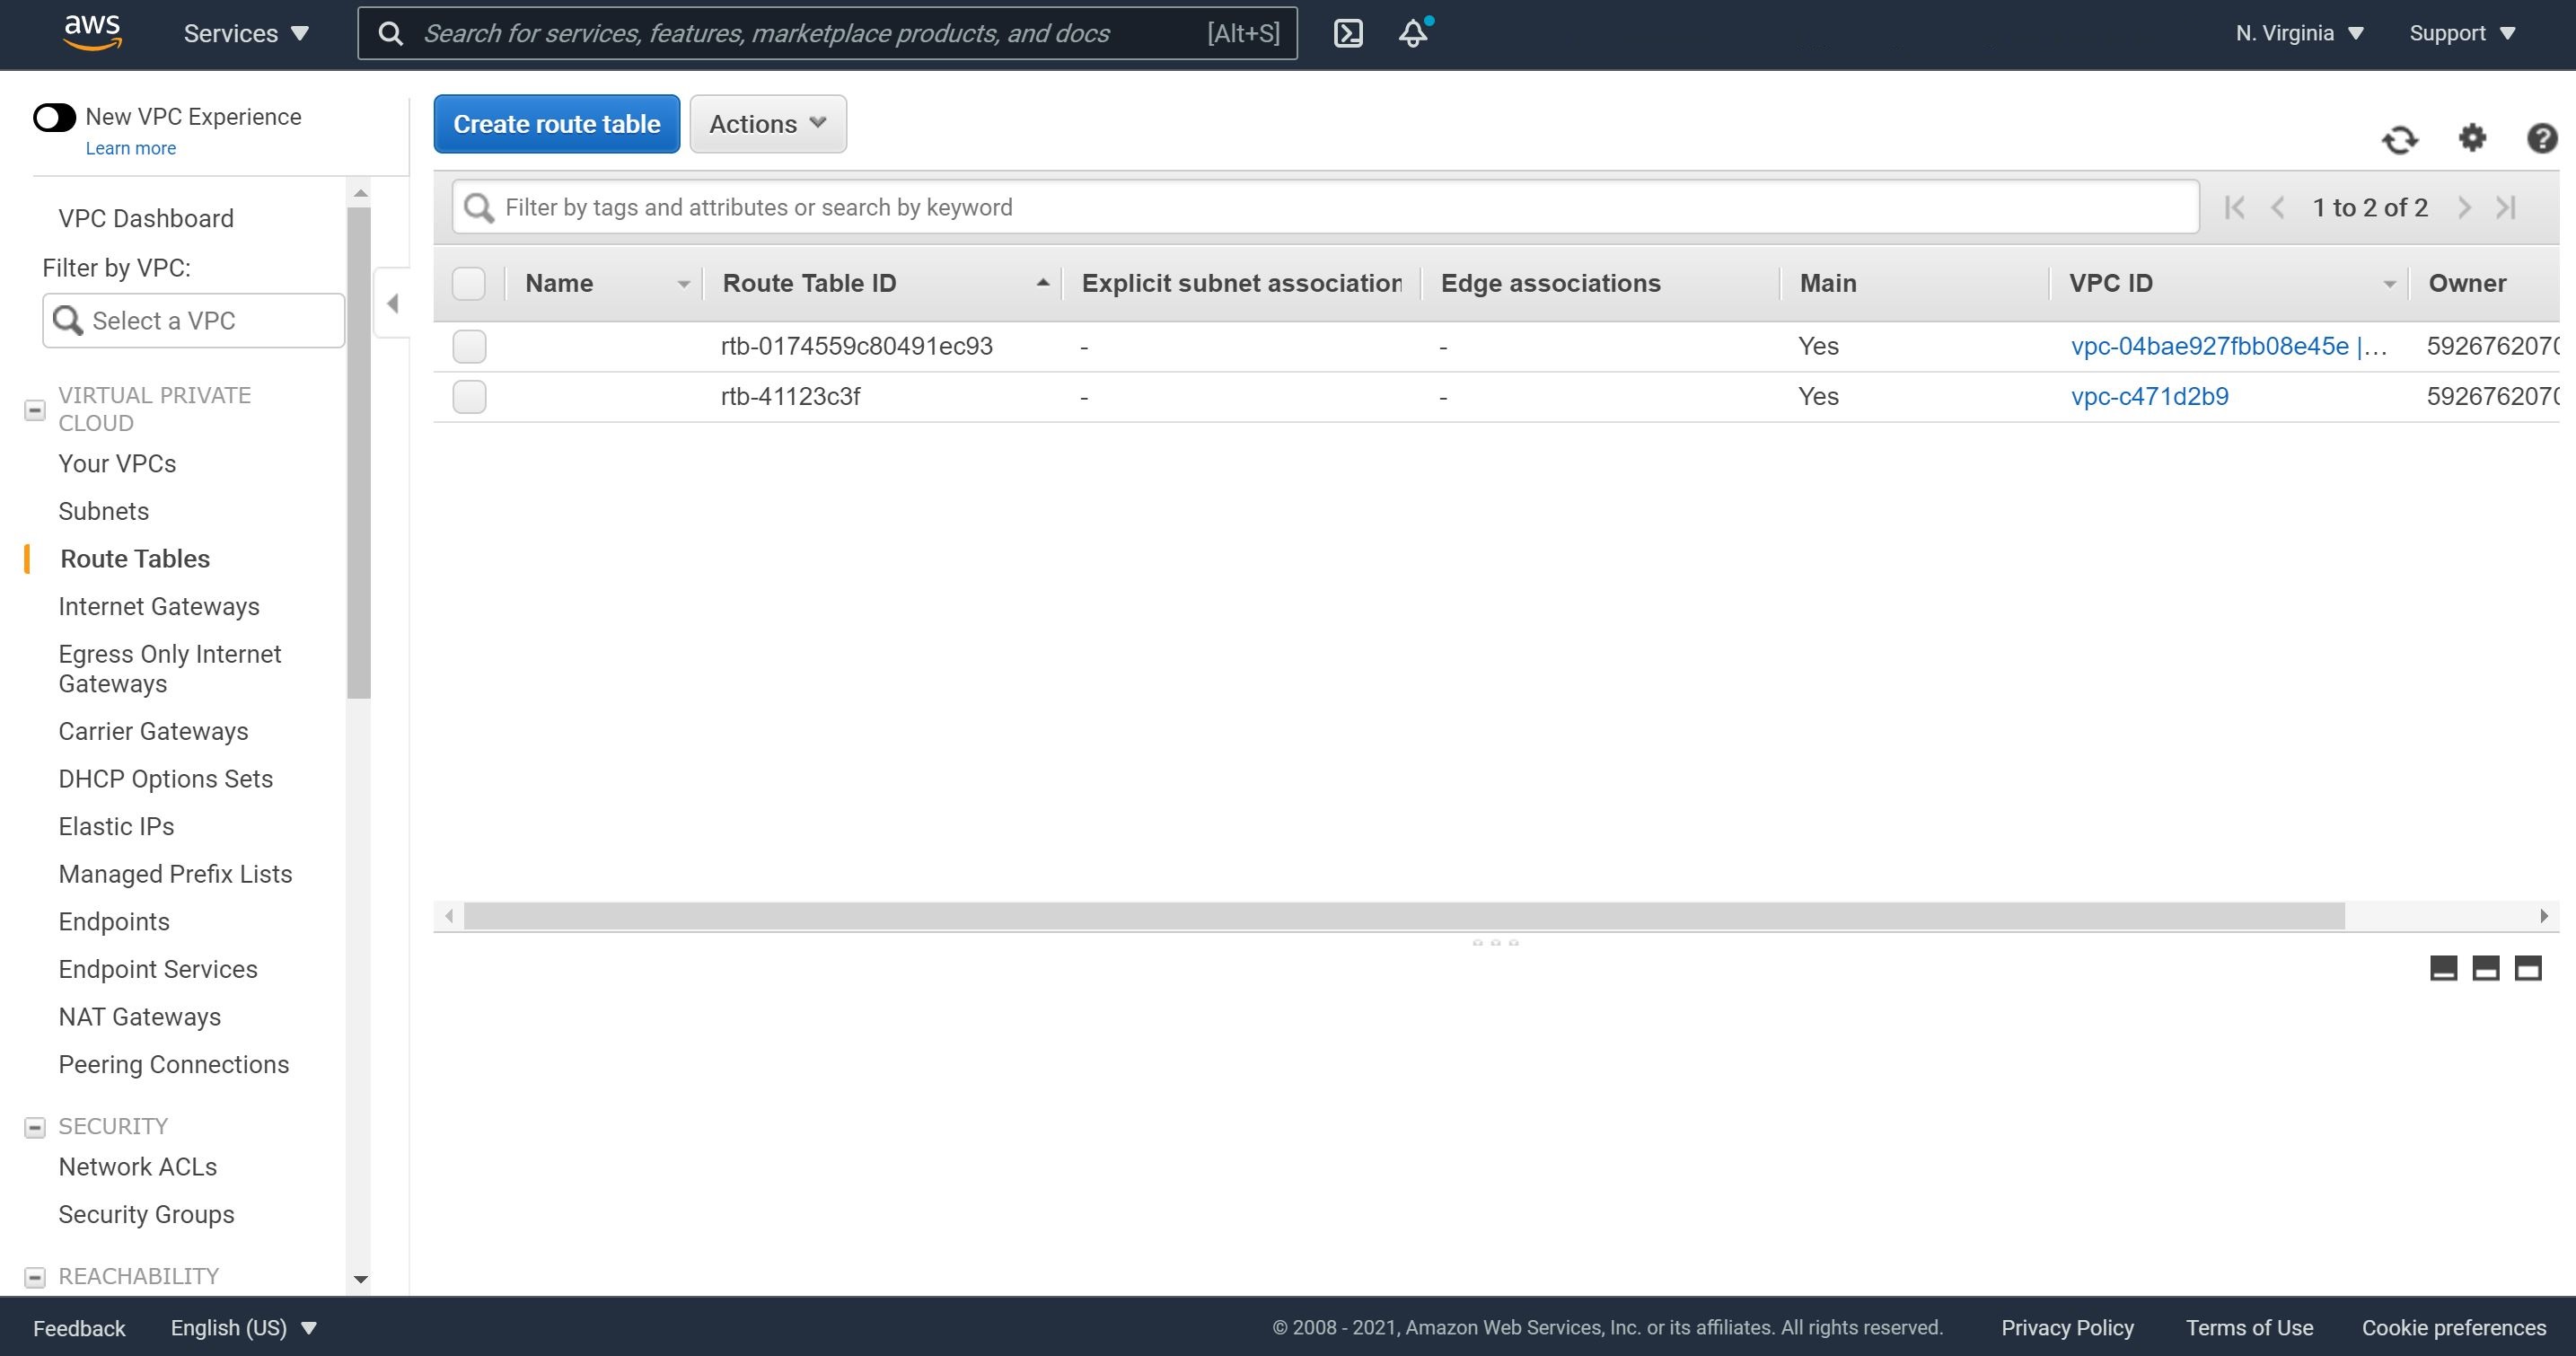
2- After naming the public route table, make sure you are selecting our newly created VPC, and then click on “Create.”
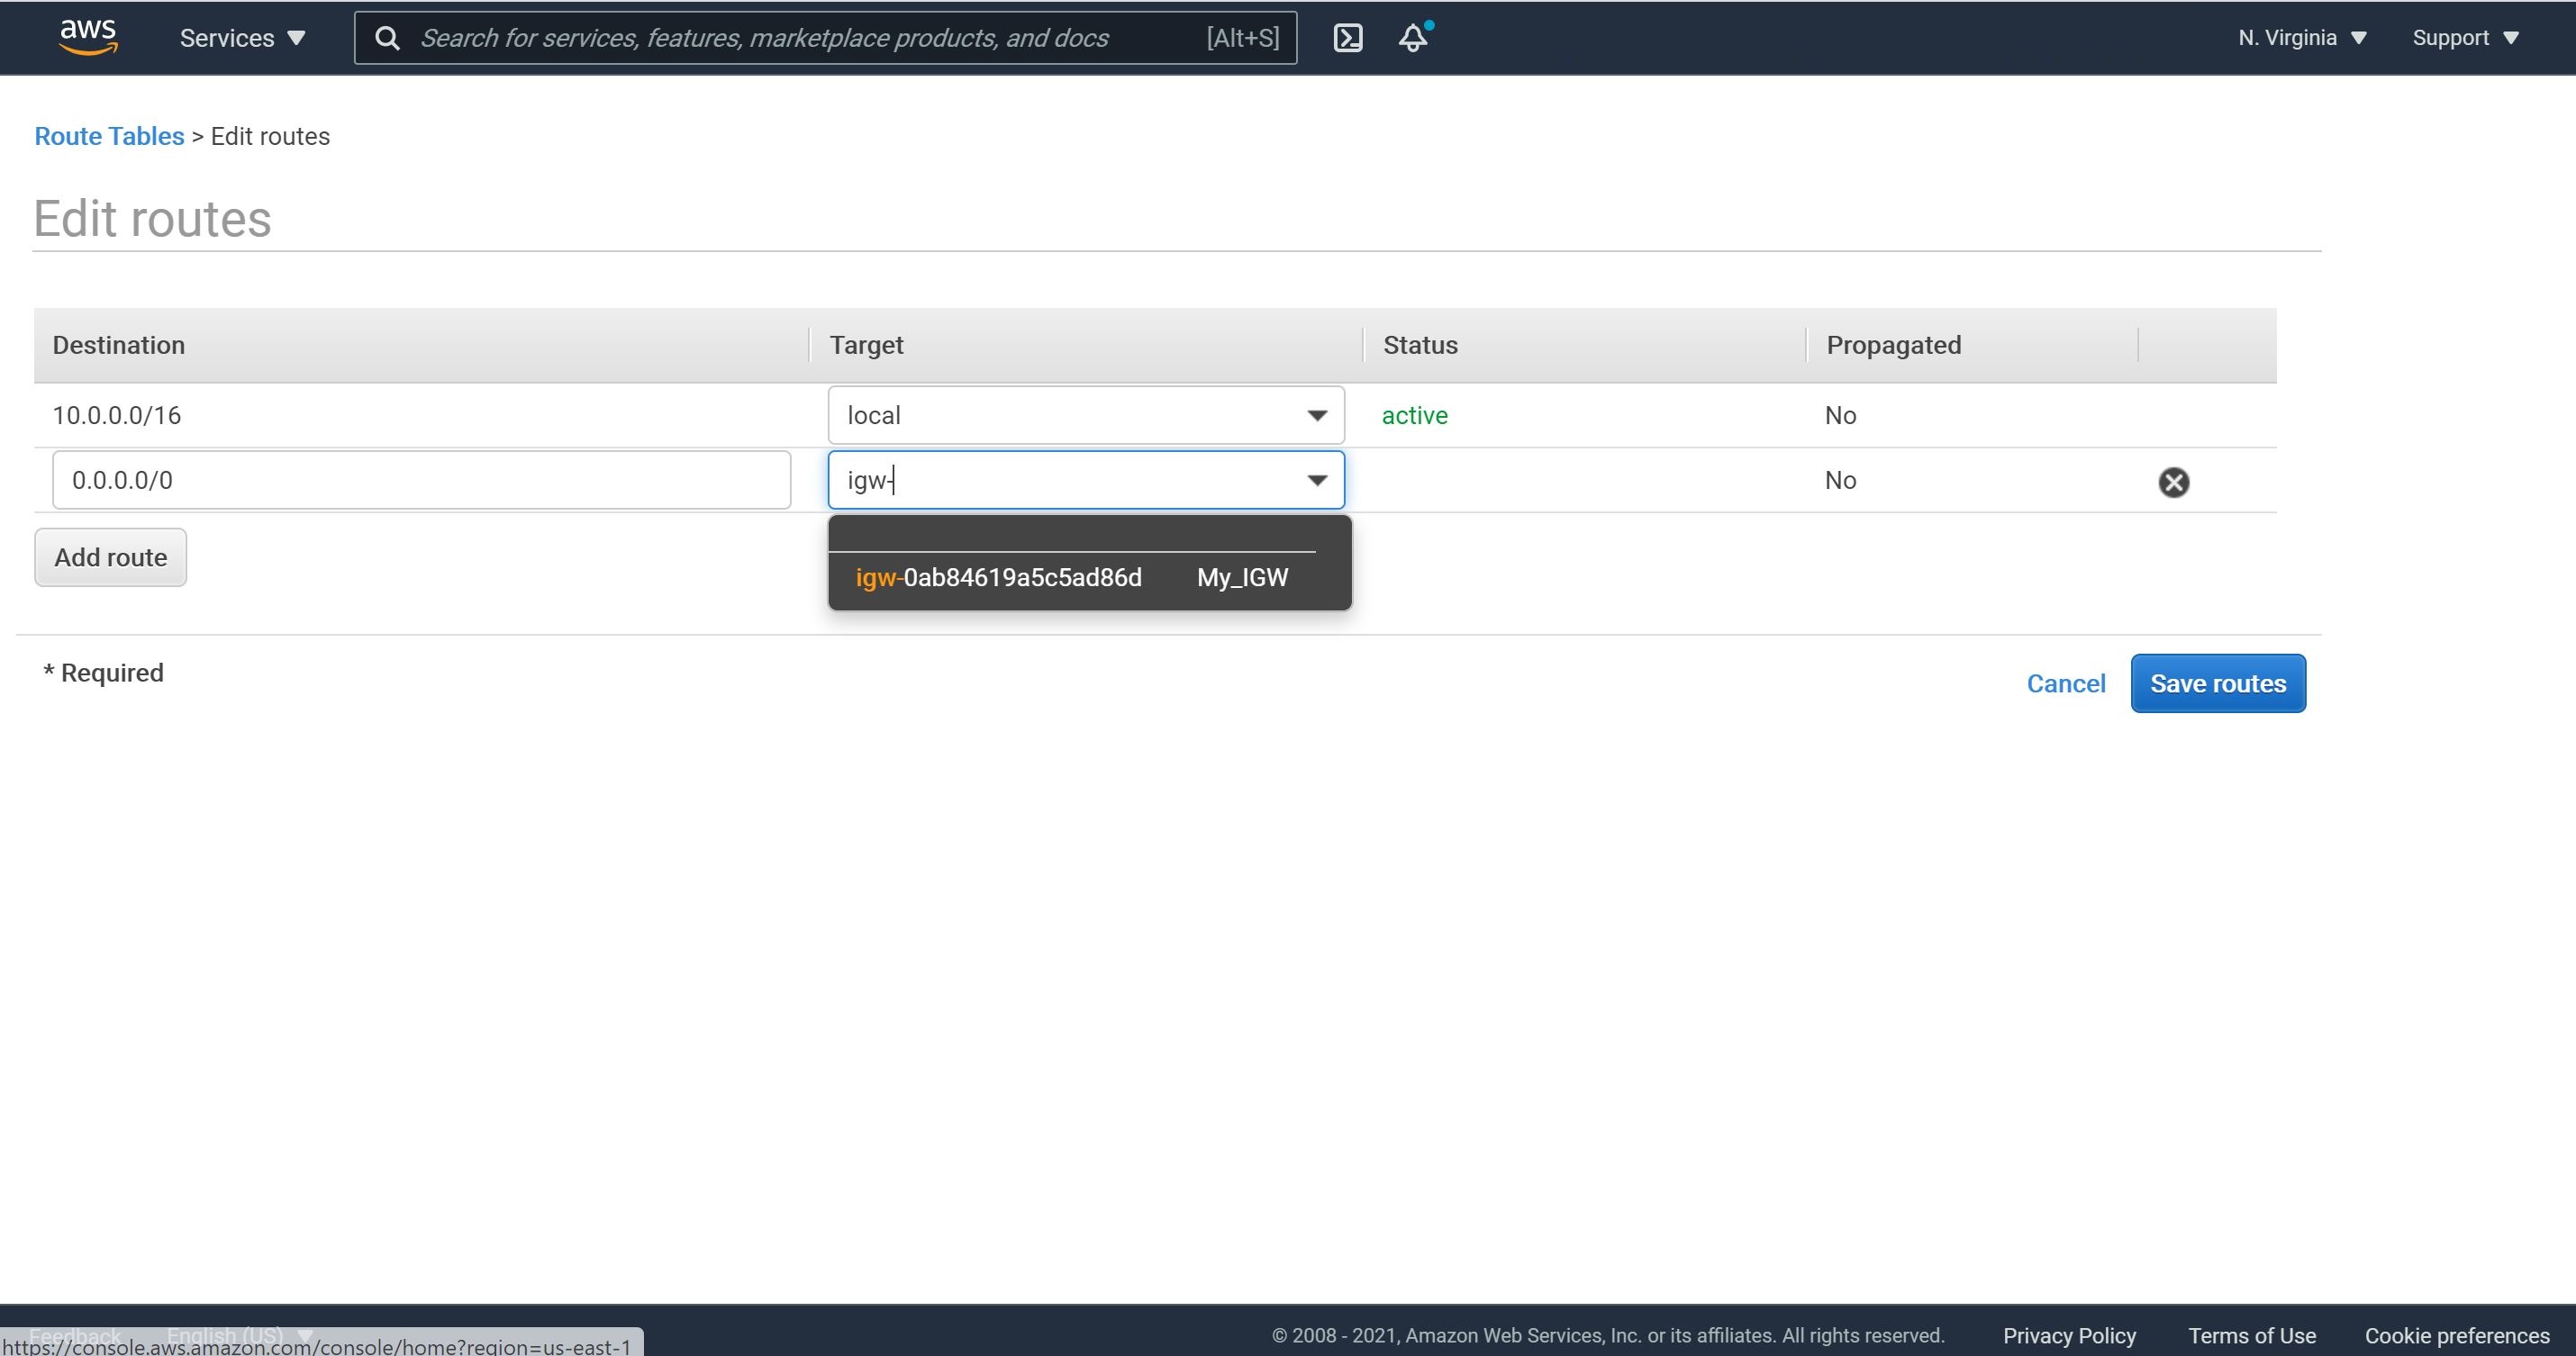
3- Now, we will add a route to out Internet Gateway. Let’s click on “Routes” and then “Edit routes.”
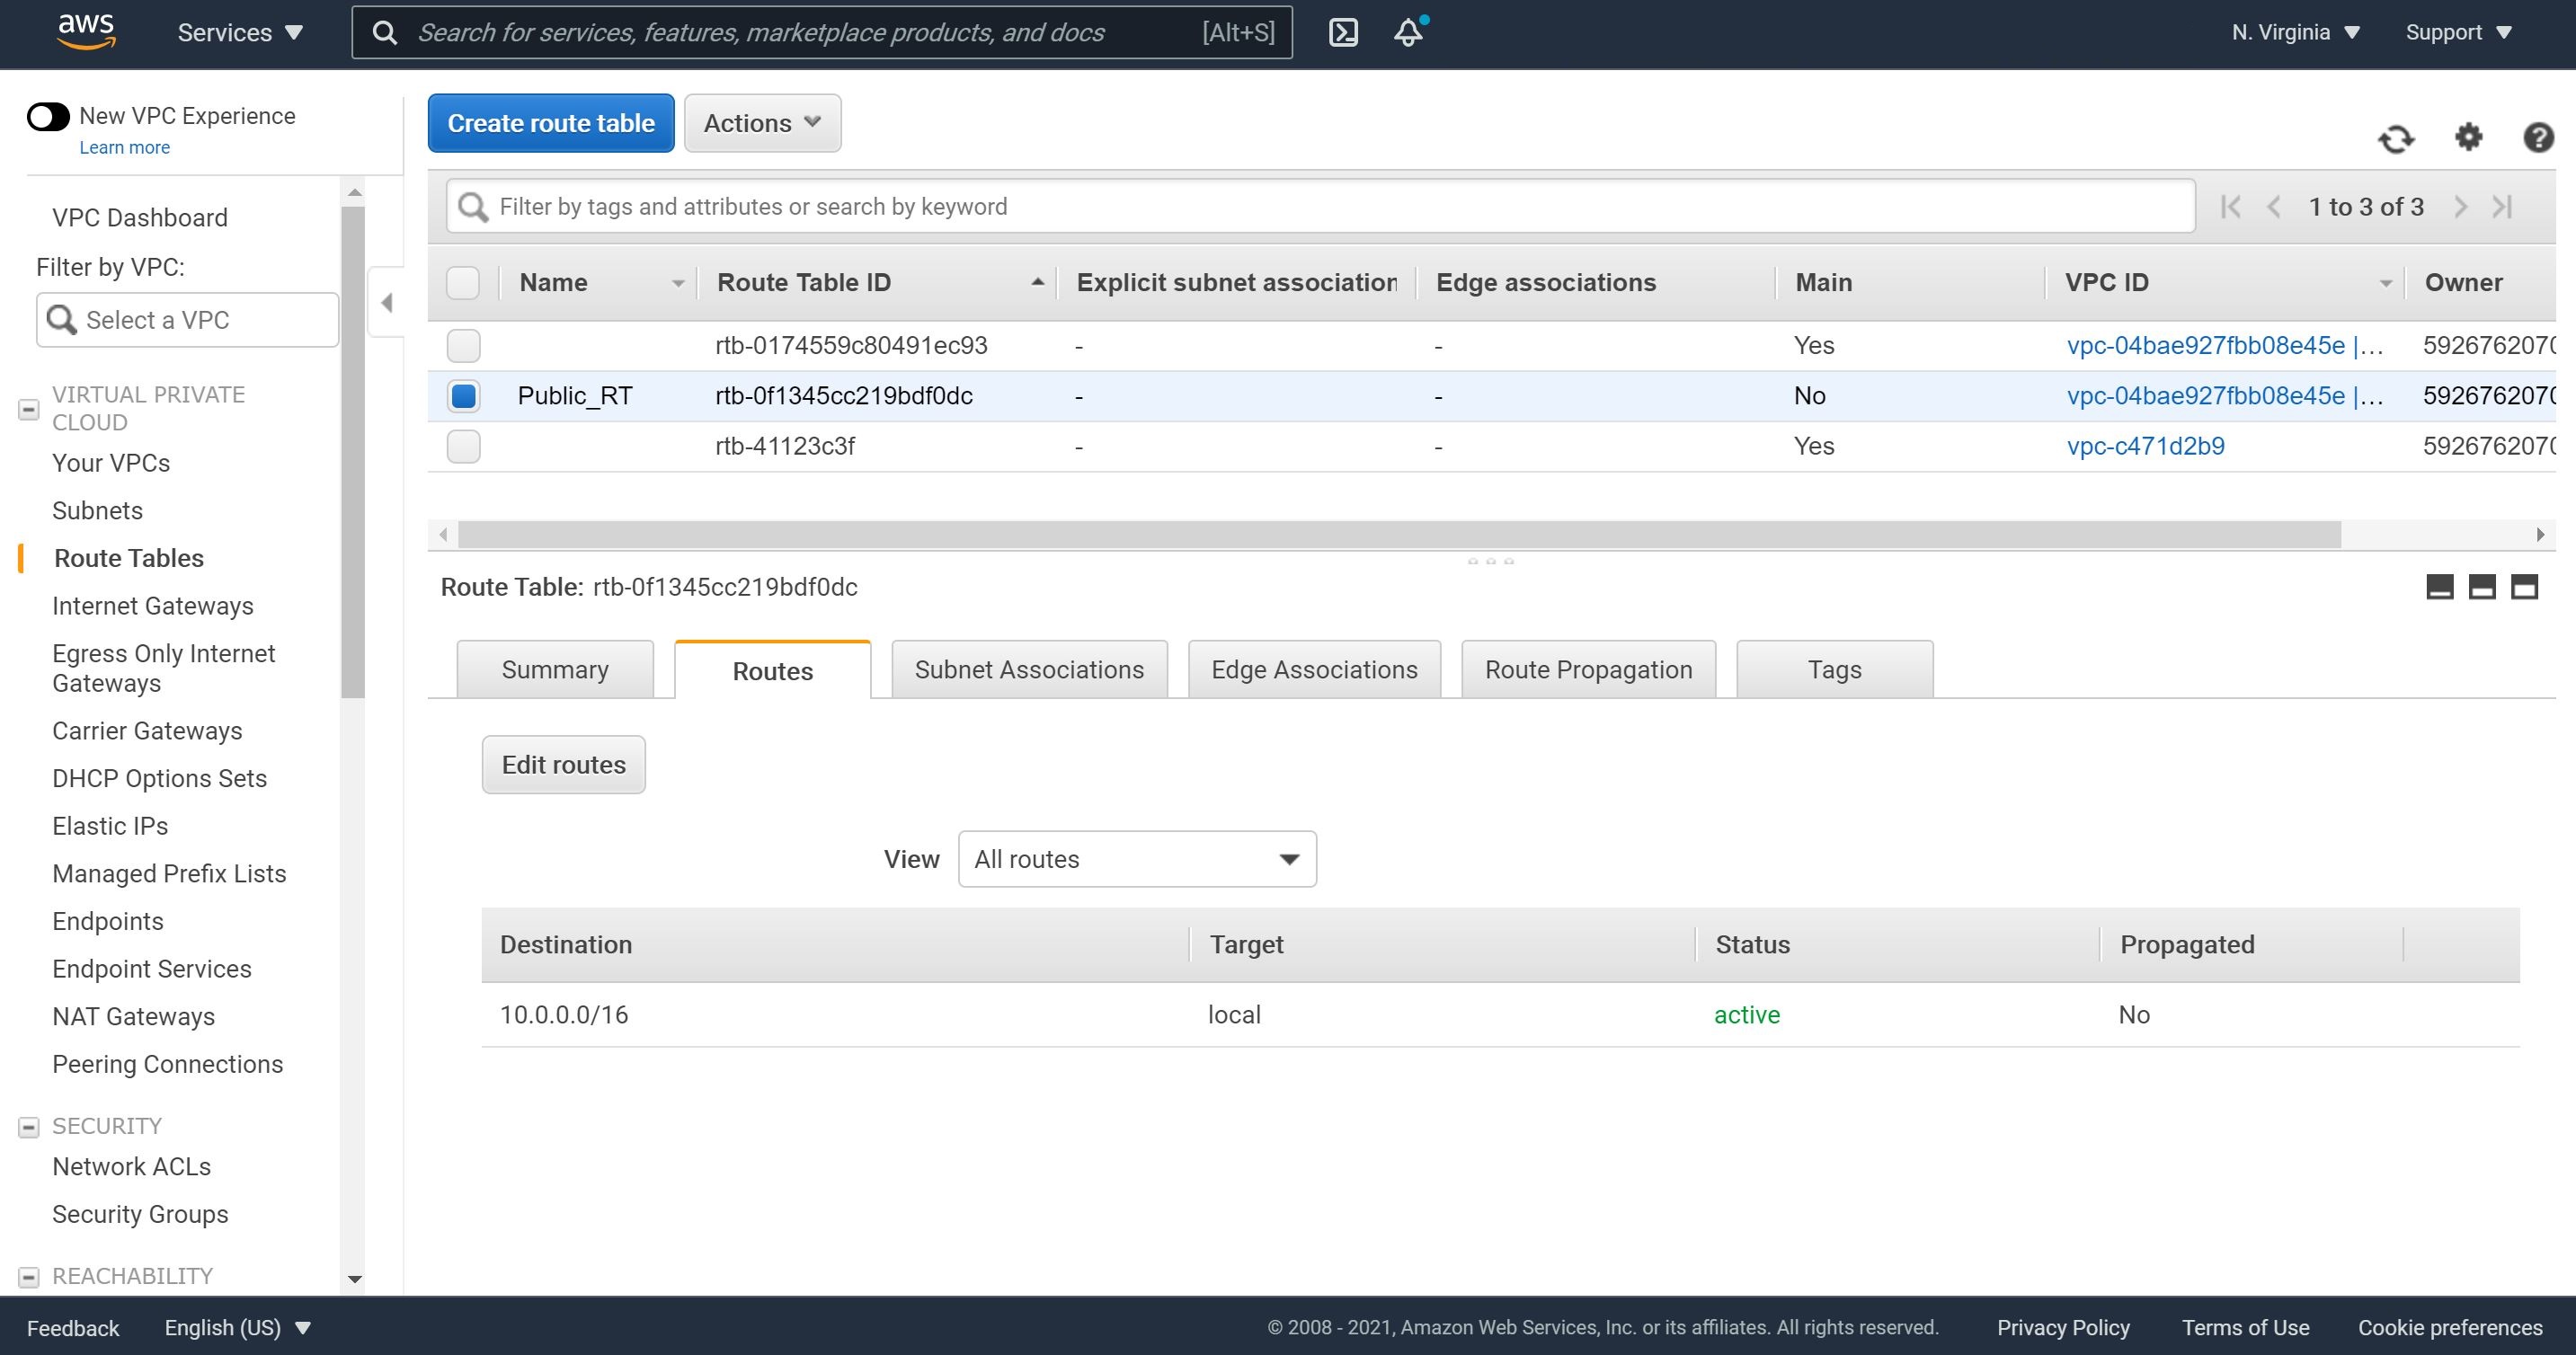
4- Click on “add route”, choose Destination as 0.0.0.0/0, select the Target as our Internet Gateway and click on Save routes.
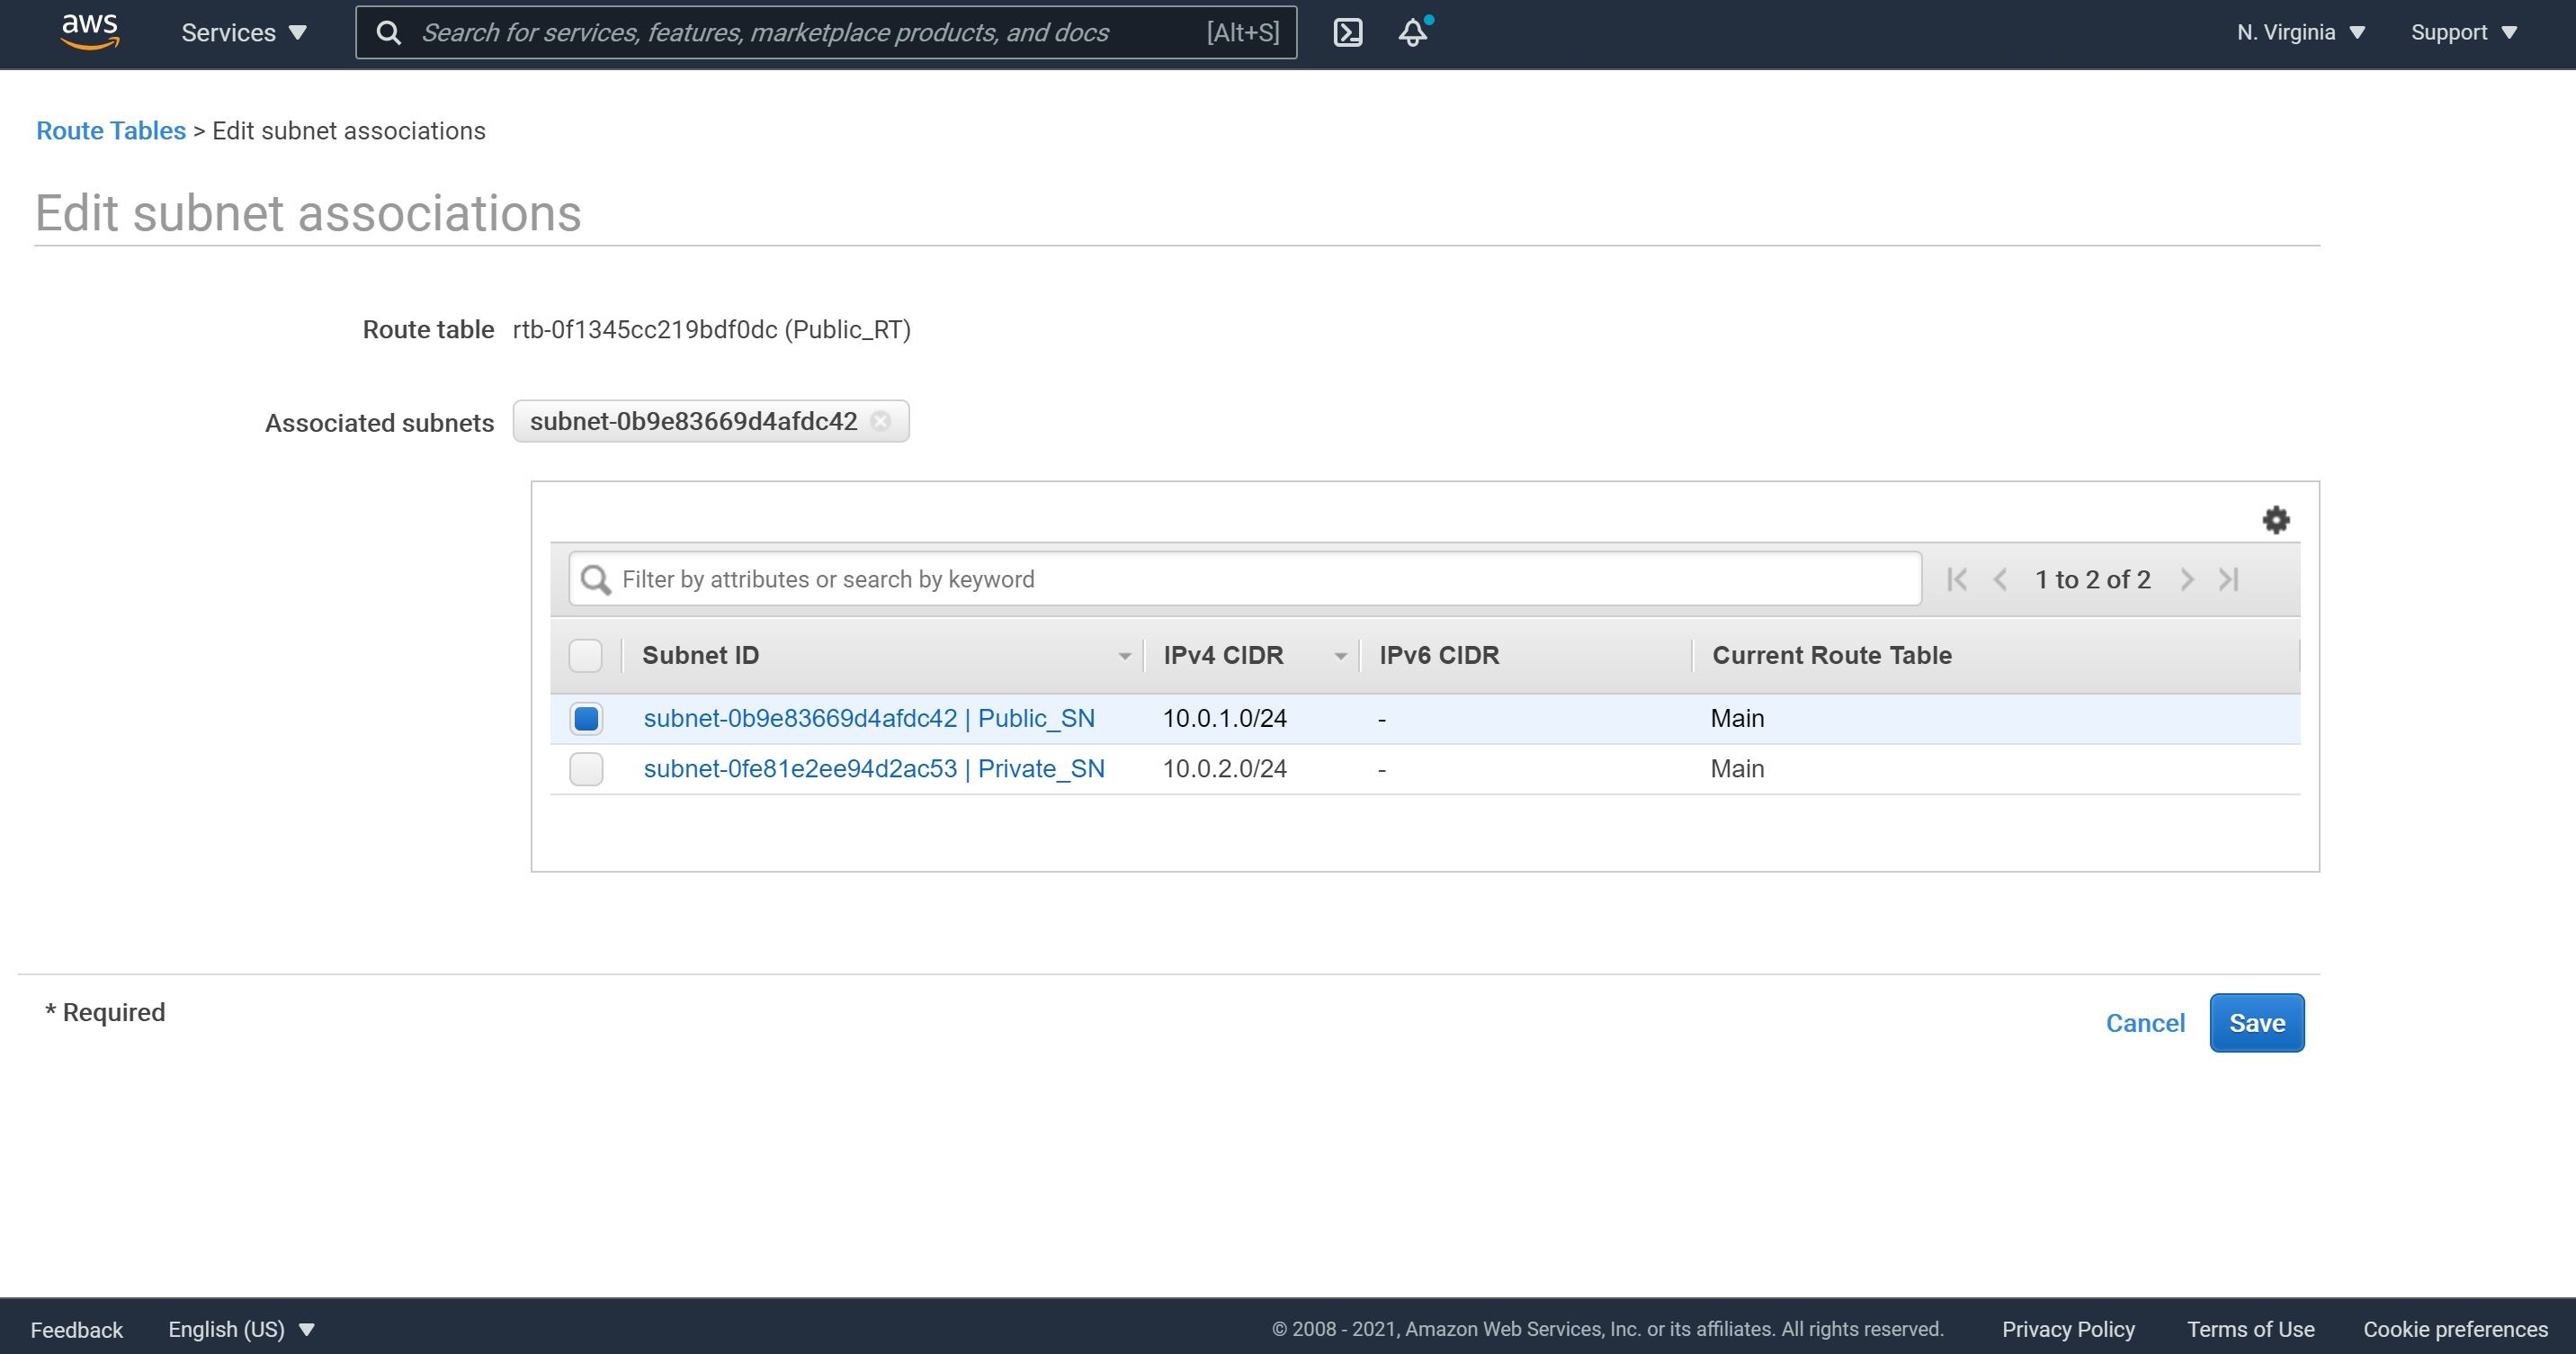
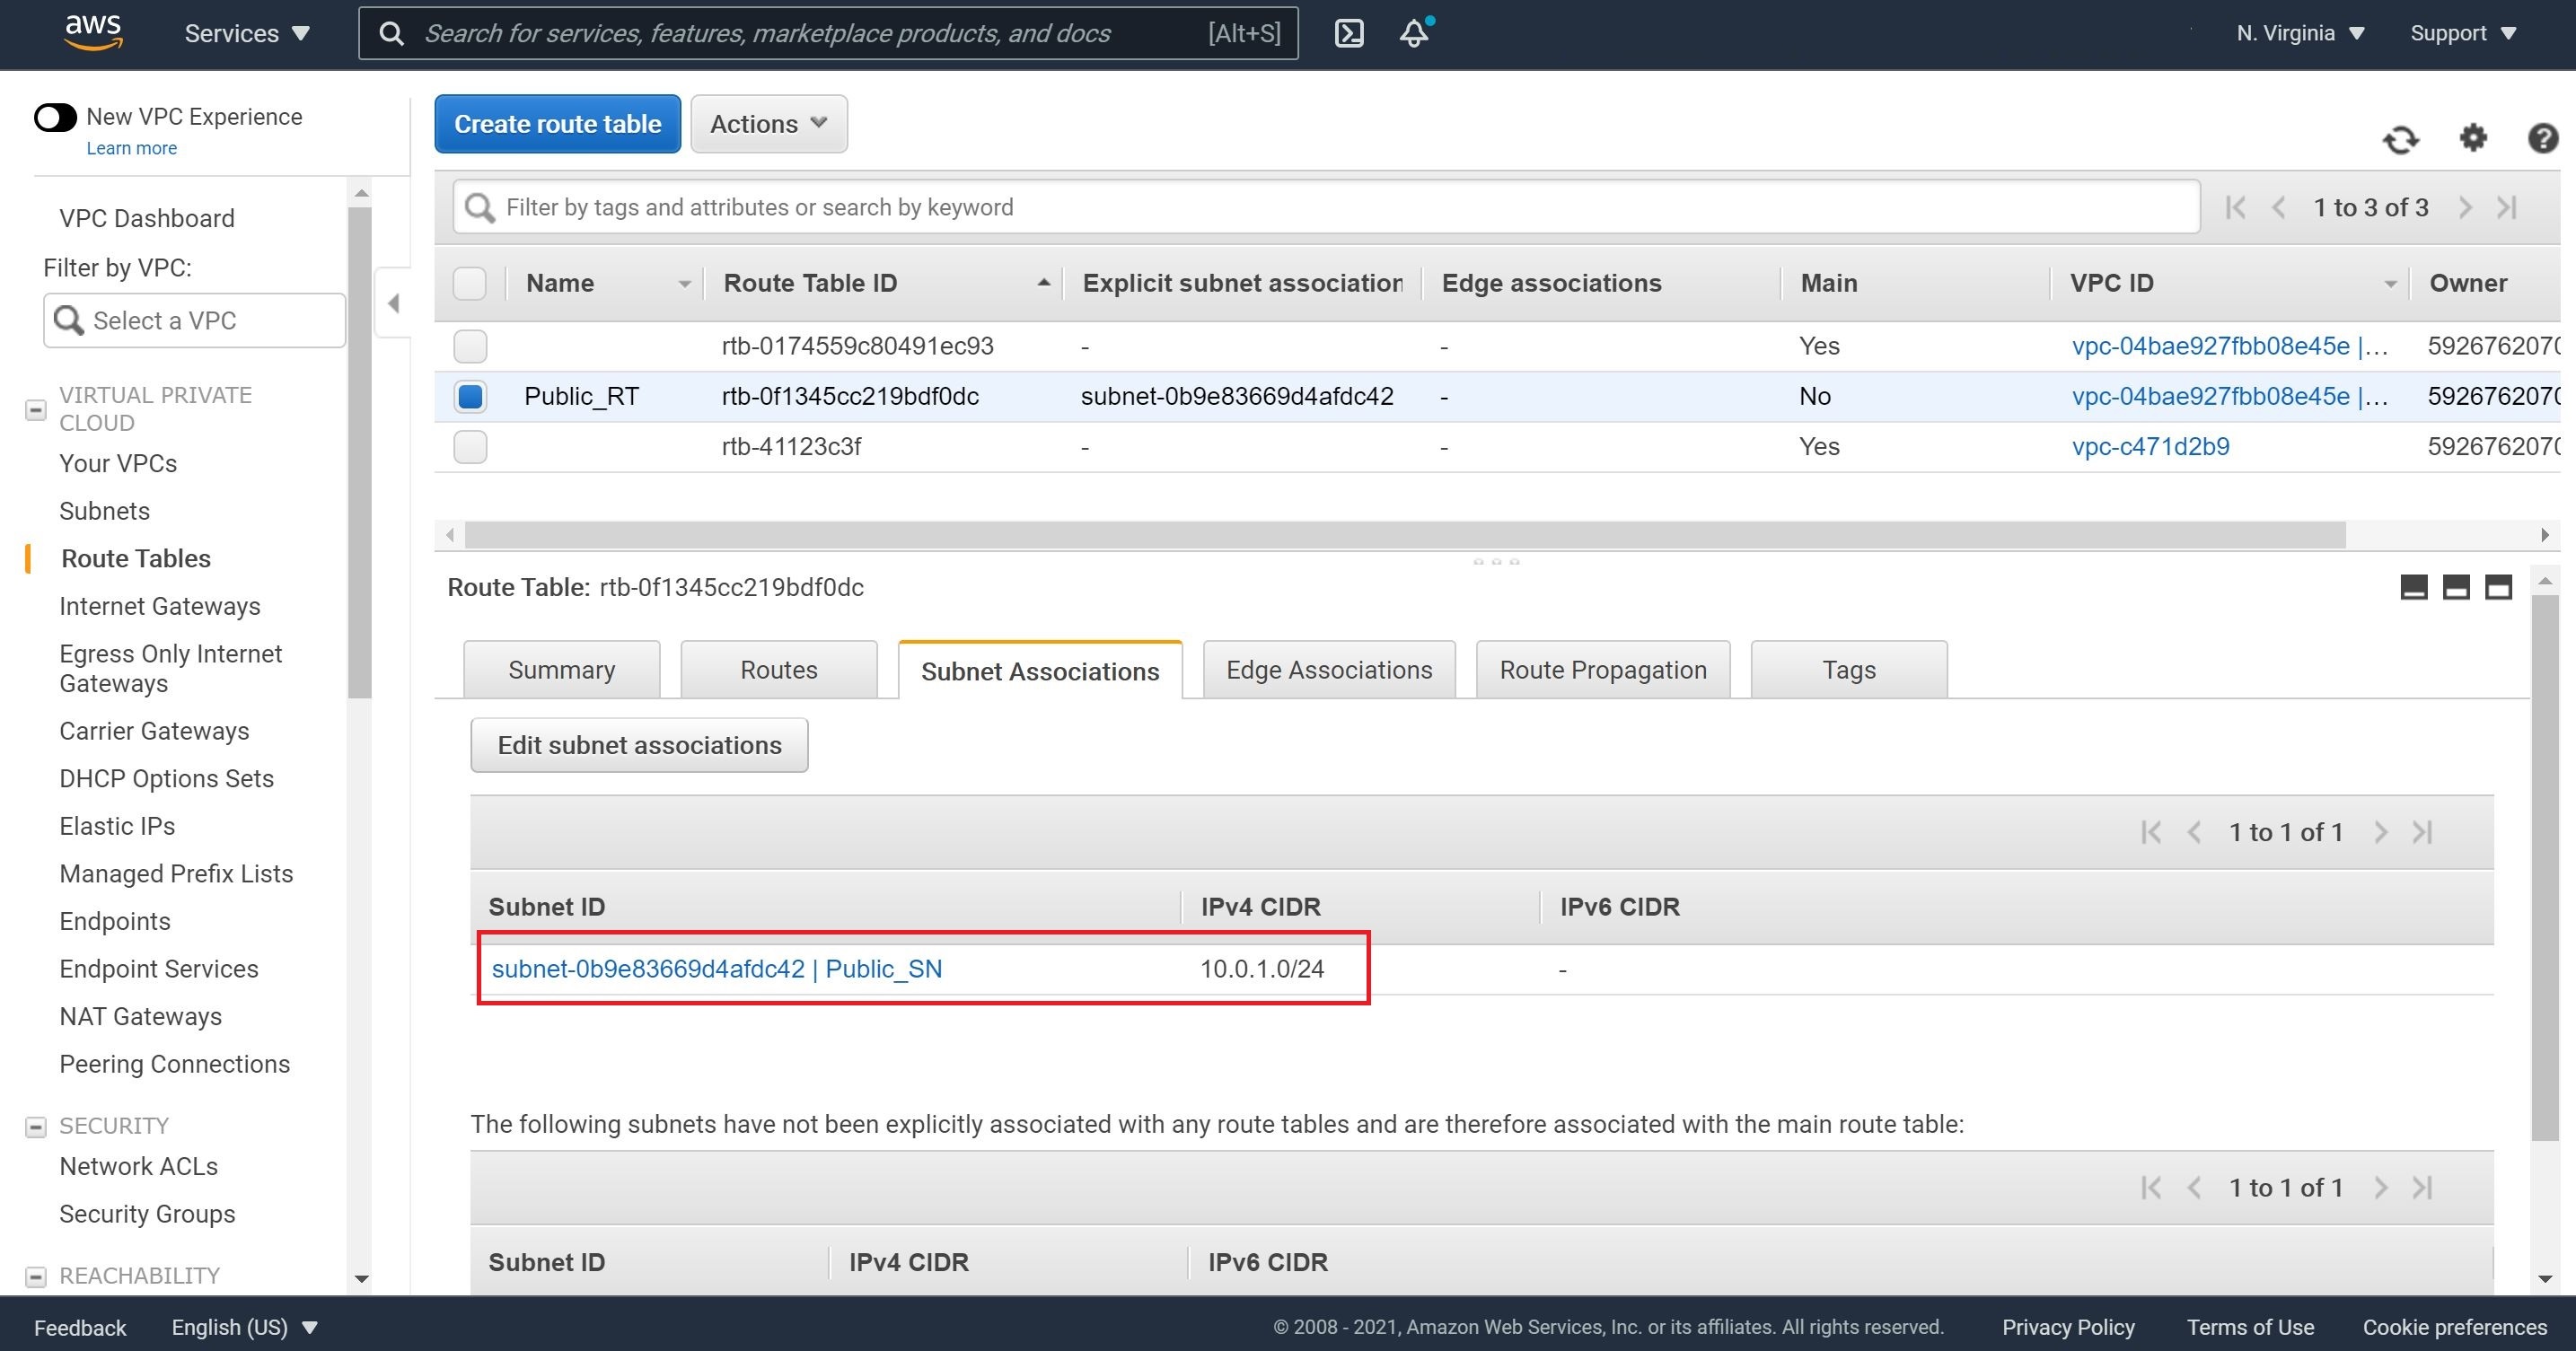
5- Now, we will need to associate our public subnet with this public route table. Let’s click on Subnet Associations, Edit subnet associations, check our public subnet and click Save.
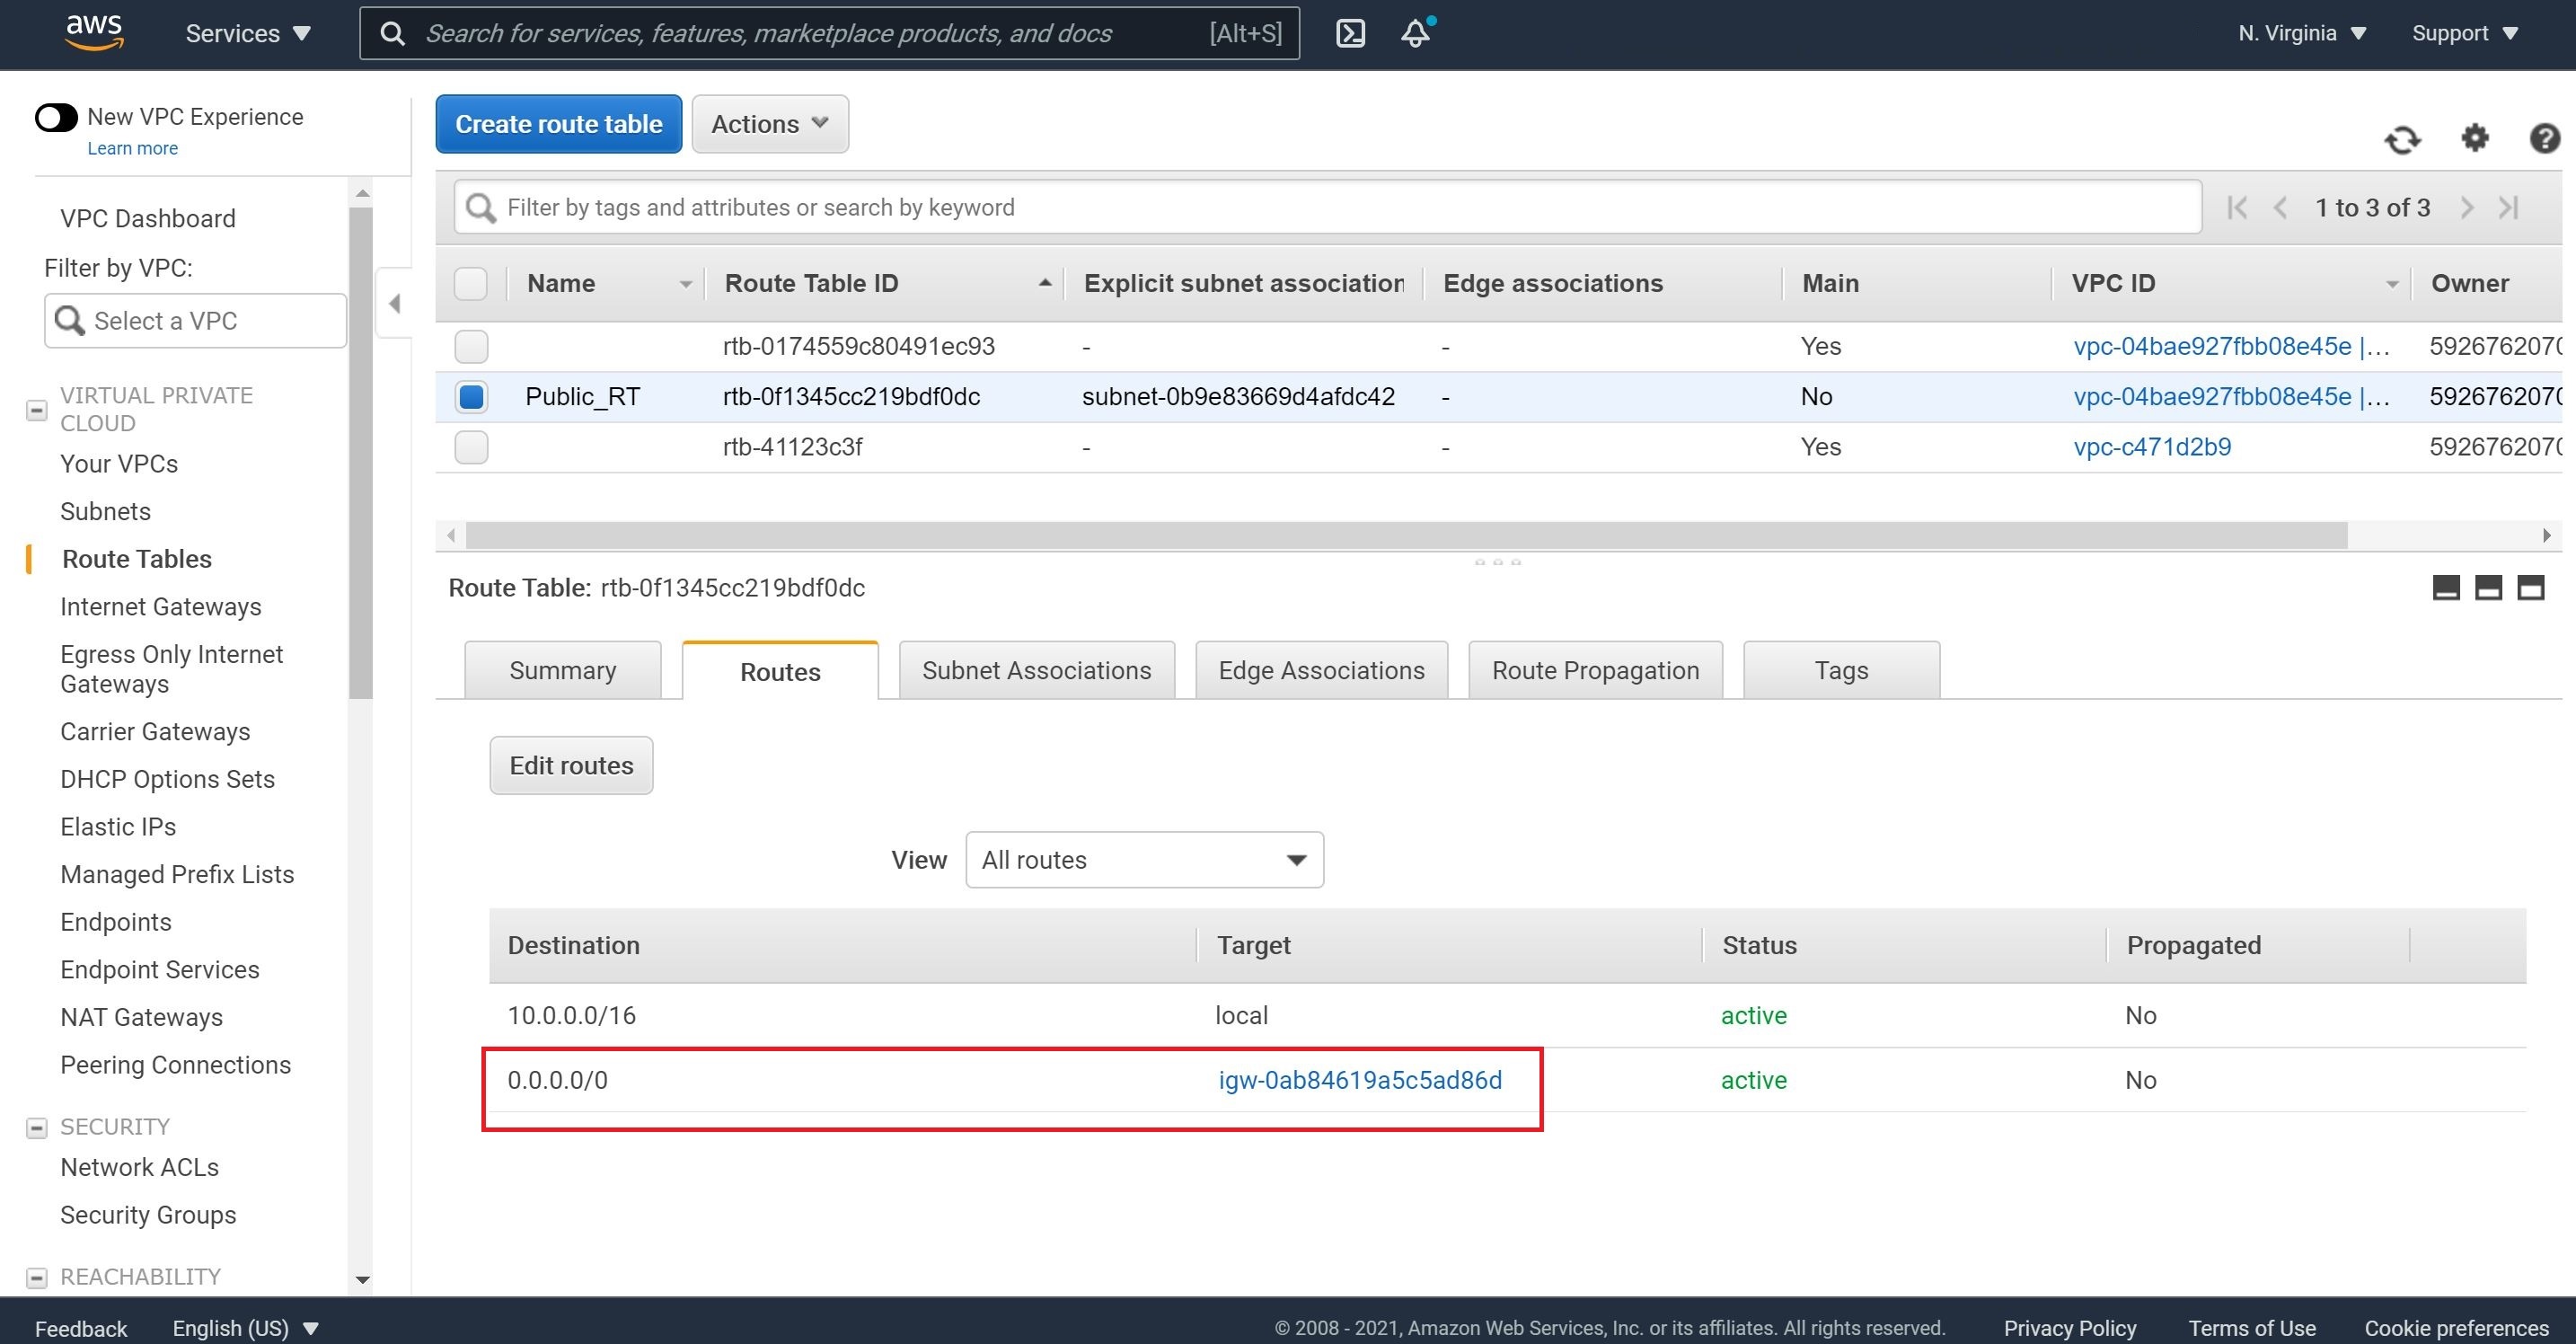
As a best practice, let’s inspect Routes and Subnet Associations to ensure they reflect the association of public route and public subnet as well as thr attachment of Internet Gateway to this public subnet.
Note, we will also create a private route table but after we spin our NAT instance.
Step 4: NAT instance
Our MySQL database will be hosted in a private subnet;therefore, we will utilize a NAT instance to send traffic to the internet gateway. AWS recommends using NAT Gateway instead a NAT instance, but for this tutorial, we will use a community available NAT instance.
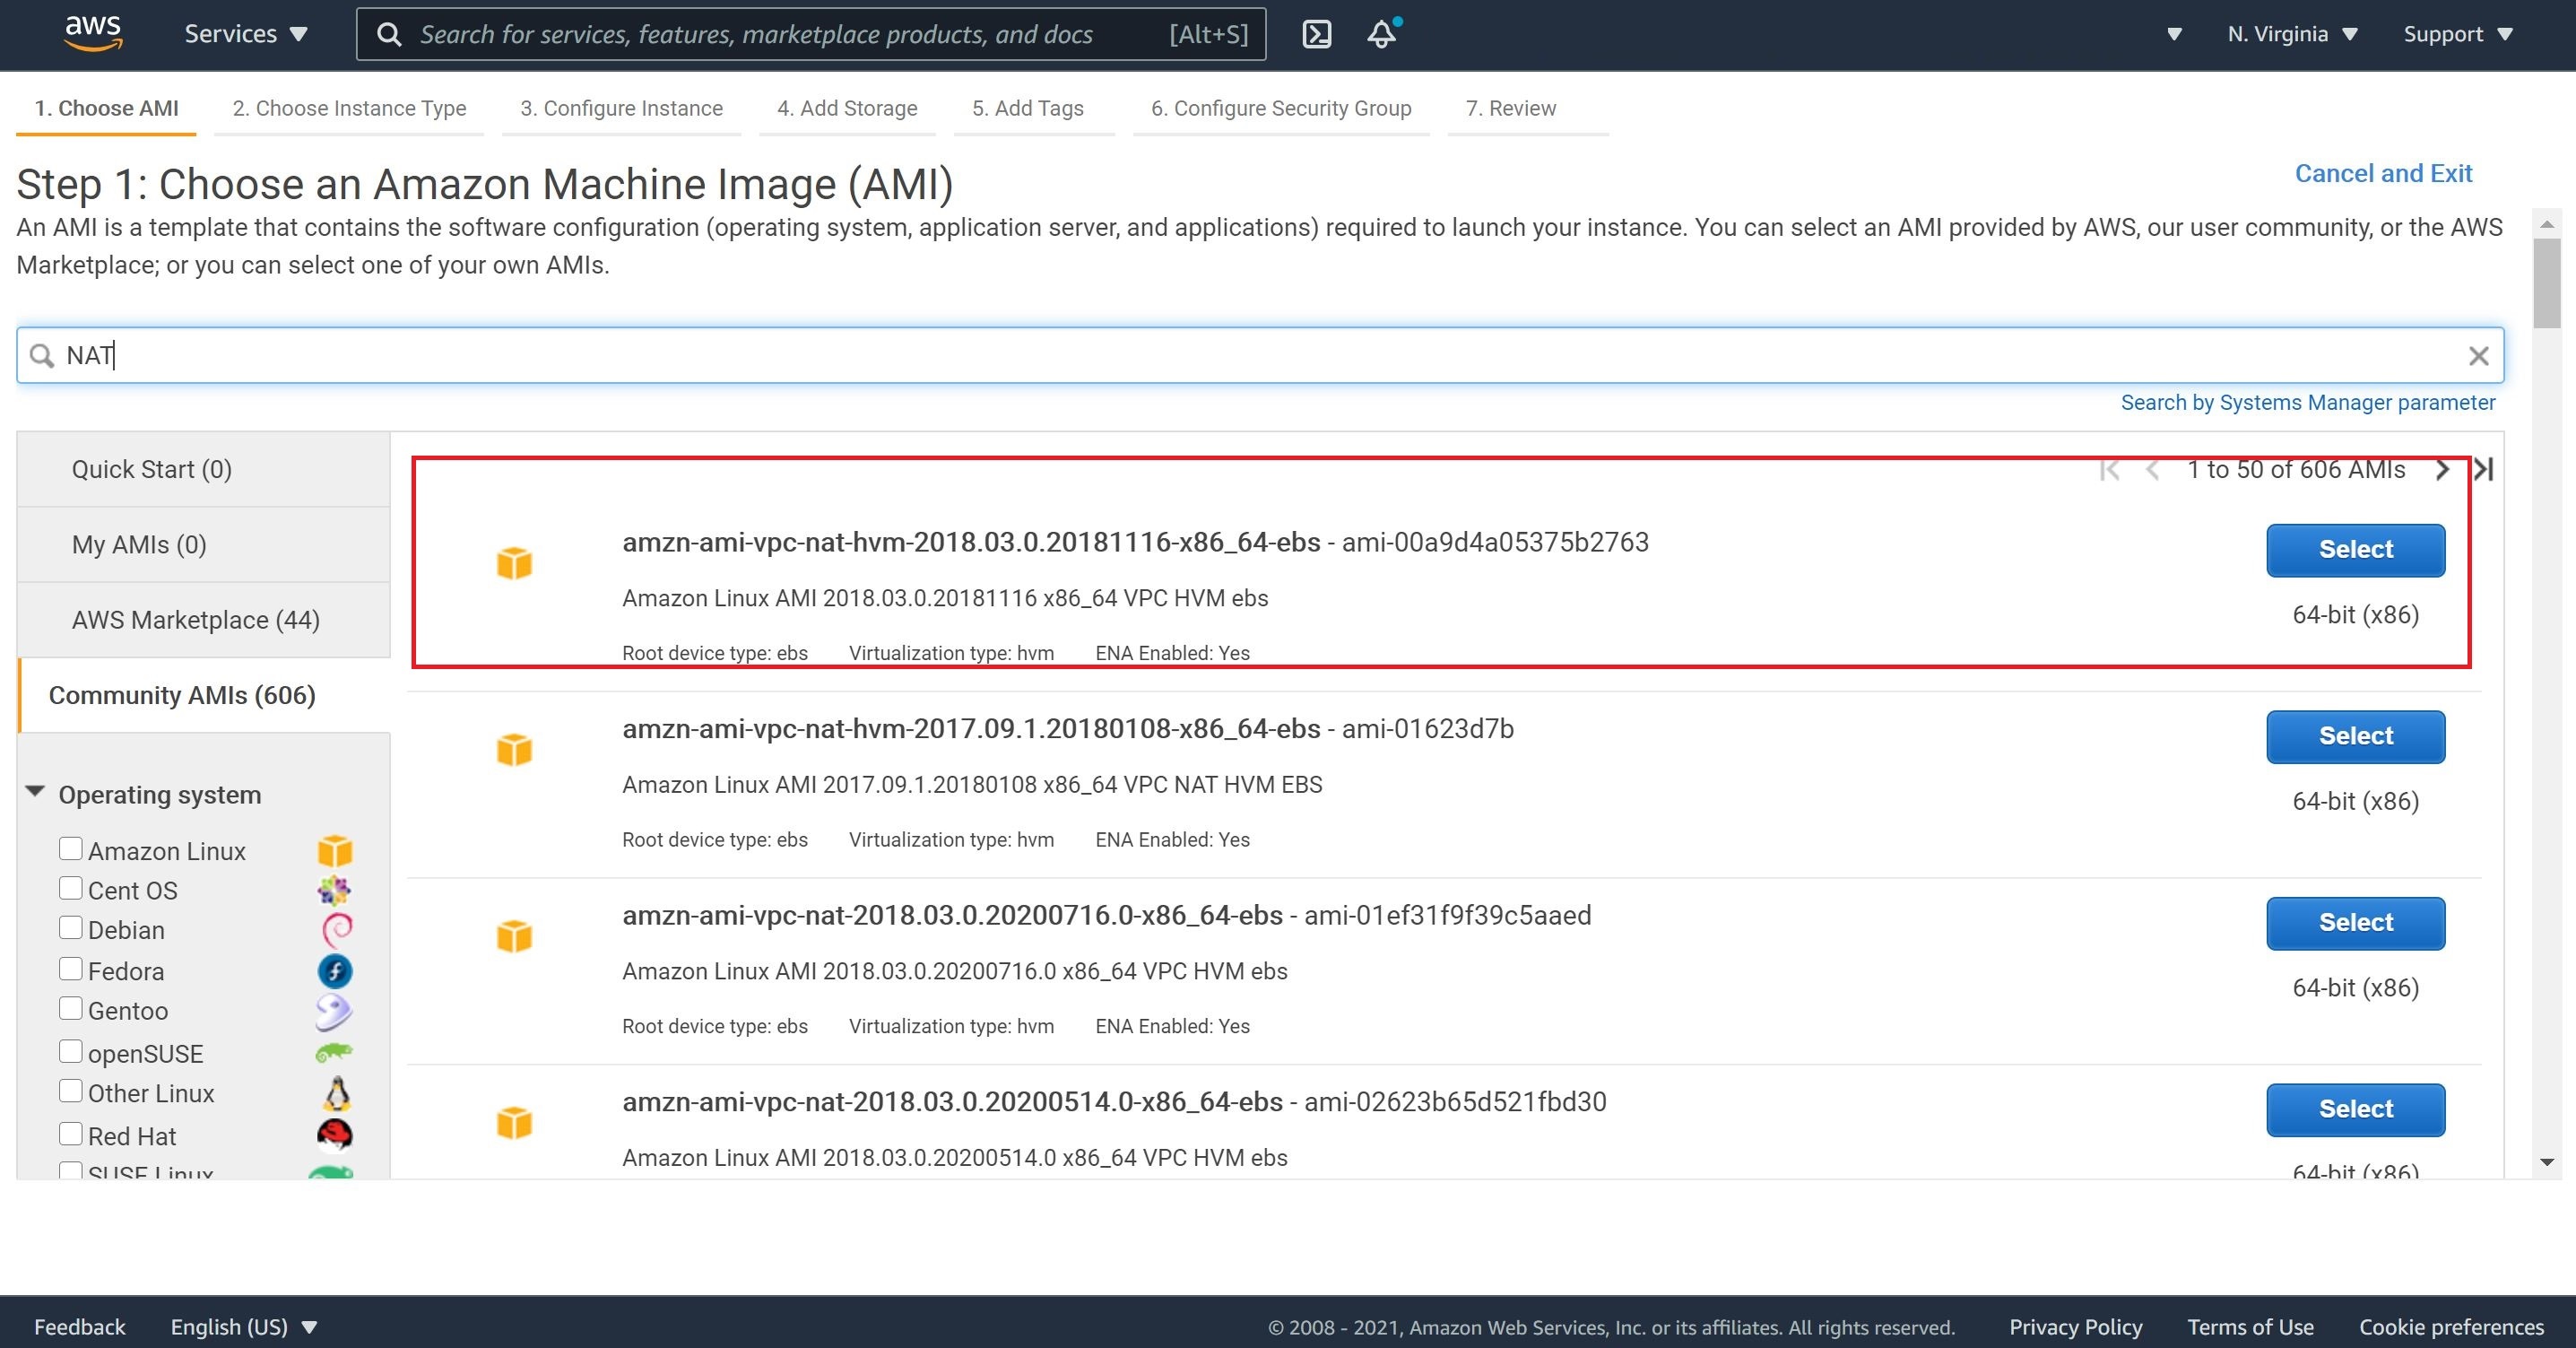
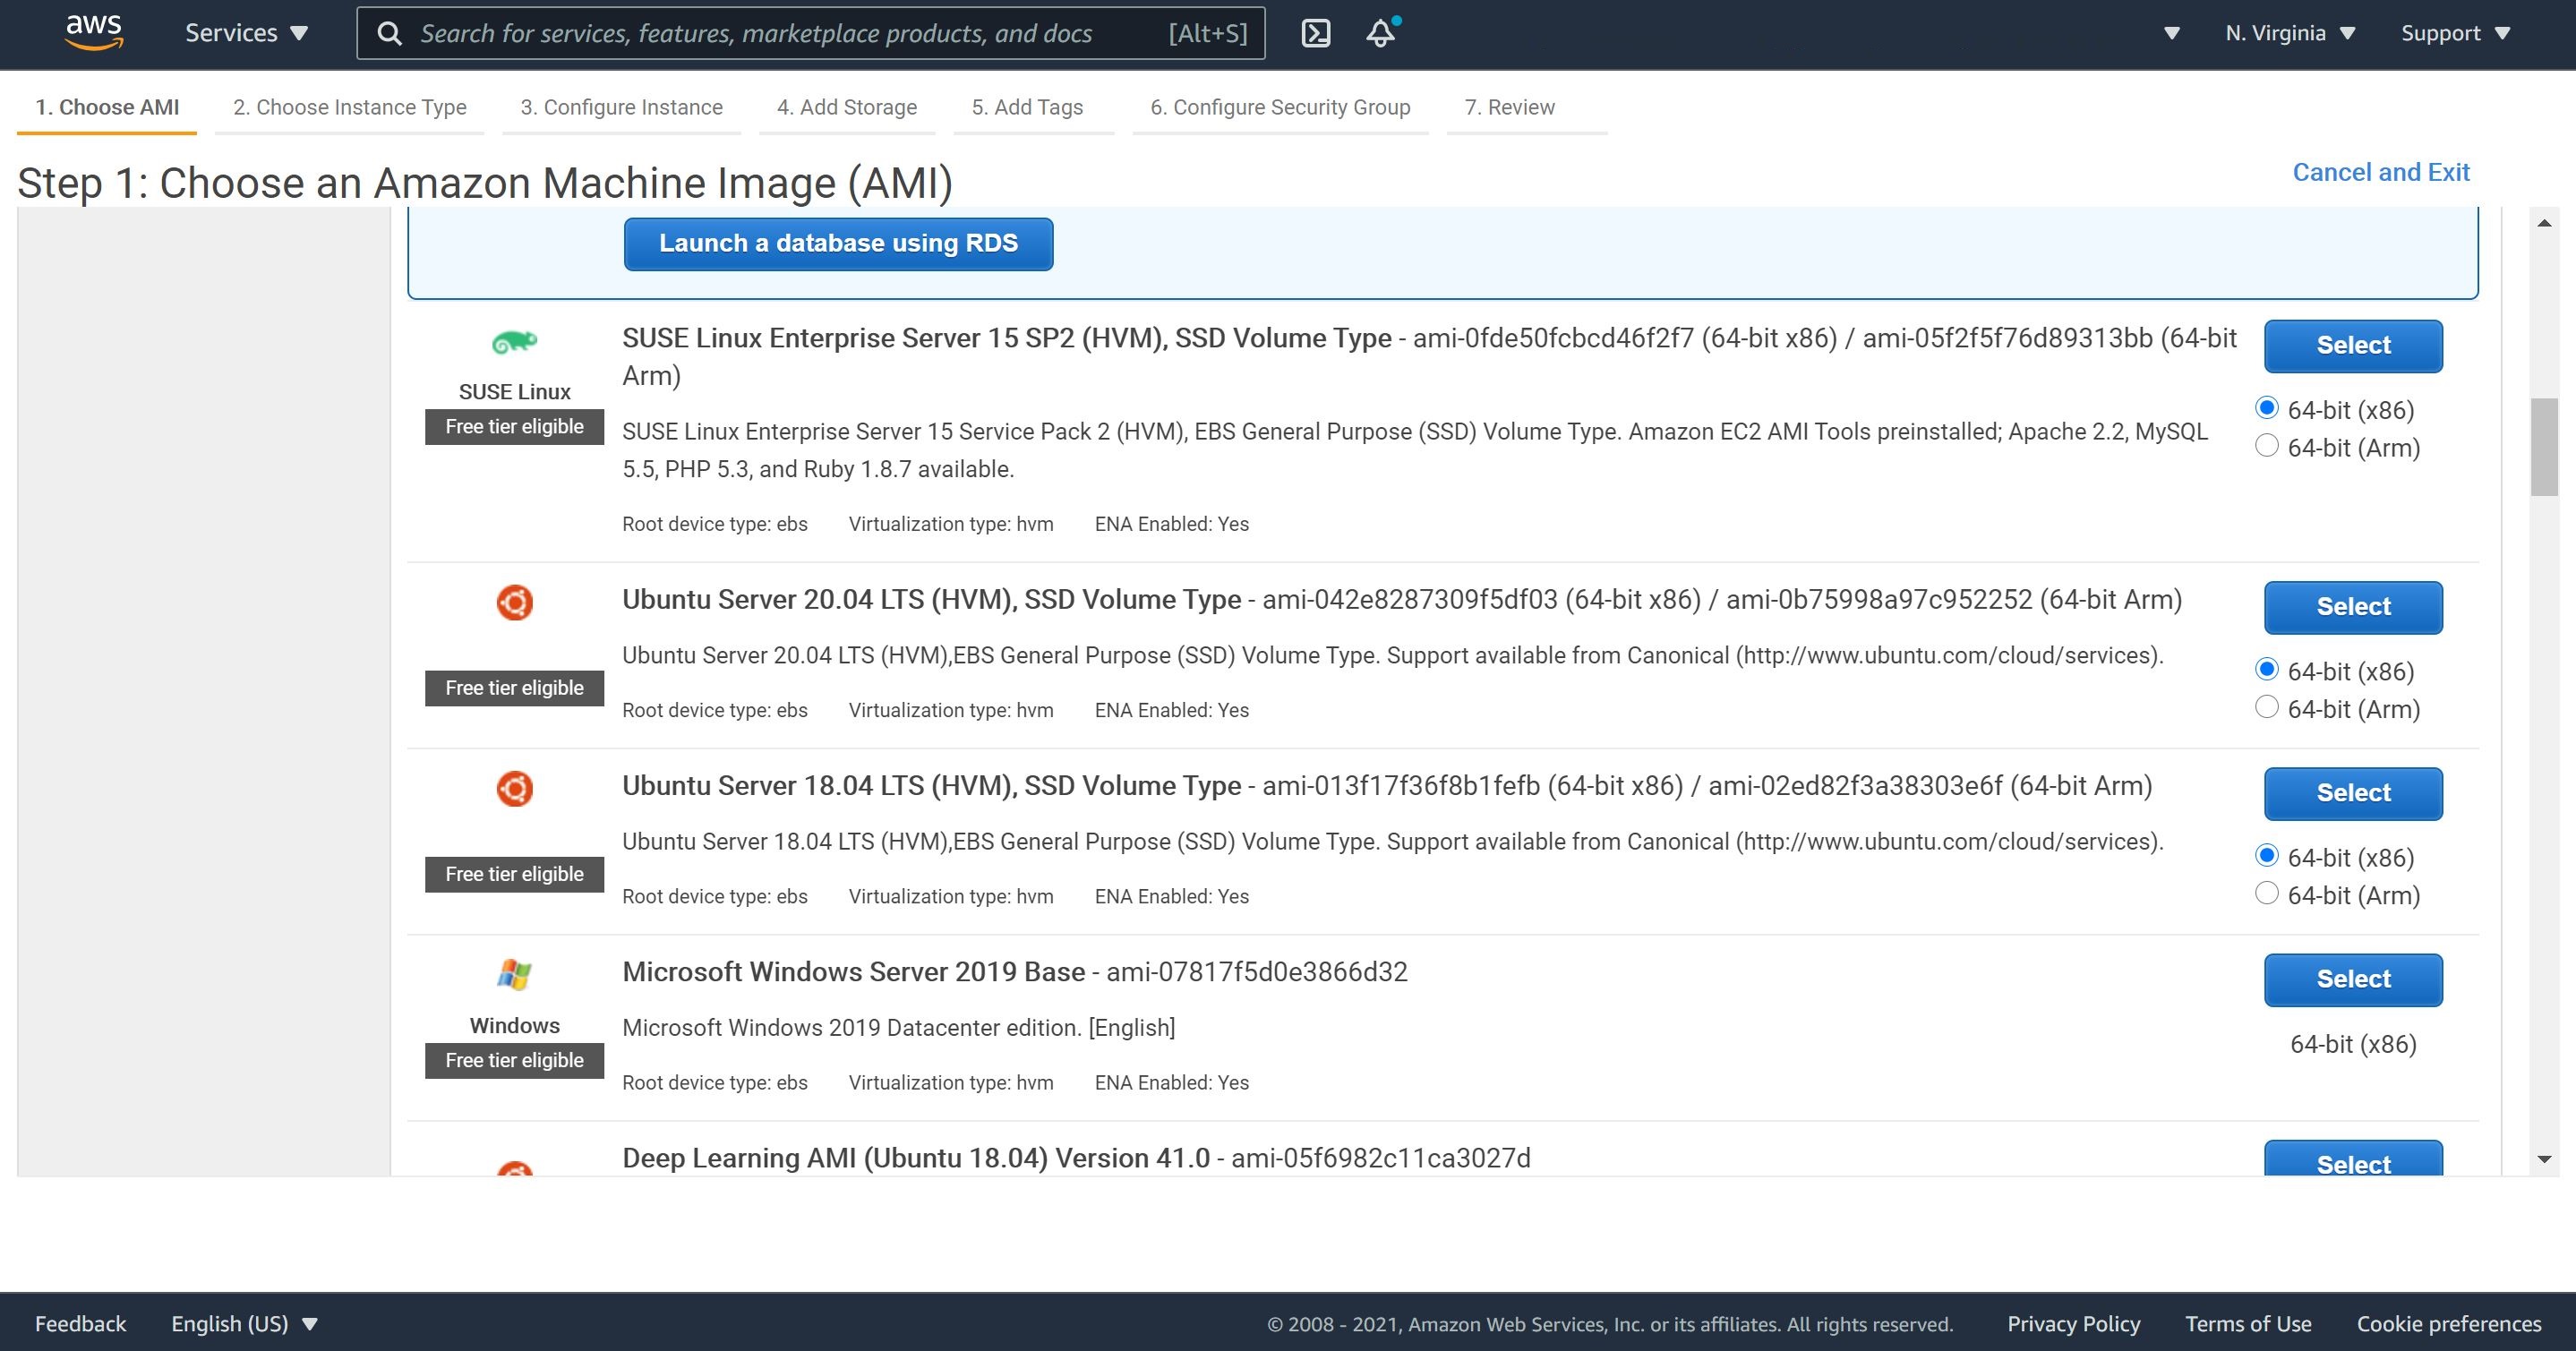
1- Let’s navigate to EC2, select Instances and Launch Instances. From the lest menu, click on Community AMIs and then type in NAT in the search bar. My NAT AMI selection is shown on the image below.
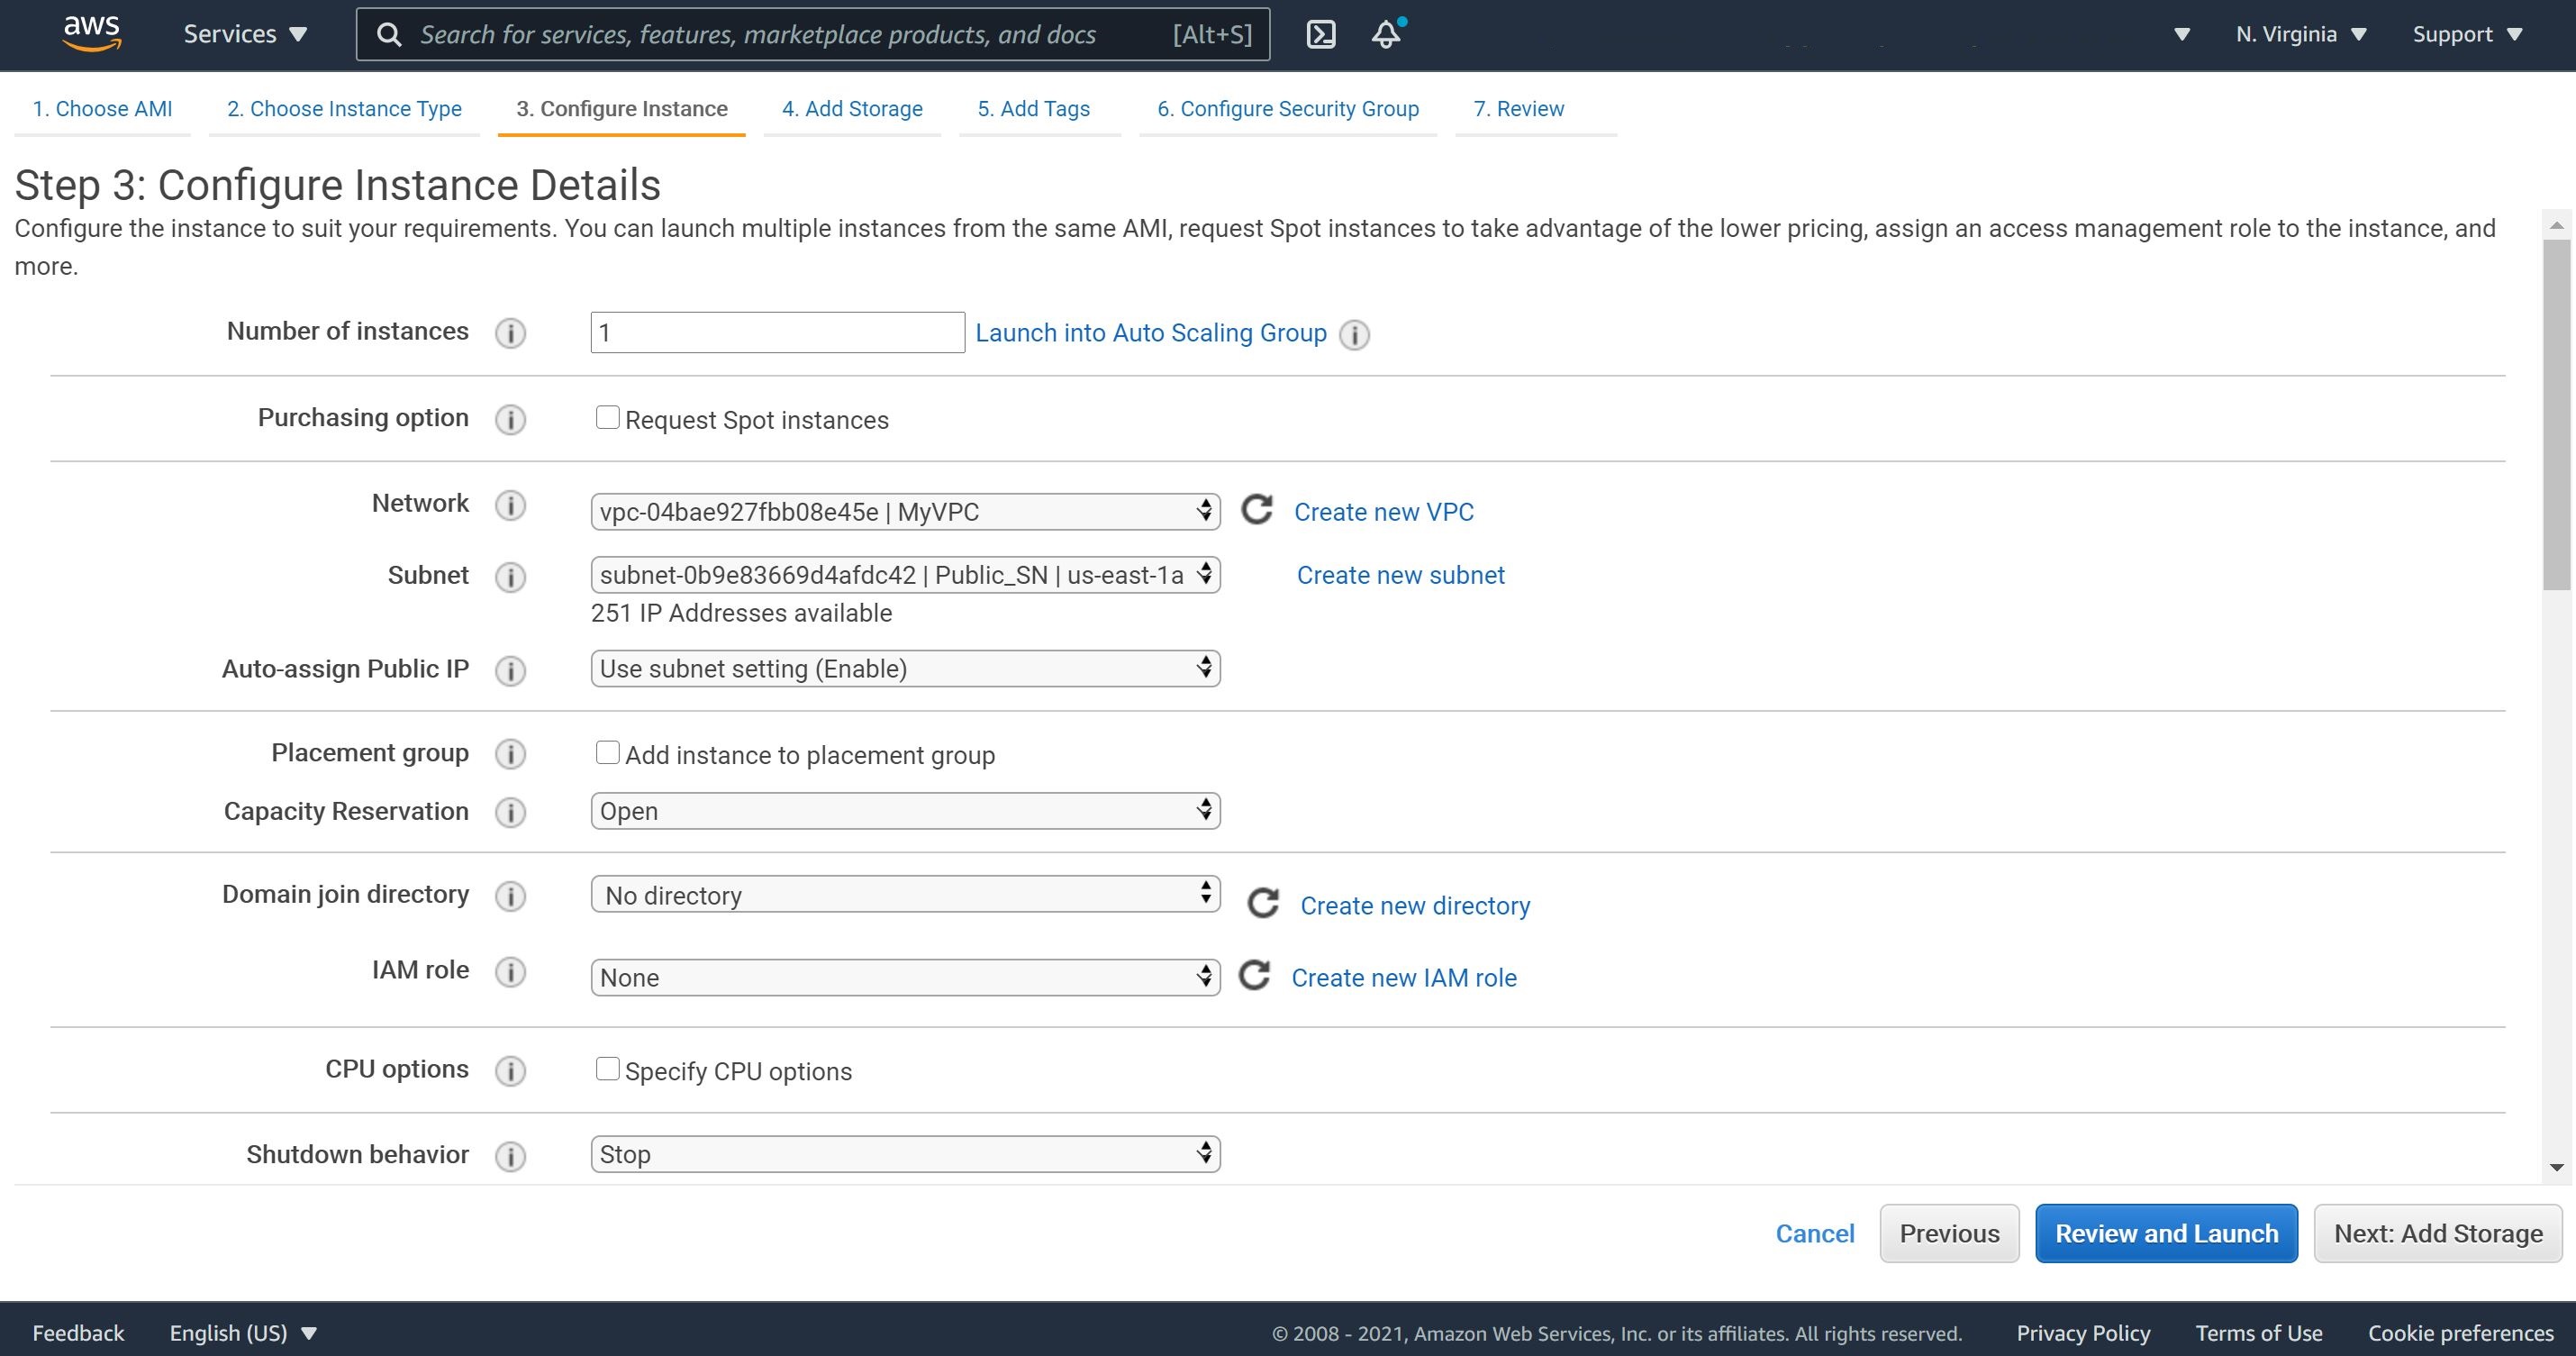
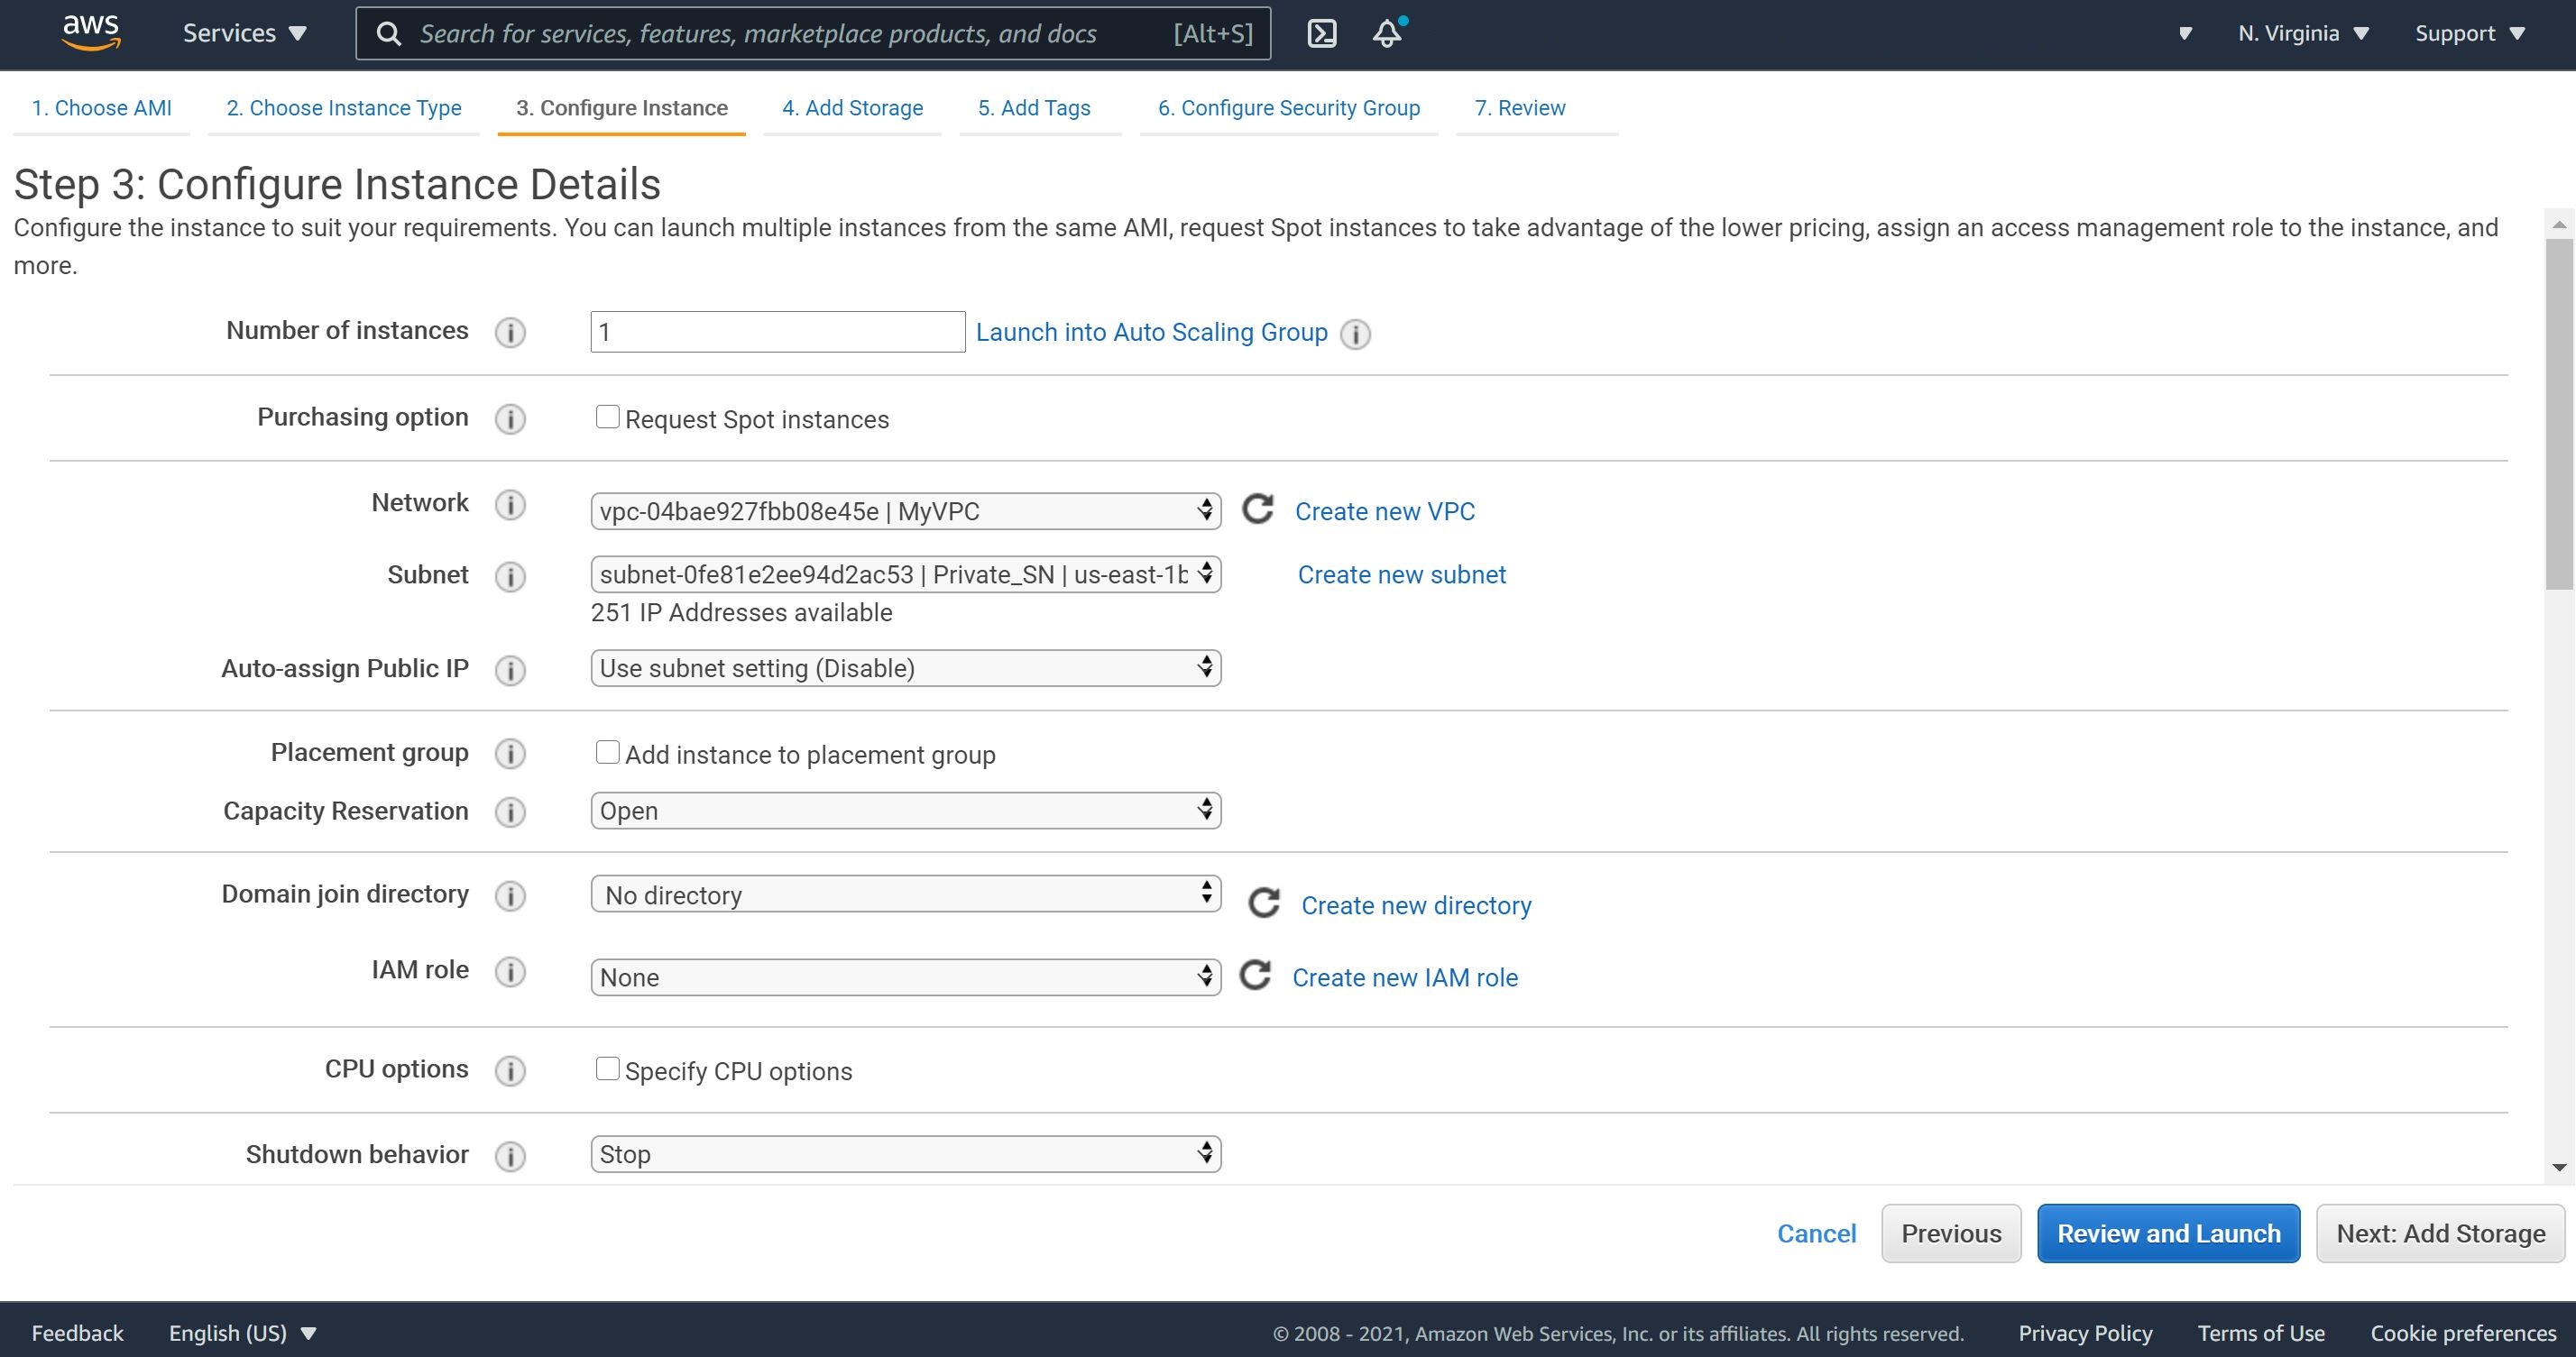
2- To keep the tutorial within the Free Tier eligible, I will select t2.micro for the Instance Type. On the Configuration Instance Details, select the VPC(MyVPC) and Public Subnet(Public_SN).
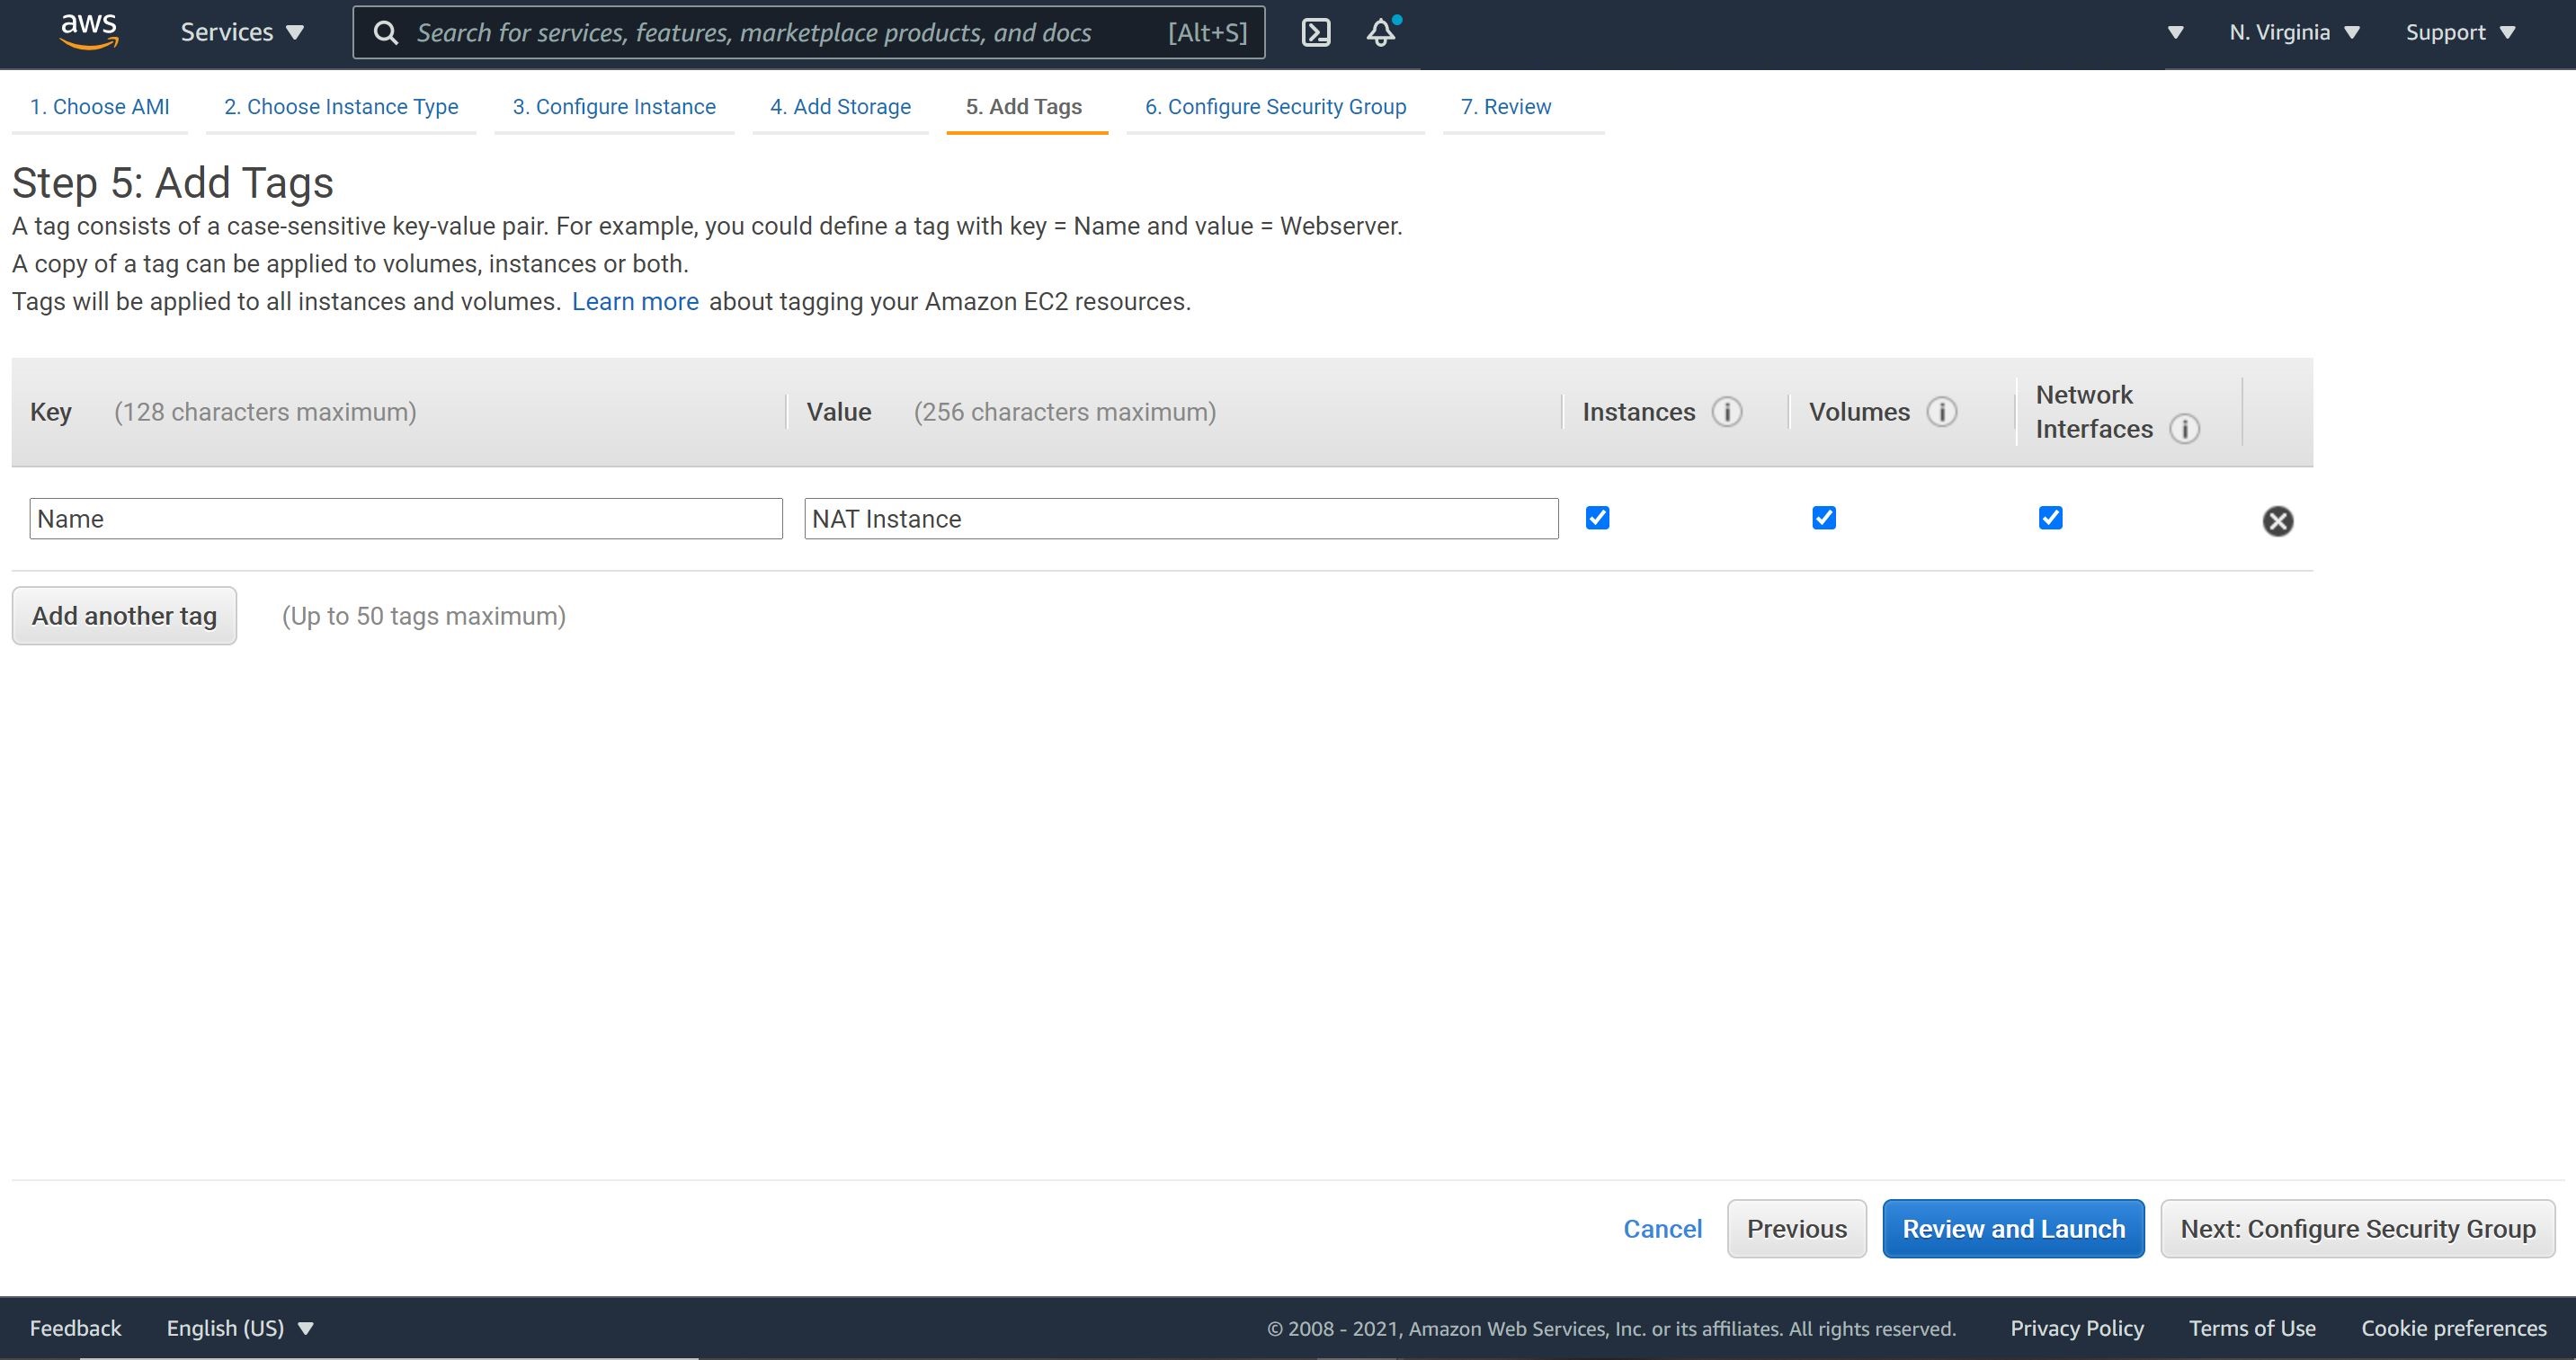
3- No need to add more than 8 GiB storage size. It’s best practice to add tags.
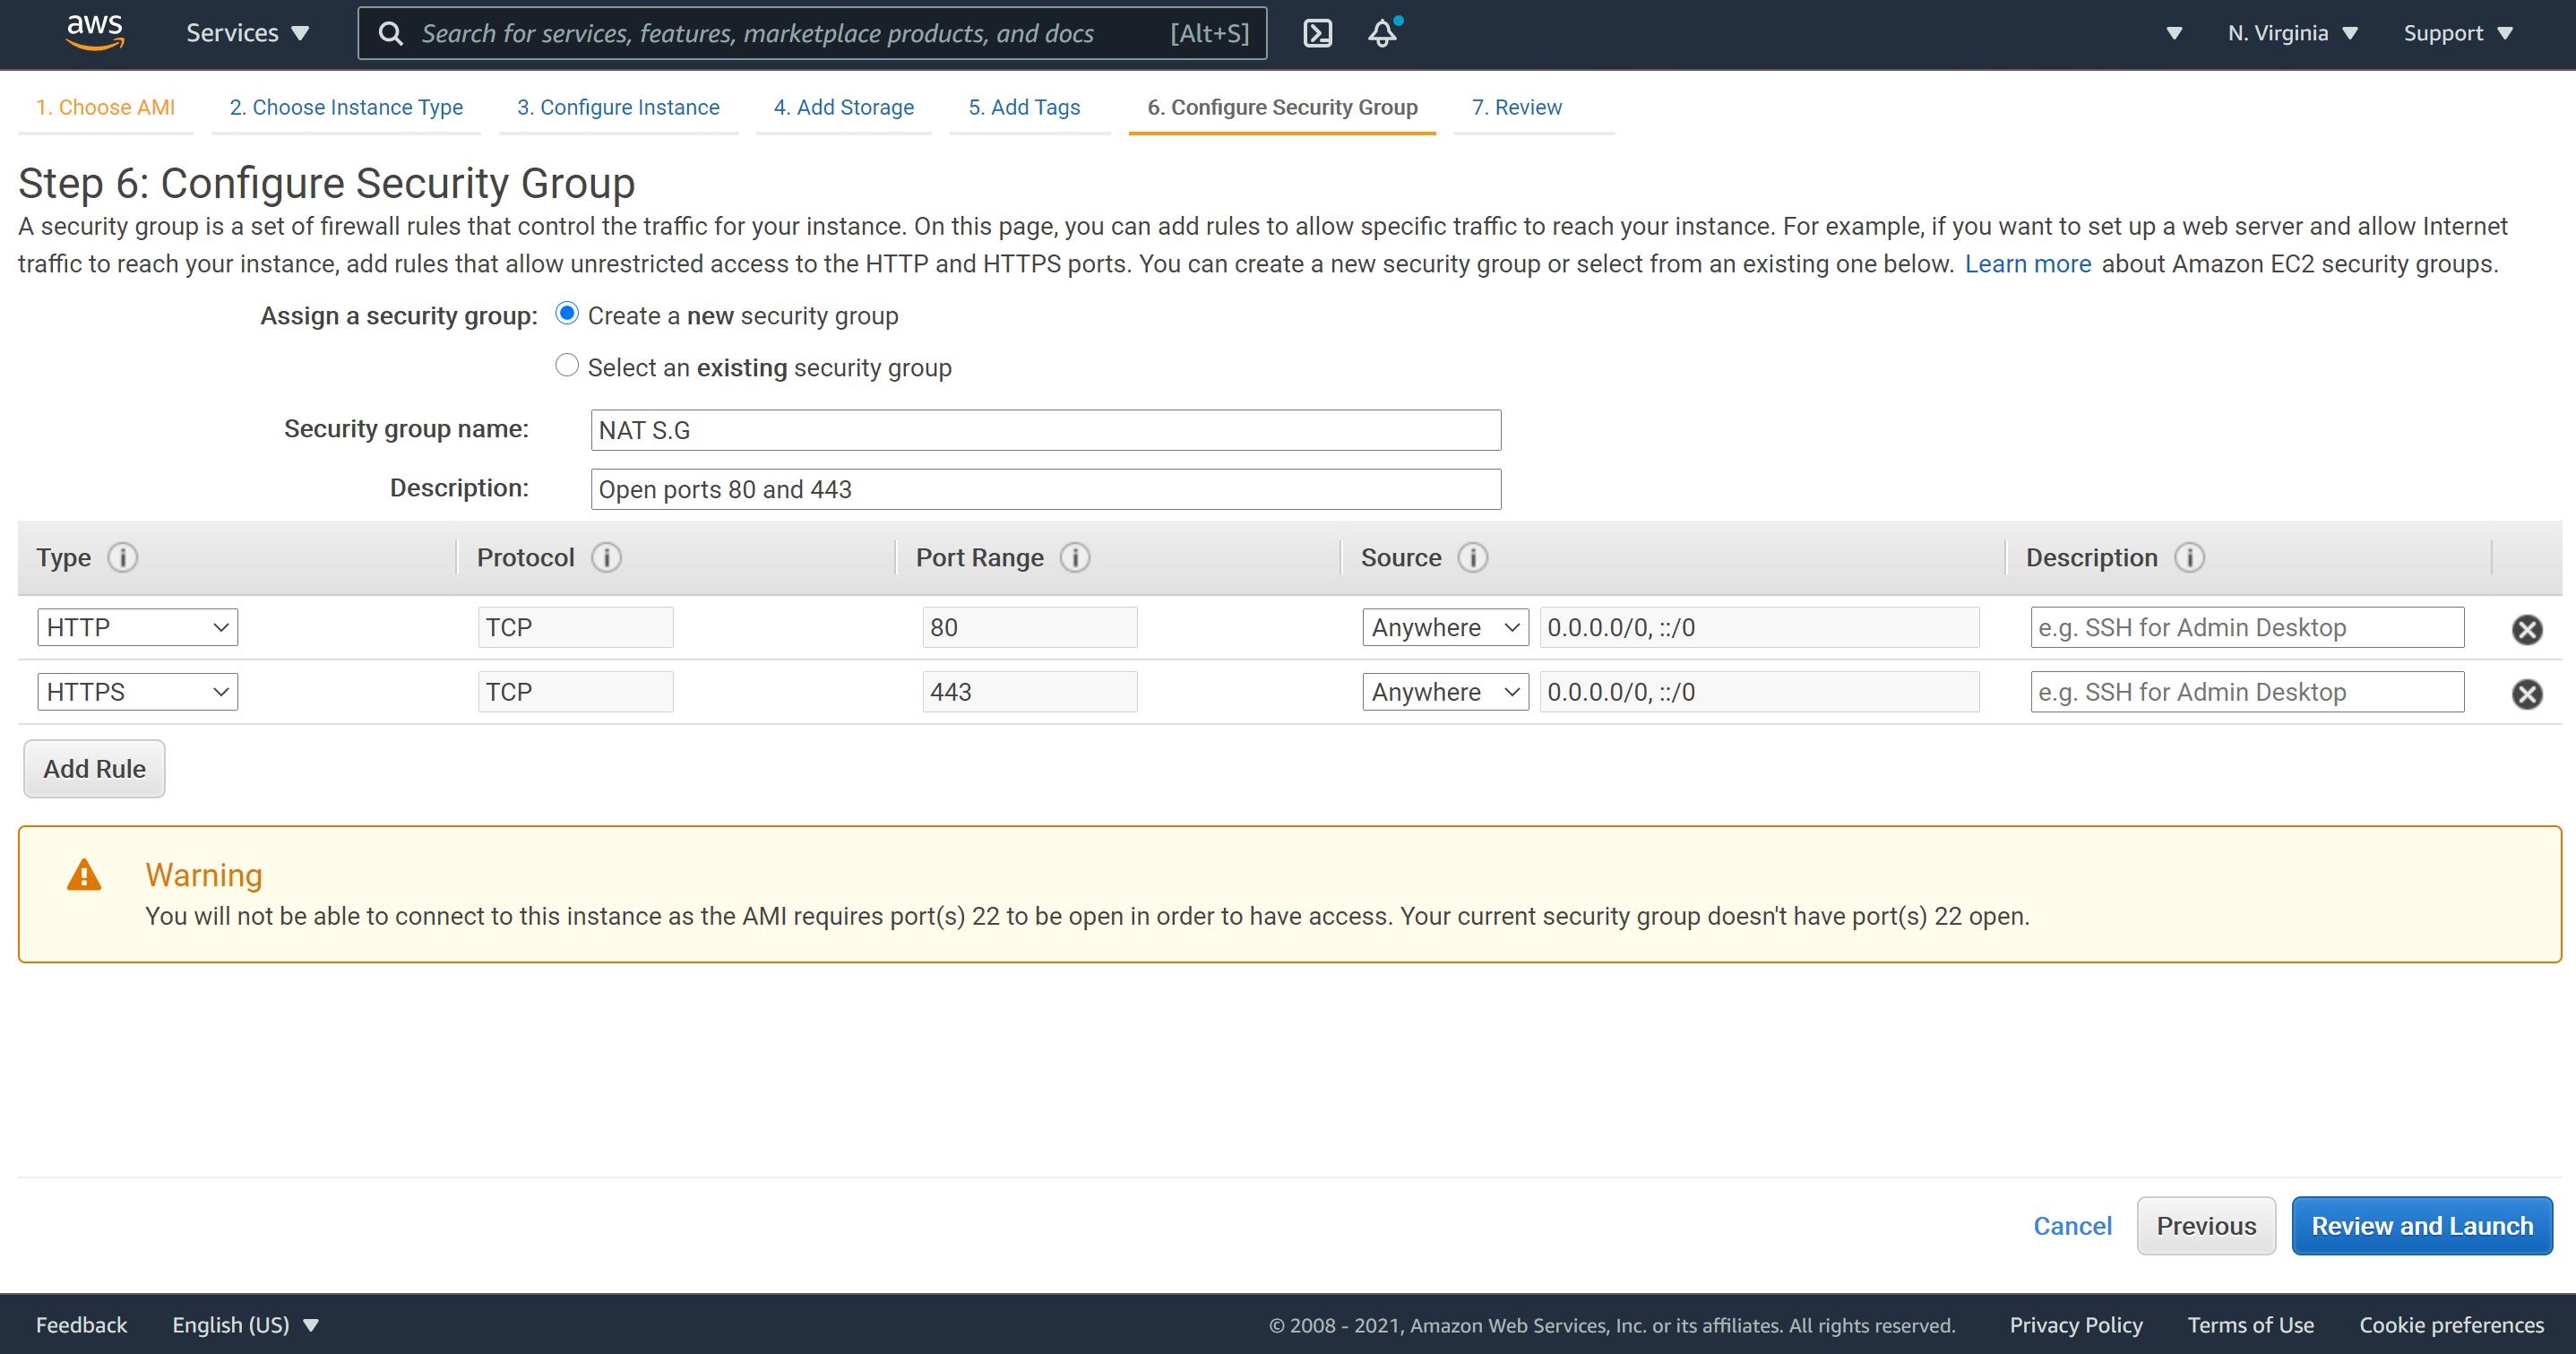
4- We shall create a security group for the NAT instance. We will open ports 80 and 443 only. These are the two port, which we need to allow traffic from our MySQL database instance. Then, let’s review and launch our NAT instance.
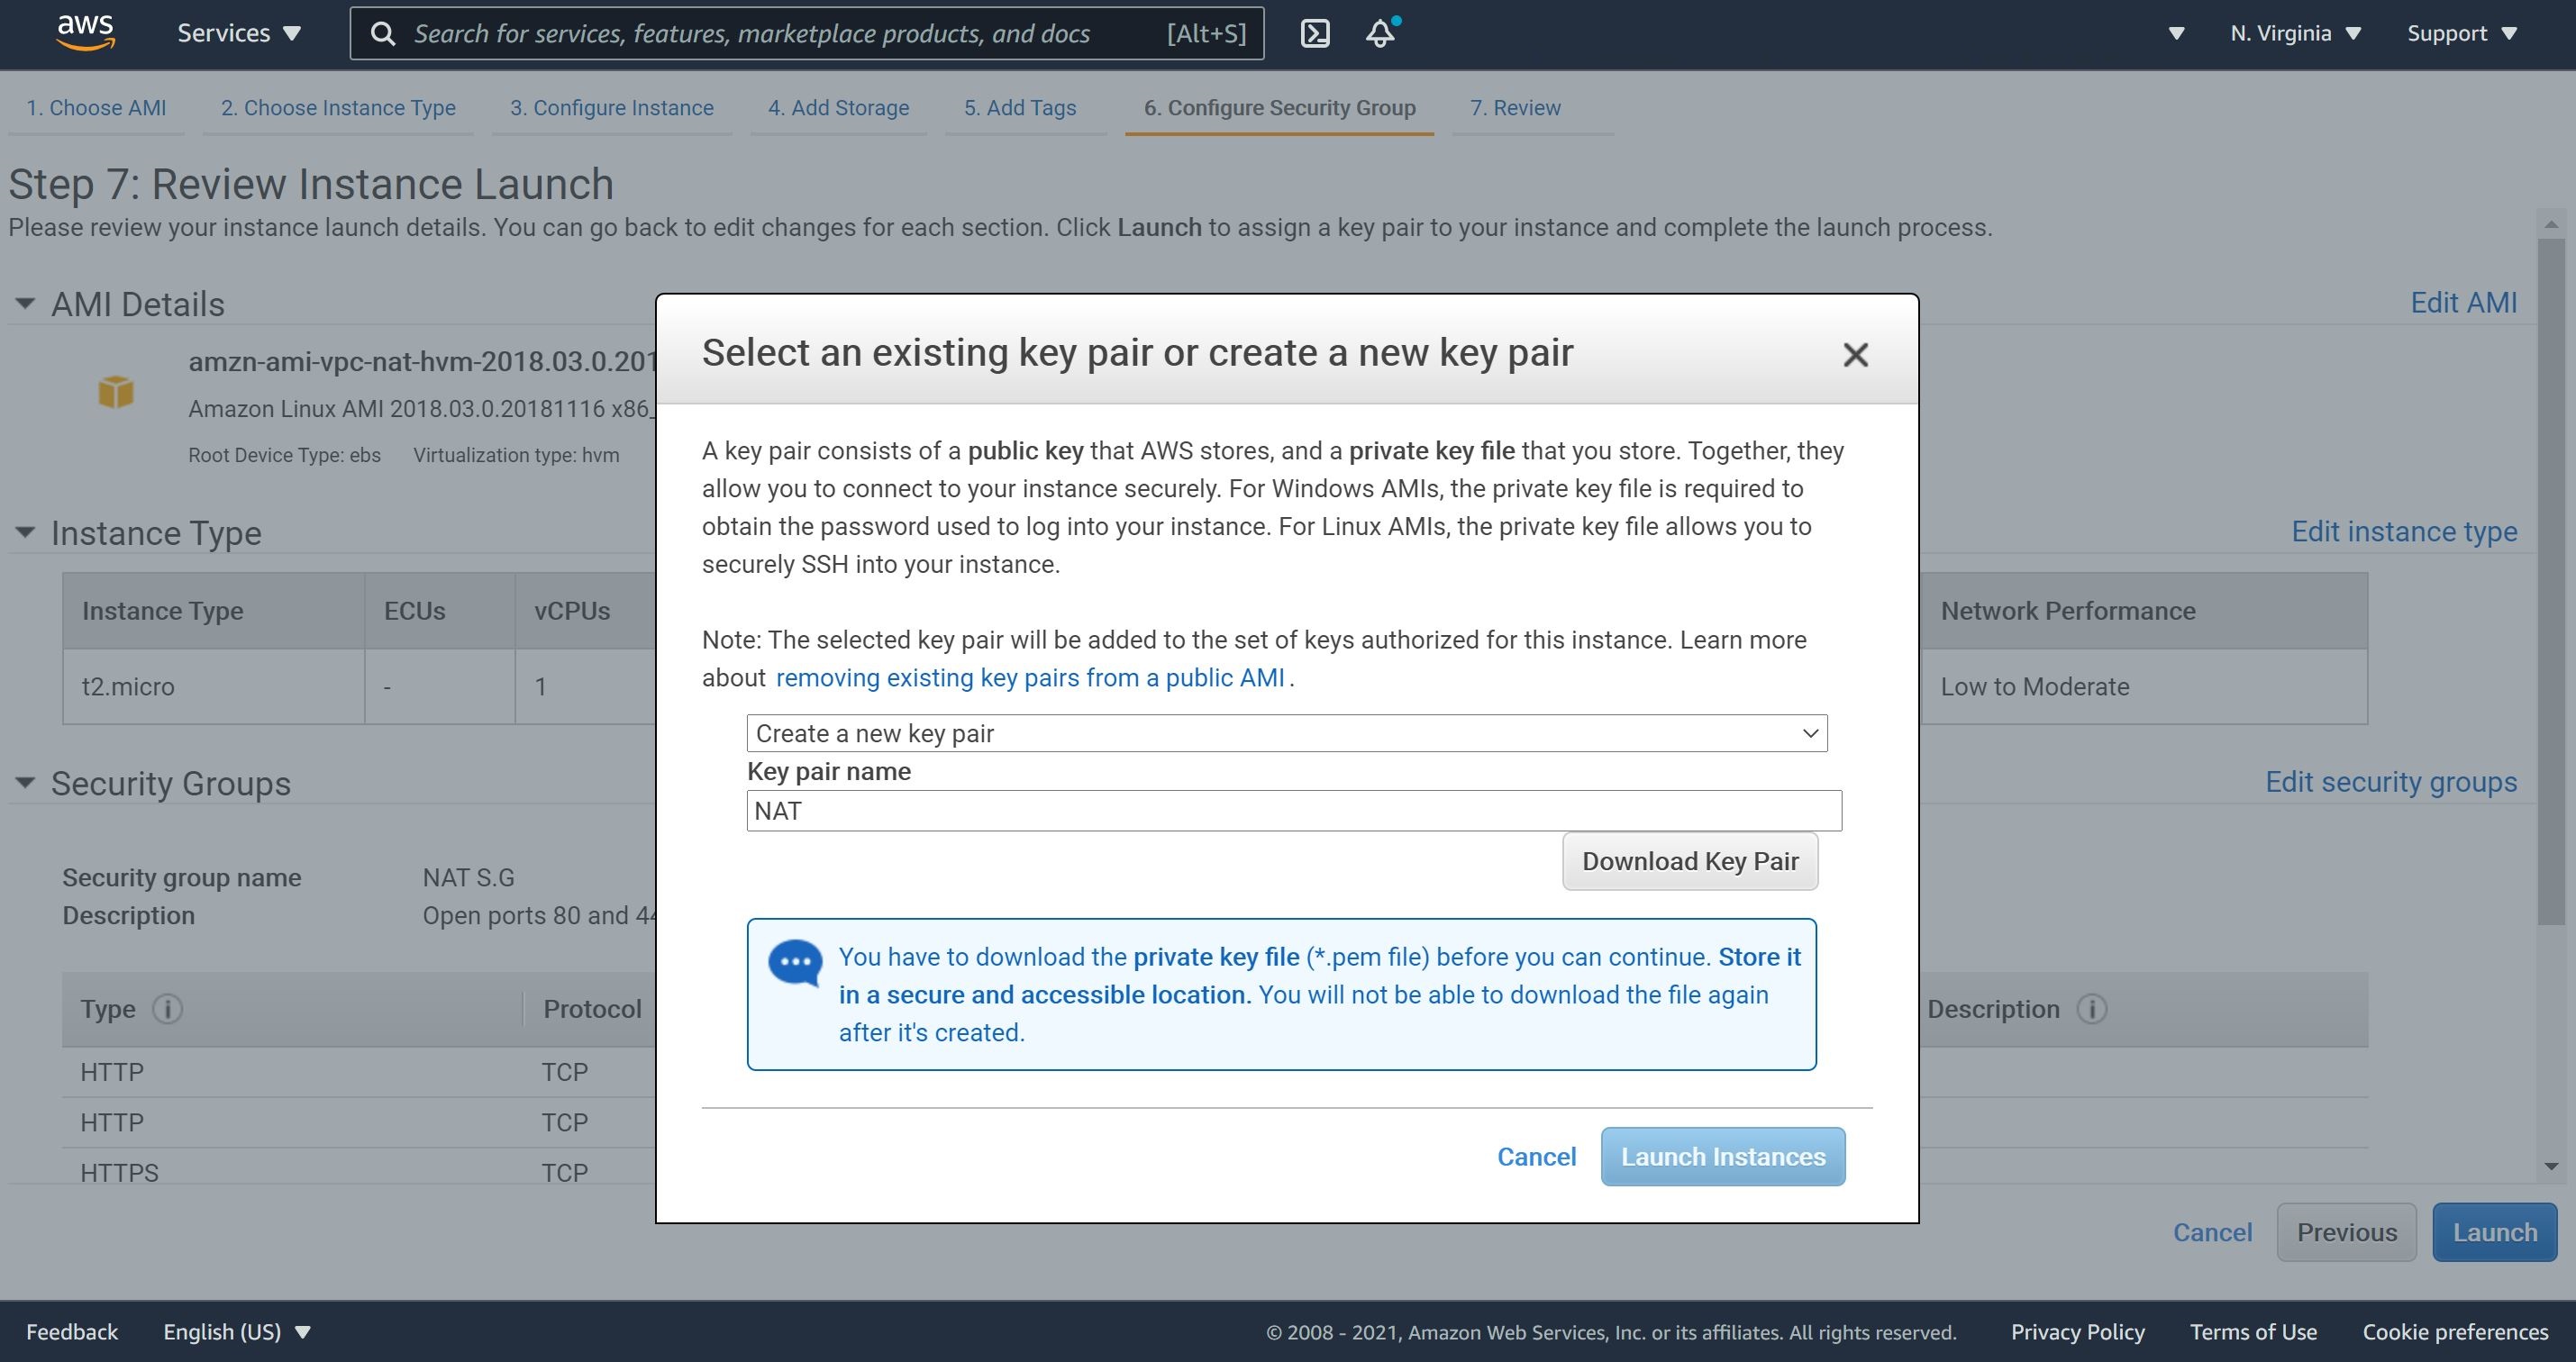
5- let’s review, launch our NAT instance and download our Key pair name.
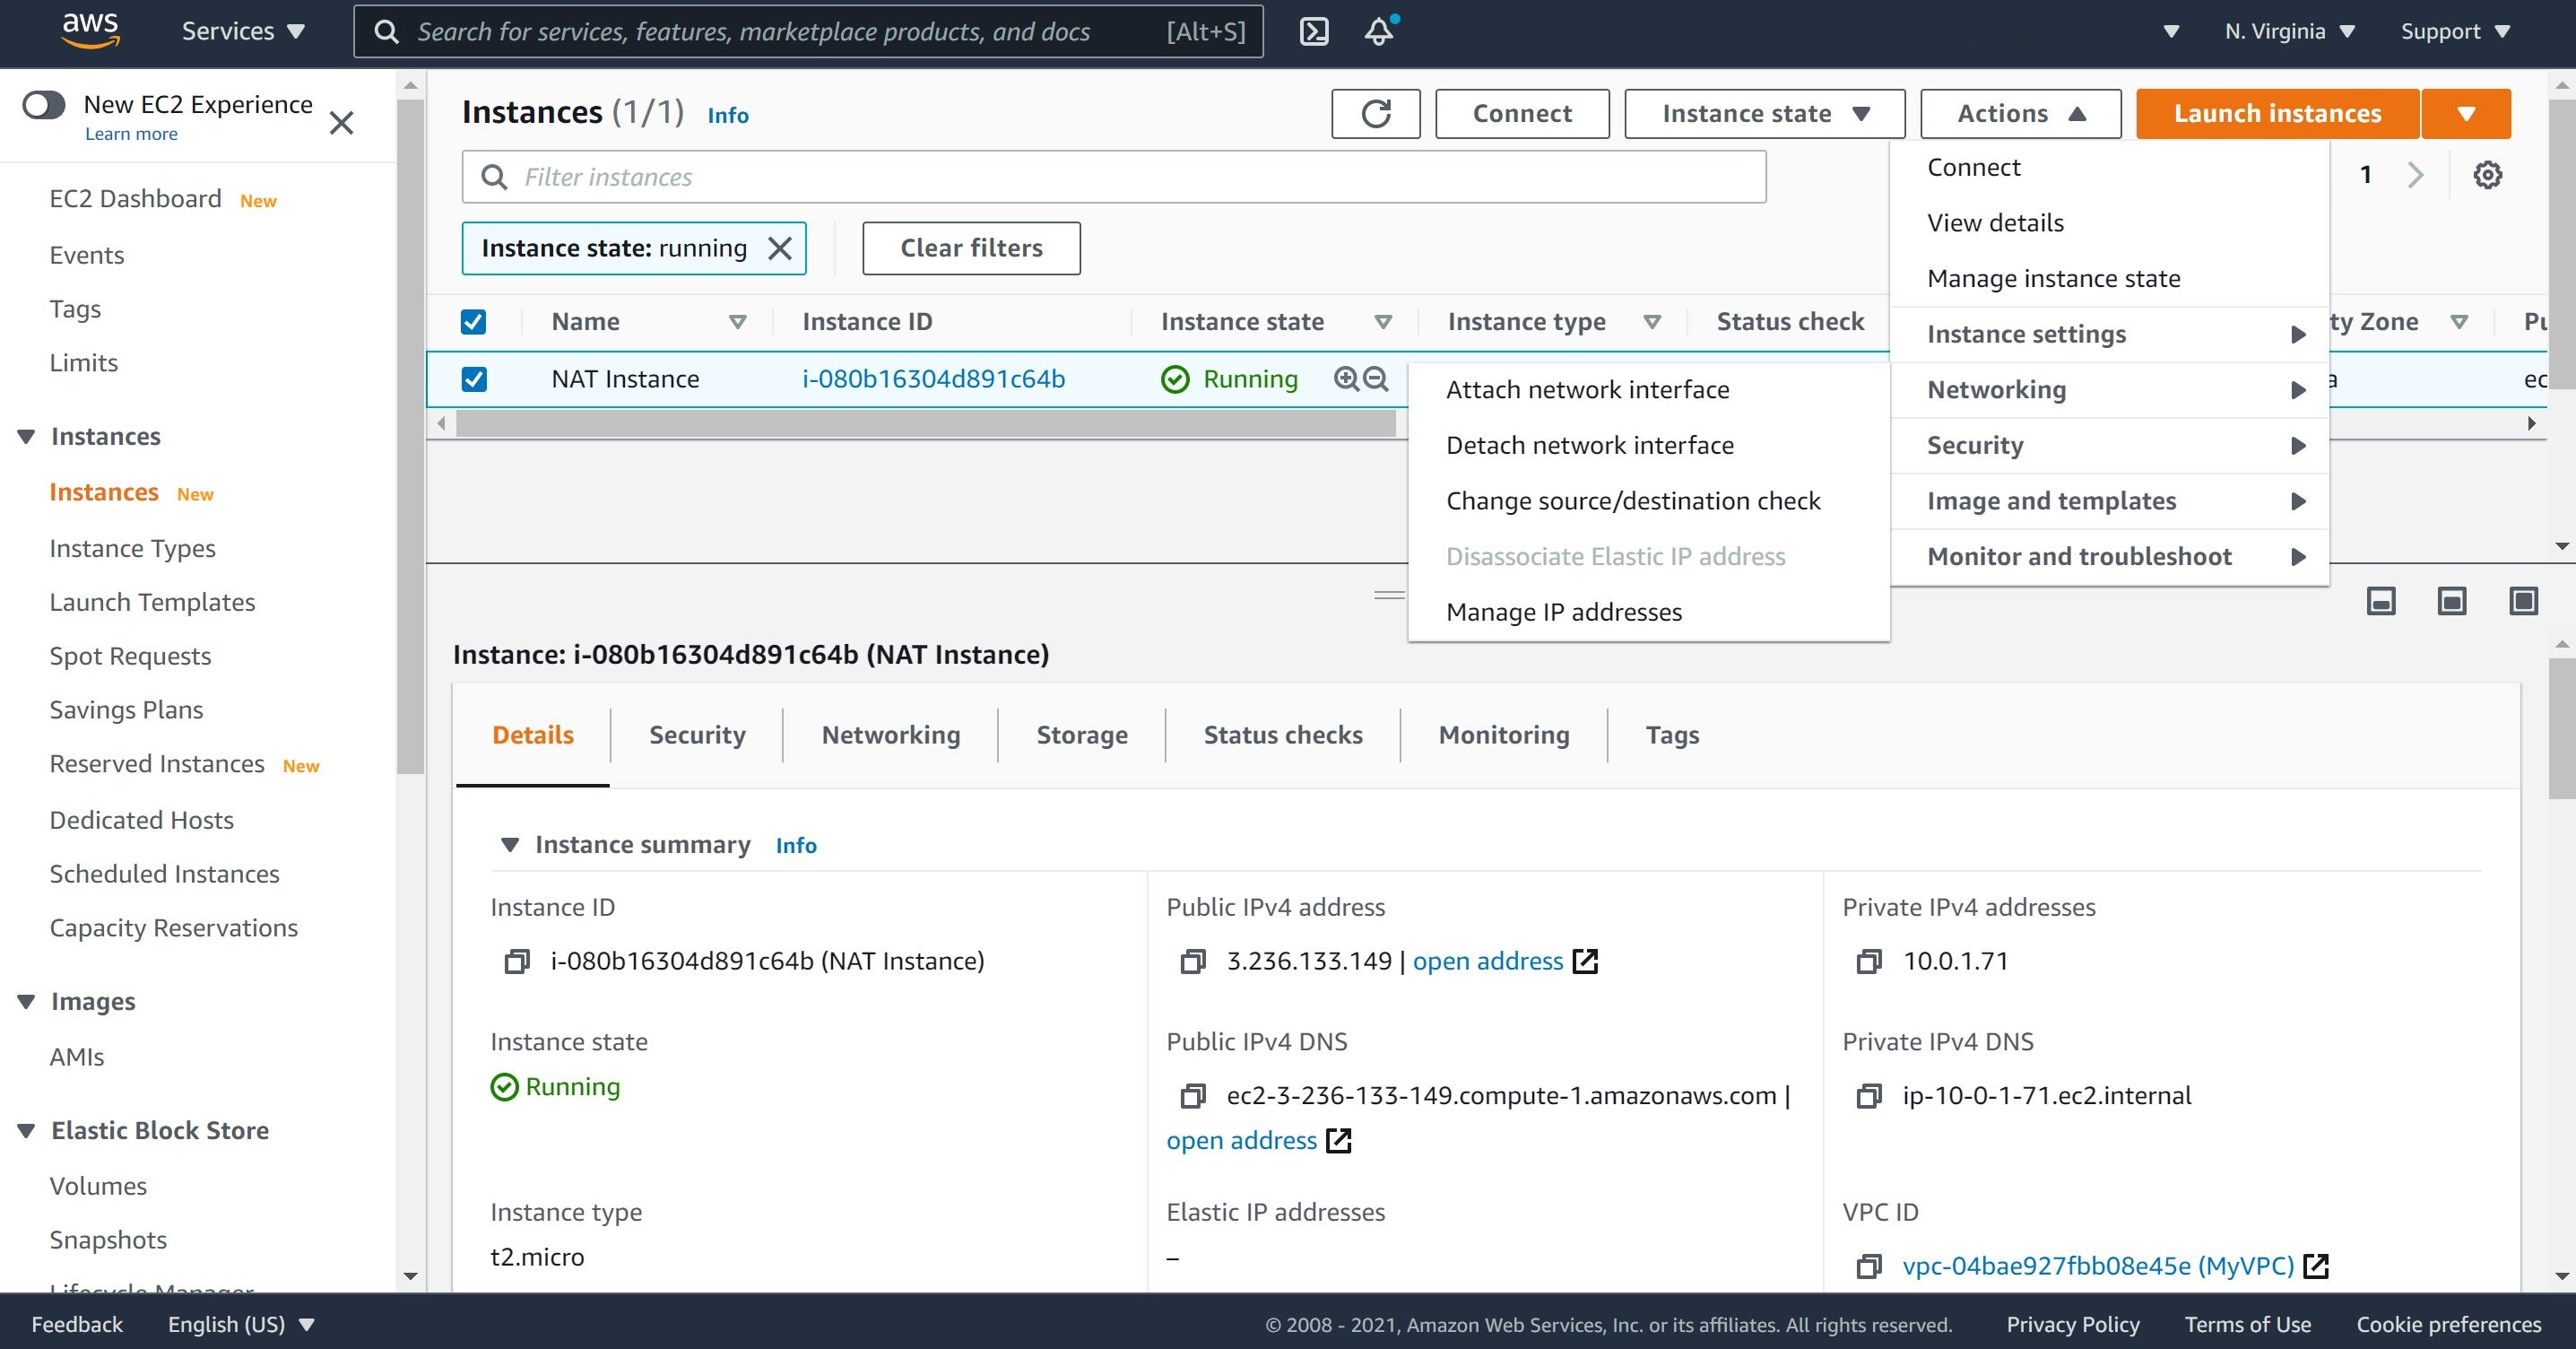
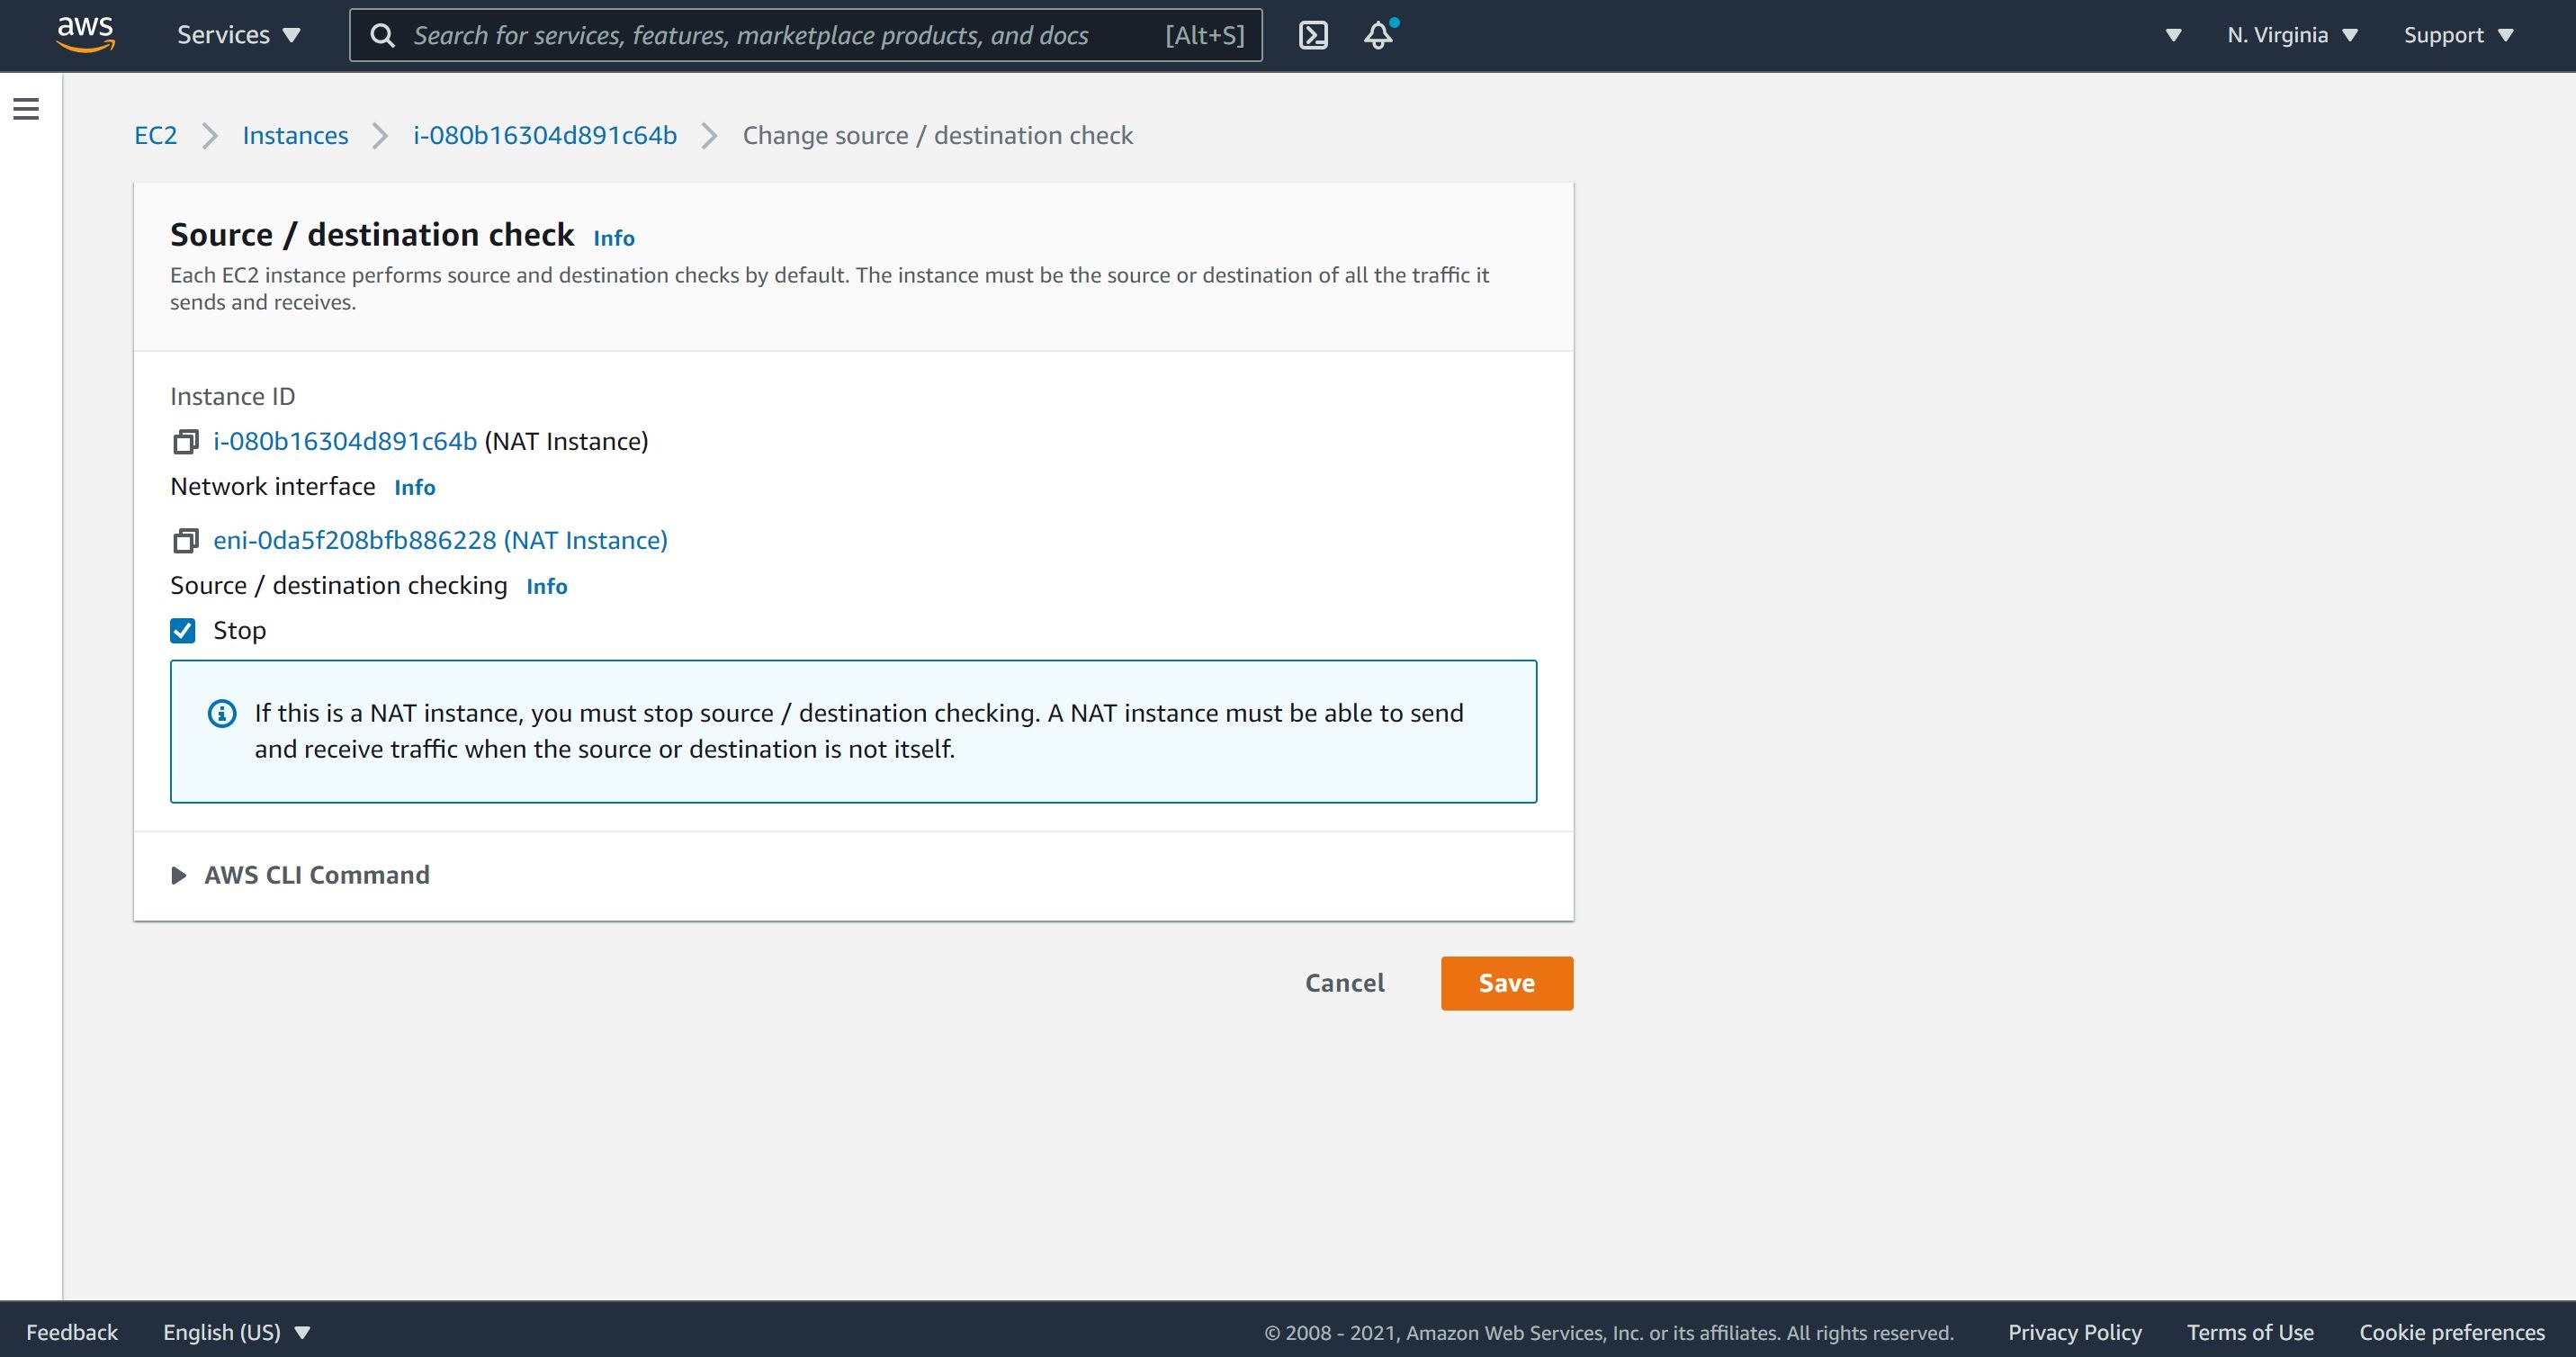
6- In any NAT instance, we must stop source/destination checking. This allows the NAT instance to send and receive traffic when the source or rhe destination is not itself.
Step 5: Private Route Table
1- Now, we will create a private route table using the steps for the public route table.
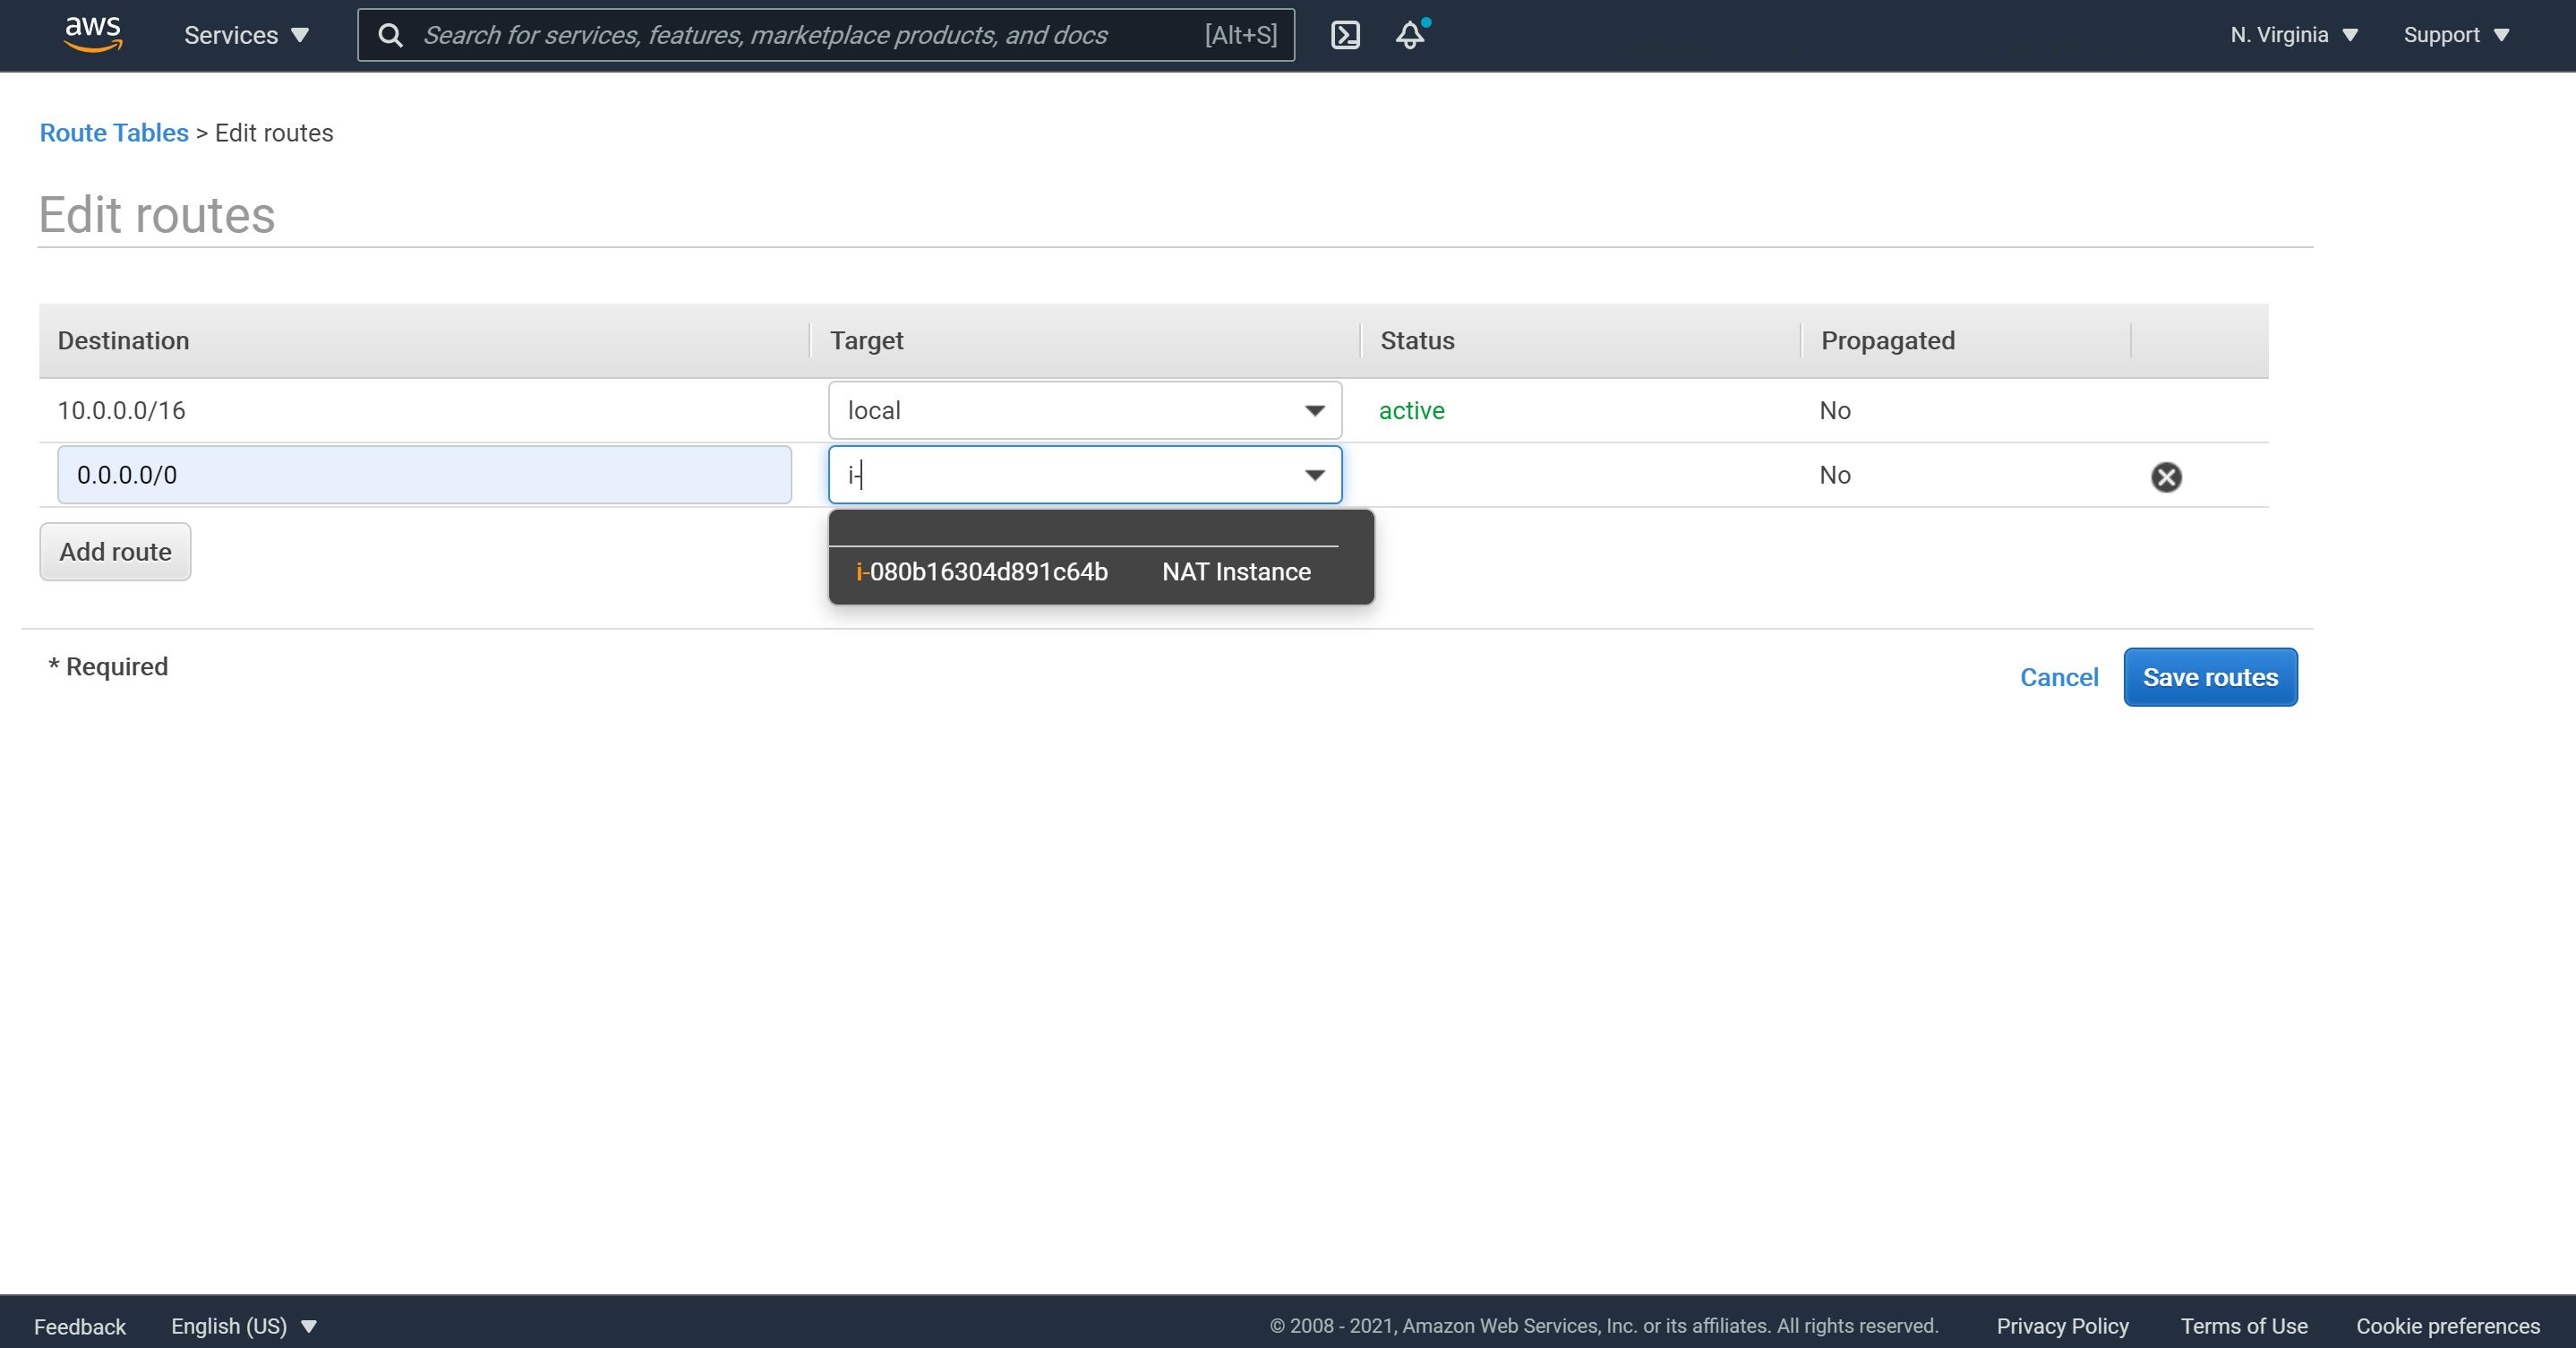
2- Click on “add route”, choose Destination as 0.0.0.0/0, select the Target as our NAT instance and click on Save routes.
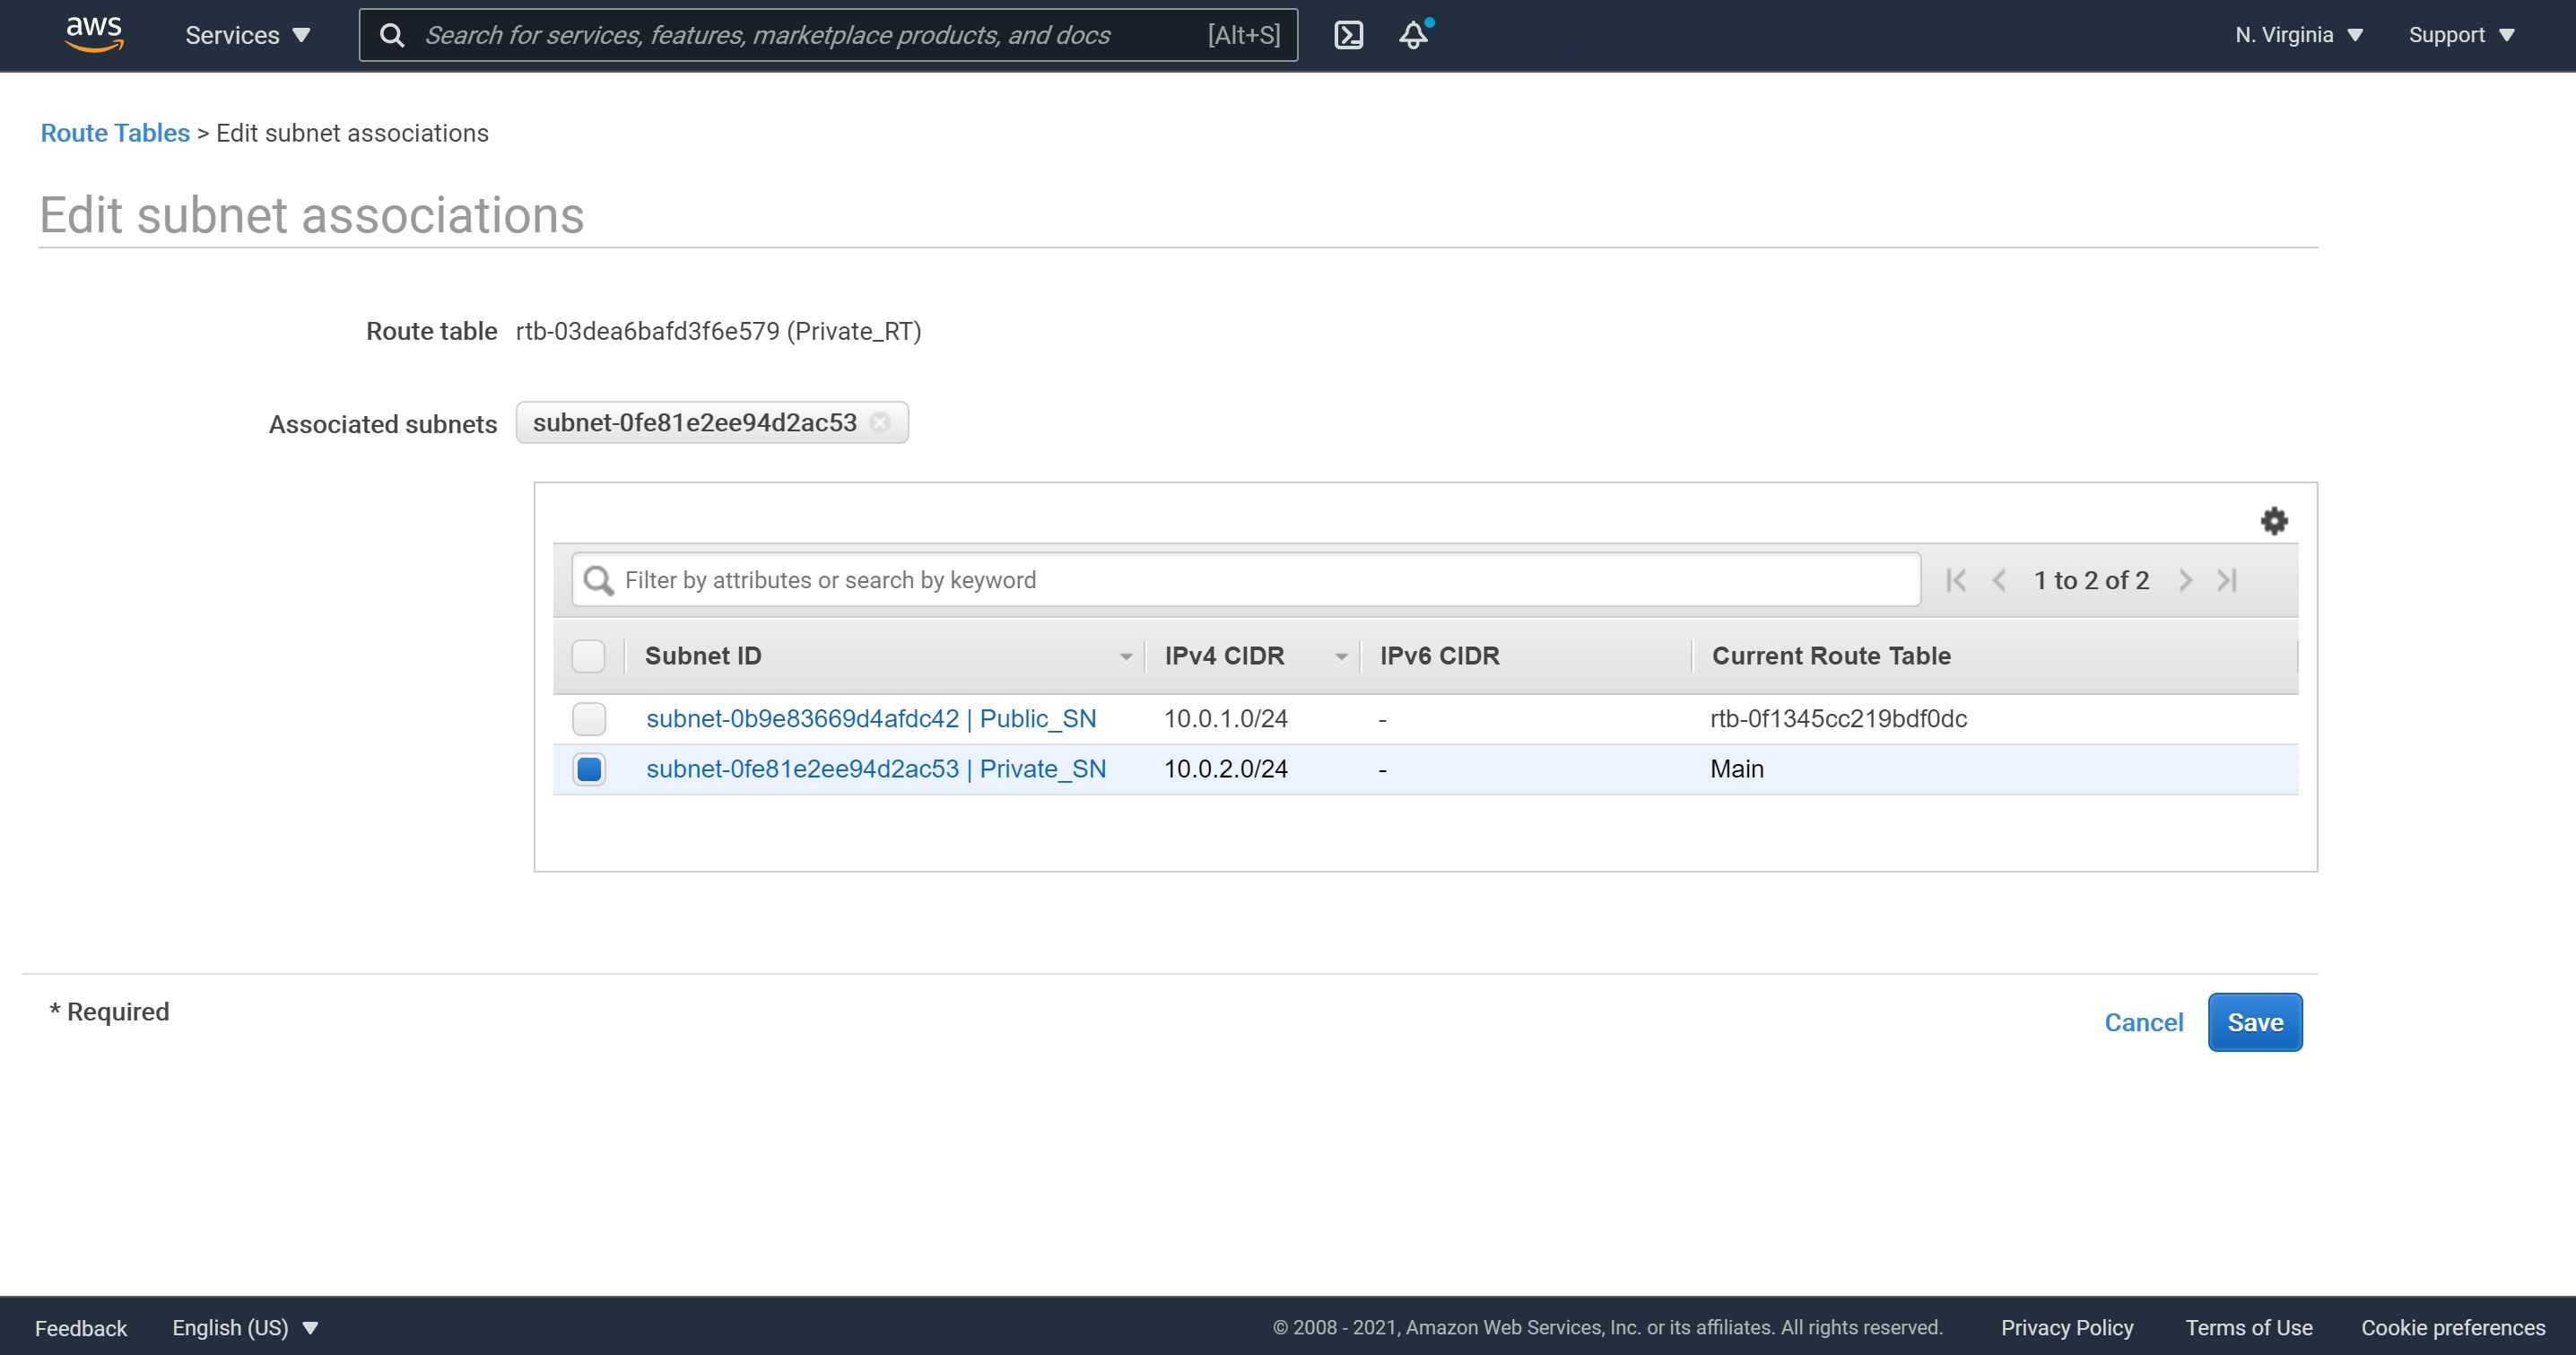
3- Now, we will need to associate our private subnet with this private route table. Let’s click on Subnet Associations, Edit subnet associations, check our private subnet and click Save.
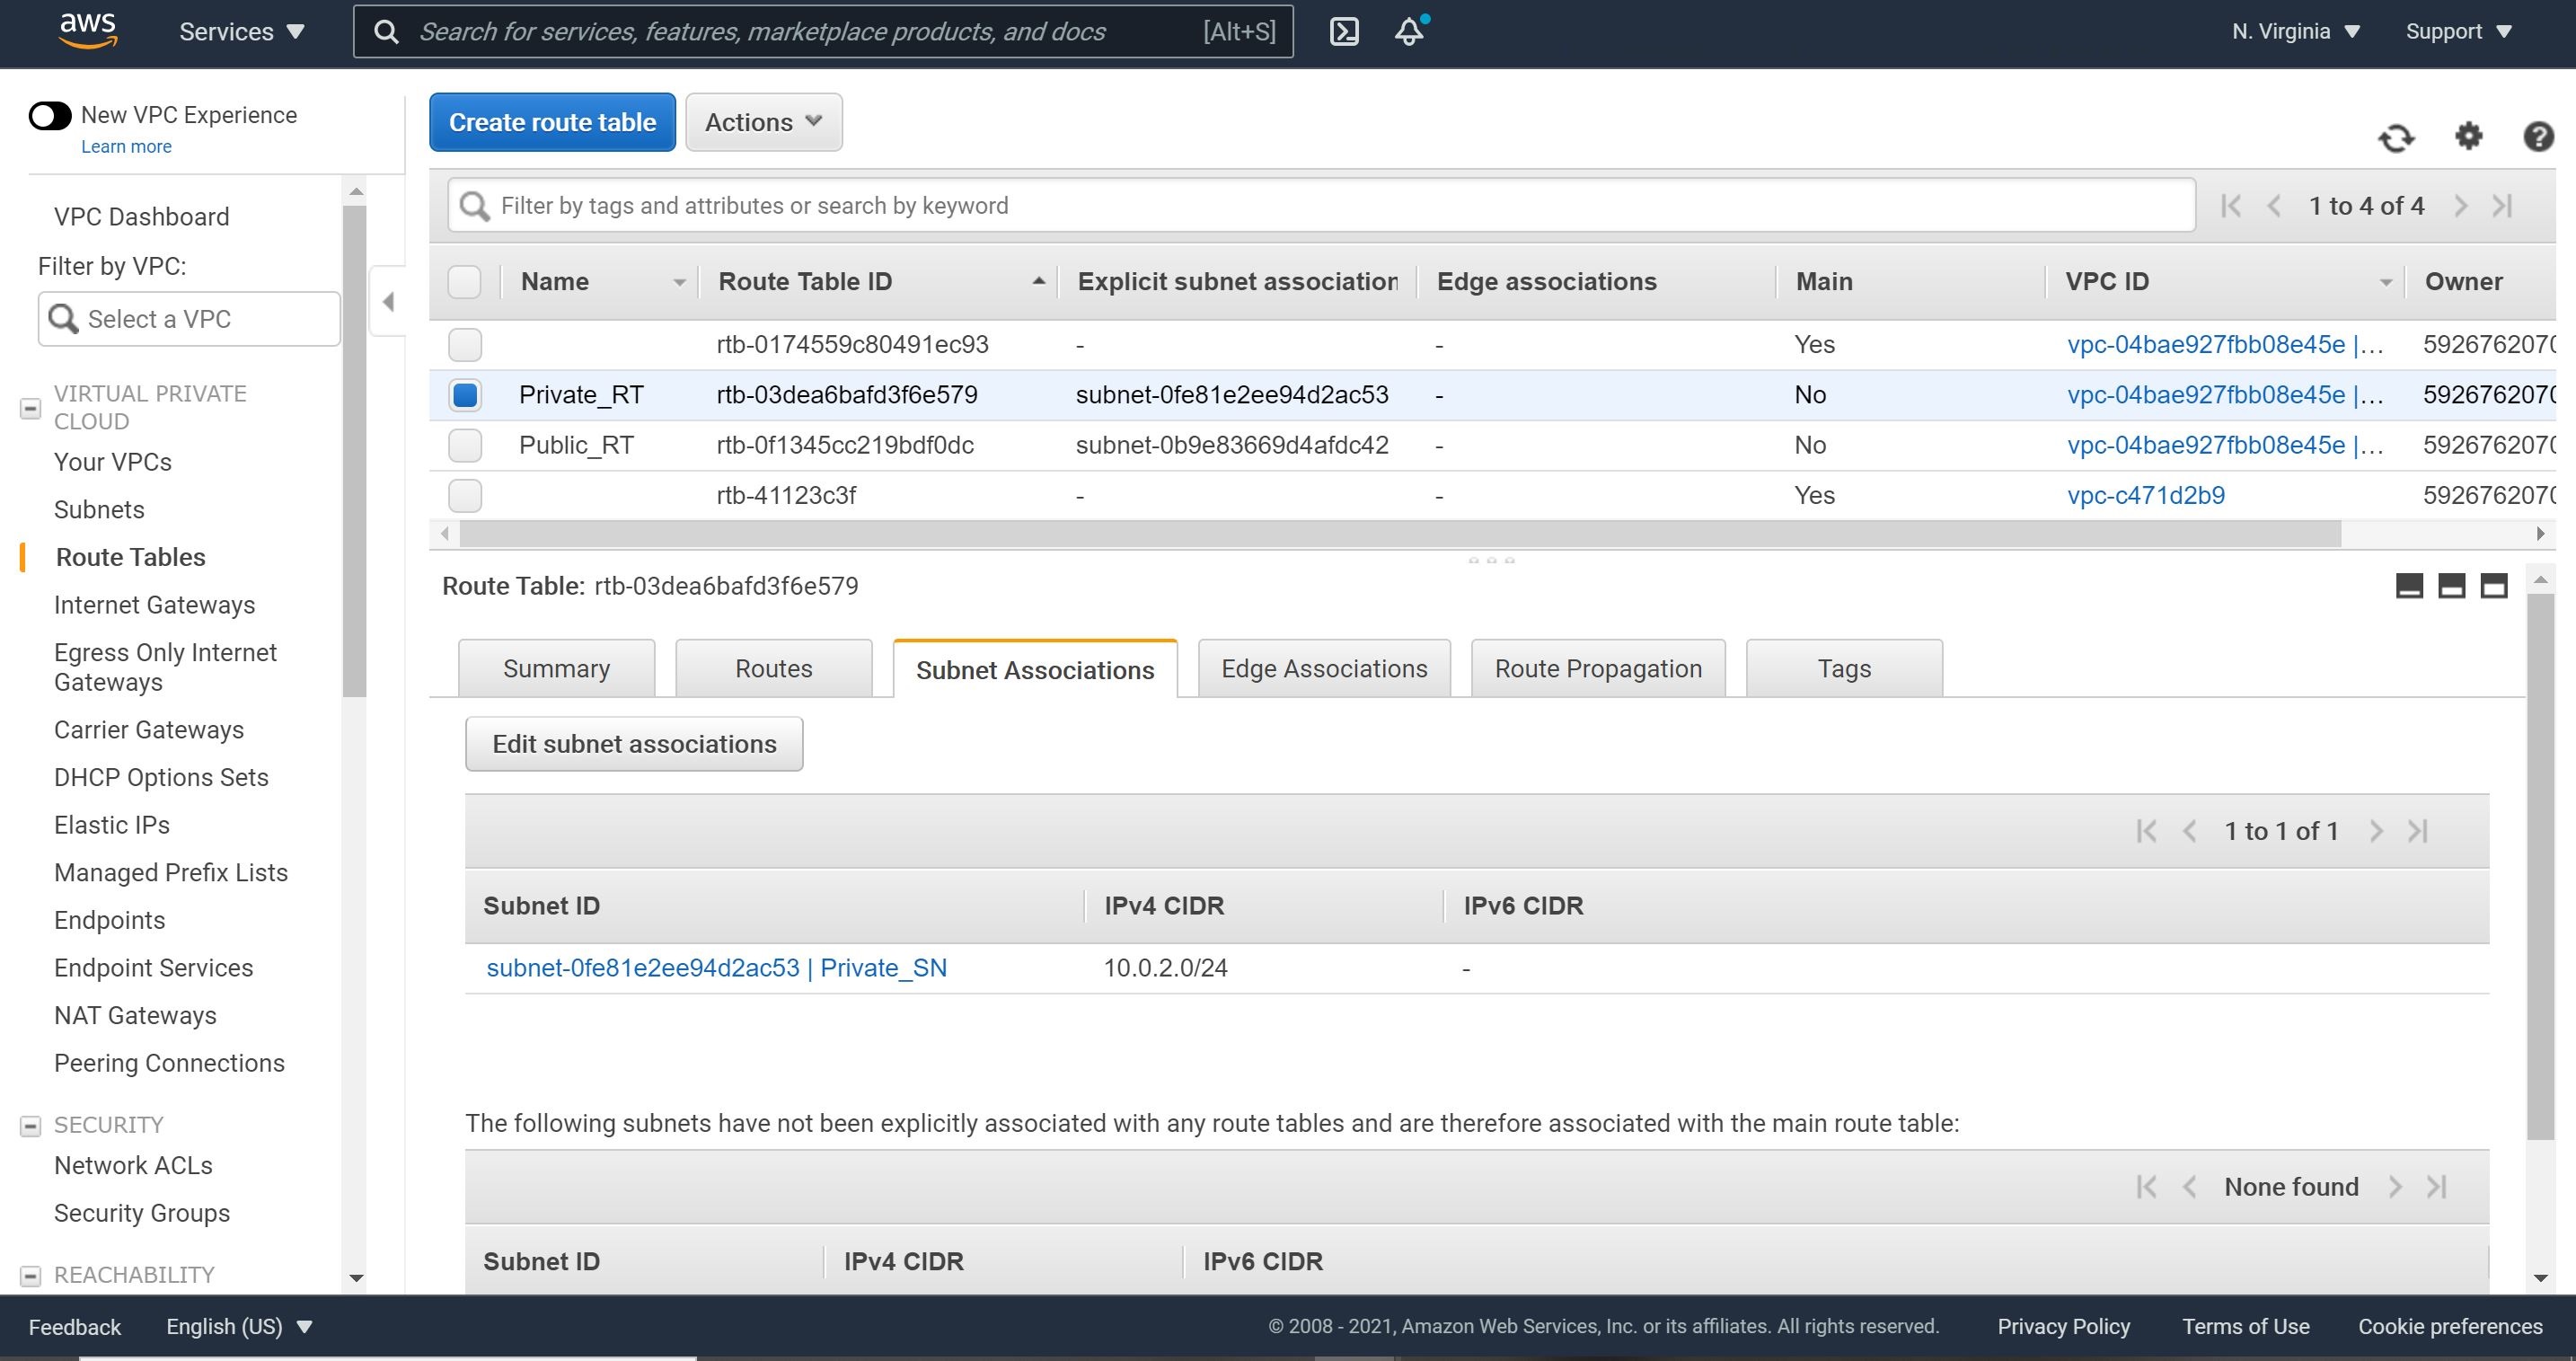
Let’s inspect our final associations to ensure all is in place.
Step 6: MySQL Database Instance
1- Navigate to EC2, select Launch instance and select AMI Ubuntu Server 18.04 LTS.
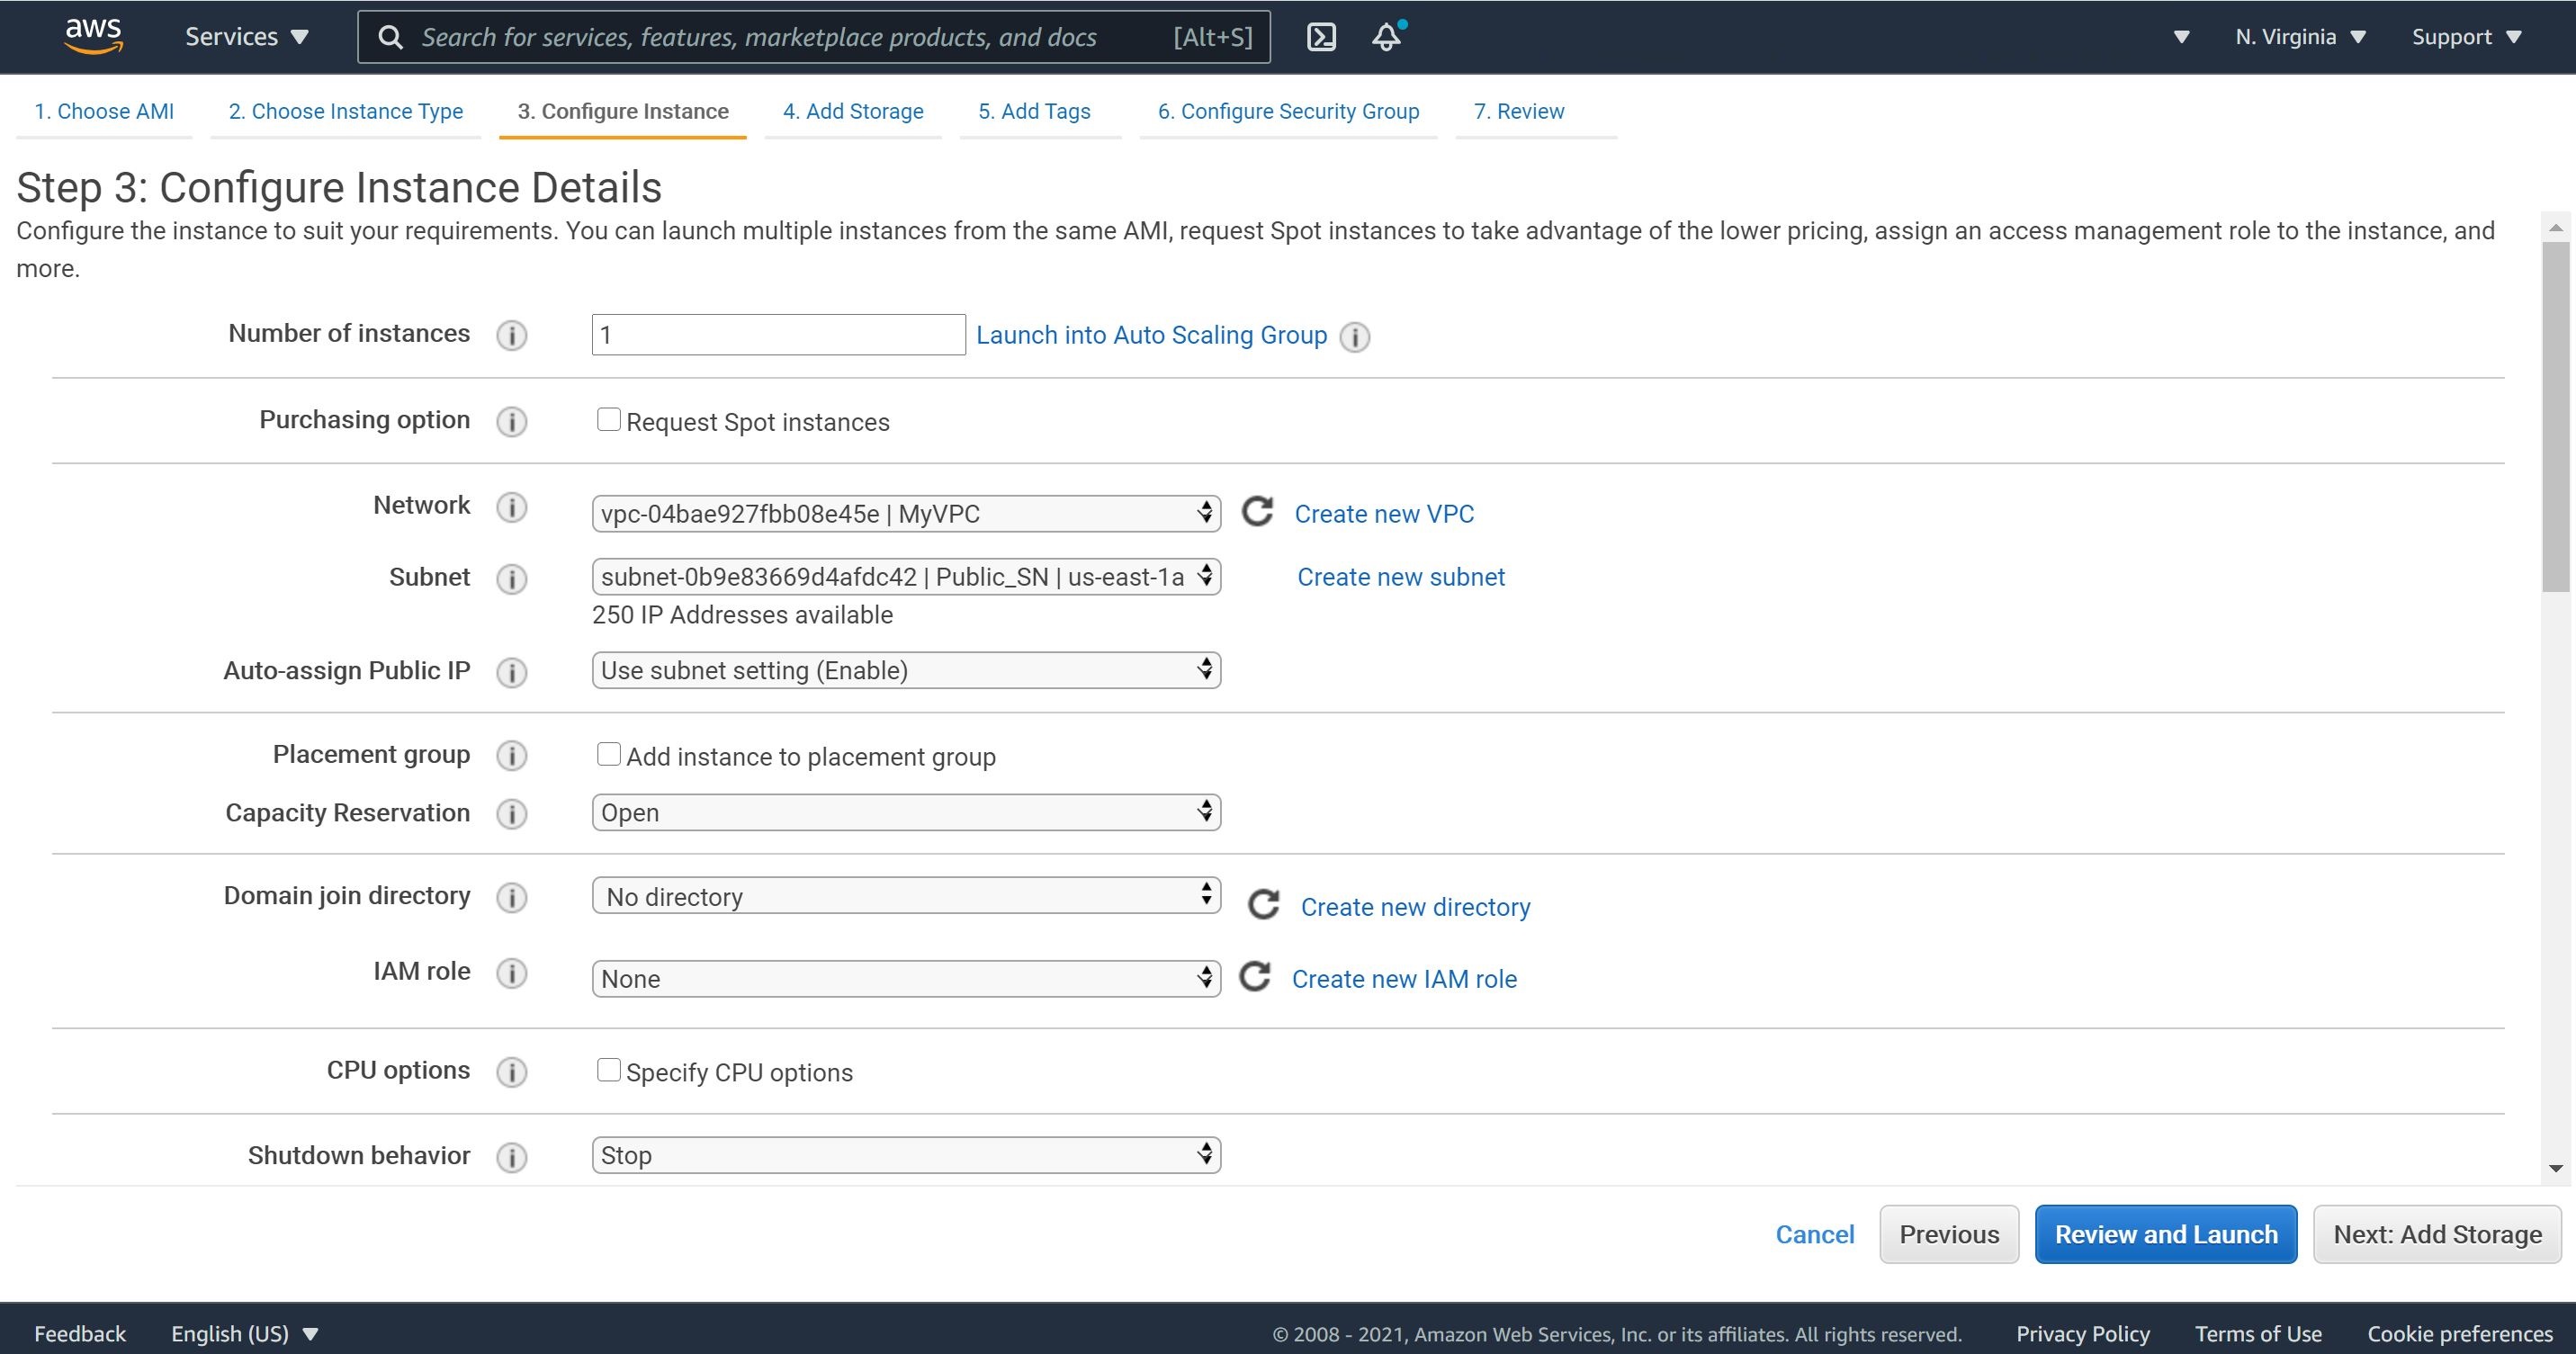
2- We will keep the Instance Type as t2.micro. On the Configure Instance Details, select our VPC and place the instance in the private subnet.
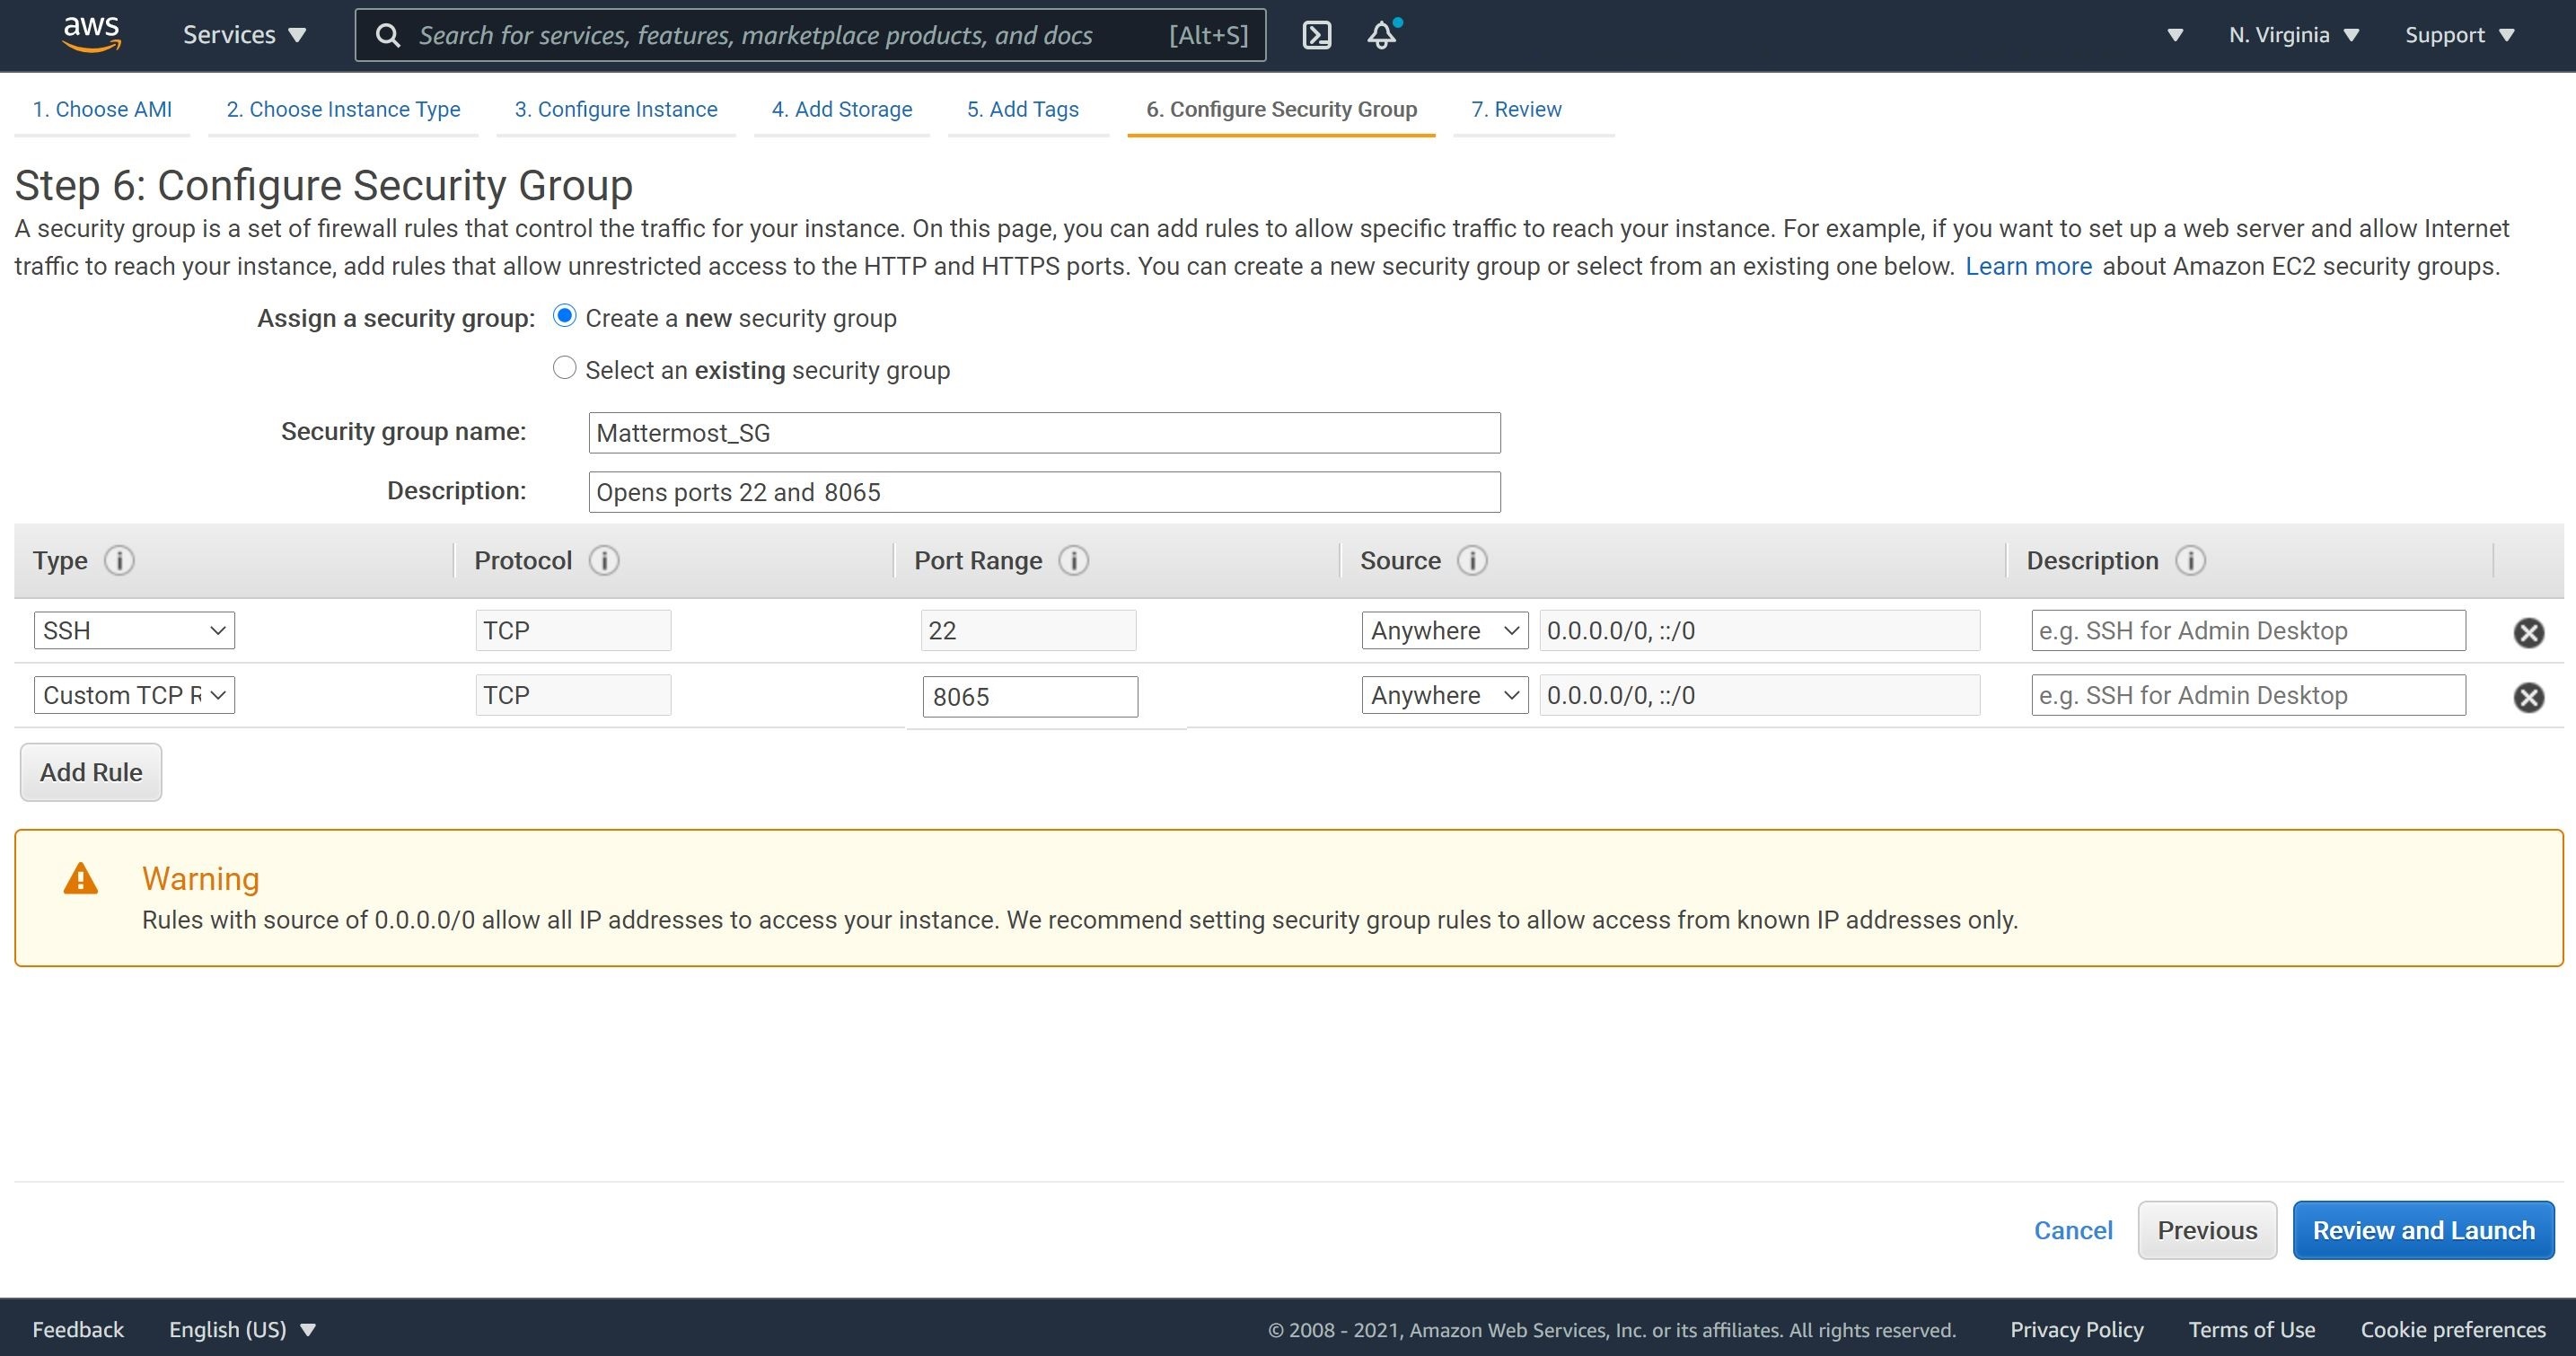
3- No changes to the storage size but let’s add a tag. We will configure a security group to open ports 22 and 8065. We will need to open port 22 so we can SSH from the Mattermost web app into the MySQL database instance. Port 8065 is for the MySQL instance to communicate with the Mattermost web app.
4- Let’s create a new key pair and launch the instance.
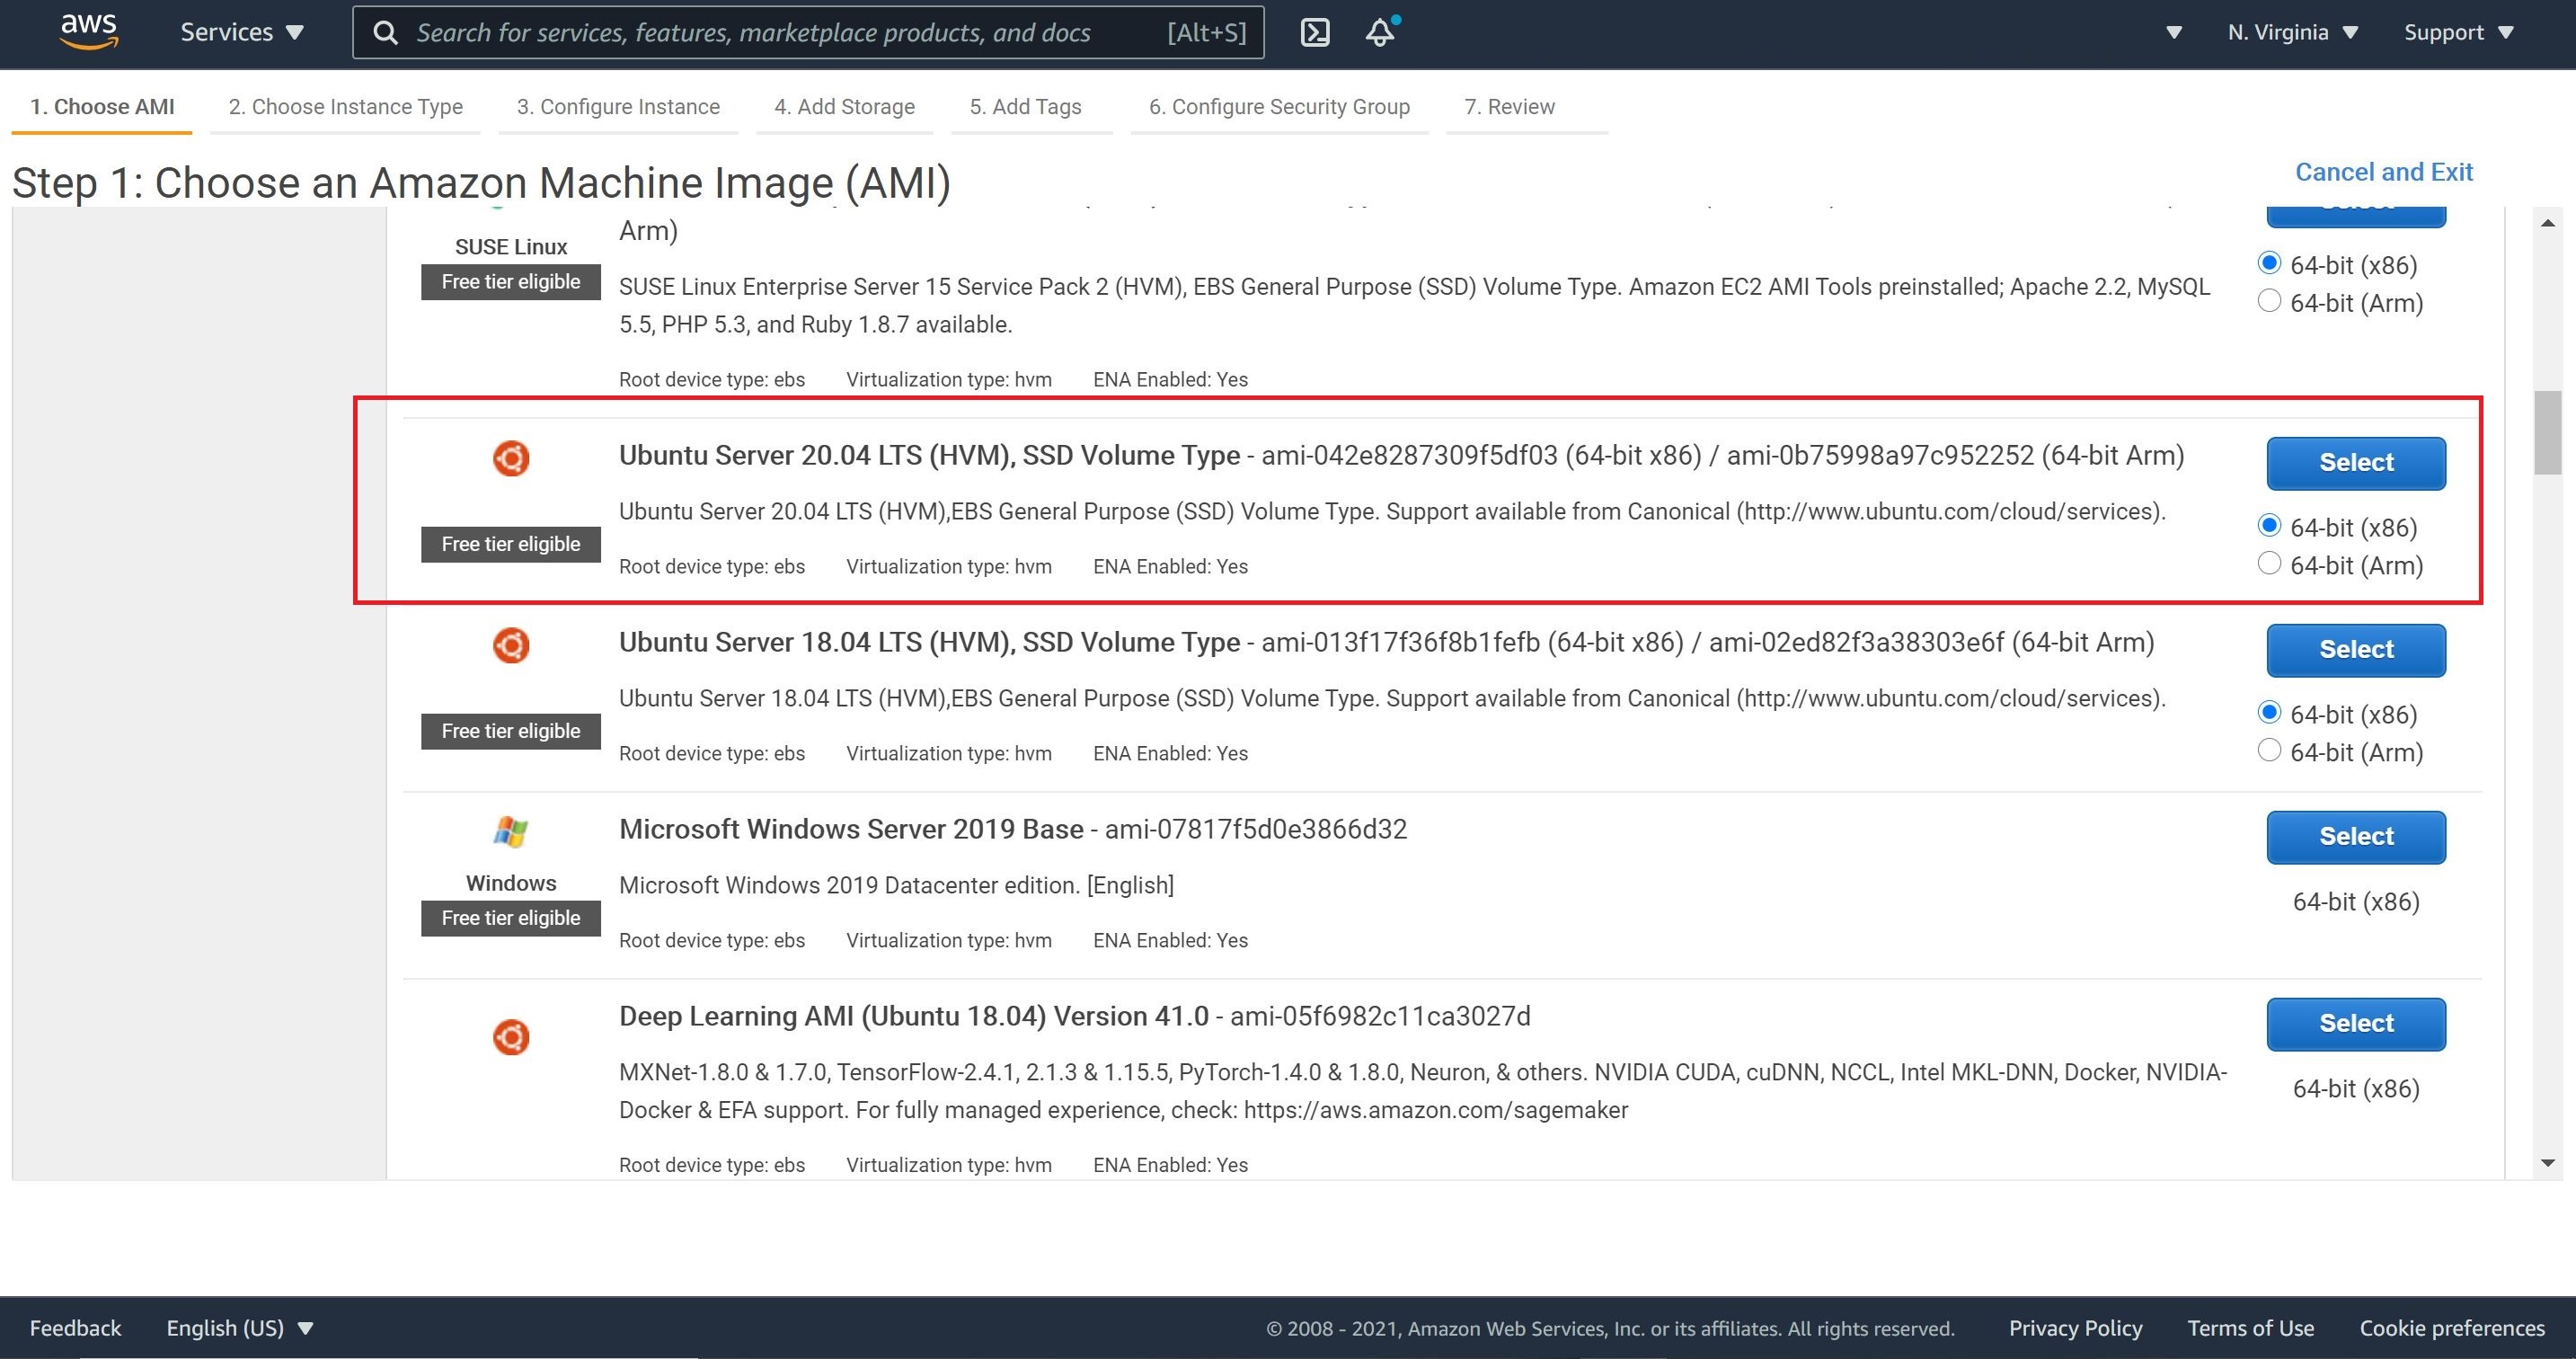
Step 7: Mattermost Instance
1- We will choose the same AMI we used previously for the MySQL instance, which is Ubuntu Server 20.04 LTS.
2- On Configure Instance Details, make sure that you select the correct VPC and Public Subnet.
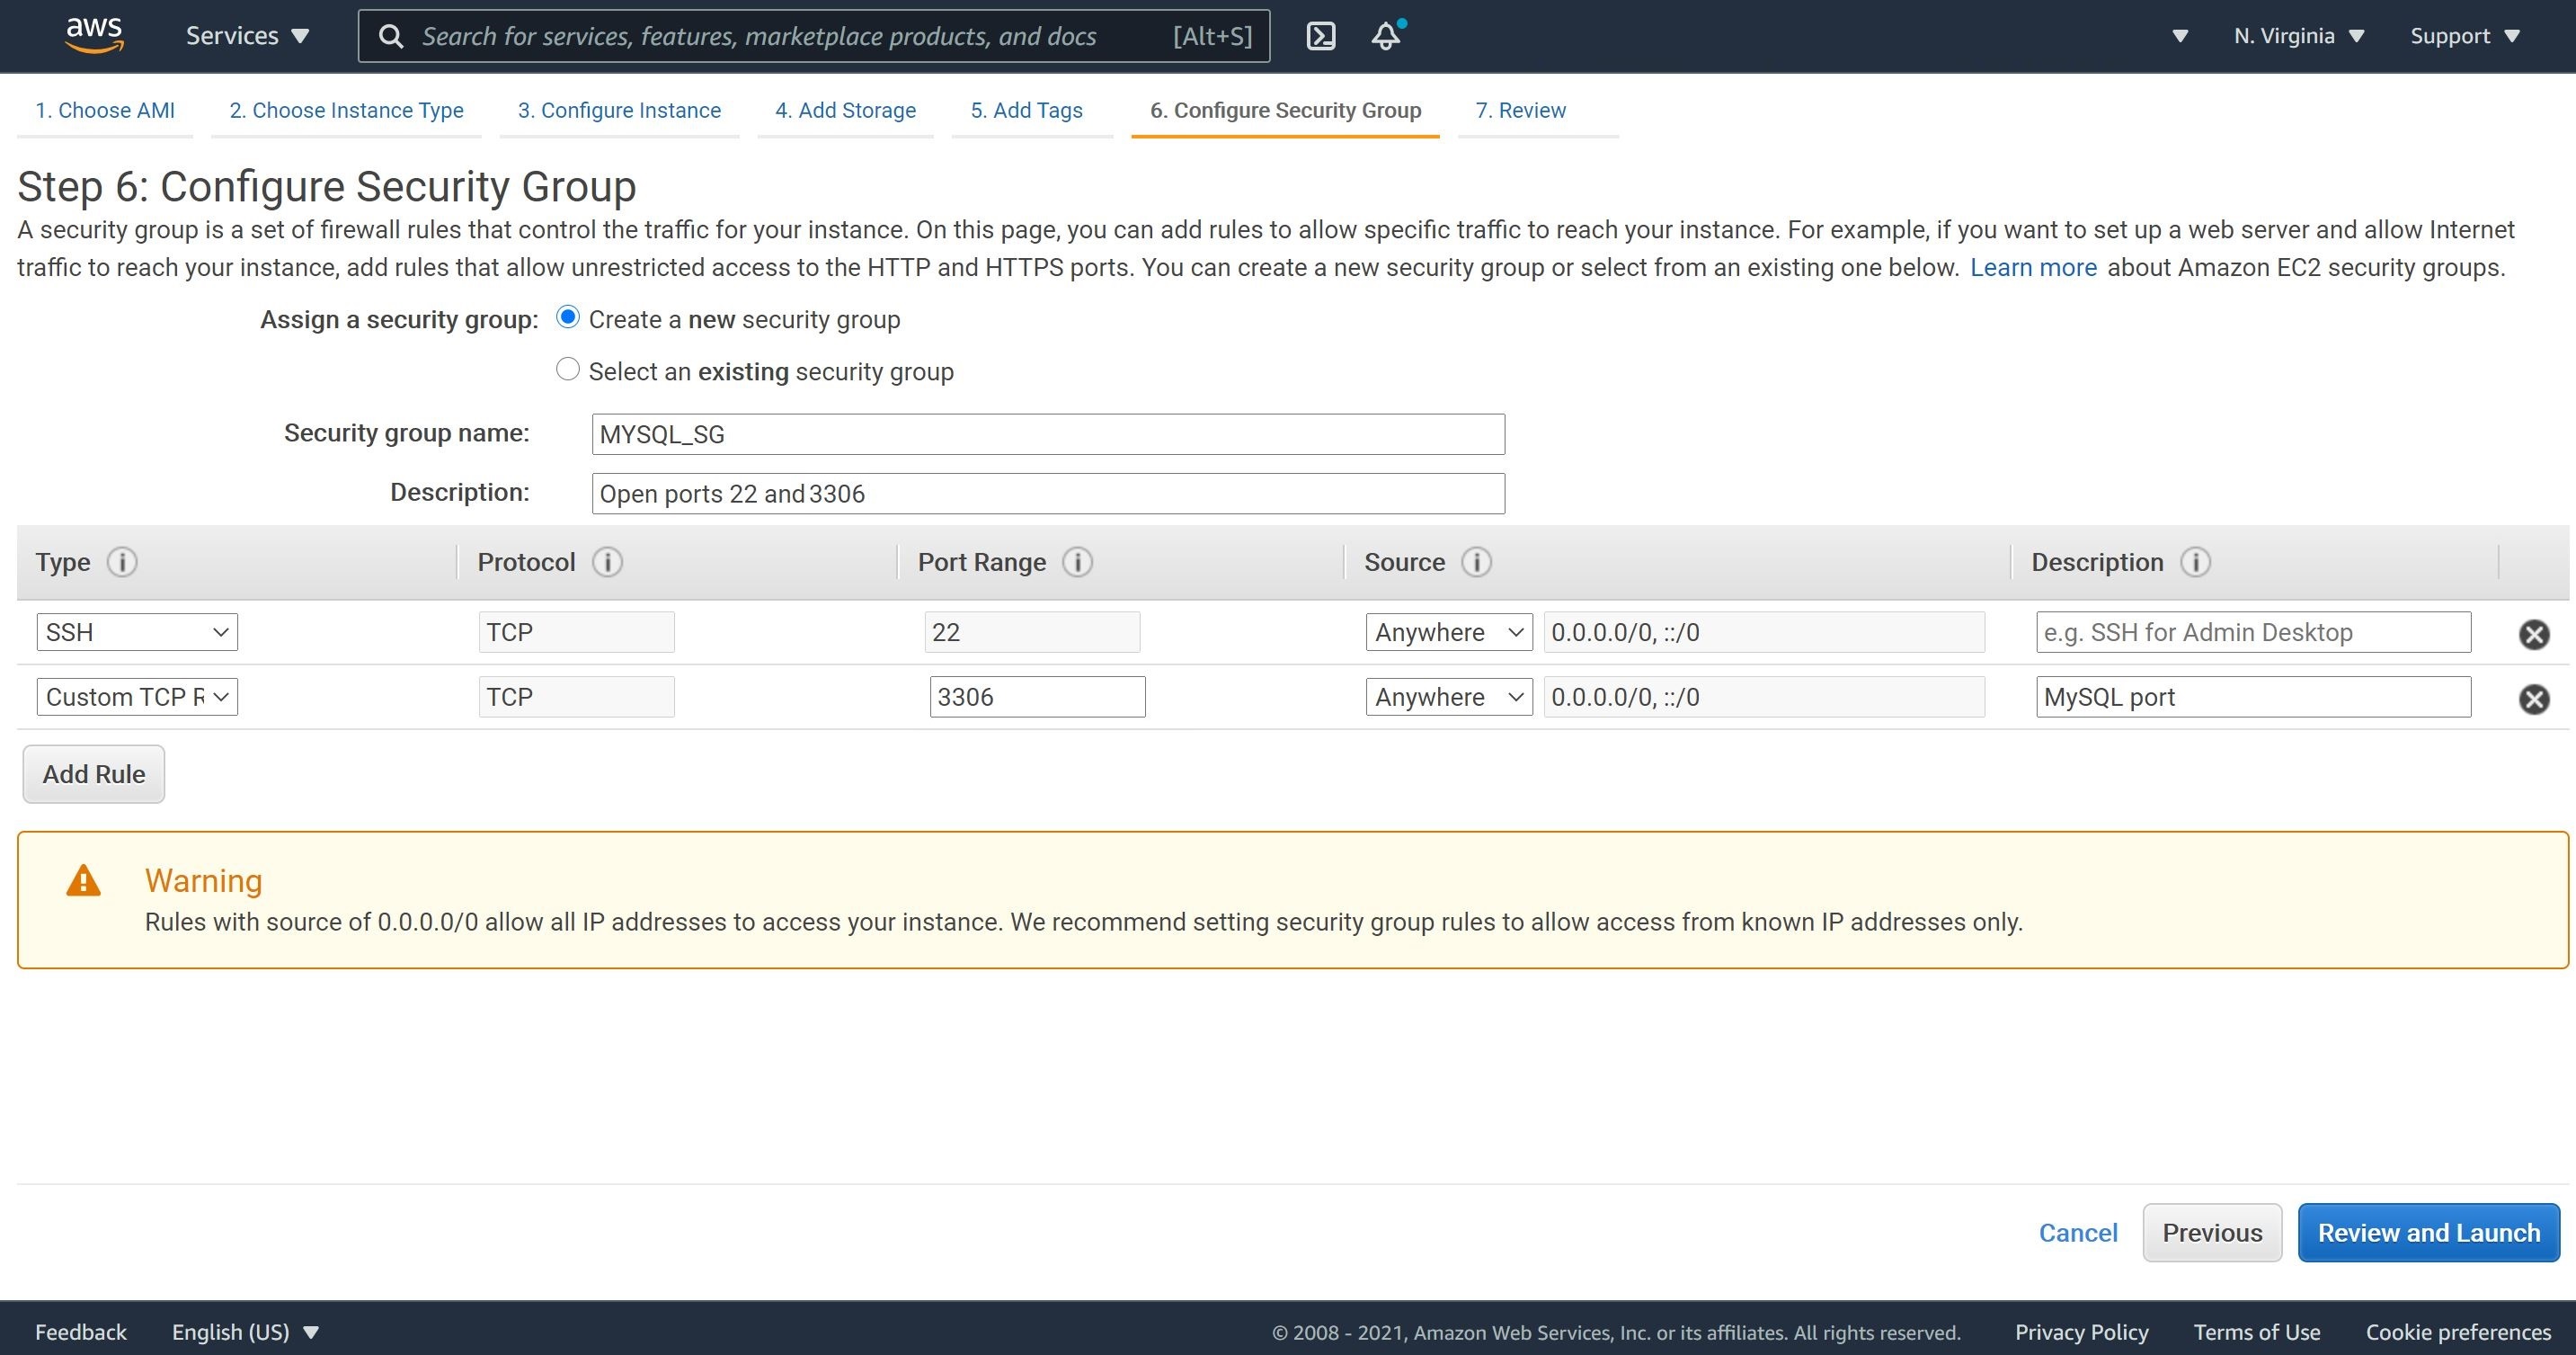
3- We will configure a security group to open ports 22 and 3306. We will need to open port 22 so we can SSH to the Mattermost web app and port 3306 to run the Mattermost web app.
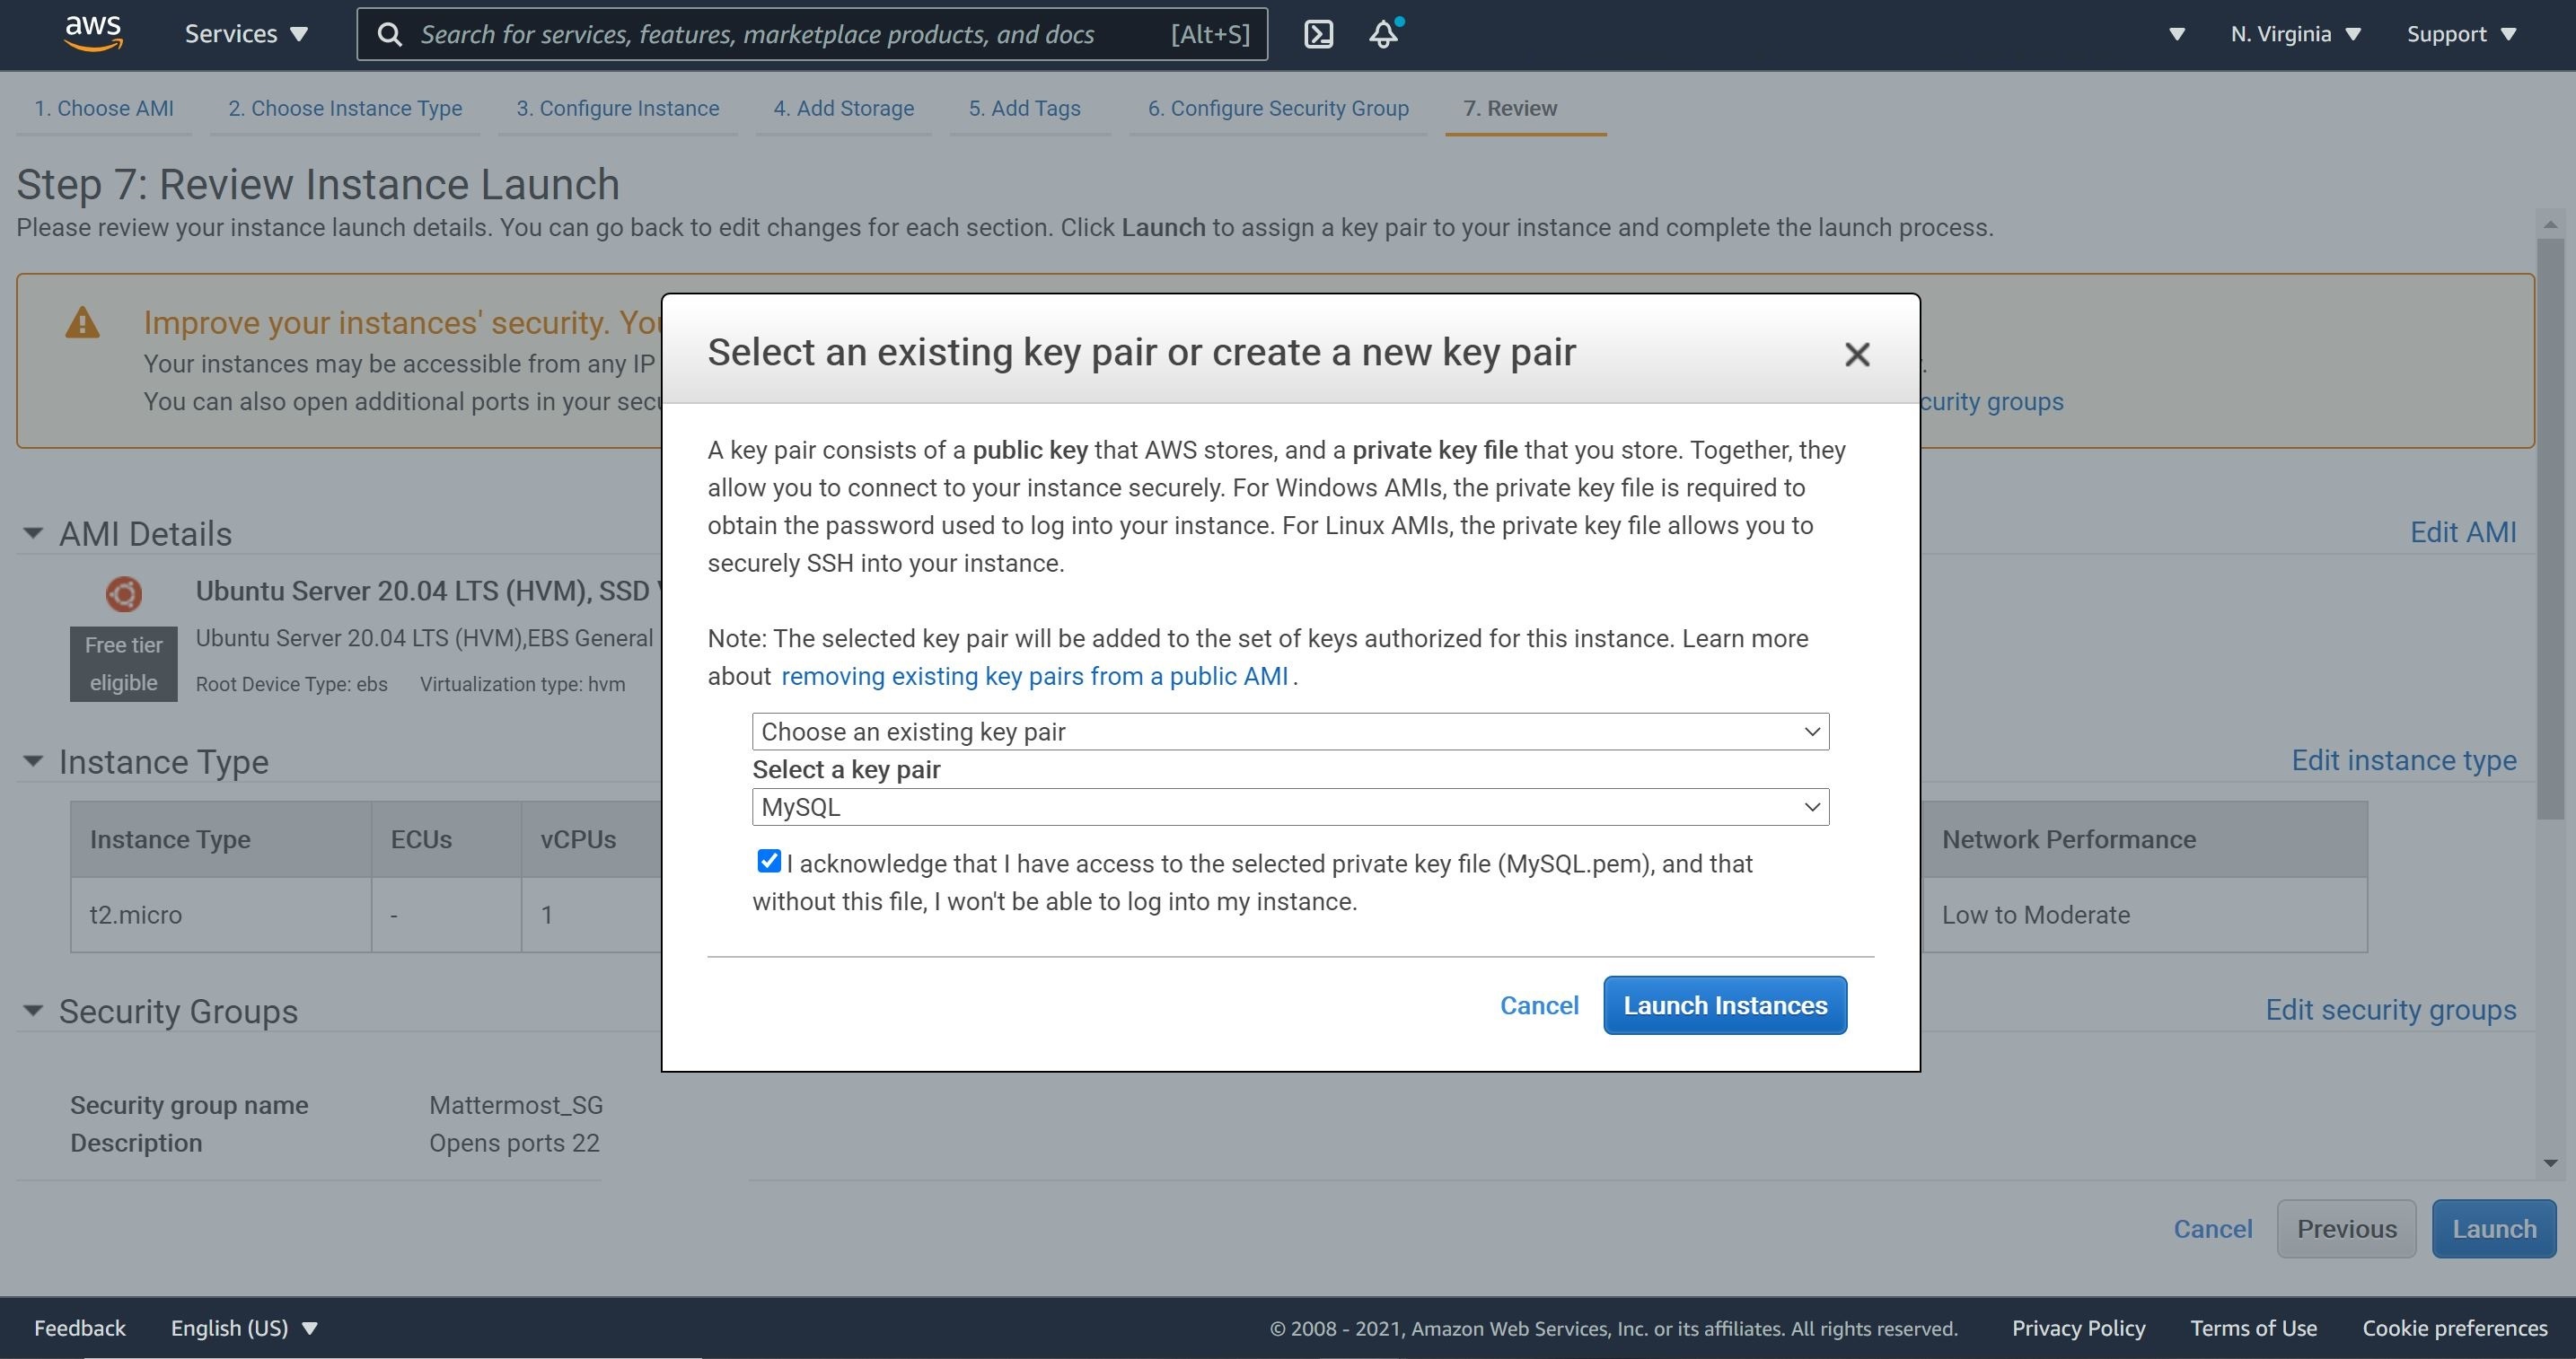
4- We will not generate new key pair instead we will use MySQL key pair. We will this key pair to SSH into the Mattermost instance as well as SSH into MySQL database instance. I have refrained from generating a different key pair to avoid confusion; however, in a production scenario, I will use different key pairs.
Step 8: MySQL Installation
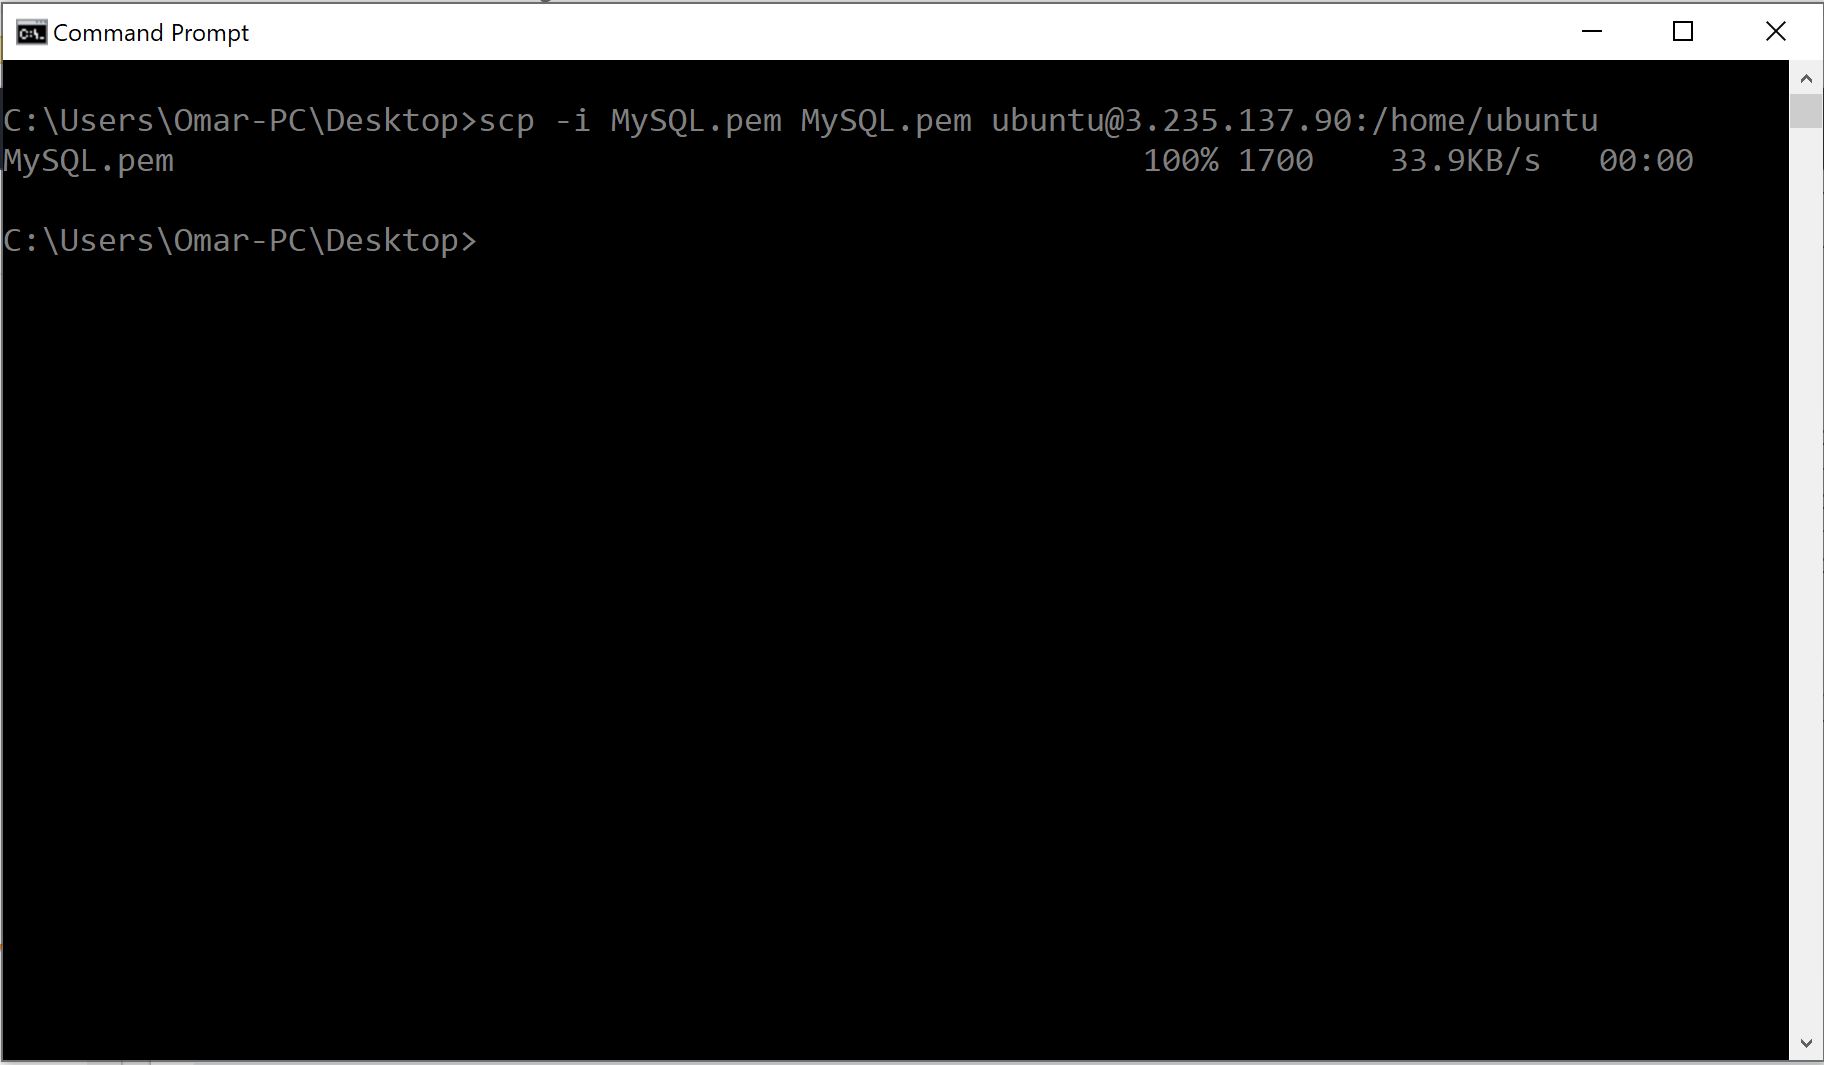
1- We will use the below scp command to copy MySQL database pem file into the Mattermost instance. Replace the x.xxx.xxx.xx with your Mattermost instance’s public IP address. We could use this command even if we are not SSH into the instance.
Example:
scp -i<application server pem file> <database server pem file> ubuntu@<application public IP address>:/home/ubuntu
Actual:
scp -i MySQL.pem MySQL.pem ubuntu@3.235.137.90:/home/ubuntu
The result:
2- We will SSH into the Mattermost instance. There are many methods to SSH into an instance depending on the device. To learn about how to SSH into our Ubuntu instance, please refer to my previous tutorial.
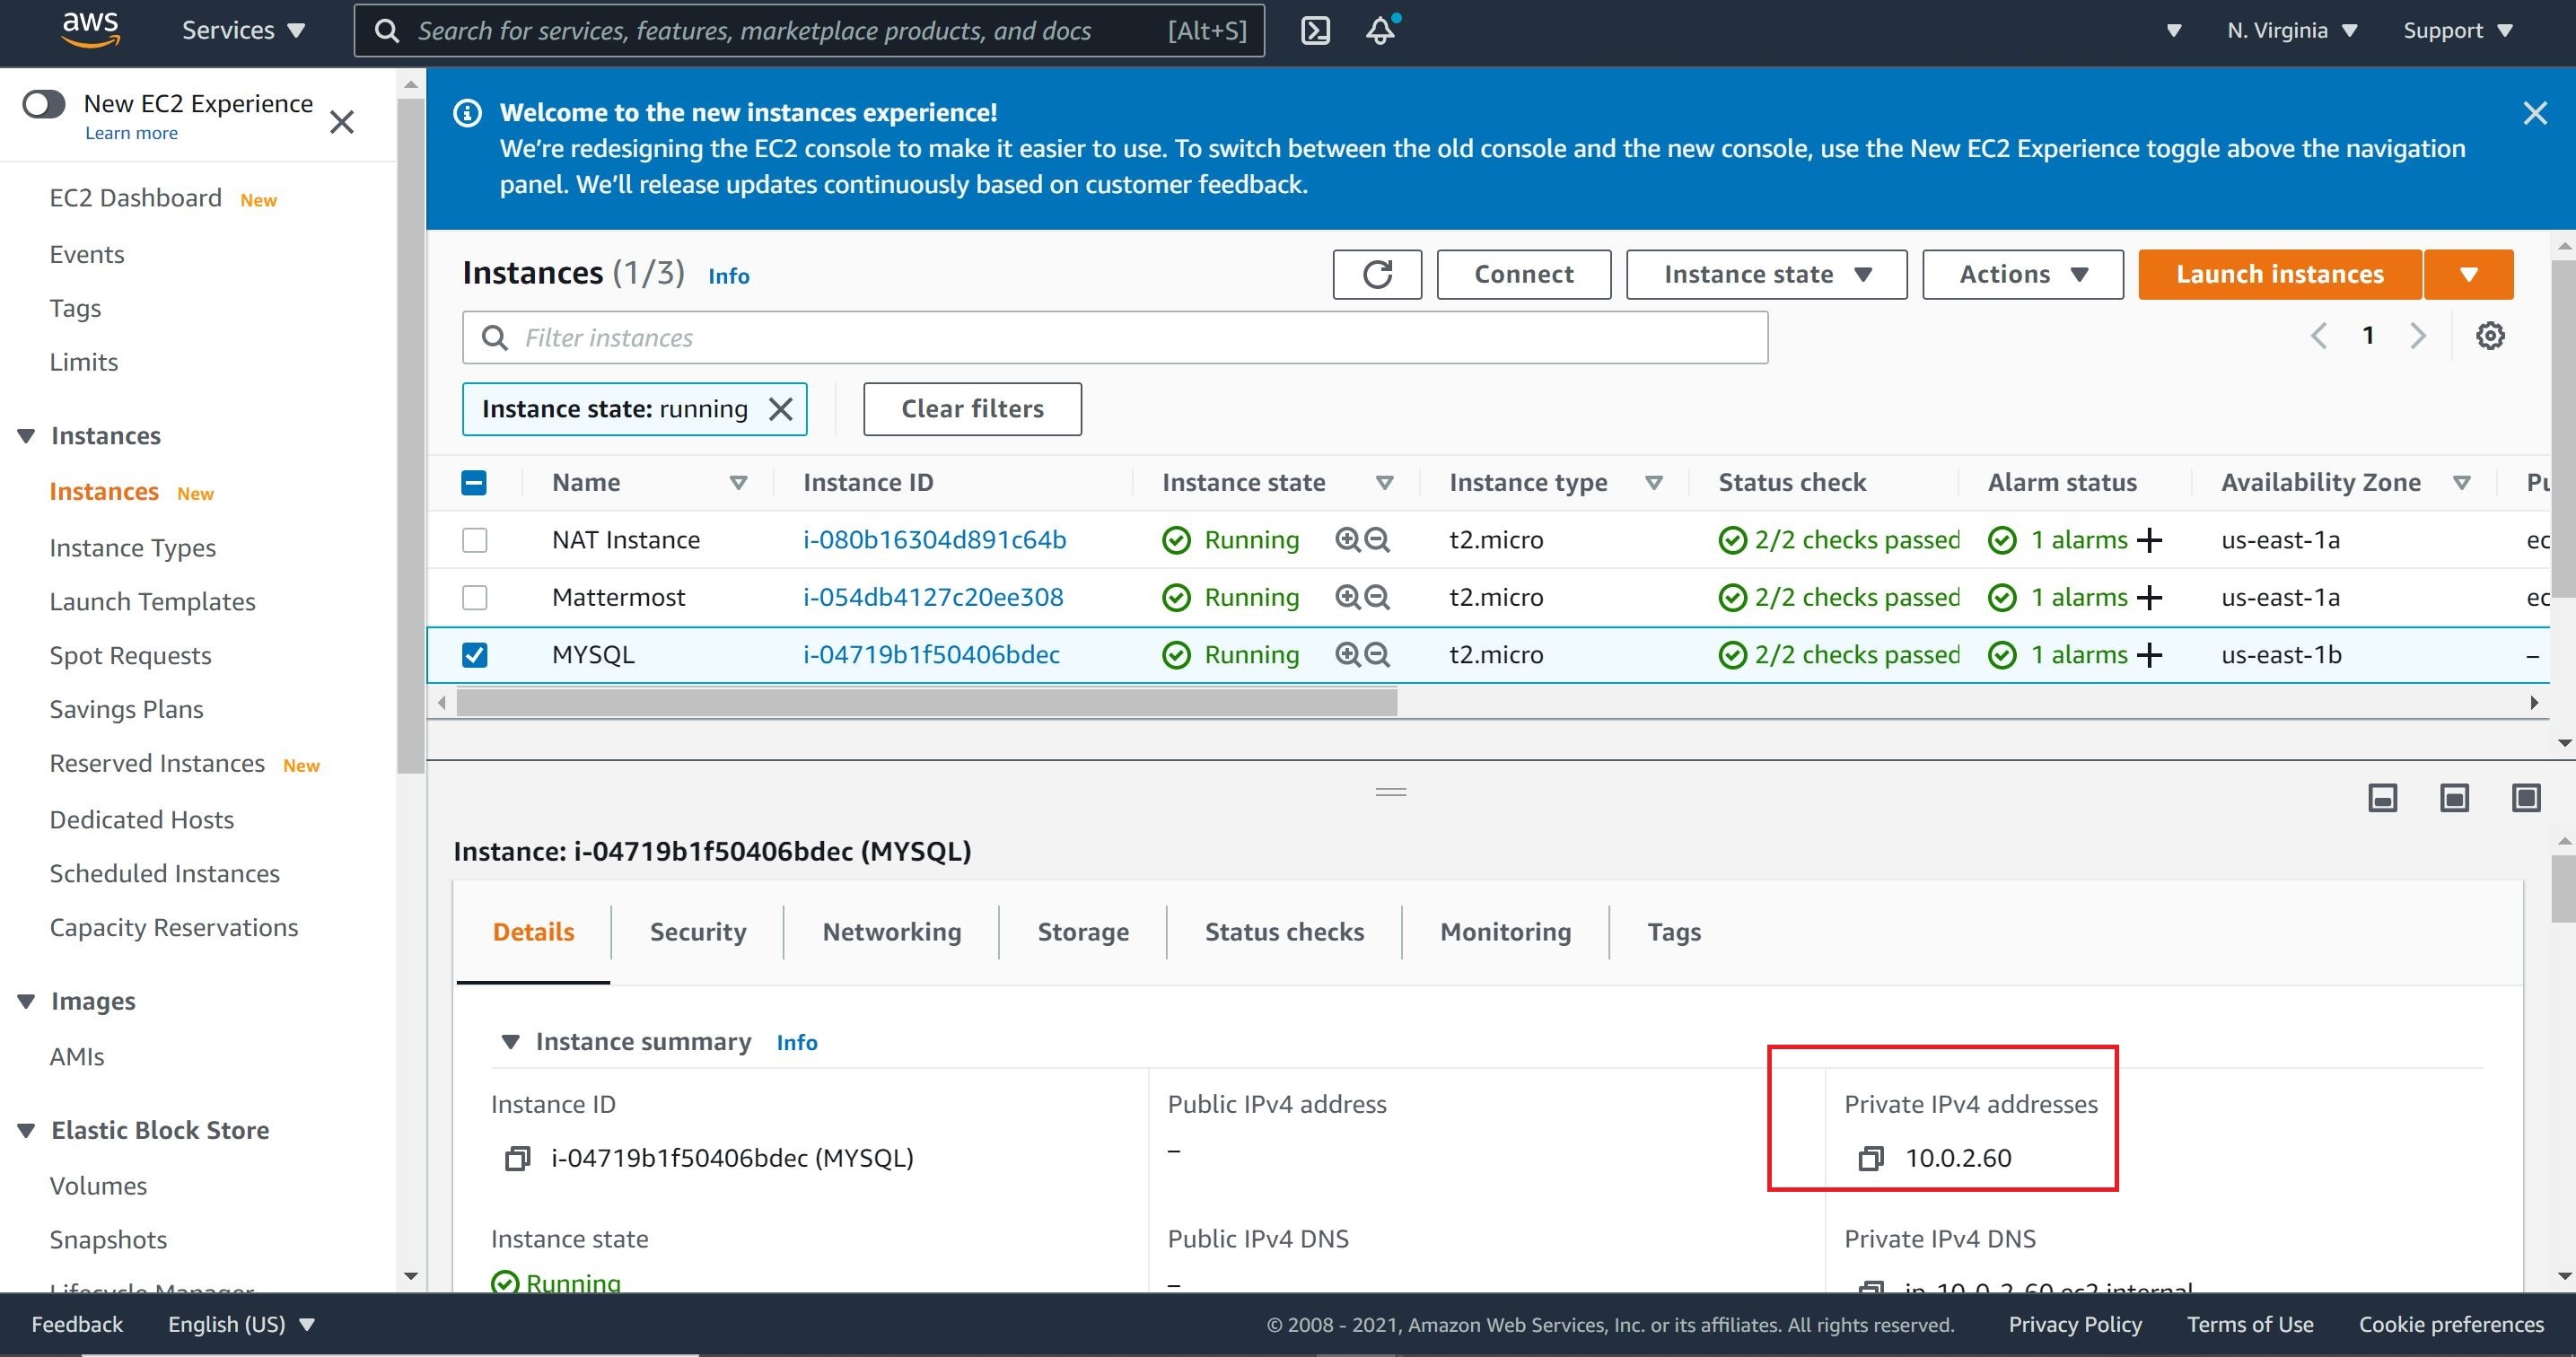
3- From the Mattermost instance, we will SSH into the MySQL database instance. We will use the pem file copied in step 1. Also, since our MySQL instance is in a private subnet, it does not have a public IP address; therefore, we will use its private IP address to SSH into it from the Mattermost most instance. With the pem file and the private IP address to our MySQL instance, we can SSH from our Mattermost instance.
Firstly, let’s secure the pem file in the Mattermost instance but restricting access to it using the command chmod 600.
sudo chmod 600 MySQL.pem
4- Now, we will attempt to SSH into MySQL database instance.
Example:
ssh -i <database server pem file> ubuntu@<private IP of database server>
Actual:
ssh -i MySQL.pem ubuntu@10.0.2.60
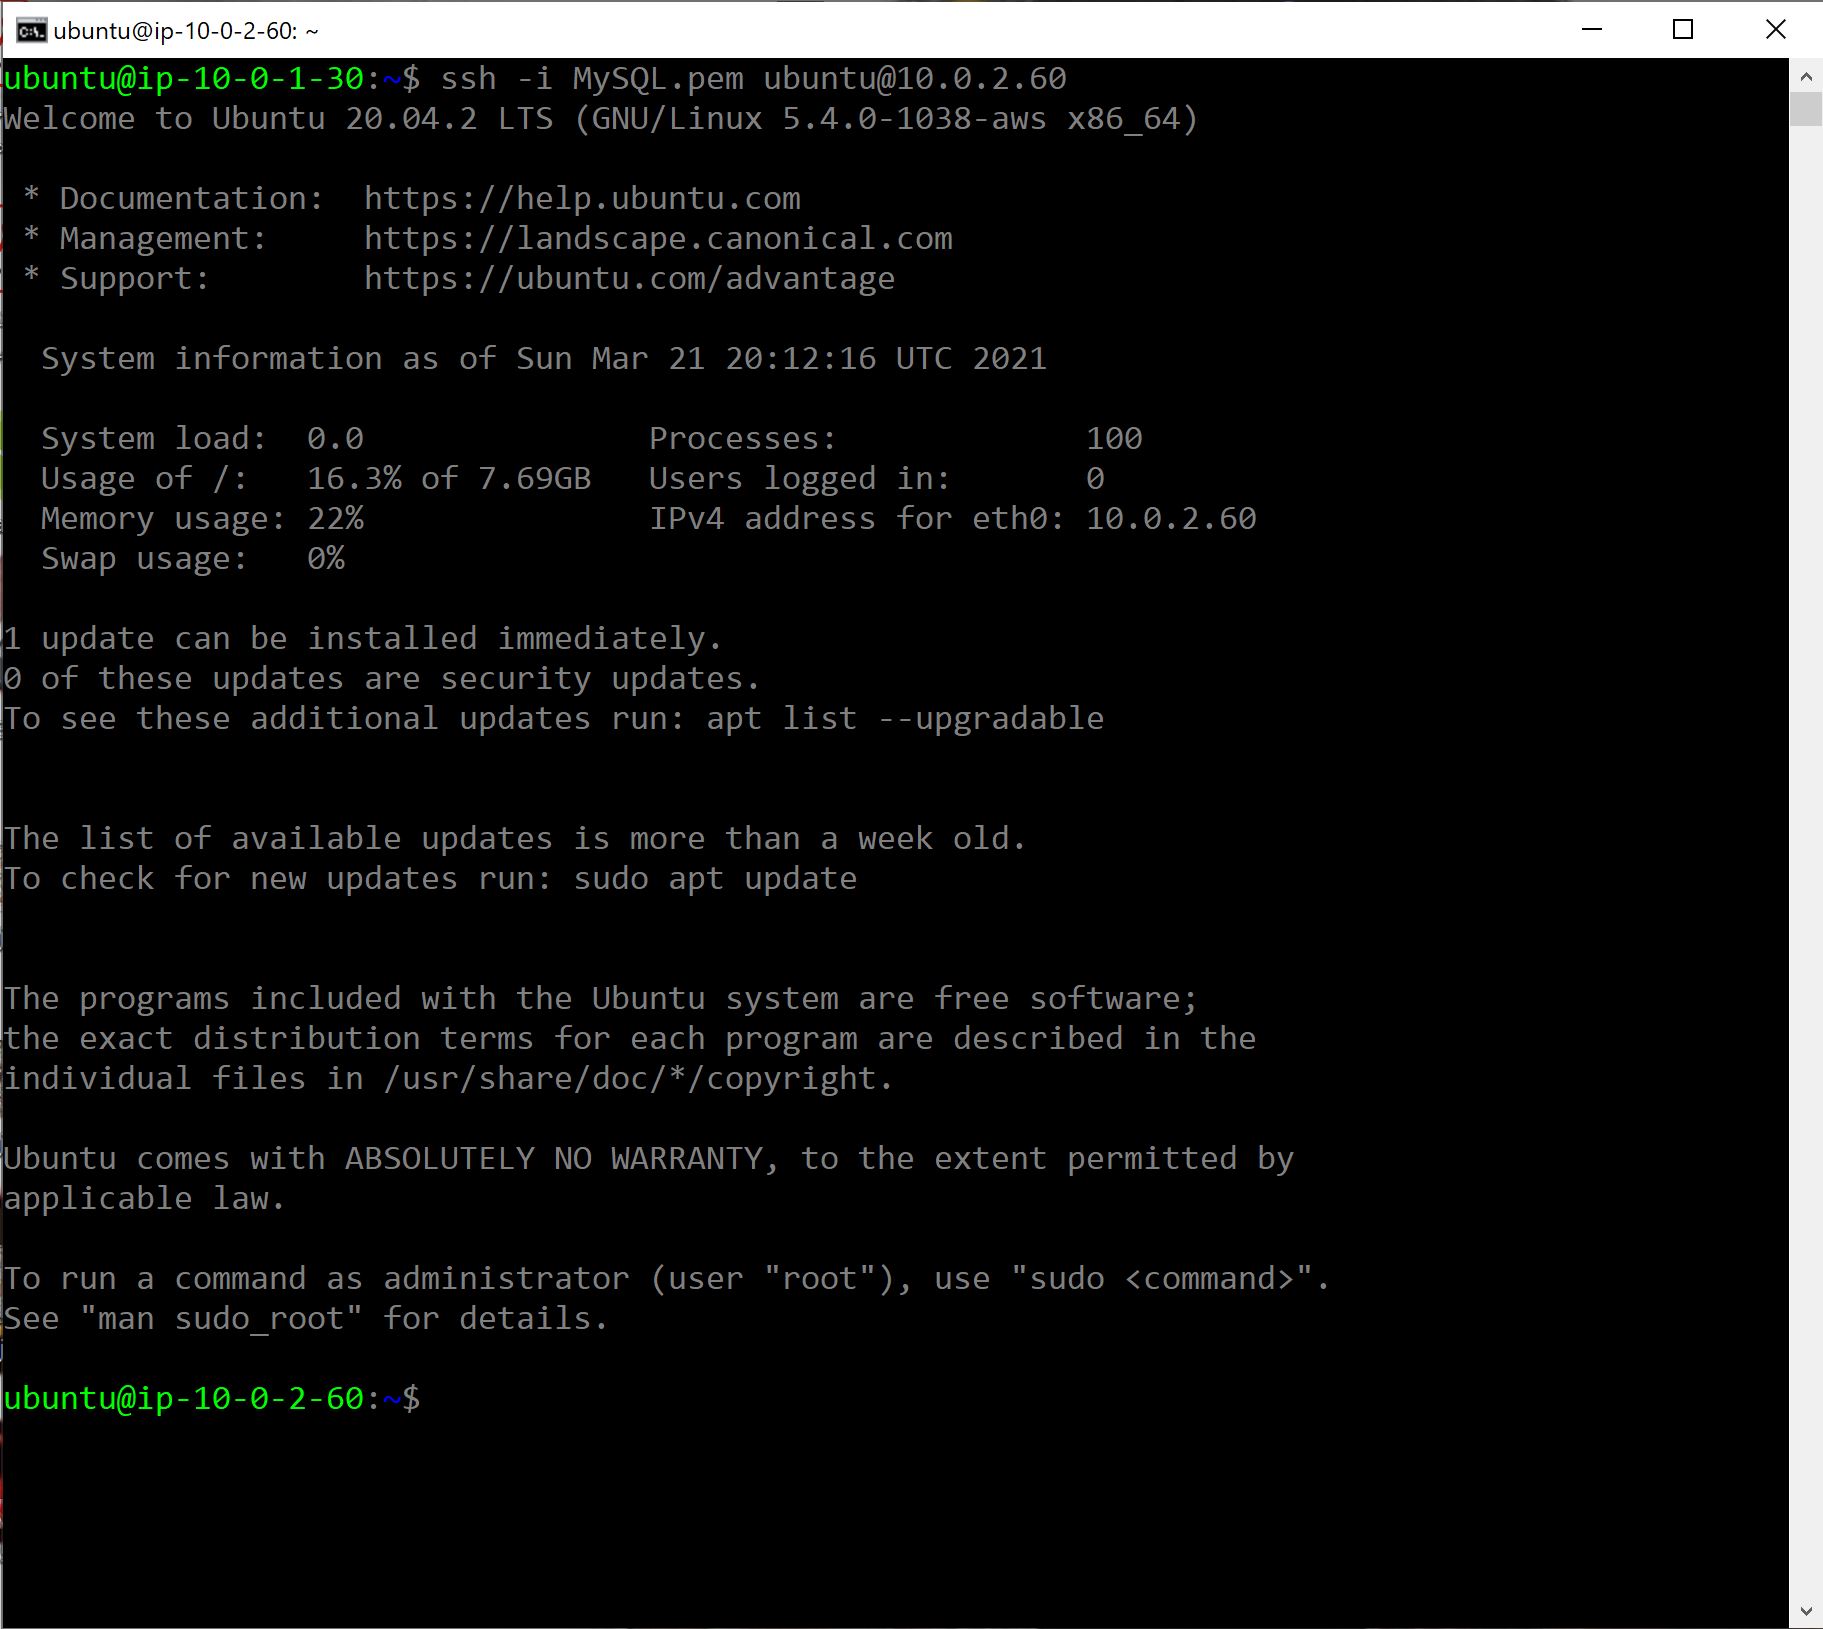
5- Now, we have successfully SSH into the MySQL database instance, let’s install MySQL database.
As a best practice, let’s update the instance first.
sudo apt update && sudo apt upgrade -y
wget https://raw.githubusercontent.com/OmarCloud20/aws-tutorials/main/install_mysql.sh
6- To configure MySQL, let’s run the following commands.
chmod 700 install_mysql.sh
sudo ./install_mysql.sh
We have installed and configured MySQL database successfully. Let’s exit the instance by typing exit.

Step 9: Mattermost Installation
1- We will use the following bash file to install and configure Mattermost app.
wget https://raw.githubusercontent.com/OmarCloud20/aws-tutorials/main/mattermost_install.sh
chmod 700 mattermost_install.sh
2- We will use MySQL instance private IP address to connect Mattermost to the database.
Example:
sudo ./mattermost_install.sh <private IP of MySQL server>
Actual:
sudo ./mattermost_install.sh 10.0.2.60
3- Final configuration:
sudo chown -R mattermost:mattermost /opt/mattermost
sudo chmod -R g+w /opt/mattermost
cd /opt/mattermost
sudo -u mattermost ./bin/mattermost
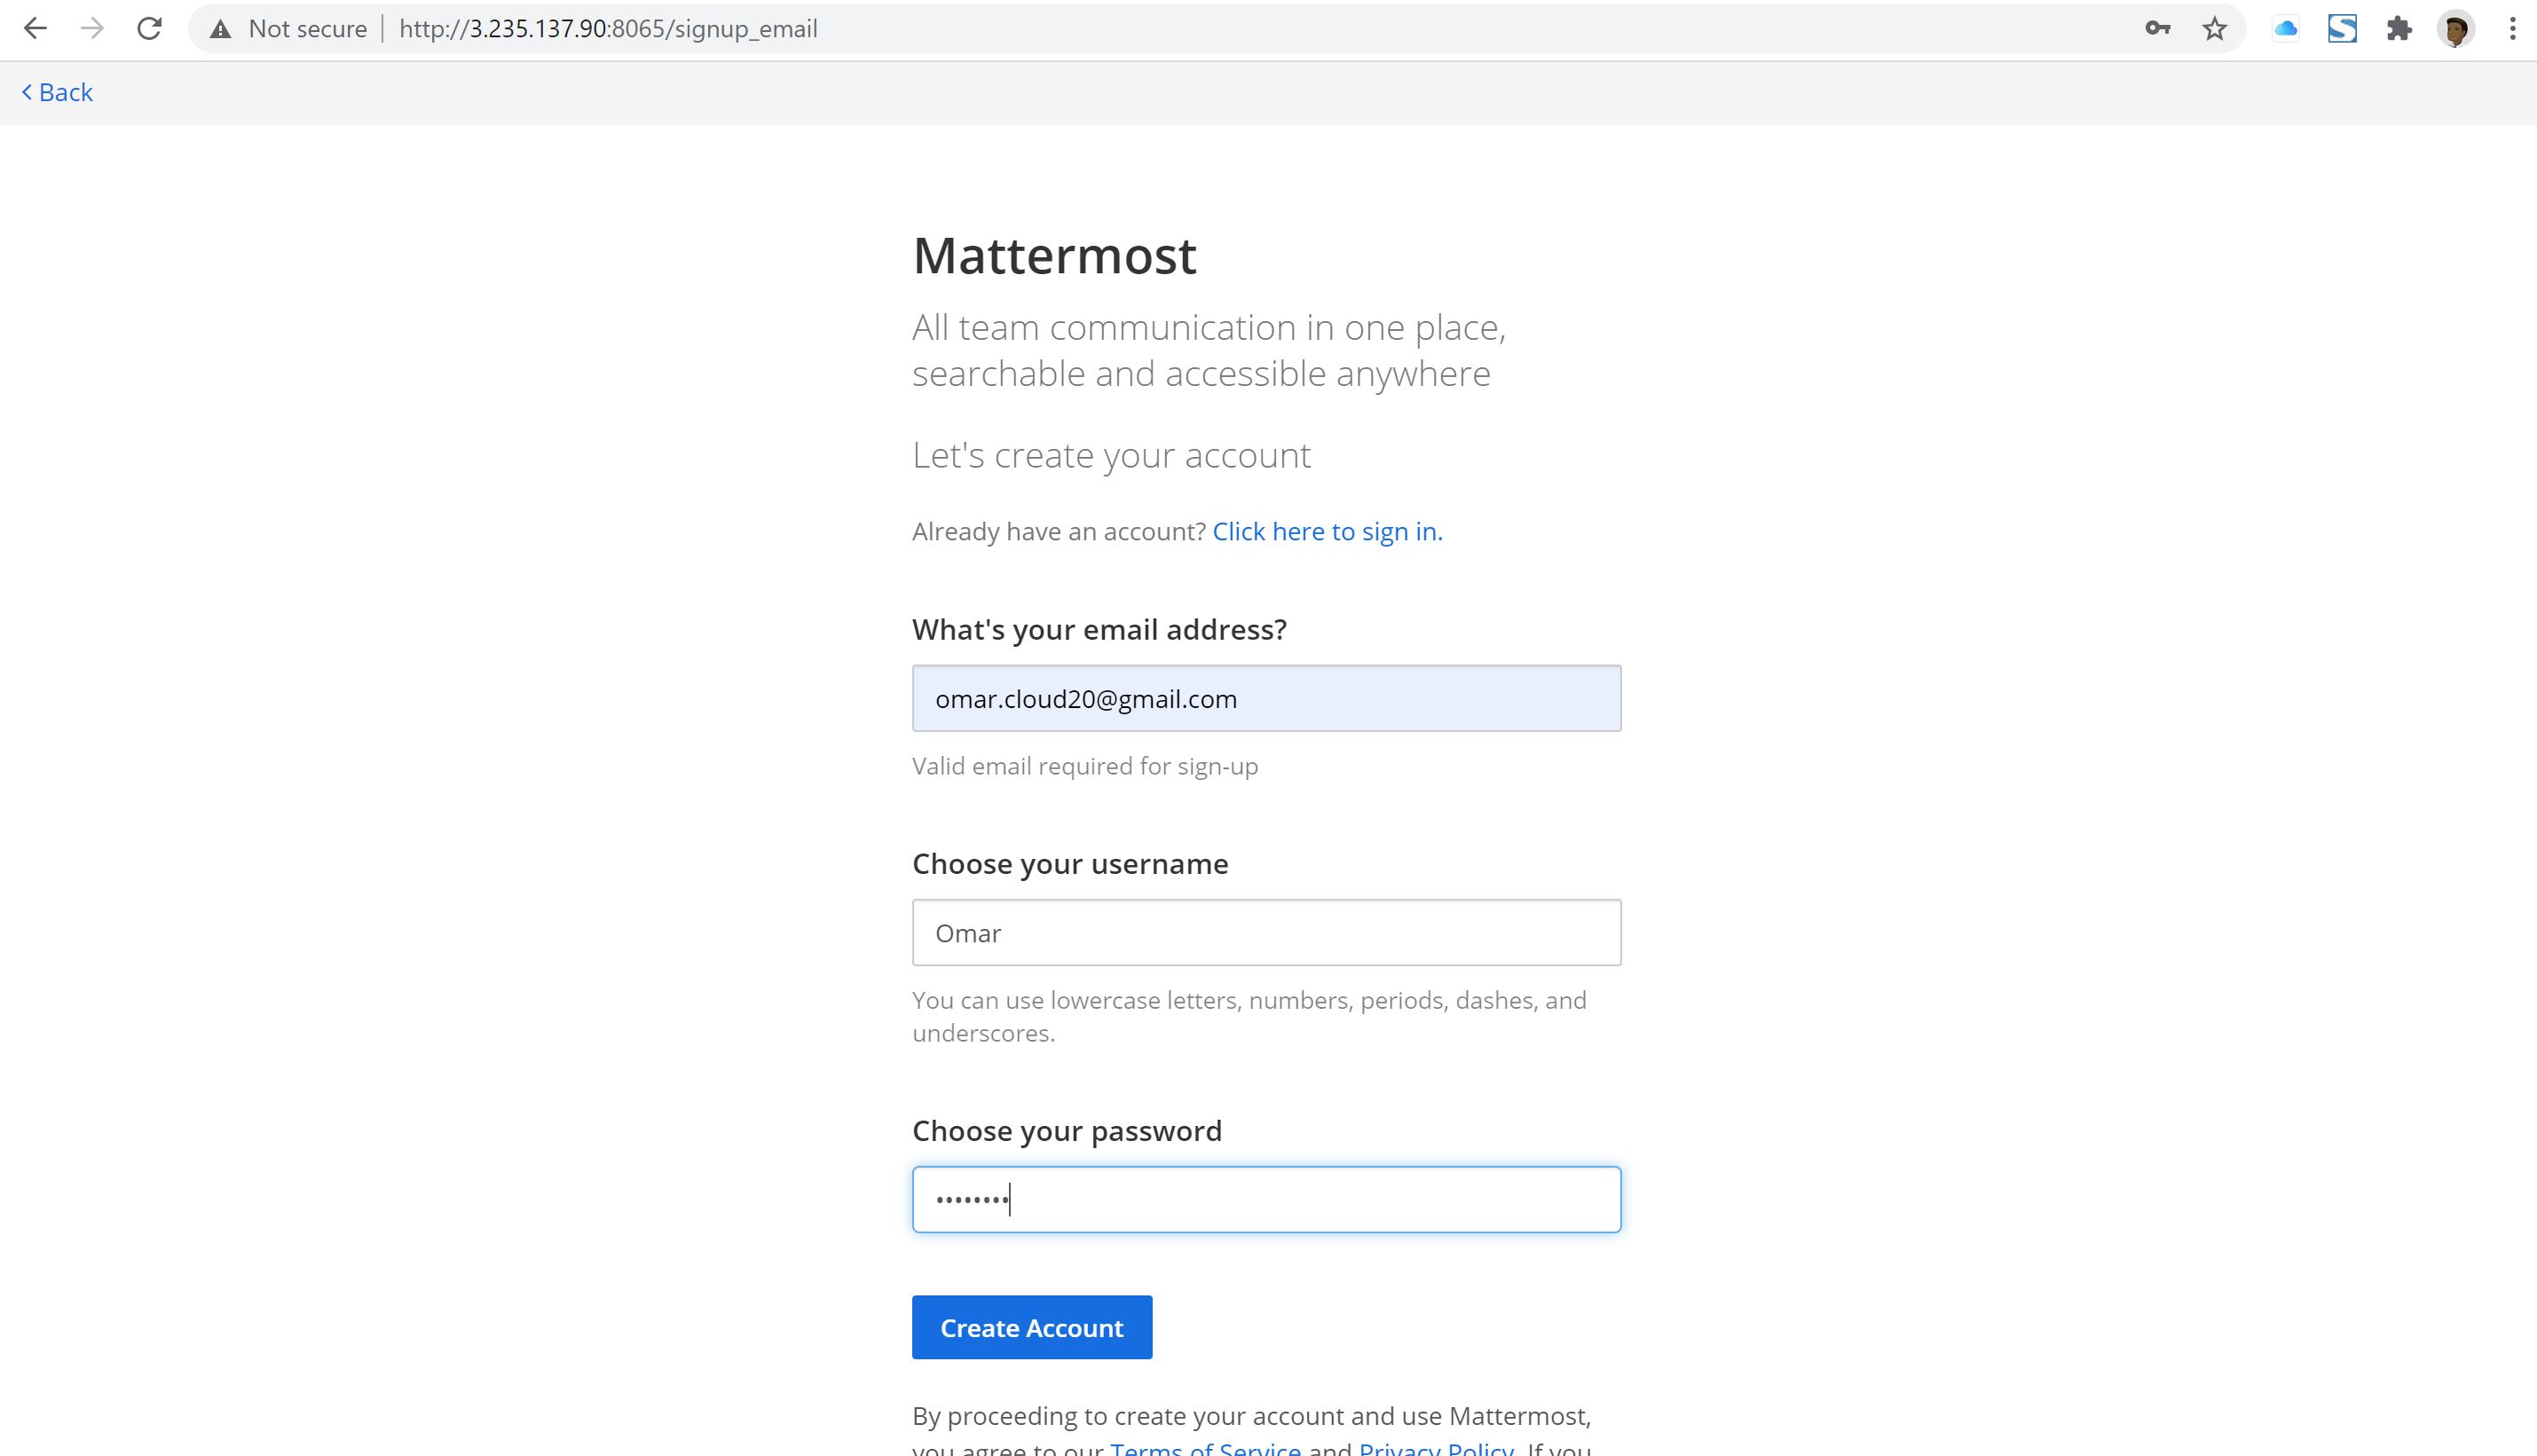
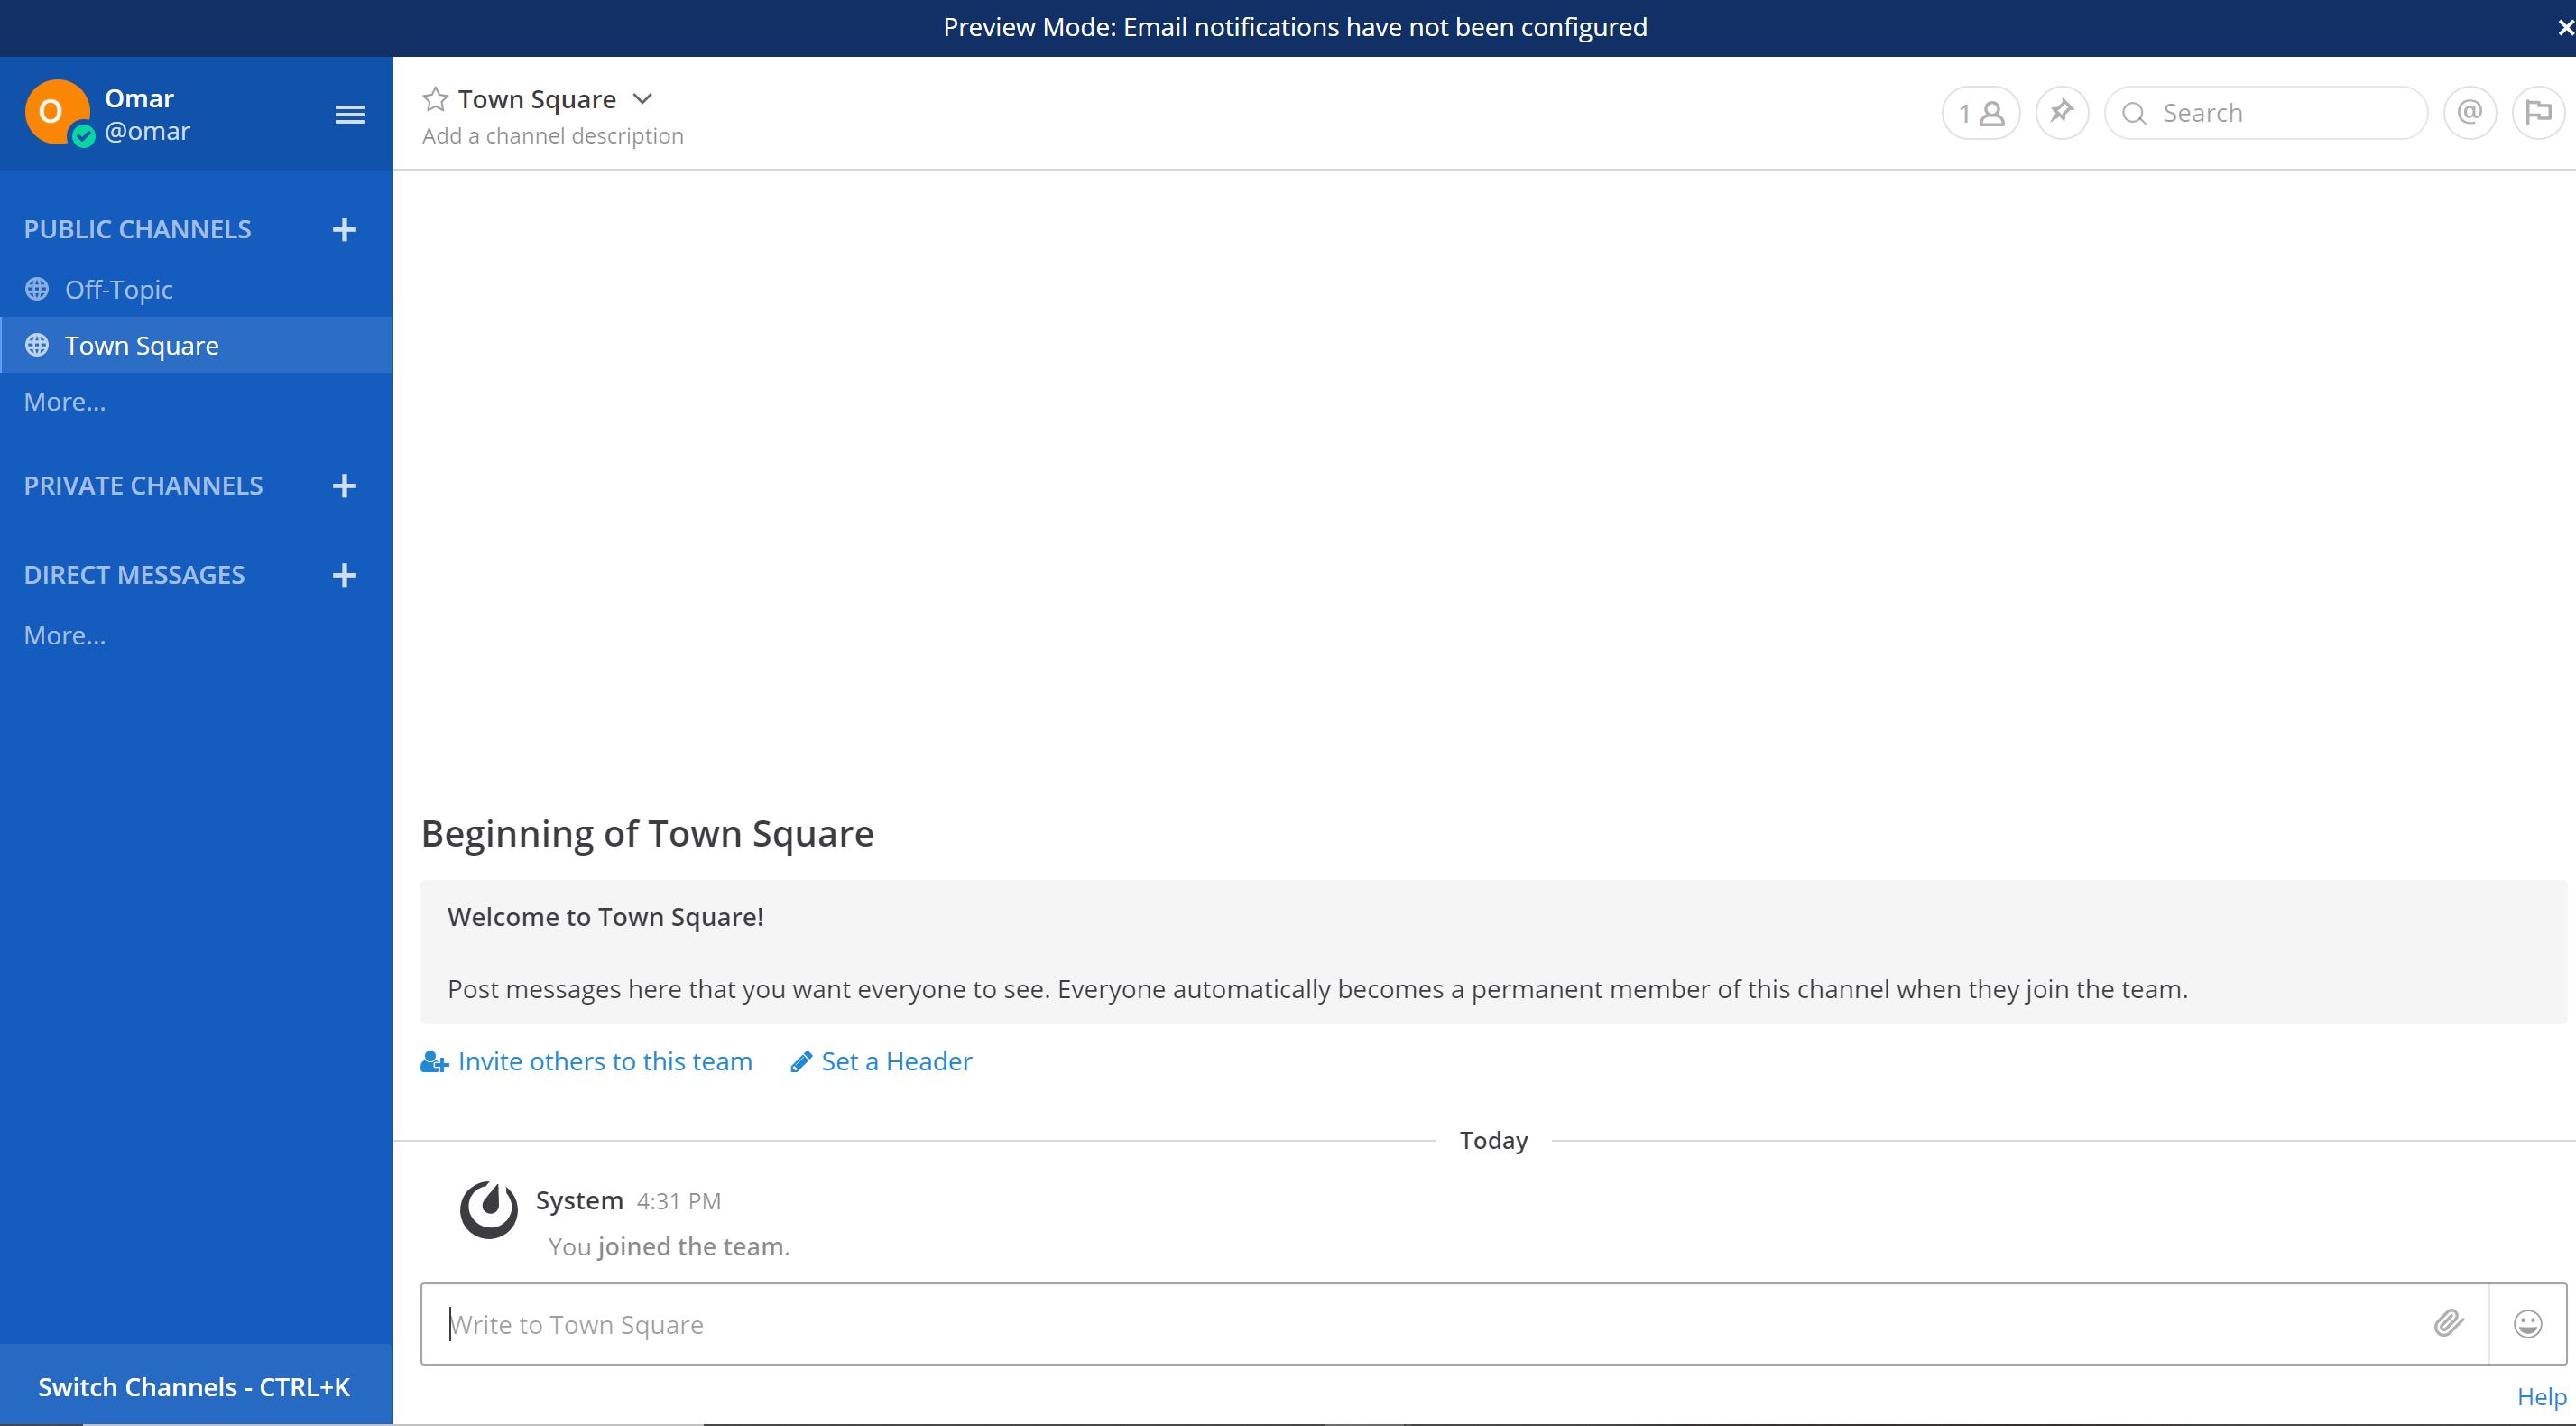
Step 10: Running Mattermost Web Application
To inspect the deployment of the Mattermost web application, let’s navigate to the browser URL bar and type in, :8065
Congratulation, we have installed and configured Mattermost application and connect it with its MySQL database on Ubuntu 20.04 and Ubuntu 18.04 LTS respectively.
Conclusion:
By the end of this tutorial, we have successfully created Mattermost web app, MySQL database and NAT instances on AWS EC2.