Create a Static Sample Website on S3 Utilizing AWS CloudFormation
AWS S3 Hosted Website:
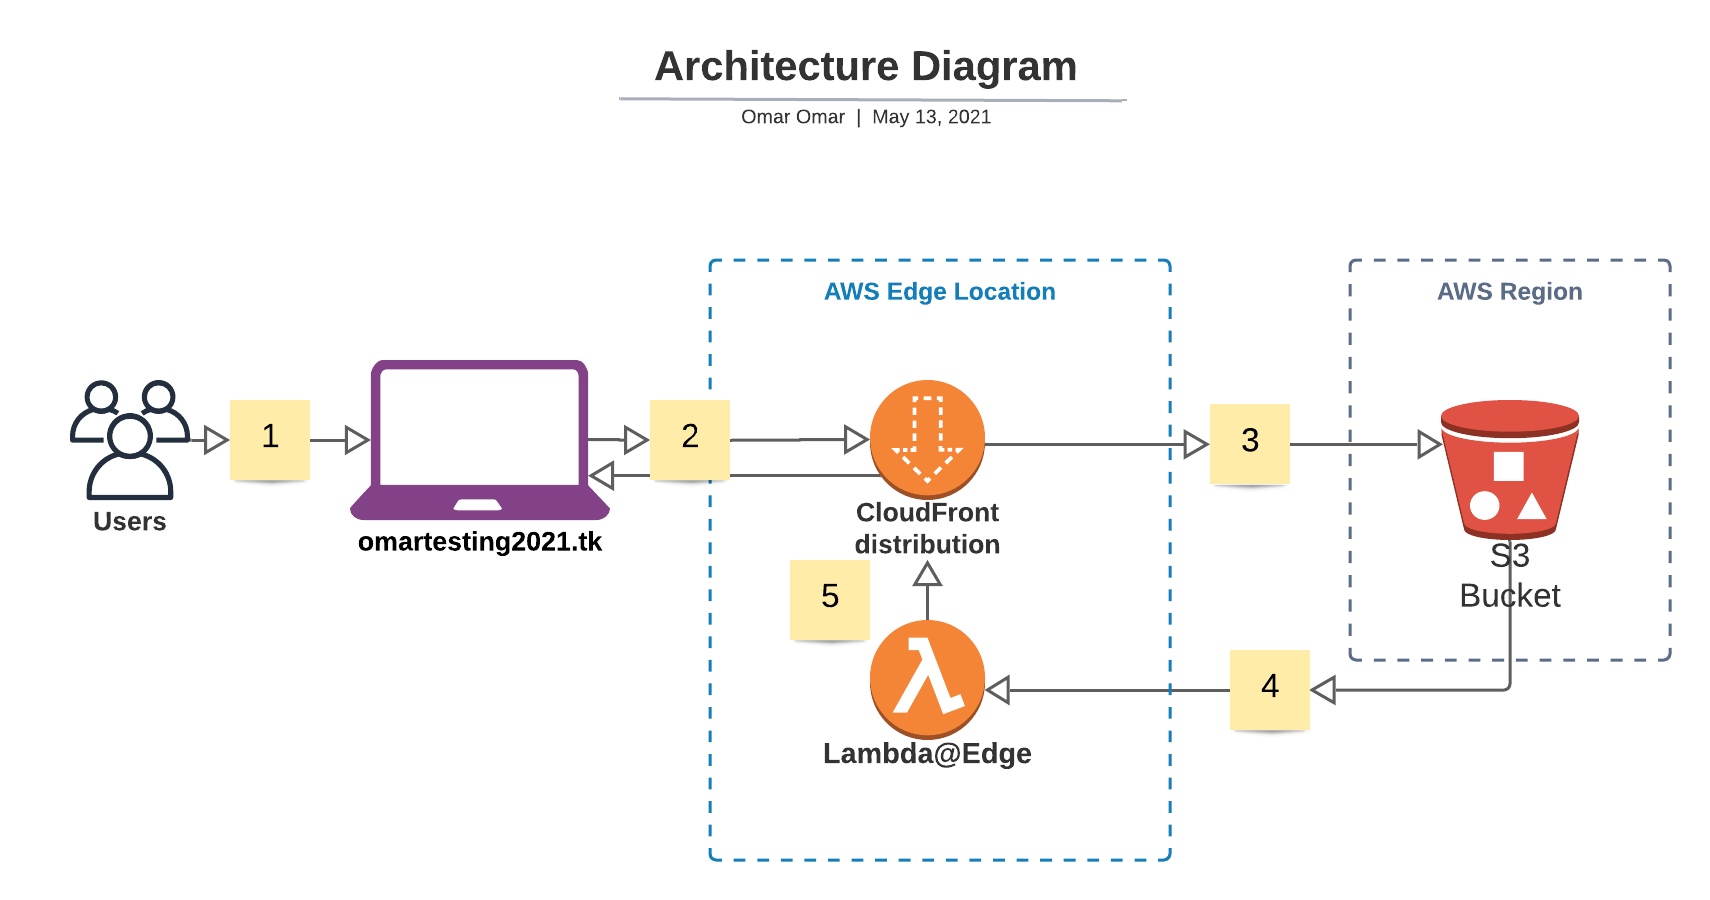
The objective of tutorial is to host a sample static website on AWS S3, obtain a free domain name from Freenom and assign it to the S3 website and utilize AWS Route 53 as DNS hosting provider. Moreover, an AWS CloudFront distribution is employed to serve the website over AWS’s fast content network service with low latency and Lambda@Edge is to add security headers to all web server responses.
Finally, we will deploy the architecture using AWS CloudFormation to automate the deployment of our website.
Some parts of the images in this tutorial will be pixilated or hidden to protect all personal information such as account numbers, ip addresses and any other personal or sensitive information.
Tutorial Scenario:
Part 1:
We should complete this portion of the scenario:
- Register a free domain name at Freenom. Please, refer to my previous tutorial - Step 1 to complete this task.
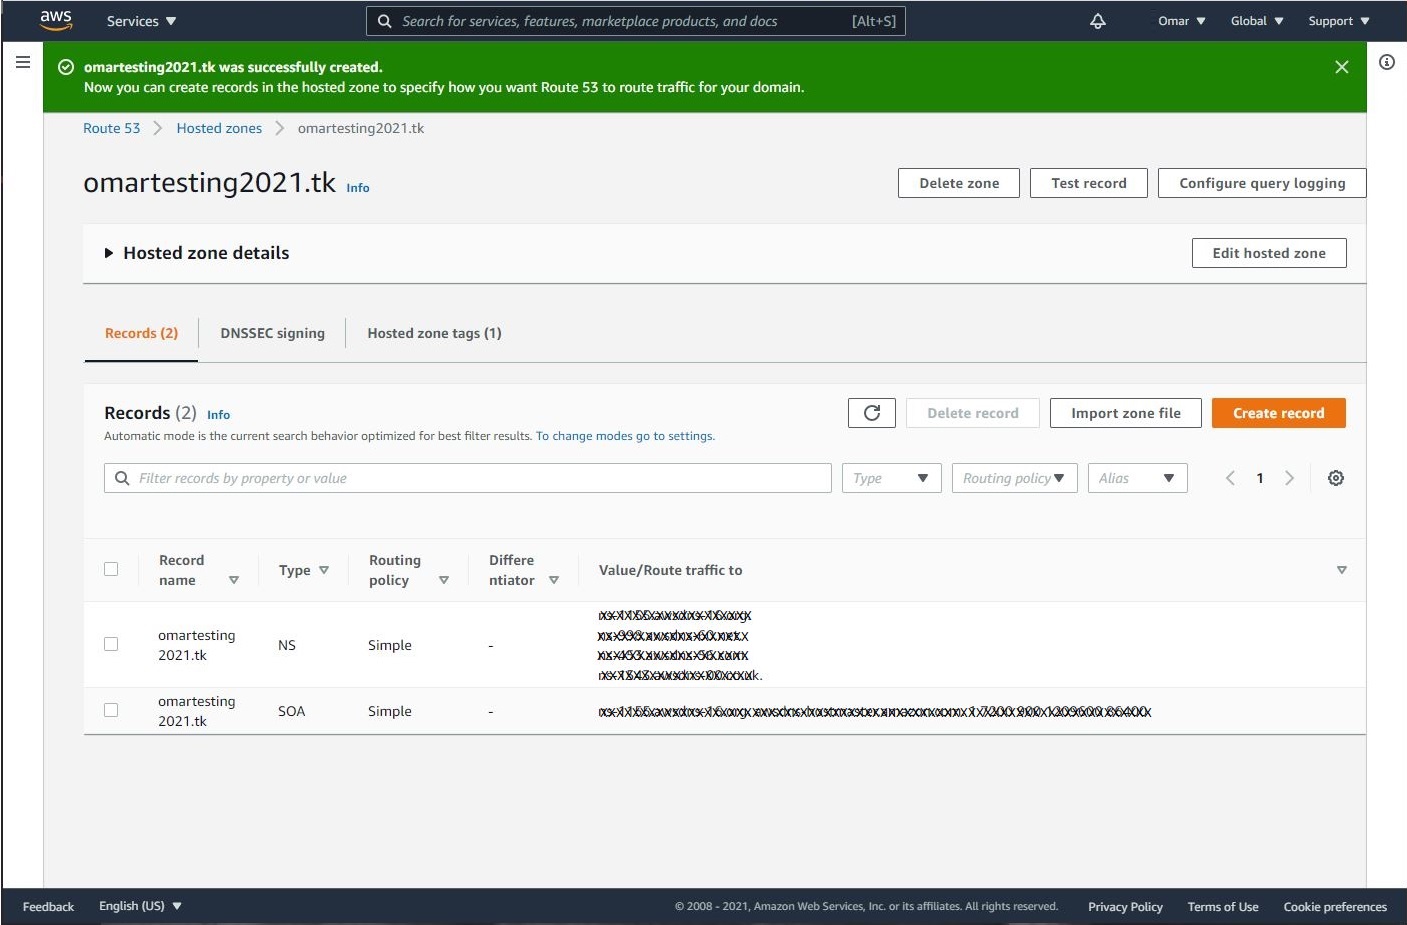
- Create a hosted zone in Route 53. Let’s navigate to Route 53 on AWS console and select Create hosted zone. This service will cost us ONLY $0.50/month. We could use Freenom DNS service;however, we won’t be able to use AWS Certificate Manager to obtain the SSL/TLS certificate.
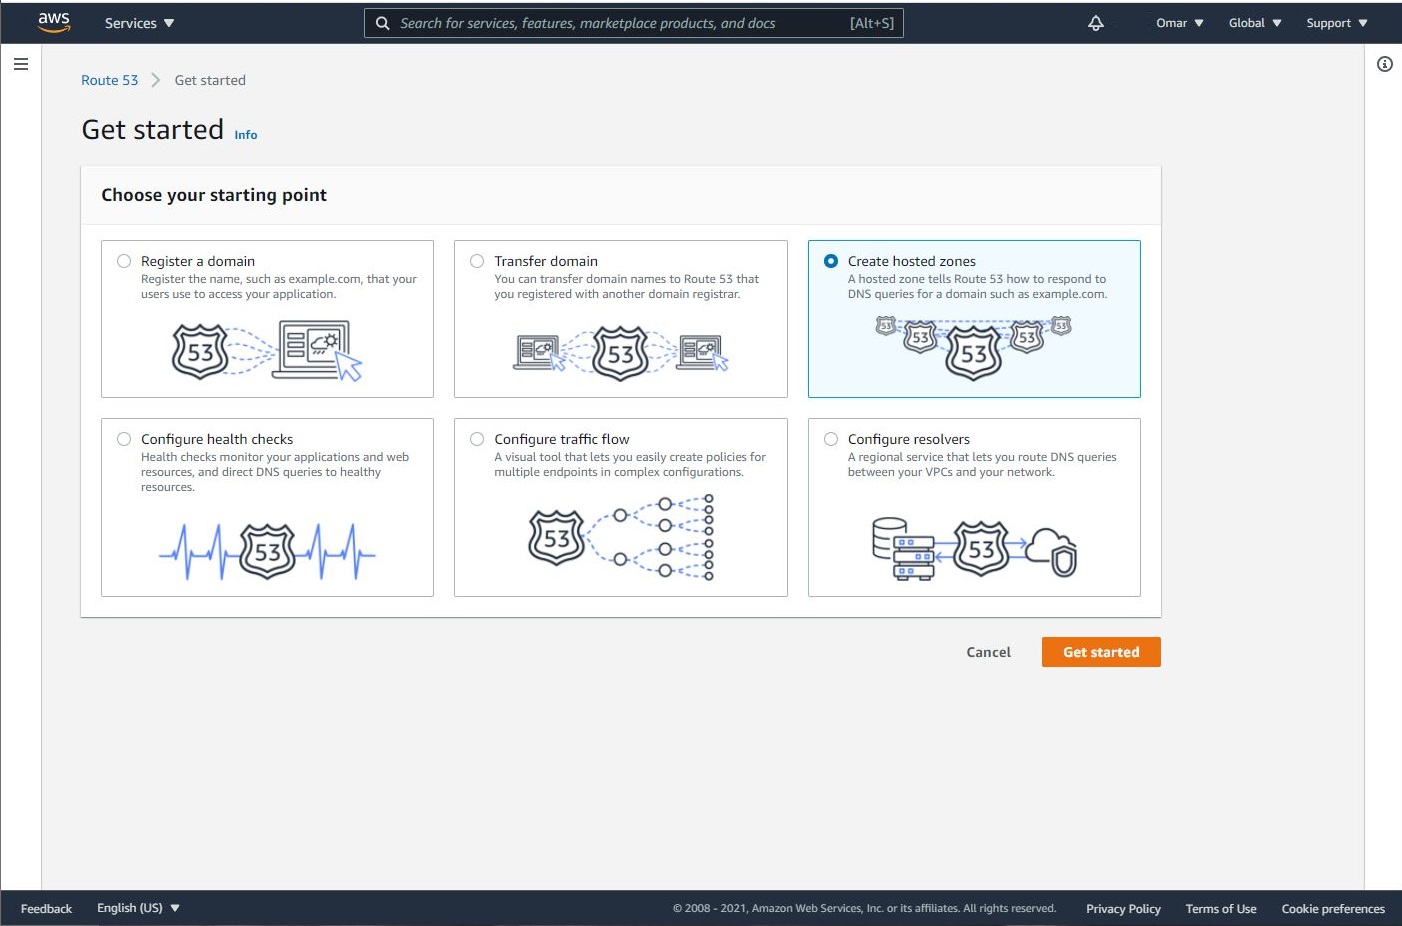
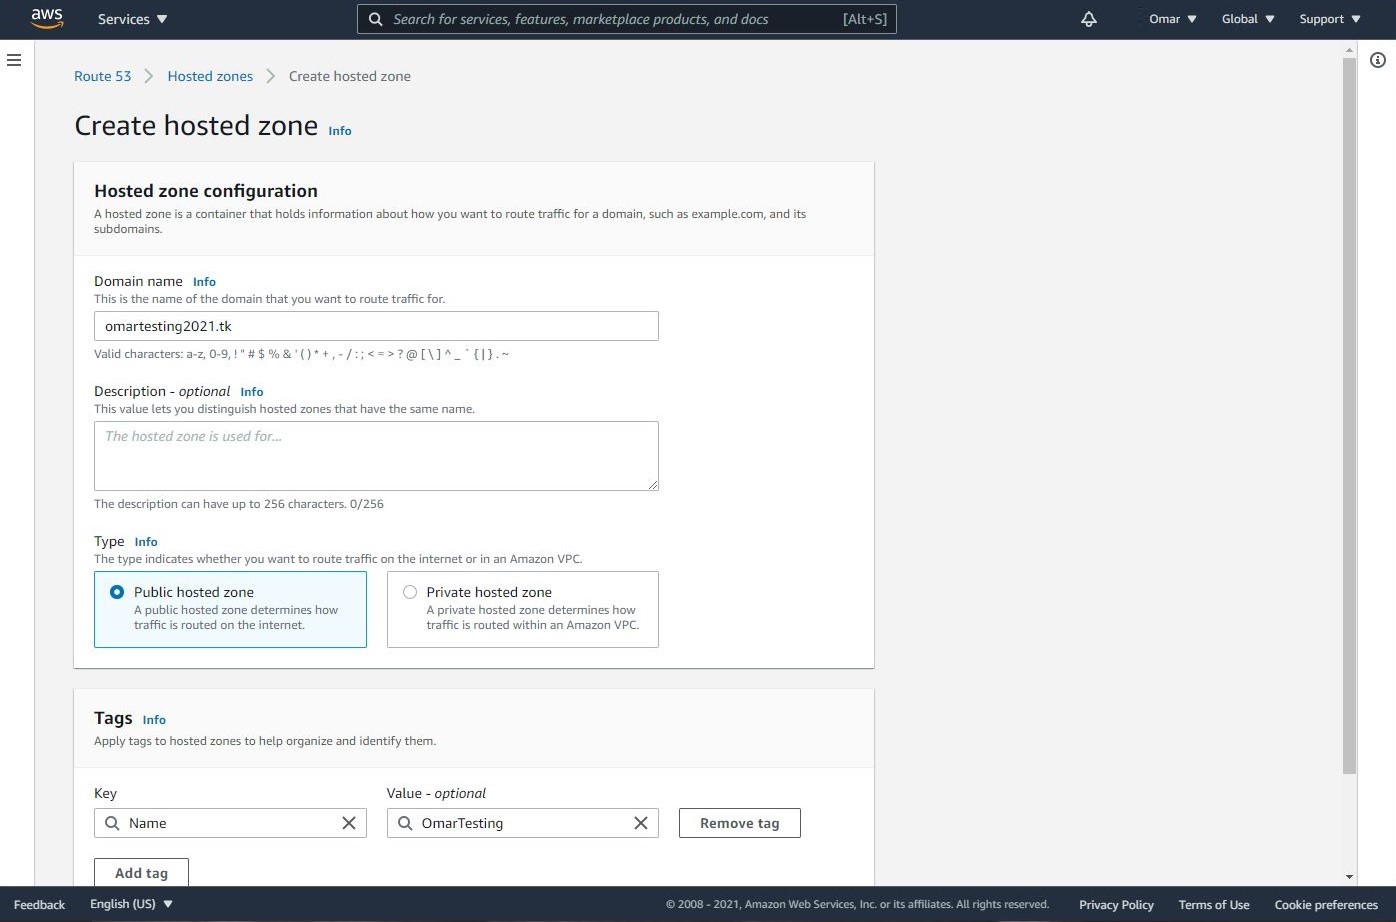
- Once we have the hosted zone created, AWS provides us with nameservers to route our traffic to. We will replace our assigned nameservers by the ones we have at Freenom for our domain name as shown below.
Part 2:
This portion of the tutorial is completed by our CloudFormation template to automate deployment of our architecture as follows:
- Create S3 buckets and upload a sample website.
- Create an AWS CloudFront distribution to serve website’s traffic through Amazon Content Delivery Network (CDN).
- Utilize AWS Certificate Manager (ACM) and Obtain SSL/TLS certificate to serve the domain’s website securely via HTTPS protocol.
- Utilize Lambda@Edge to add security headers to every server response.
- Add a CNAME record for the S3 website endpoint in the hosted zone.
CloudFormation Template Configuration:
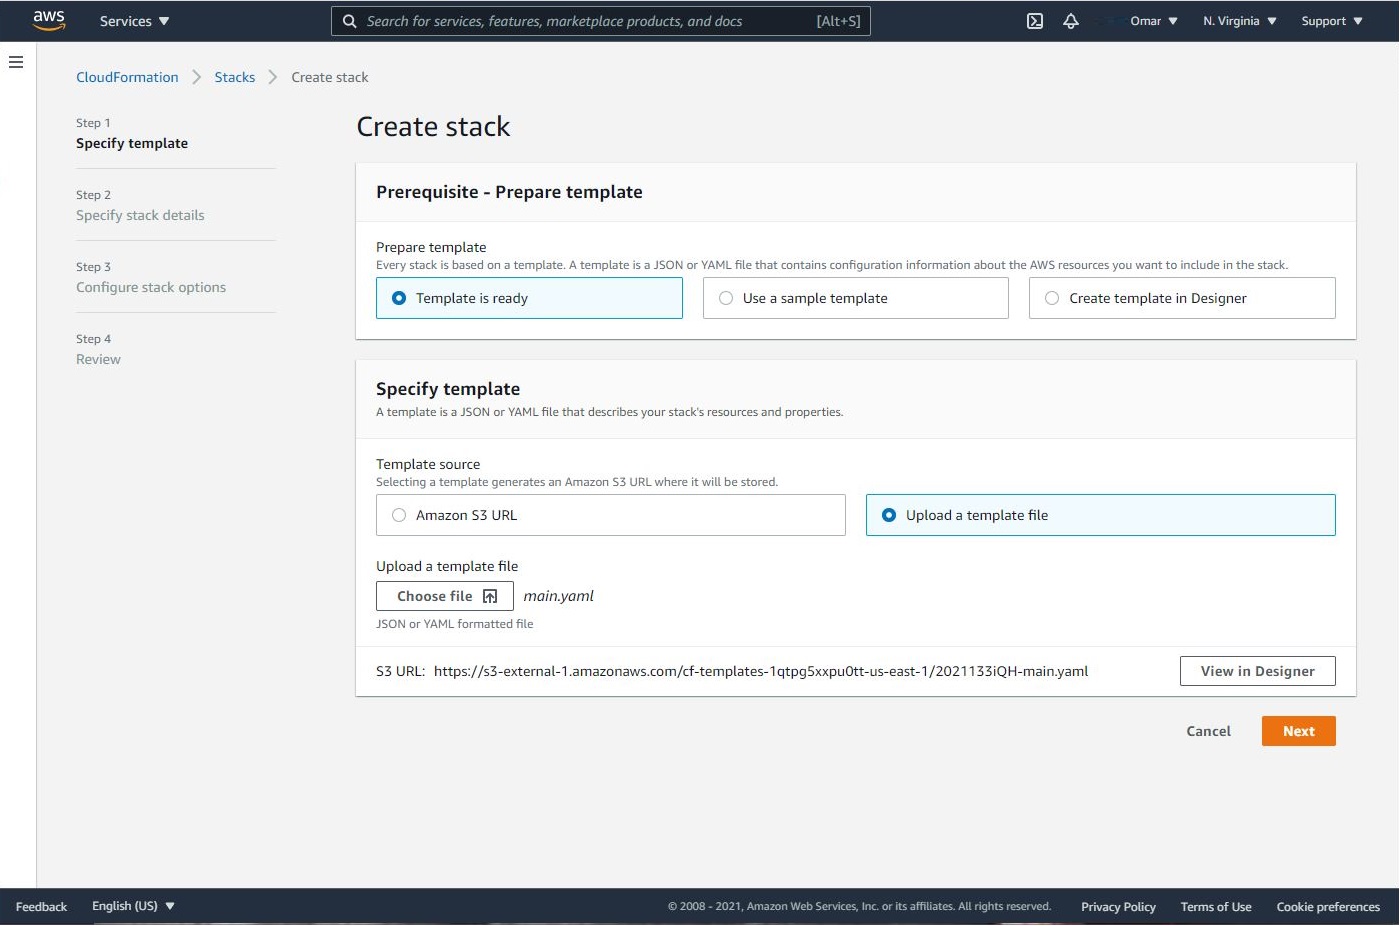
- Navigate to CloudFormation on AWS console and click on Create stack.
- Download CloudFormation template to your local device. Then, select Template is ready, Upload a template file and click on Choose file to upload. Click Next.
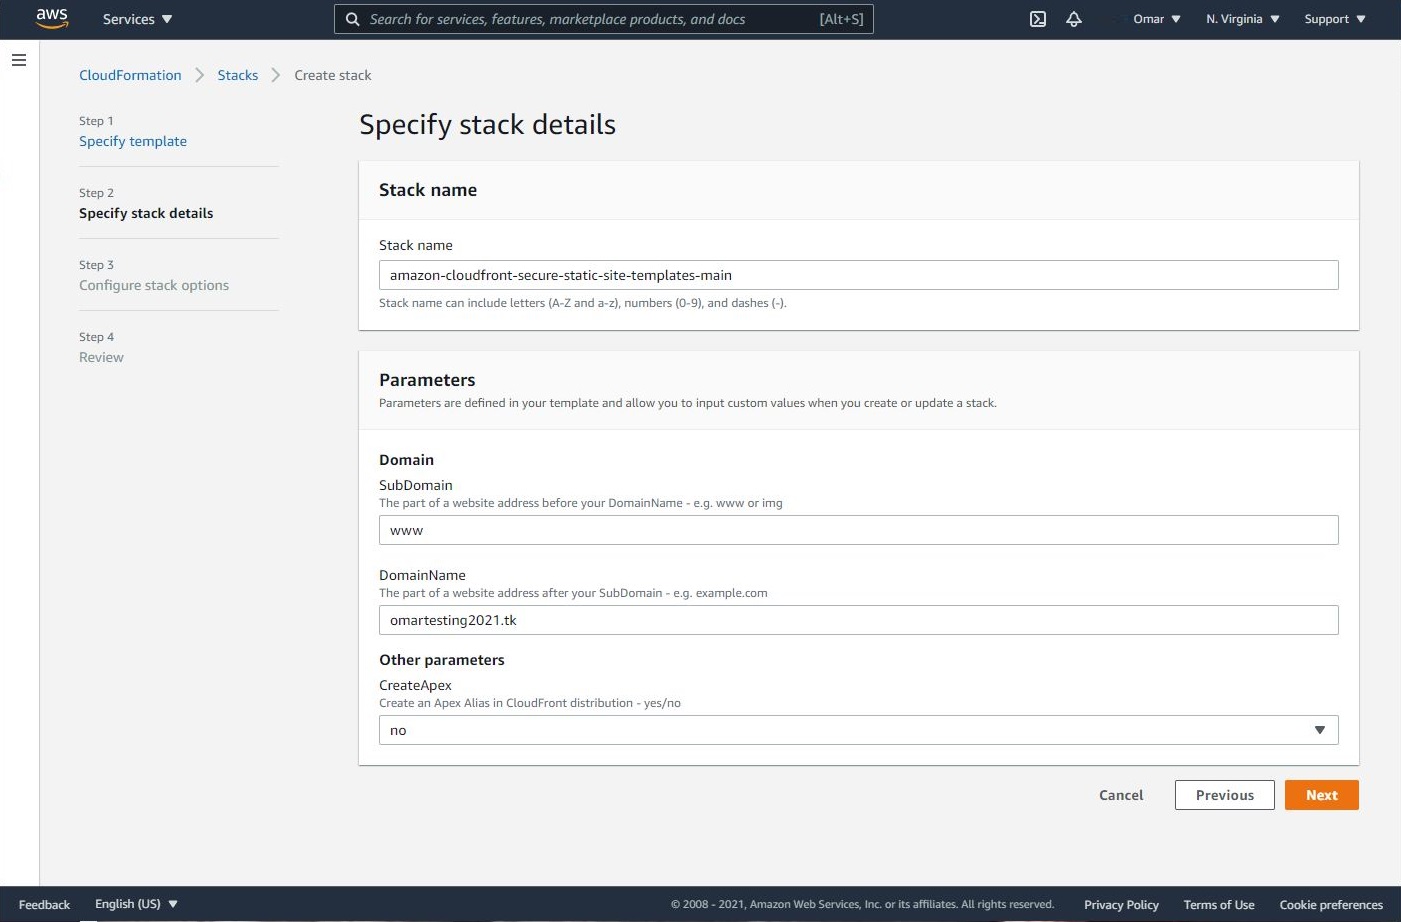
- On Specify stack details, add a stack name, your domain name. My registered domain name is omartesting2021.tk. Click Next.
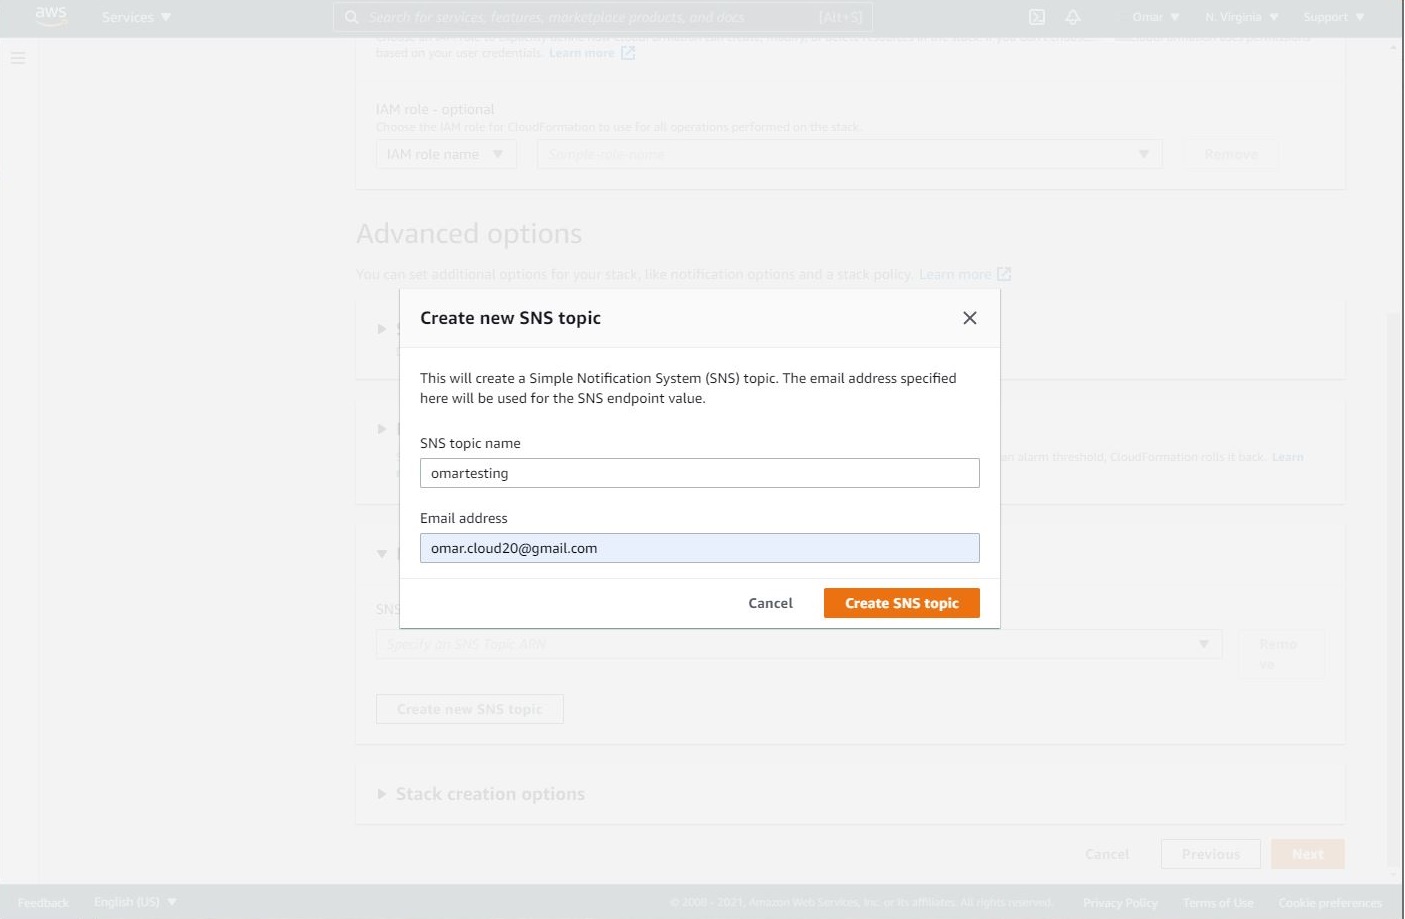
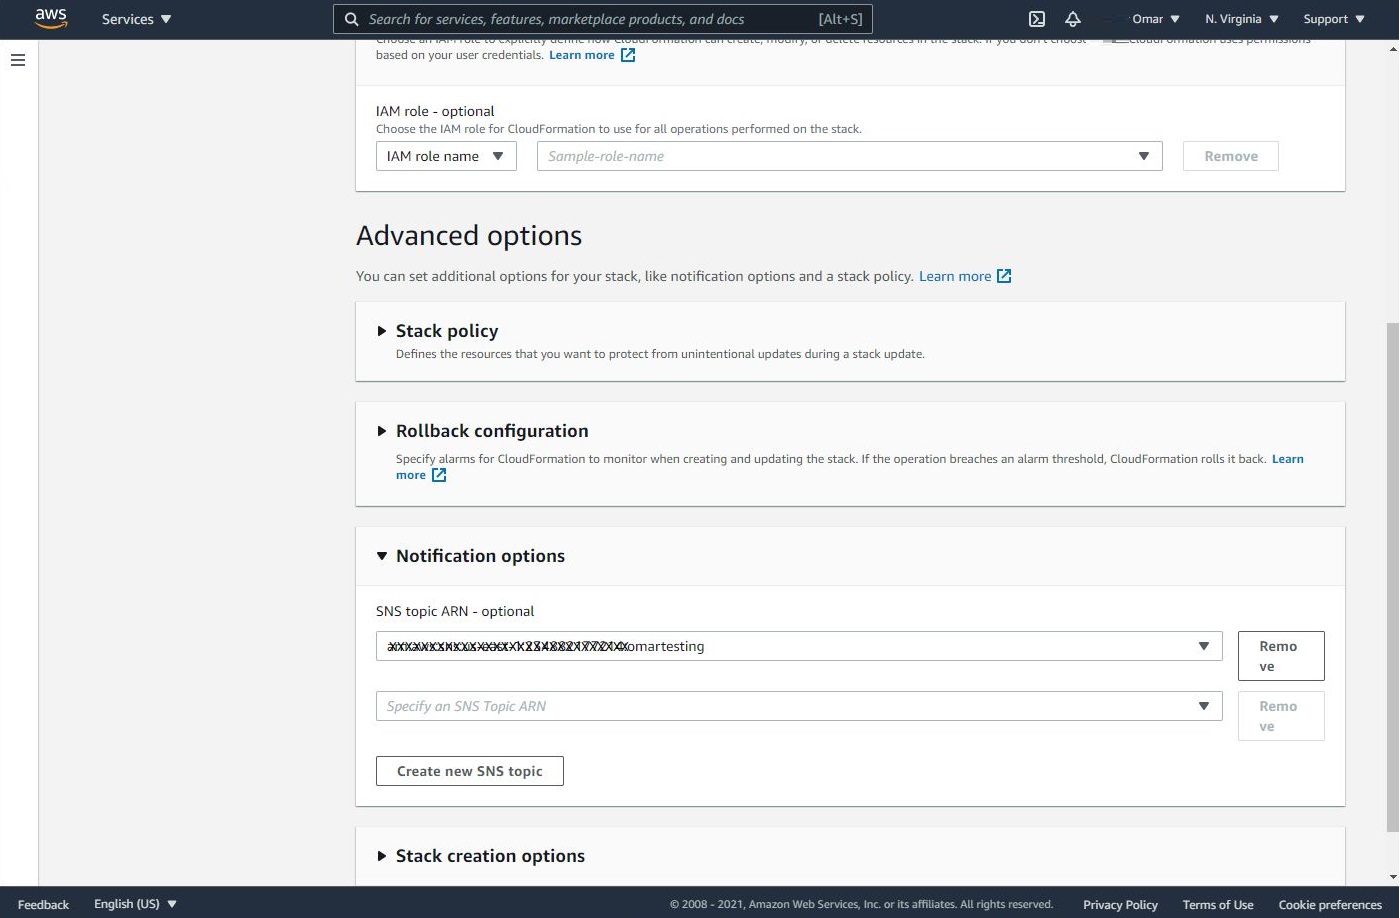
- As a best practice, add a tag to track down the CloudFormation stack. Then, create a new SNS topic by entering a name for your topic and email address to receive updates via email. You will have to confirm the SNS topic subscription once you receive the confirmation email; otherwise, the SNS topic may not work. The SNS topics will update you on the progress of the stack building.
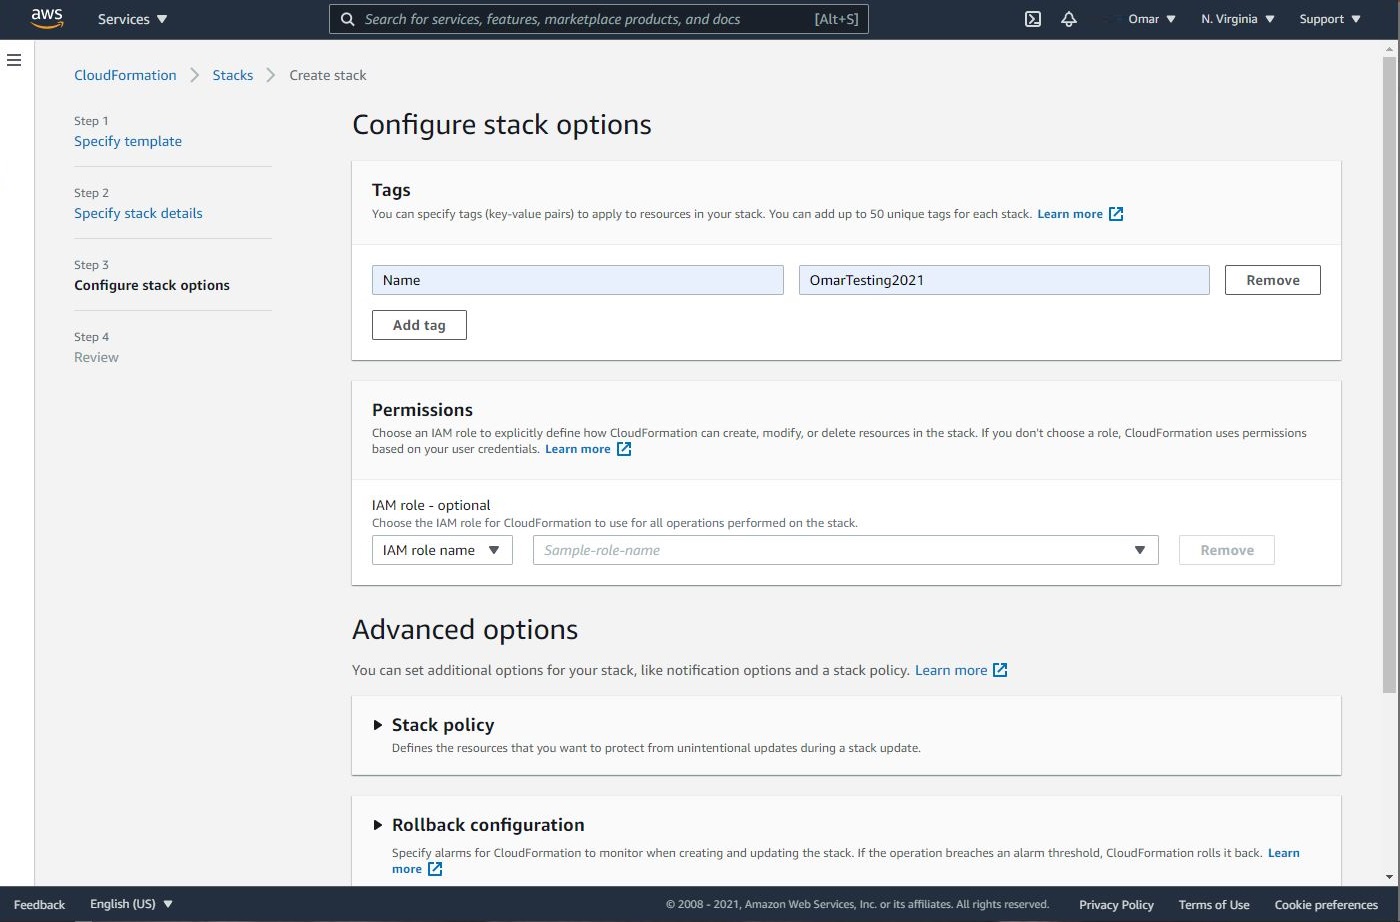
Note: don’t forget to select the SNS topic you have created from the dropdown menu.
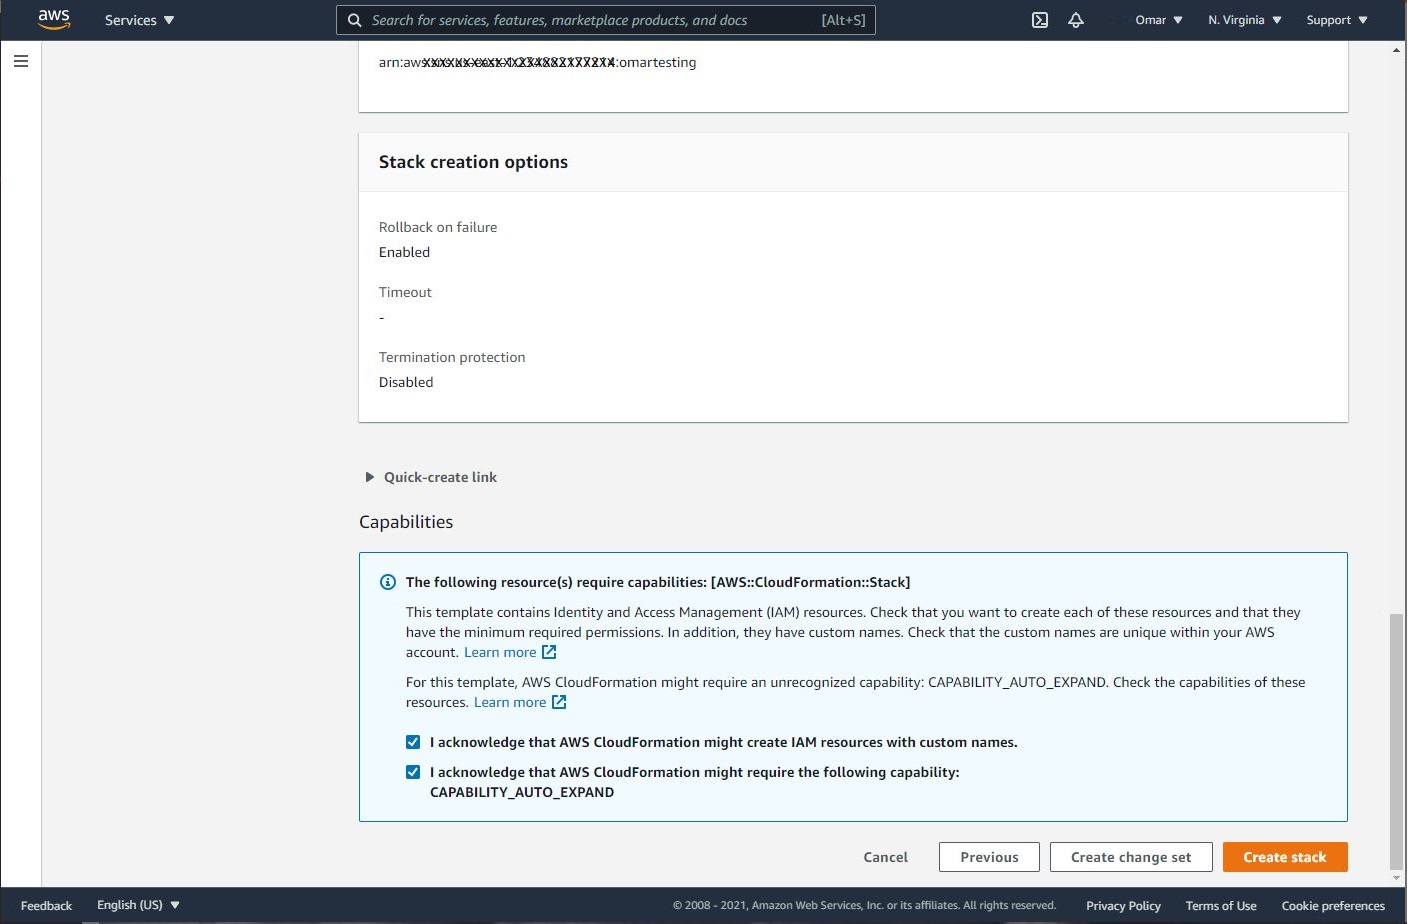
- On Capabilities section, select the two options as shown below. These two options are to allow the stack to create an IAM role and CAPABILITY_AUTO_EXPAND to name the resources dynamically. Finally, click on Create stack.
- Now, let’s grab a cup of coffee (don’t forget to add some of that hazelnut creamer 😄 ) and wait on the SNS updates via emails. The CloudFront propagation may take some time. We will definitely appreciate the fact that we have subscribed to an SNS topic to get live updates.
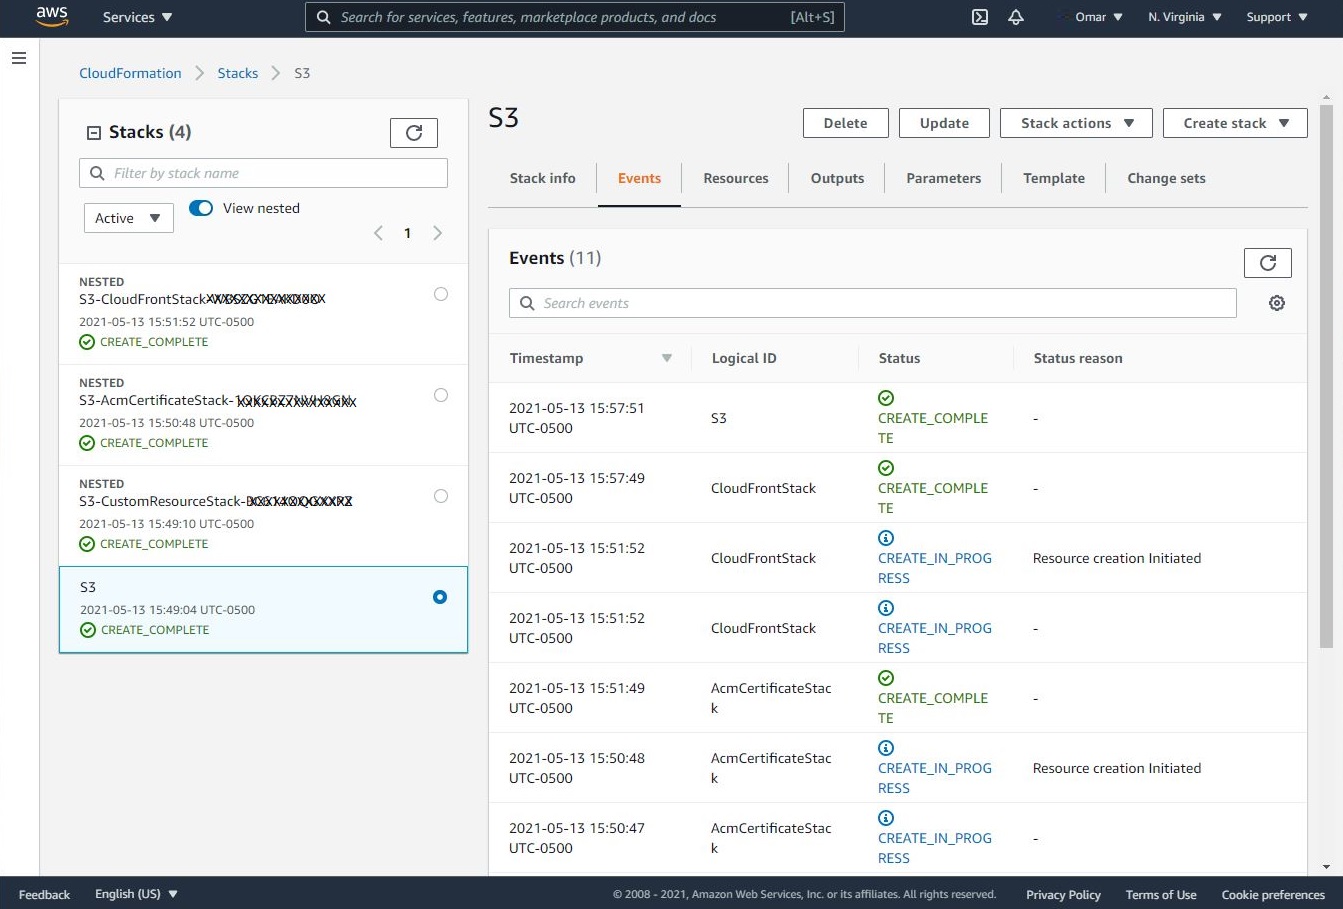
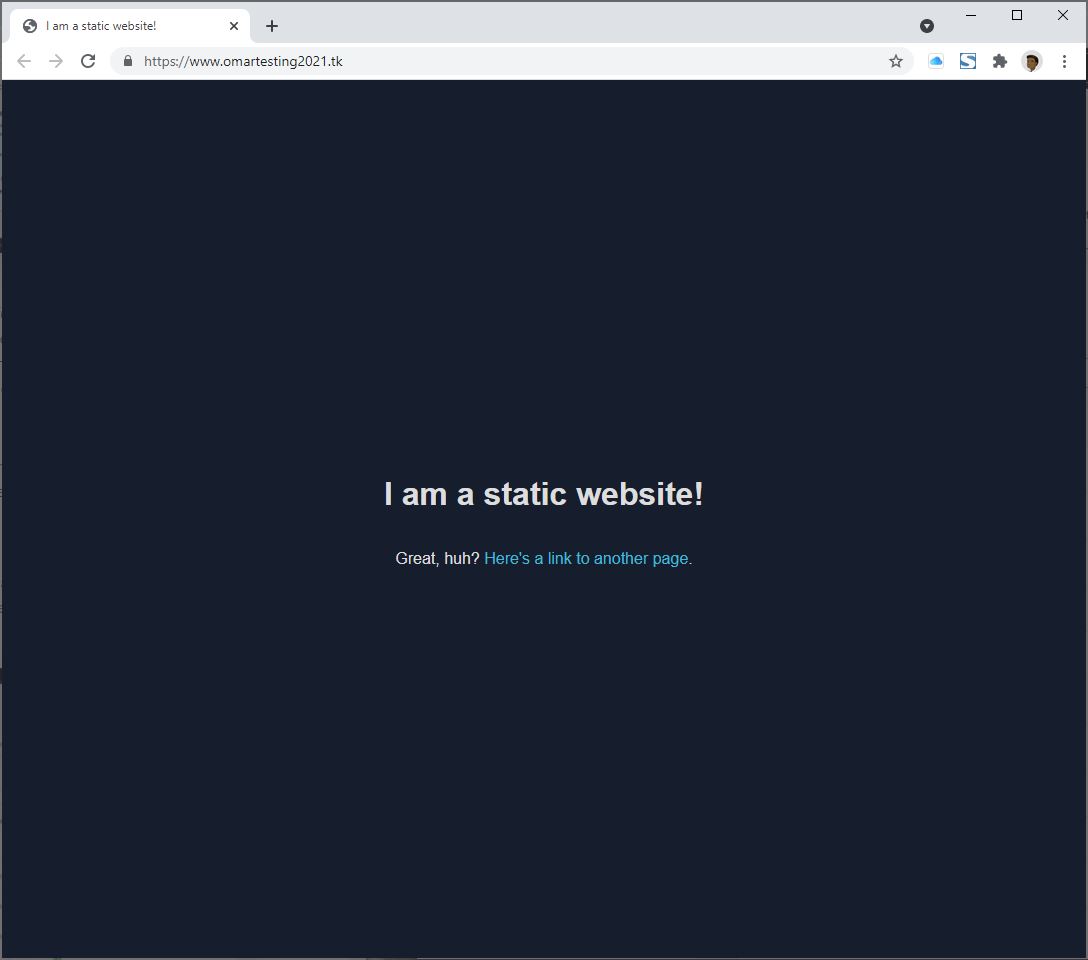
We can also monitor the progress of resource provisioning from within CloudFormation, and once all resources are created successfully, we can access our sample static website from our domain name, www.omartesting2021.tk.
We can go back to our created S3 buckets and upload our site files to replace the sample website in the S3 bucket that has bucketroot.
Conclusion:
Congratulations. We have successfully hosted a sample website on S3, registered a free domain name from Freenom and assign it to the S3 website via Route 53 hosted zone DNS management. In addition, we have distributed our website access via AWS’s low latency content network utilizing CloudFront service and Lambda@Edge to enhance security of the website. Enjoy it.
